GulpJs is a build tool for Frontend technologies like javascript. It provides you functionality that is given to developer by Grunt, Gradle and NPM.
Following are the main part of the GulpJS- (SDP)
1- Series
2- Parallel
3- Src
4- Destination
5- Pipe
In addition to above we have watch and plugin. First let try to understand each one in sequence
In gulp we used to create a file called as gulp.js in newer version i.e. you can also create a folder with name as gulp.js and can have index.js in side. gulp command will also recognize it. In general practice it is better to have individual js files and css files and then accomodate it in on file i.e. index.js by using import key word. This will help for easy maintainability.Node’s module resolution allows you to replace your gulpfile.js file with a directory named gulpfile.js that contains an index.js file which is treated as a gulpfile.js. This directory could then contain your individual modules for tasks.
1- Series :-
In this concept we ask the task to execute one after the another in sequence they are mention i.e.series(clean, build); in this clean task is called first and after completion of clean build task is called.
2- Parallel:-
In this concept we ask the task to execute parallel i.e.parallel(clean, build); in this case both clean and build task stared at the same time.
3- Src
This is used to give the src files where we want to do some operation i.e collecting it and transferring it to dest folder etc
4- Destination :- dest
This is used to give the destination files where we want to do place the files from src folder.
5- Pipe
This is used to perform some operation on the src files before putting them in to destination folder i.e.
Let's take an example to have detail knowledge
Note Makes sure you have installed following things before starting this POC
Node
NMP
Gulp
1- Lets create a simple project that have some html,js,image files with following folder structure.
We have the following structure
Project
src
– assets
– js
– static
– *.js
– css
– layout
– *.css
– images
– *.html
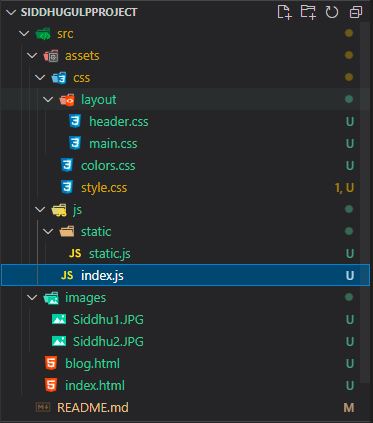
We will try to use all the basic function on this above project
Let's start
step 1
We need to create a package.json file for this base project. For this we will use npm init.


Now lets install gulp in this project
npm install –global gulp-cli

npm install –save-dev gulp
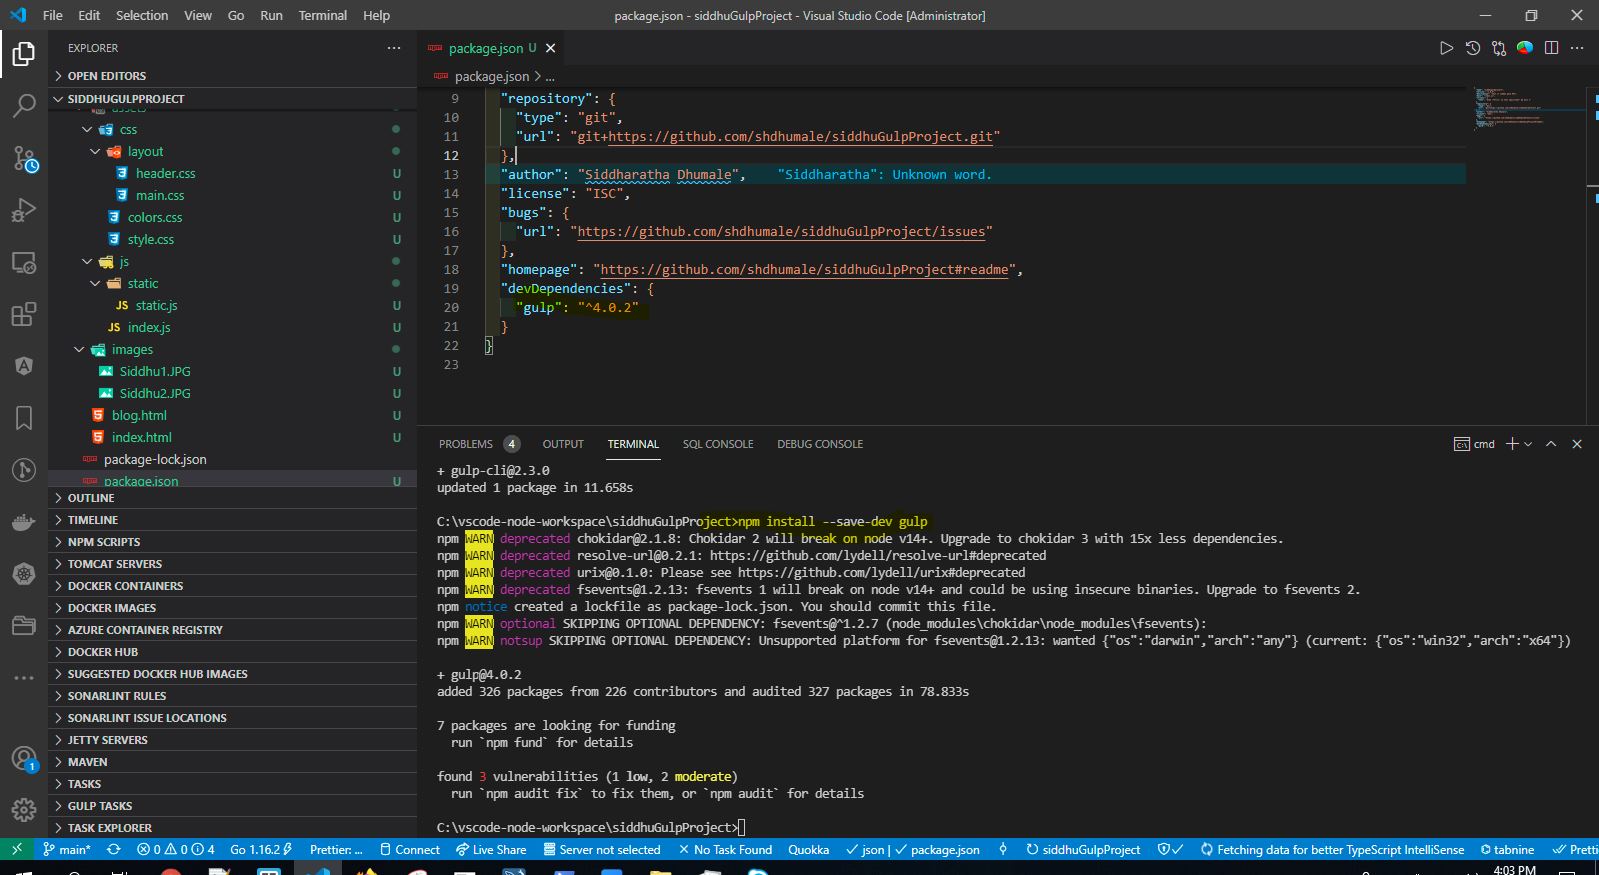
Check if gulp is installed using below command.
C:\vscode-node-workspace\siddhuGulpProject>gulp -v
CLI version: 2.3.0
Local version: 4.0.2
Note:- You can also refer to this site https://gulpjs.com/docs/en/getting-started/quick-start
Now lets creat a file called gulp.js as shown in the below figure and write our first part where in we will copy our all html to dist folder using below command
const gulp = require(‘gulp’);
const { src, dest } = require(‘gulp’);
function transferHtml() {
return src(‘src/*.html’).pipe(gulp.dest(‘dist’));
}
exports.default = transferHtml;

Now lets try to run this fuction using below command
C:\vscode-node-workspace\siddhuGulpProject>gulp
[16:11:37] Using gulpfile C:\vscode-node-workspace\siddhuGulpProject\gulpfile.js
[16:11:37] Starting 'default'...
[16:11:37] Finished 'default' after 116 ms
You will see that our html files is copied to a new created folder called as dist.

You can also call individual task by exposing them i.e.

result is same.
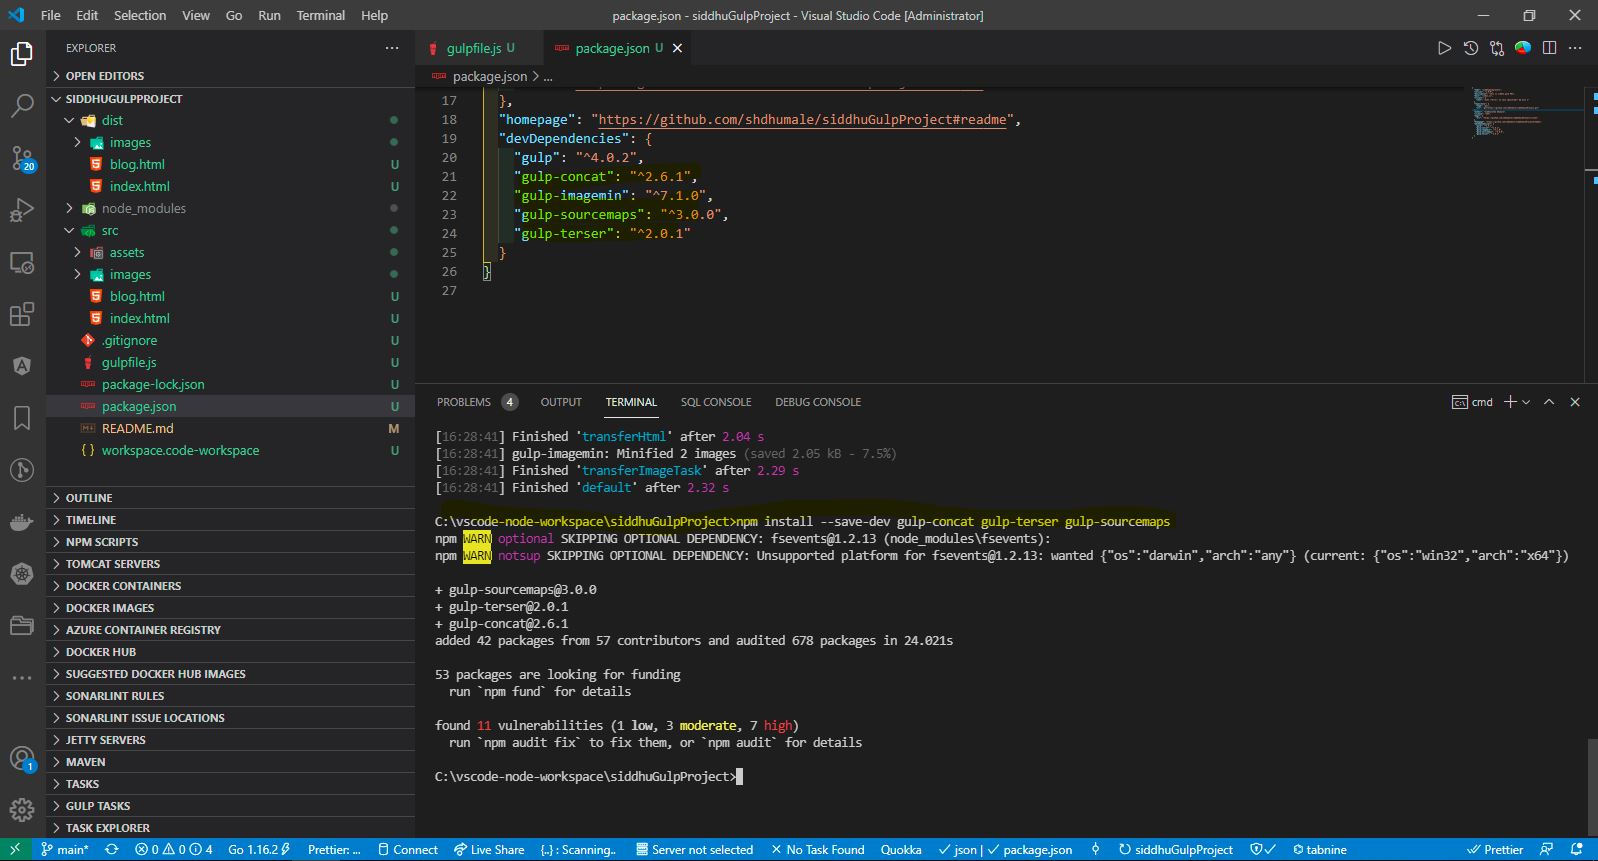
Now lets work on Iamge and we want the image to be optimized for that we are going to use gulp-imagemin. So make sure to install this before using it and for all the gulp npm packaged use –save-dev mode for installation as gulp is not used in production mode.

Now run this command
C:\vscode-node-workspace\siddhuGulpProject>gulp transferImageTask
You will see our optimized image is kept in images folder of dist.

One thing to notes if we will hit again the same command gulp will not duplicate the images but it will override it and that is the beauty of gulp no reluctance.
So in short when we execute the same command again it will override the file that is changed and kept the new files with different version and no duplication is done.
Now lets try to run both the command/task at the same time this can be done using series or parallel concept.
We will use parallel concept.
For that we need to add
const { src, series, parallel, dest } = require(‘gulp’);
and make chages in the default
exports.default = series(
parallel(transferHtml, transferImageTask)
);
Now delete the dist folder and run the belwo command
C:\vscode-node-workspace\siddhuGulpProject>gulp
You will get the dist folder again with both html and optimized images.

Now let copy of js from src to dist folder after doing optimization i.e. minified.
function transferJsTask() {
    return src(jsPath)
      .pipe(sourcemaps.init())
      .pipe(concat('siddhu-minified.js'))
      .pipe(terser())
      .pipe(sourcemaps.write('.'))
      .pipe(dest('dist/assets/js'));
}
In this we are using sourcemaps plugin it will write all the js file in our siddhu-minified.js and will use terse plugin to minify/uglify it and then write the output to init and finally to our siddhu-minified.js. Finally, we put our js file inside dist/assets/js.
Now to use this thing we need to first install the plugin using below command
C:\vscode-node-workspace\siddhuGulpProject>npm install –save-dev gulp-concat gulp-terser gulp-sourcemaps
Note: You can also use gulp-uglify but it did not work with ES6.
Now lets run
C:\vscode-node-workspace\siddhuGulpProject>gulp transferJsTask
You can see gulp created assets and js folder and put our uglify js in that.

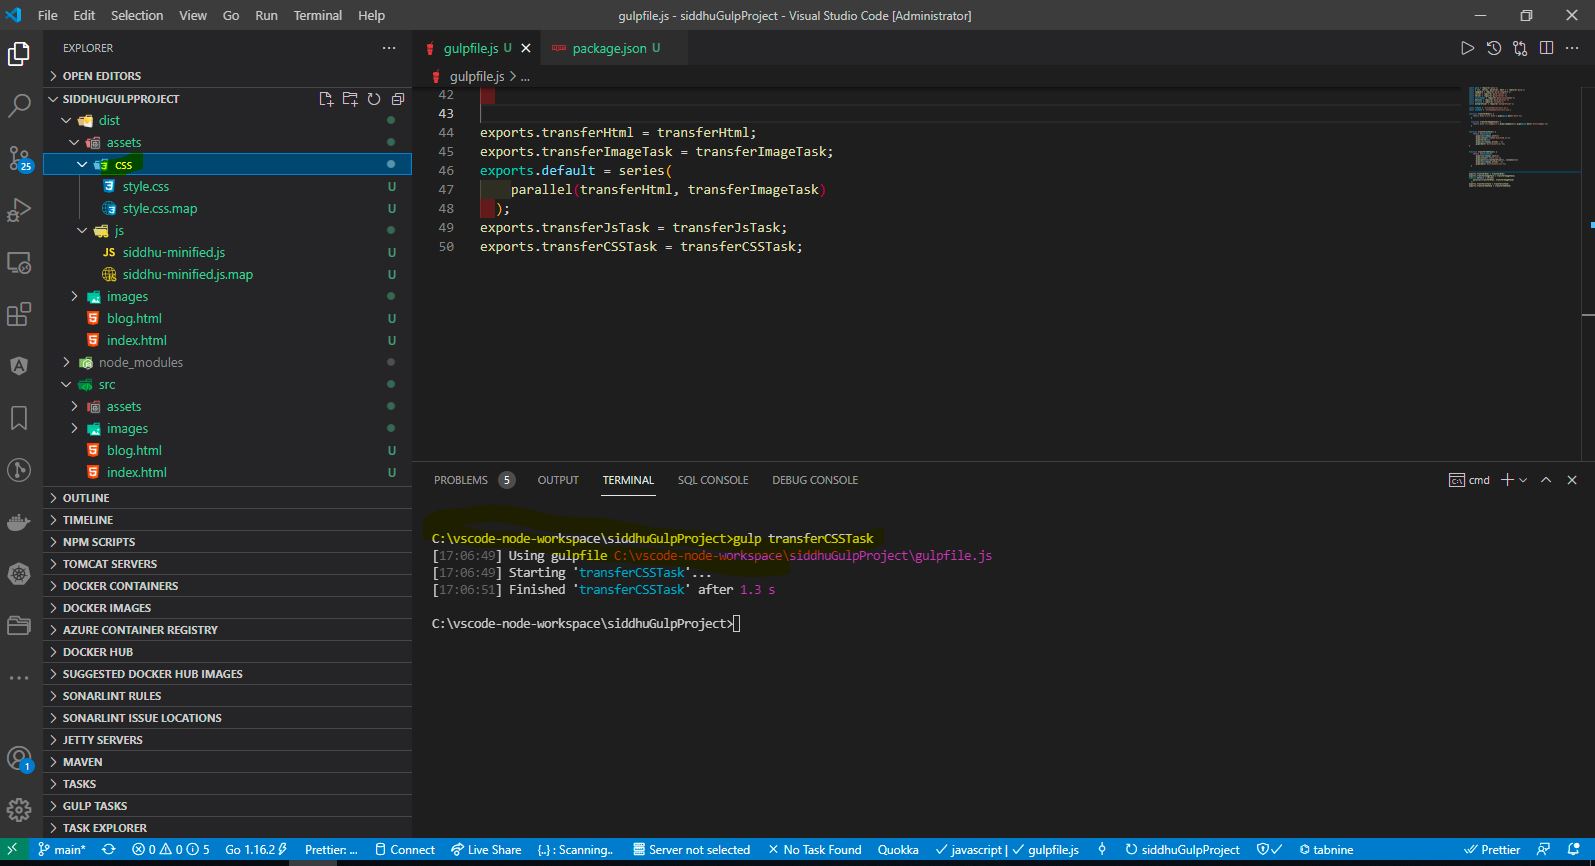
Now lets do the same with out CSS files using below code.
const cssnano = require('cssnano');
const autoprefixer = require('autoprefixer');
const postcss = require('gulp-postcss');

const cssPath = 'src/assets/css/**/*.css';

function transerCSSTask() {
  return src(cssPath)
    .pipe(sourcemaps.init())
    .pipe(concat('style.css'))
    .pipe(postcss([autoprefixer(), cssnano()]))
    .pipe(sourcemaps.write('.'))
    .pipe(dest('dist/assets/css'));
}
But before using it we need to install follwoing npm module
C:\vscode-node-workspace\siddhuGulpProject>npm install –save-dev gulp-postcss cssnano autoprefixer

Now run gulp transferCSSTask
Note:-
If you get belwo error
Error: PostCSS plugin postcss-discard-comments requires PostCSS 8.
then use below command
C:\vscode-node-workspace\siddhuGulpProject>npm install –save-dev gulp-postcss@^8.0.0 cssnano@^4.1.10 autoprefixer@^9.7.6
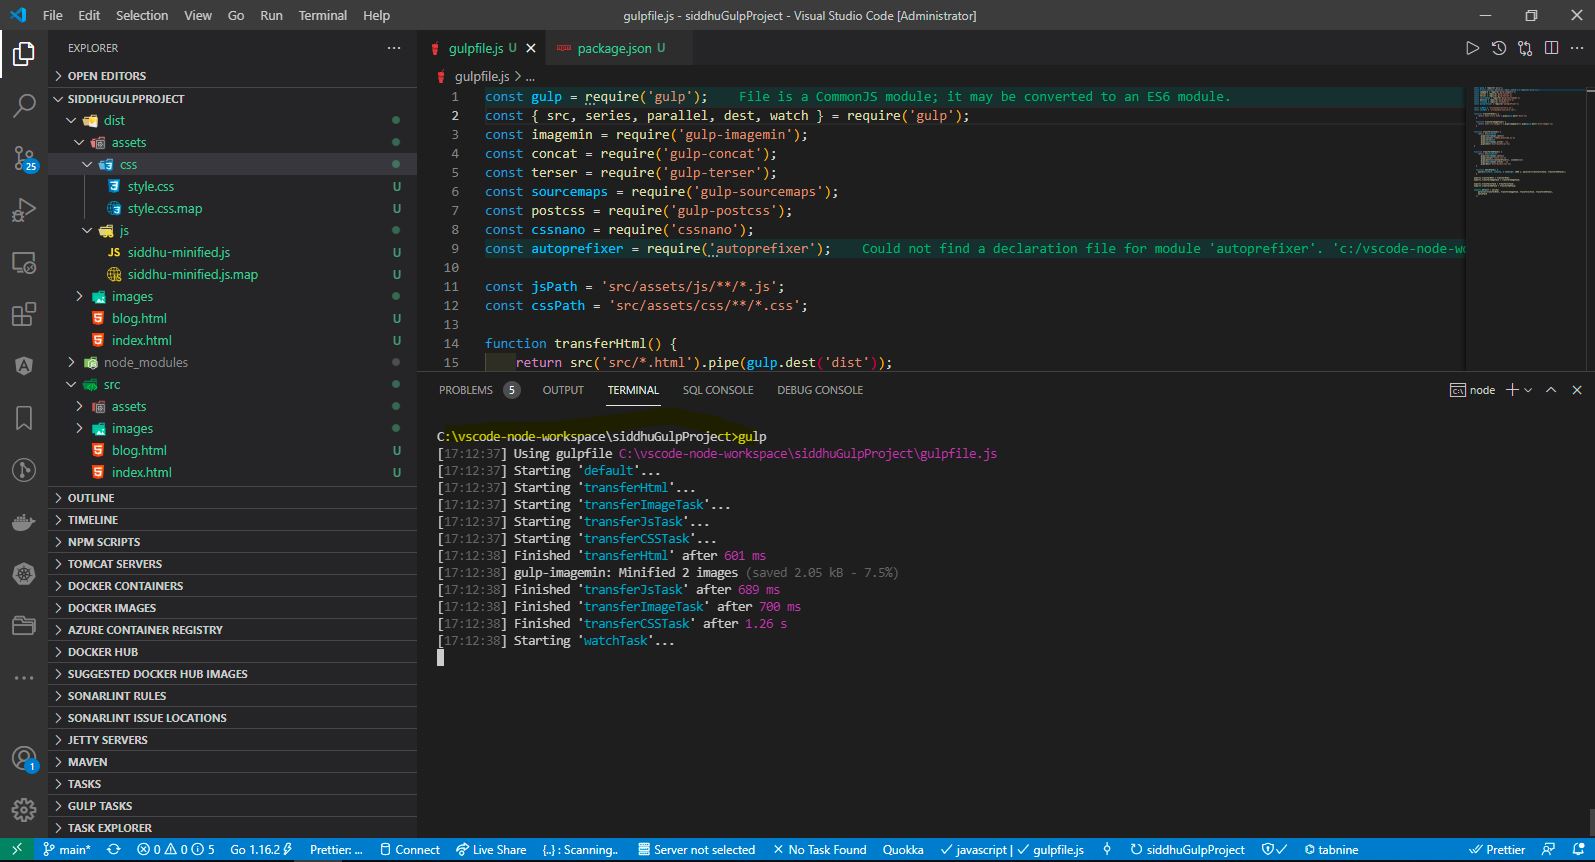
Now let's discuss the watch concept for GulpJS
The main use of watch is it will continuously listen to the path we give to it and then on definate interval of time which we provide if any files is modified on that path it will again run the specific task and create the build automatically.
i.e. as show below wathc will look to the folder path cssPath and jsPath and after 1000 milisec it will execute the task name as
function watchTask() {
watch([cssPath, jsPath], { interval: 1000 }, parallel(transferJsTask, transferCSSTask));
}
Also change the default as given belwo
exports.default = series(
parallel(transferHtml, transferImageTask, transferJsTask, transferCSSTask),
watchTask
);
Add watch in import
const { src, series, parallel, dest, watch } = require(‘gulp’);
Now modify files belonging to path JSTask and CSSTask and see the same file is modified in dist folder after 1000 milisec.

Finally i want to introduce a concept where in you can also define a folder called gulpfile.js and then put an index.js which contain the same code as we have in our gulpfile.js and if we execute that file from the command prompt it will give the same result.
The reason we had done this it to have different files i.e. transferCSSTask , transferHTMLTask etc seperate file inside gulpfile.js folder and add them in index.js. This was we get modularity.

Note:-You can download the code from below url
https://github.com/shdhumale/siddhuGulpProject.git
No comments:
Post a Comment