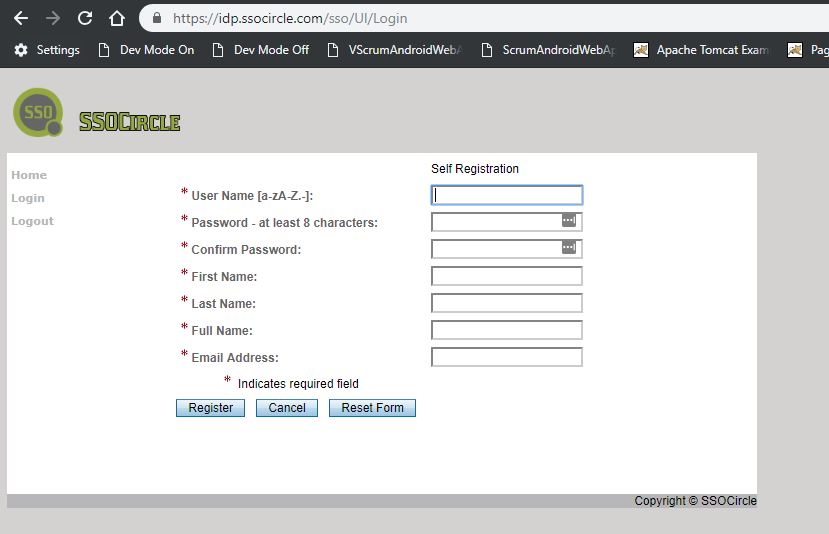
Step 1:- Frist create your account in SSO Circle site
https://idp.ssocircle.com/sso/UI/Login?gx_charset=UTF-8
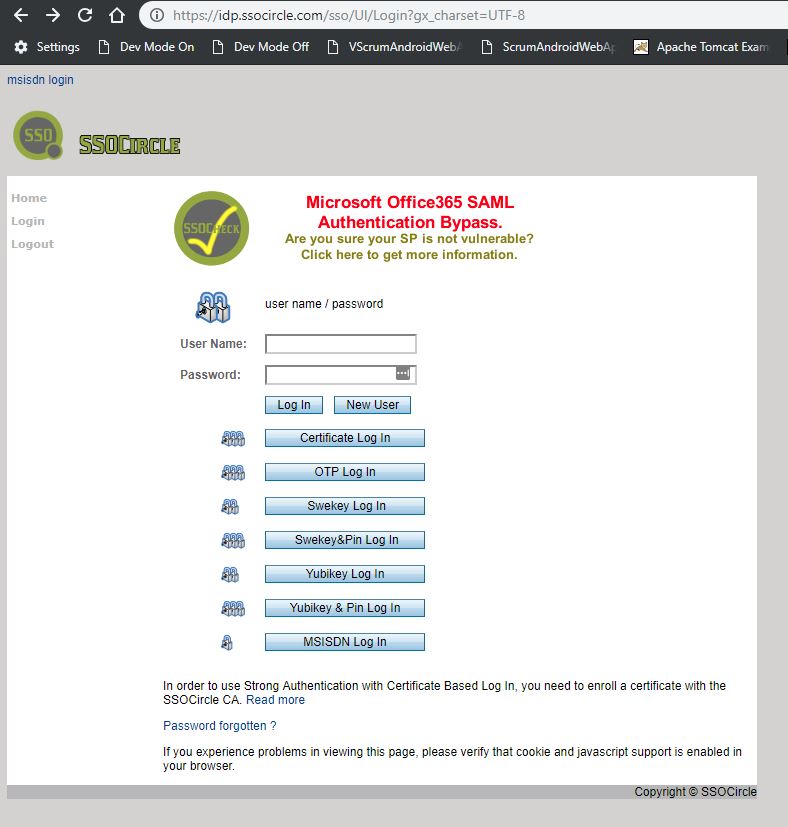
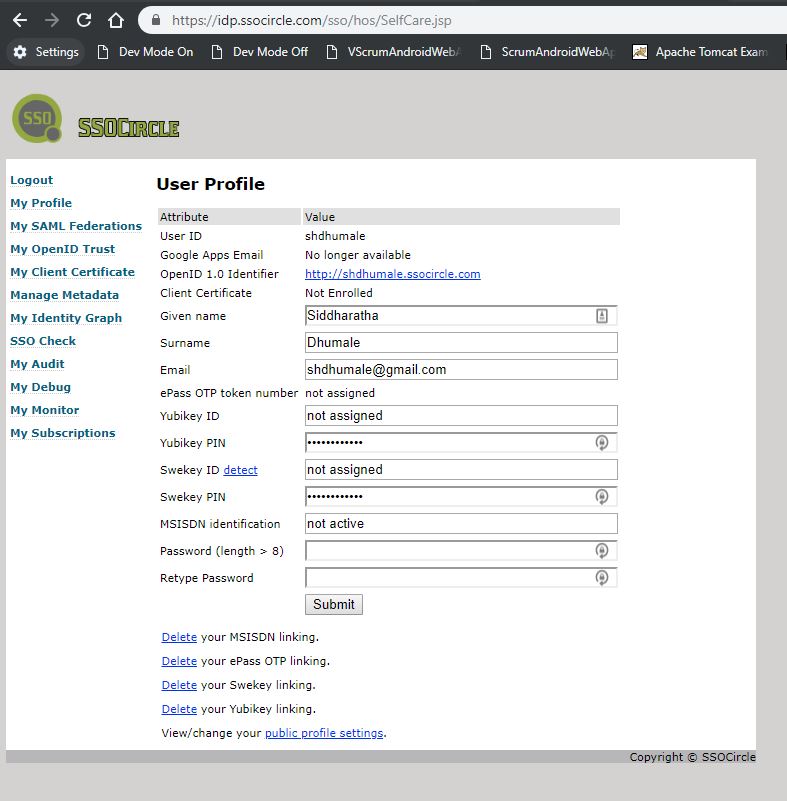
Step 2:- After successful user creation during login to the ssocircle and check your My Profile
Step 3:- As we did not have any IDP with us i.e. IDP which provide us the authentification. we need to tell the SSO to use itself as our default IDP.
For doing this please fo this url
https://saml-federation.appspot.com/saml/discovery?returnIDParam=idp&entityID=saml-federation.appspot.com
and select the idp which we want
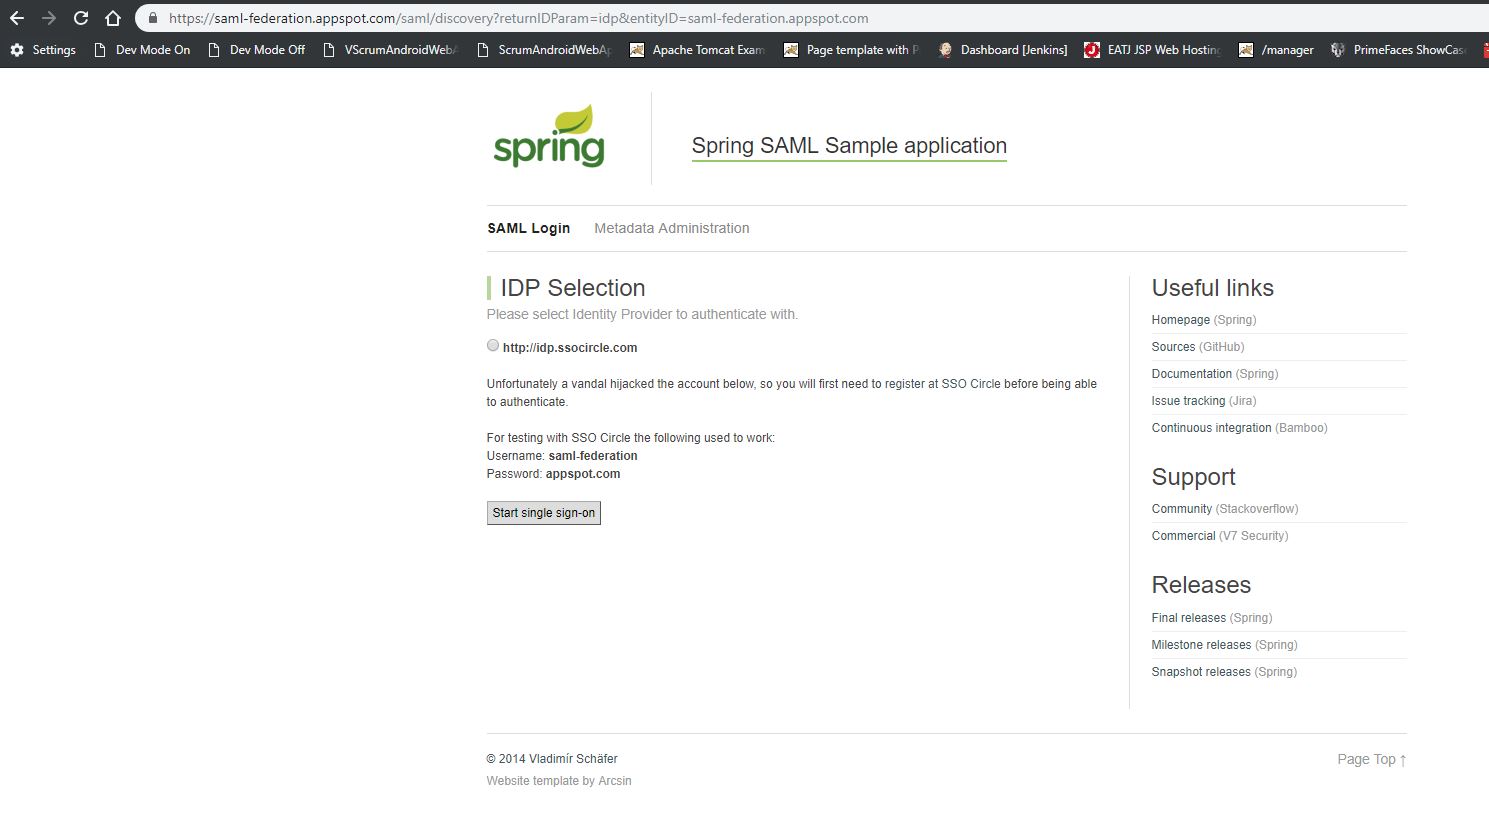
Check on radio button and click on single sign on button
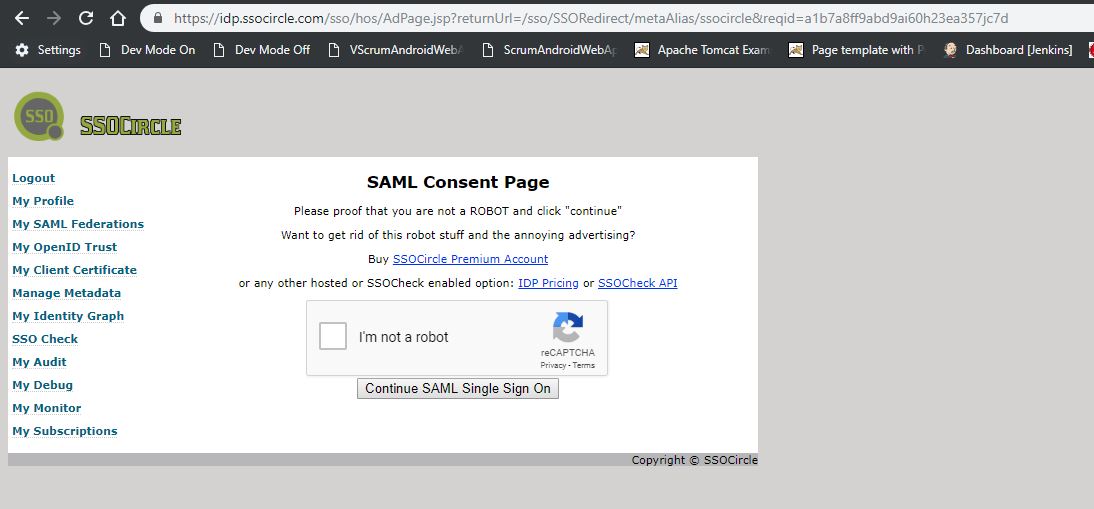
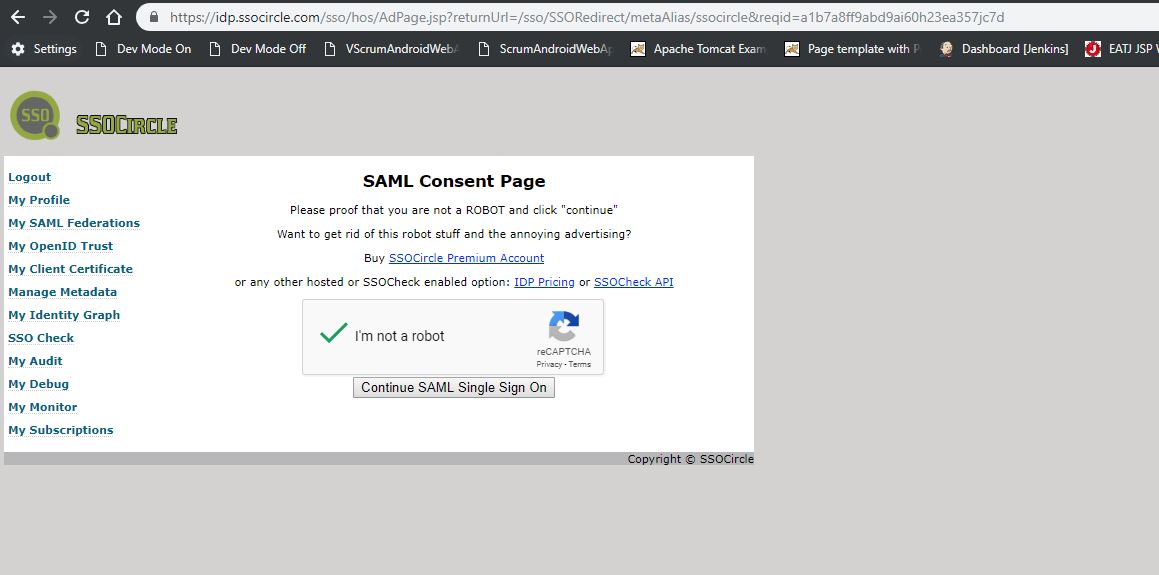
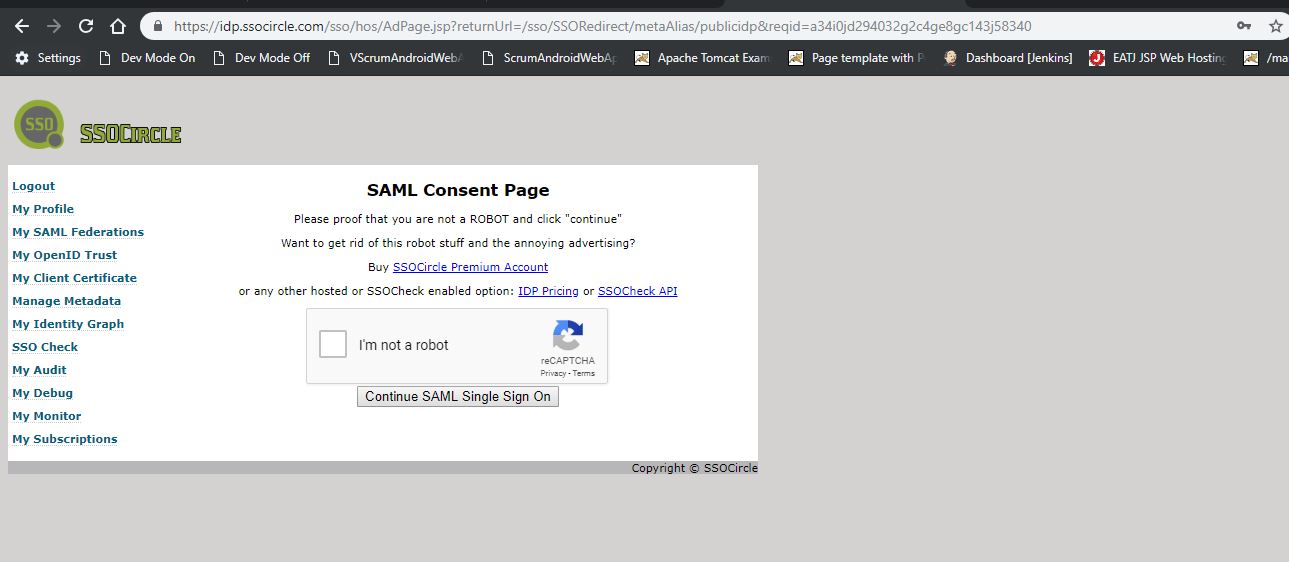
click on I'm not a robot and click "continue SAML single sign on" button
You will be diverted to this page
Till here we are done with the IDP now lets deal with SP. i.e. SP=Servivce provided our application which will be used by the end user.
Step4:- for now we are using ready made spring security example provided by Spring for the same. You can download this example from
https://repo.spring.io/list/release/org/springframework/security/extensions/spring-security-saml/
Note:- As this is Spring exmaple I prefer to use STS along with Maven and Cradle plugin. Please down load the same from Spring Sites.
Step 5:- Build the above download application using maven plugin.
Step 6:- Please deploy your war file created in Step5 in you local tomcat.
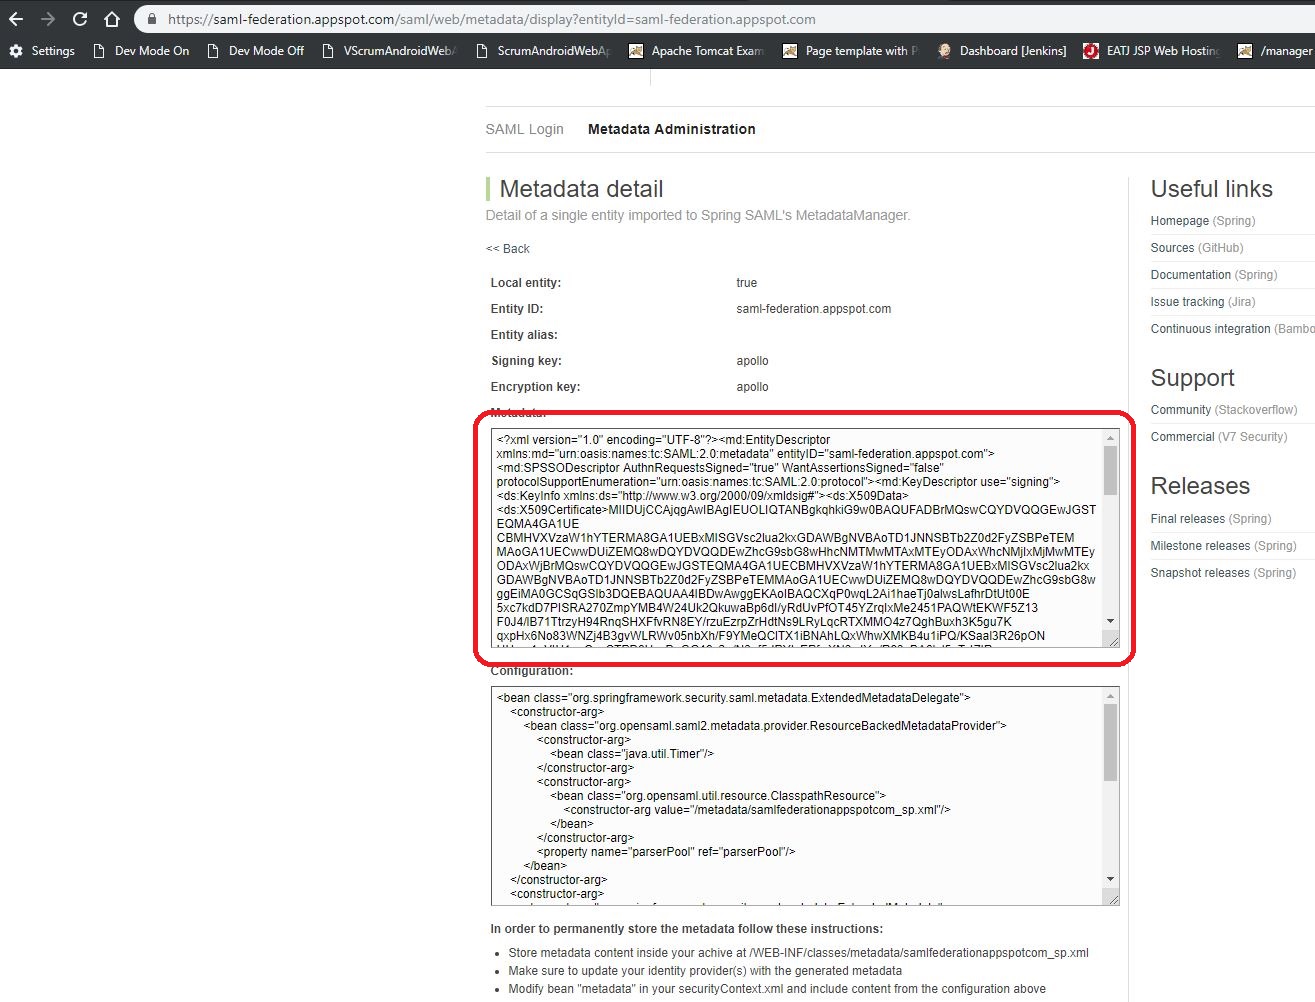
Step 7:- Then download the metadata at http://localhost:8080/spring-security-saml2-sample/saml/metadata.
and Copy the contents to your clipboard.
you can also take the whole SP Meta data form this site.
https://saml-federation.appspot.com/saml/web/metadata
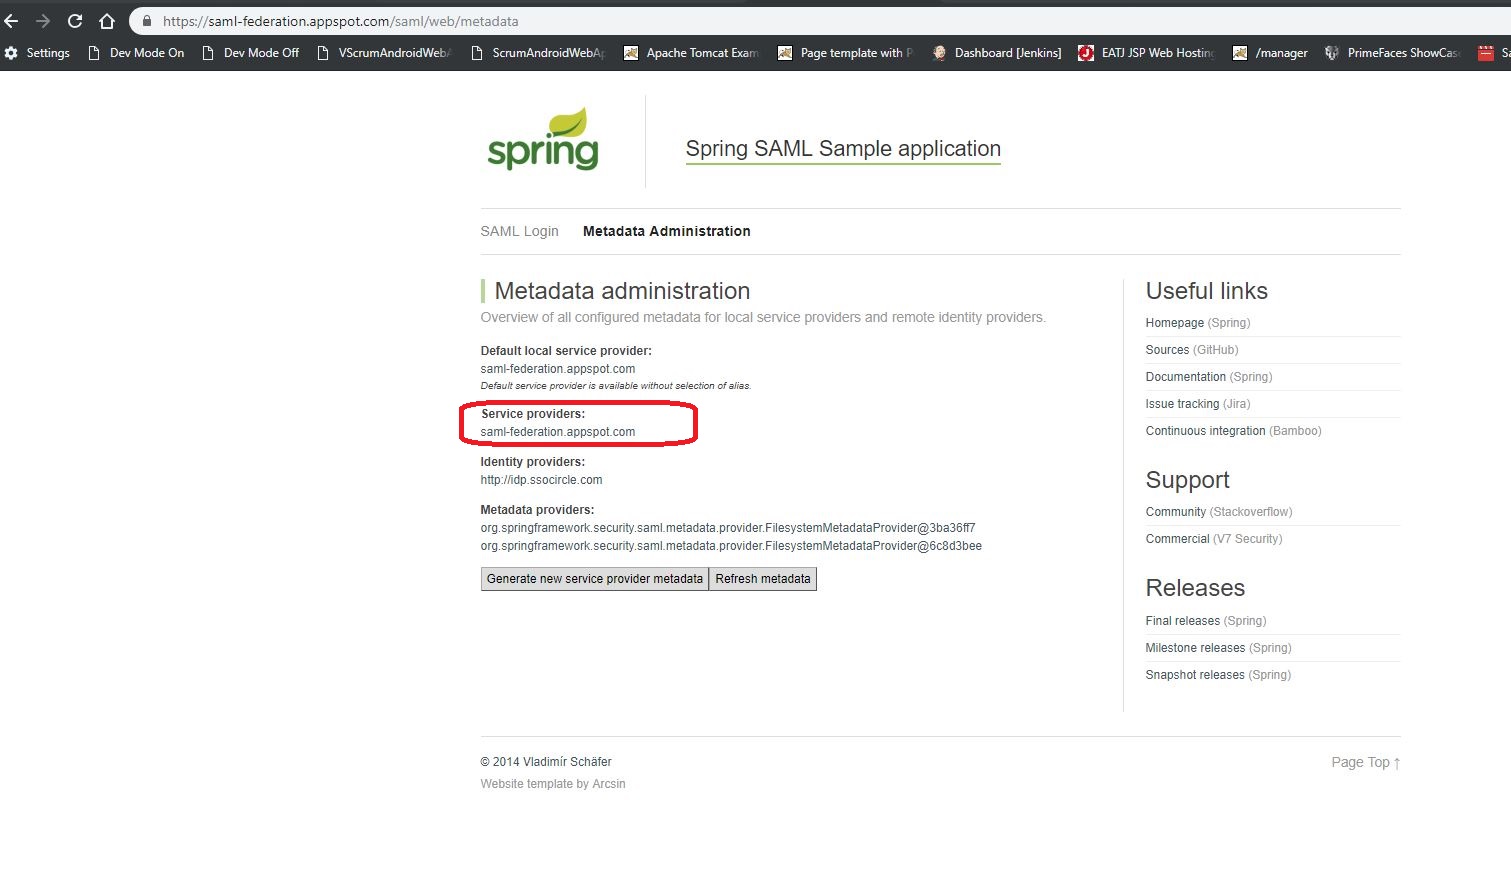
Click on the SP and take the complete SP Metat data
Step5:- Now we need to tell our IDP that this is the SP from where you will get request for authentification and need to confirm if it is valid. For this we need to add this SP Meta data inside our site :https://idp.ssocircle.com/sso/hos/SelfCare.jsp
Update the metadata of your new profile at https://idp.ssocircle.com/sso/hos/ManageSPMetadata.jsp.
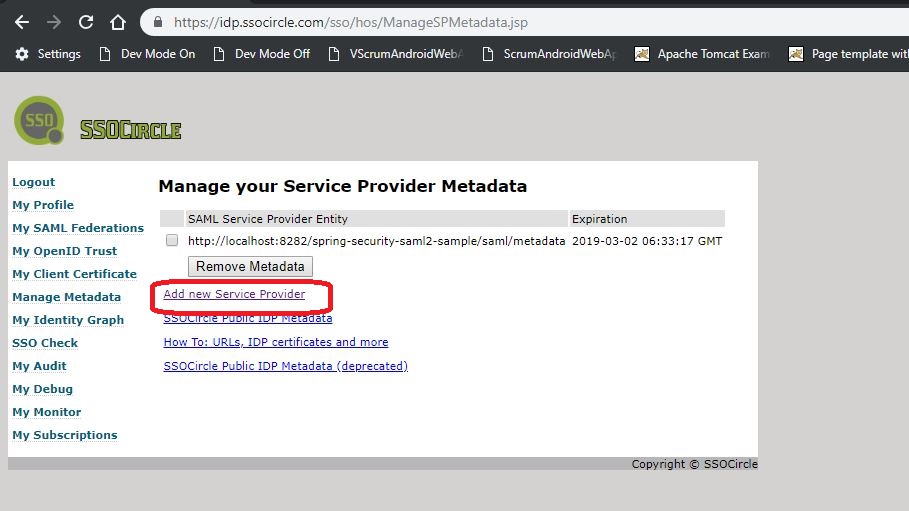
click on the Add new service provided option to add our SP details in it.
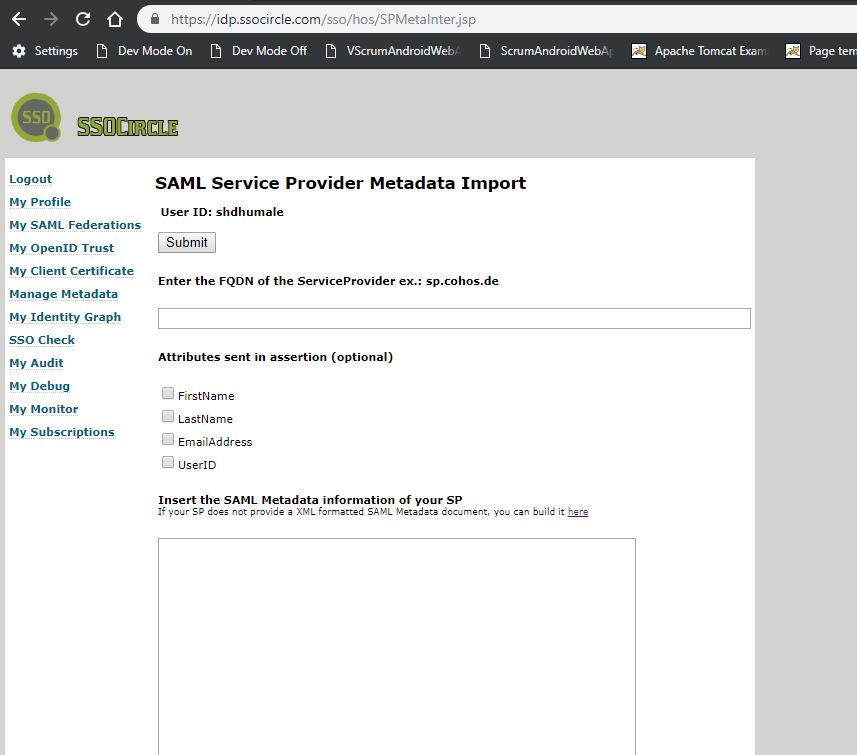
Add proper deatails in FQDN as this need to be unique I prefer to add in the formate i.e."urn:fortesting:YourName:YourCity".
In the below given meta data from SP add whole xml which we had copied in Step 7 i.e. from this url https://saml-federation.appspot.com/saml/web/metadata
Save the change and you will see our SP is added in the site as shown below.
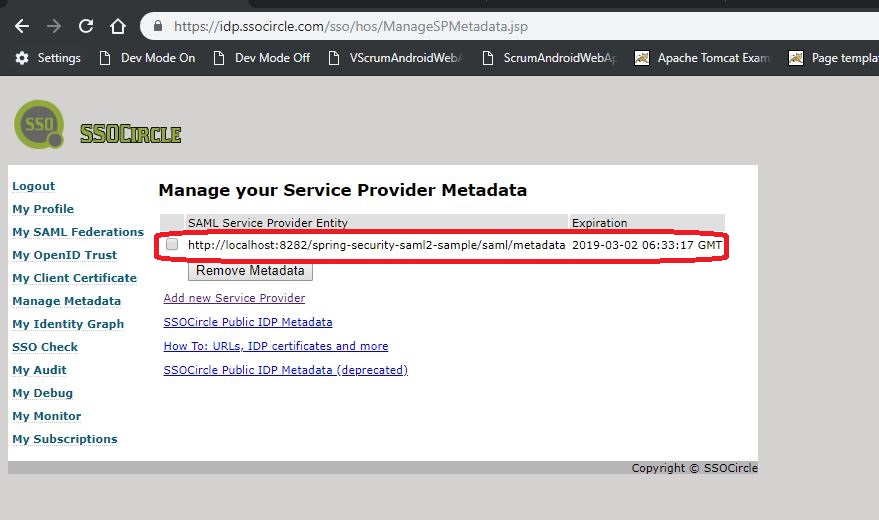
Thats all now lets move for testing our action we did till now
1- Logout of SSO Circle Service site. i.e. https://idp.ssocircle.com/sso/UI/Logout
2- Go to http://localhost:8080/spring-security-saml2-sample
3- As this is first time login the user will be asked or will be redirected to the SSO Circle login.
4- Login with our SSO Circle credentials which we had done in past.
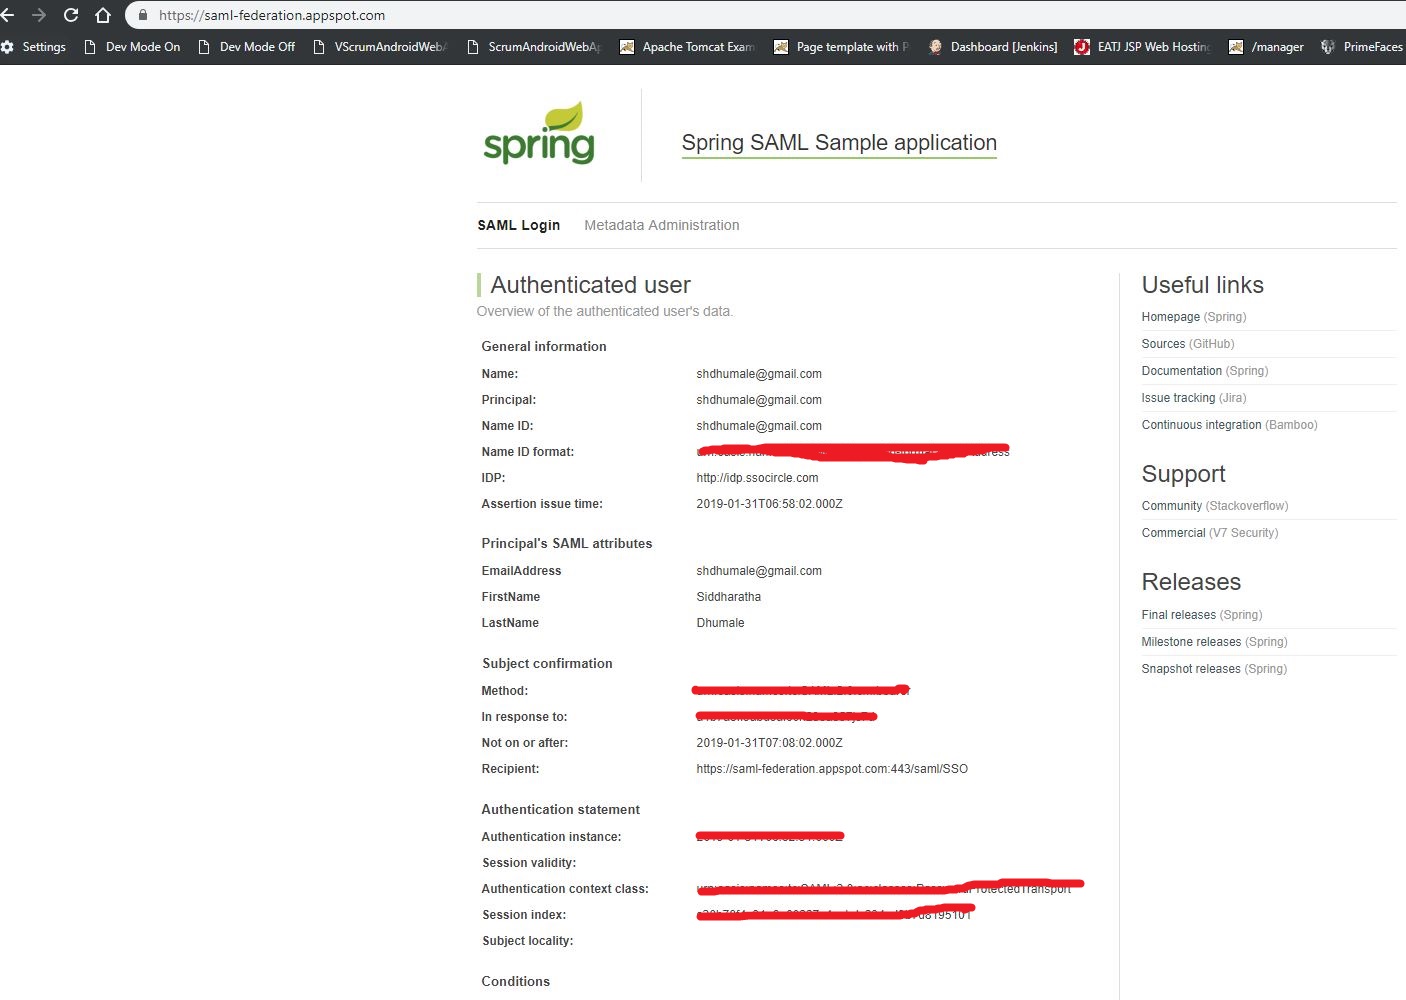
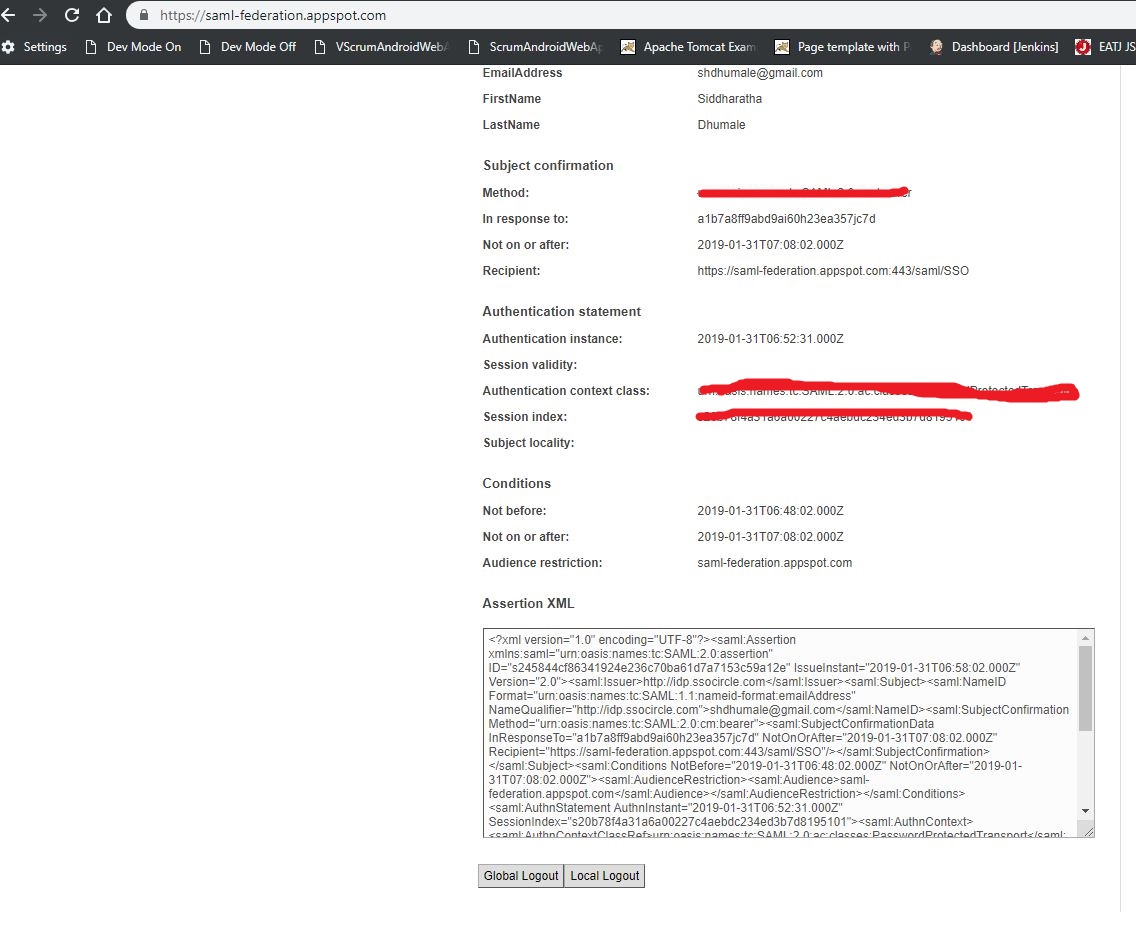
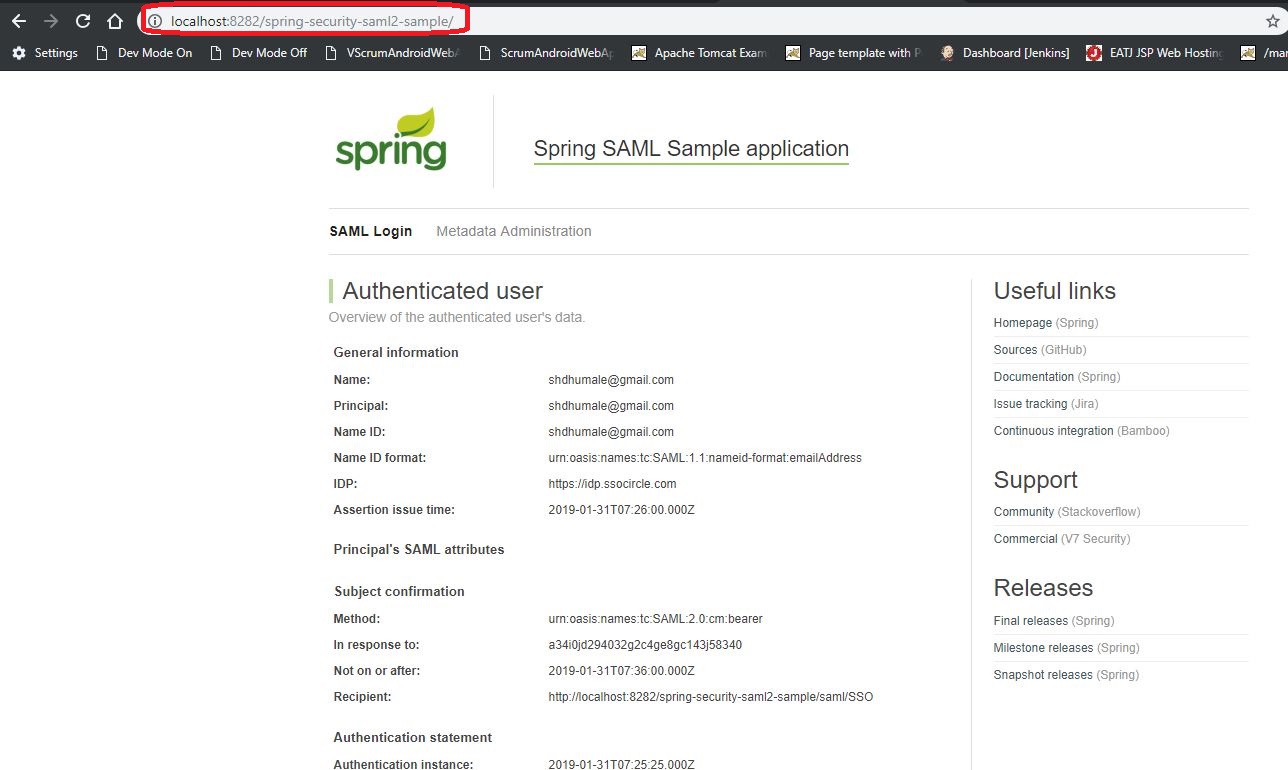
5- On successful login we will be redirected to your local service provider page and authenticated. i.e. your url will be local host with the details informatoin
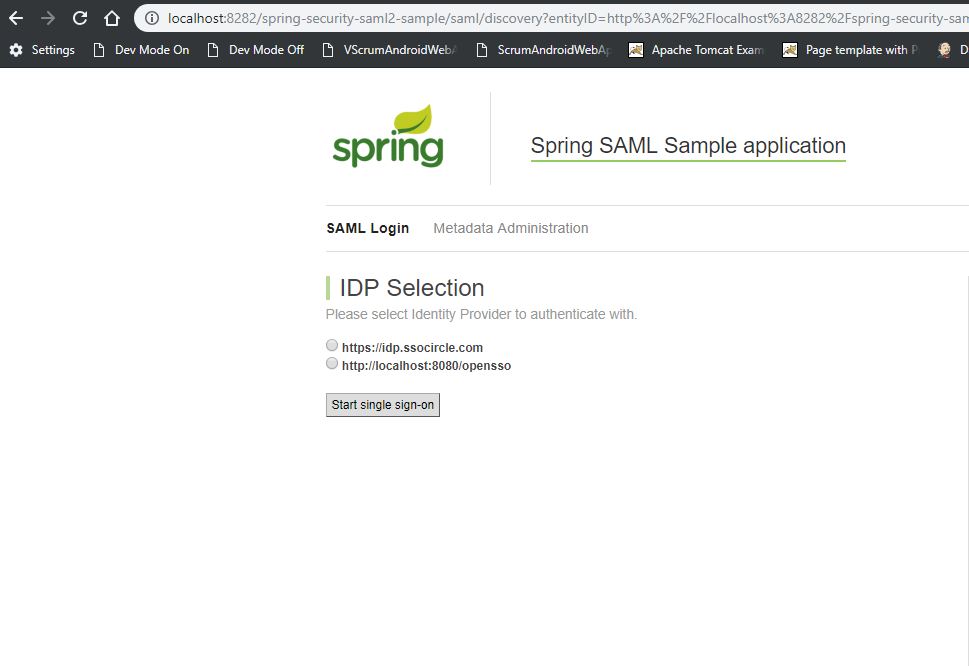
chose our IDP and click start single sign on button.
See the url it is local host and when you click on the single sign button it divert us to this IDP site login page https://idp.ssocircle.com/.

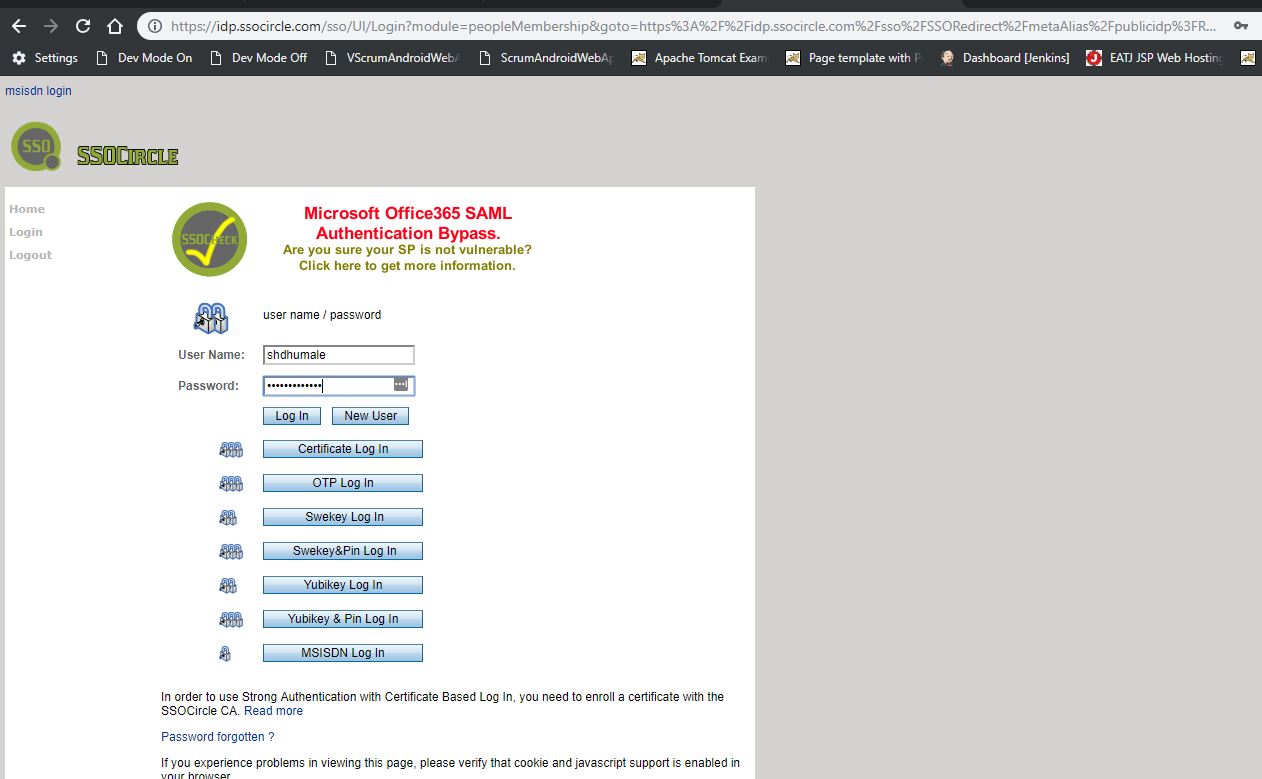
Enter your credential and click login it will again redirect you to your local host
Reference:-
https://docs.spring.io/spring-security-saml/docs/1.0.x/reference/html/chapter-quick-start.html
https://docs.spring.io/spring-security-saml/docs/1.0.x/reference/html/chapter-sample-app.html
https://saml-federation.appspot.com/