To get better idea of Block chain requesting you to please refer to the below given few of the important concepts.
https://shdhumale.wordpress.com/2019/09/16/block-chain-concepts/
Ethereum is Platform to develope/code blockchain concept. You can consider it as a JAVA platform. Like in JAVA we have JVM-Java Virtual Machine same way we have EVM (not electronic voting machine :) ) - Ethereum virtual machine which provide plate form for our code to execute. In JAVA we use java as a base language. For Ethereum we use Solidity language [https://solidity.readthedocs.io/en/v0.5.3/]. For JAVA we have IDE like Eclipse for Solidity we had Solidity IDE.
One of the best use of Ehereum along with soidity language and IDE is that we can use the free available crypography to use and test our Block chain ontheir live test environment.
Before going to implementation and live coding example on Ehereum to create block chain few of you might think in perious thread in this blog it was stated we also have Hyper ledger which provide you frame work [i.e. Iroha, Sawtooth, Fabric, Undy, Burrow] and tool [i.e. Hyperledger composer, hyperledger cello, hyperledger quilt and hyperledger explorere] to develop blockchain. Let me try to give you some brief difference between Hyperledger and Ethereum with respect to its implementation strategy, Crytocurrency, its Confidentiality, use of Conseus algorithum and its development Language.
| Features List |
Hyperledger Technolgoy |
Ethereum Technology |
| Purpose |
B2B |
B2C |
| Confidentiality |
Confidential |
Transparent |
| Mode of Peer Participation |
Private and Permissioned Network |
Public/Private and Permissionless Network |
| Consensus Algo used and which one |
Pluggable Consensus Algorithm and No mining required |
PoW Algorithm is used and Consensus is reached by mining where in minner do this process of mininig i.e. adding the block in chain |
| Programming Language |
Golang | Solidity |
| Cryptocurrency |
No cryptocurrency | Ether cryptocurrency |
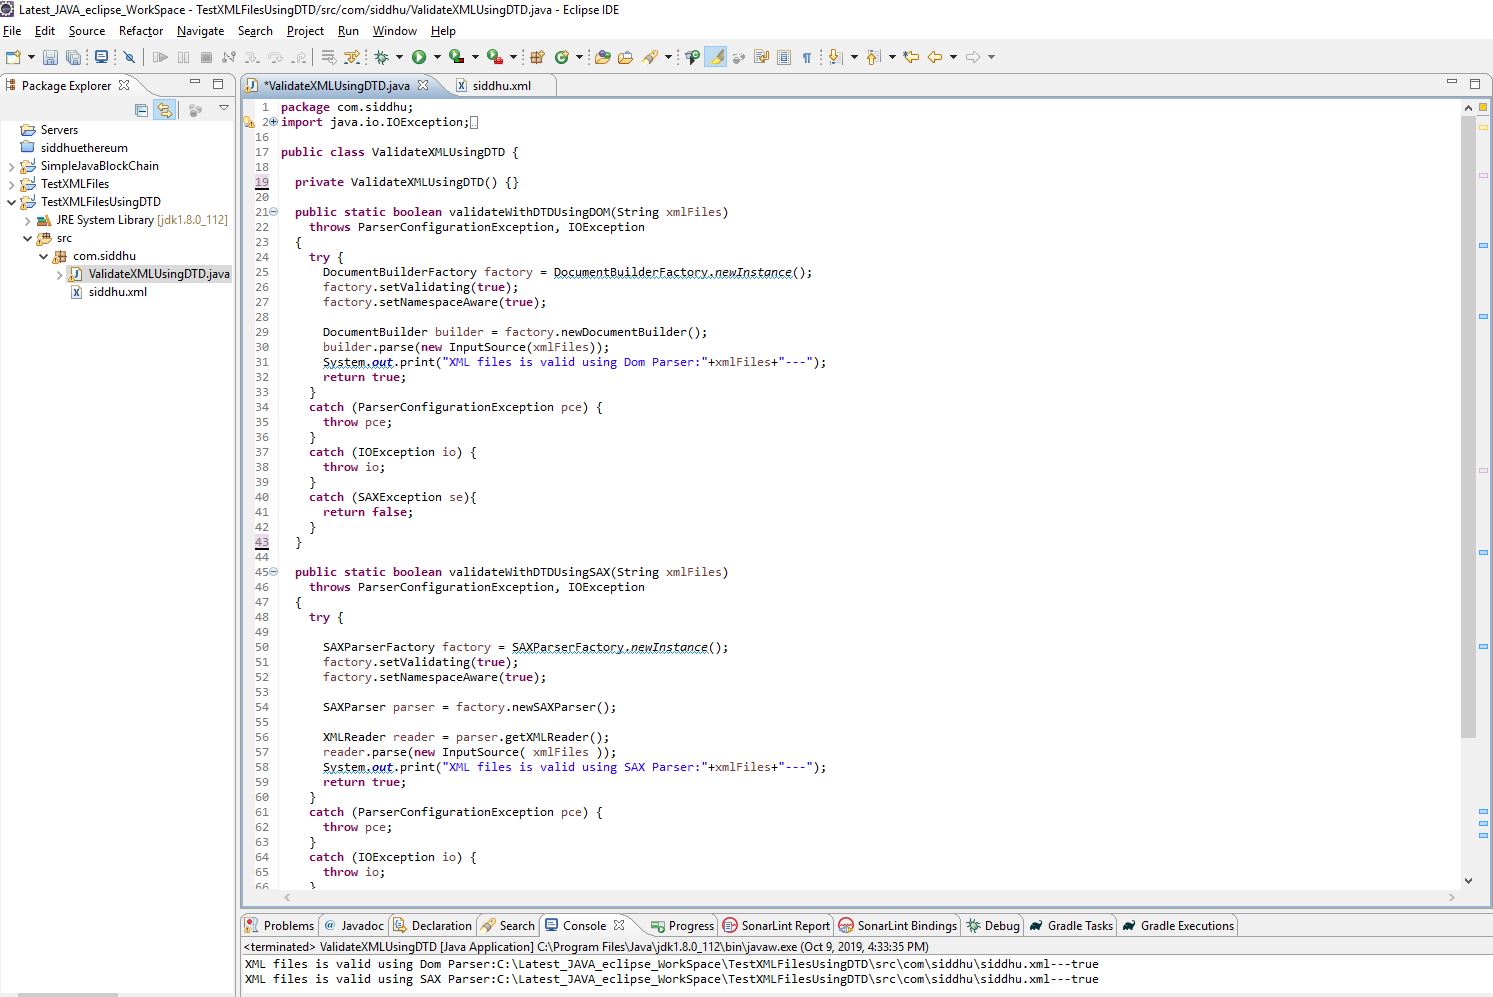
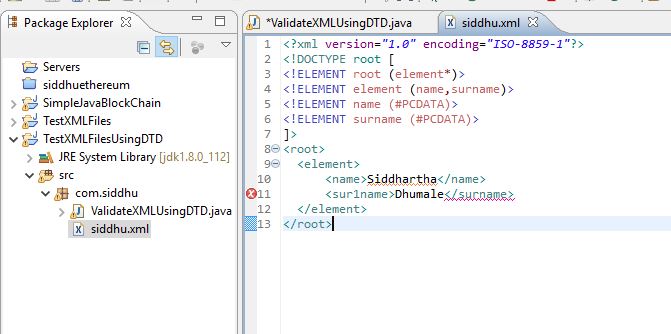
Now below going directly to Ethereum for creating block chain I would like to explain you hash algotirum with simple two JAVA class as given below:-
package com.siddhu;
import java.util.Arrays;
public class MyBlock {
private int privousBlockHash;
private String[] transections;
private int currentBlockHash;
public MyBlock(int privousBlockHash, String[] transections) {
super();
this.privousBlockHash = privousBlockHash;
this.transections = transections;
//we will generate hash digital code taking into consideration its content and its previous block hashcode.
Object[] contents = {Arrays.hashCode(transections) , privousBlockHash};
this.currentBlockHash = Arrays.hashCode(contents);
}
/**
* @return the privousBlockHash
*/
public int getPrivousBlockHash() {
return privousBlockHash;
}
/**
* @param privousBlockHash the privousBlockHash to set
*/
public void setPrivousBlockHash(int privousBlockHash) {
this.privousBlockHash = privousBlockHash;
}
/**
* @return the transections
*/
public String[] getTransections() {
return transections;
}
/**
* @param transections the transections to set
*/
public void setTransections(String[] transections) {
this.transections = transections;
}
/**
* @return the currentBlockHash
*/
public int getCurrentBlockHash() {
return currentBlockHash;
}
/**
* @param currentBlockHash the currentBlockHash to set
*/
public void setCurrentBlockHash(int currentBlockHash) {
this.currentBlockHash = currentBlockHash;
}
}
/**
*
*/
package com.siddhu;
import java.util.ArrayList;
/**
* @author Siddhartha
* In this simple example we will try to learn what is hash and how it work and fit perfectly for concept like blockchain.
* To be more clear we will have following thing in the block i.e. hash= digital signature, list of transections and Previous block hash code.
*/
public class SimpleHashExample {
ArrayList<MyBlock> myBlockChain = new ArrayList<MyBlock>();
/**
* @param args
*/
public static void main(String[] args) {
// TODO Auto-generated method stub
//Lets create our first Block i.e. who will not have any previous blog hash and term as Genesis Block
String[] myGenesisTransections = {"Sid transfer 10RS to ABC"};
MyBlock myGenesisBlock = new MyBlock(0, myGenesisTransections) ;
System.out.println("Hash code for Genesis Block is:"+ myGenesisBlock.getCurrentBlockHash());
String[] mySecondBlockTransection = {"ABC transfer 5Rs to XYZ"};
MyBlock mySeondcBlock = new MyBlock(myGenesisBlock.getCurrentBlockHash(), mySecondBlockTransection) ;
System.out.println("Hash code for Second Block is:"+ mySeondcBlock.getCurrentBlockHash());
}
}
If you see above for given input the output is
Hash code for Genesis Block is:-1568564568
Hash code for Second Block is:-2100868299

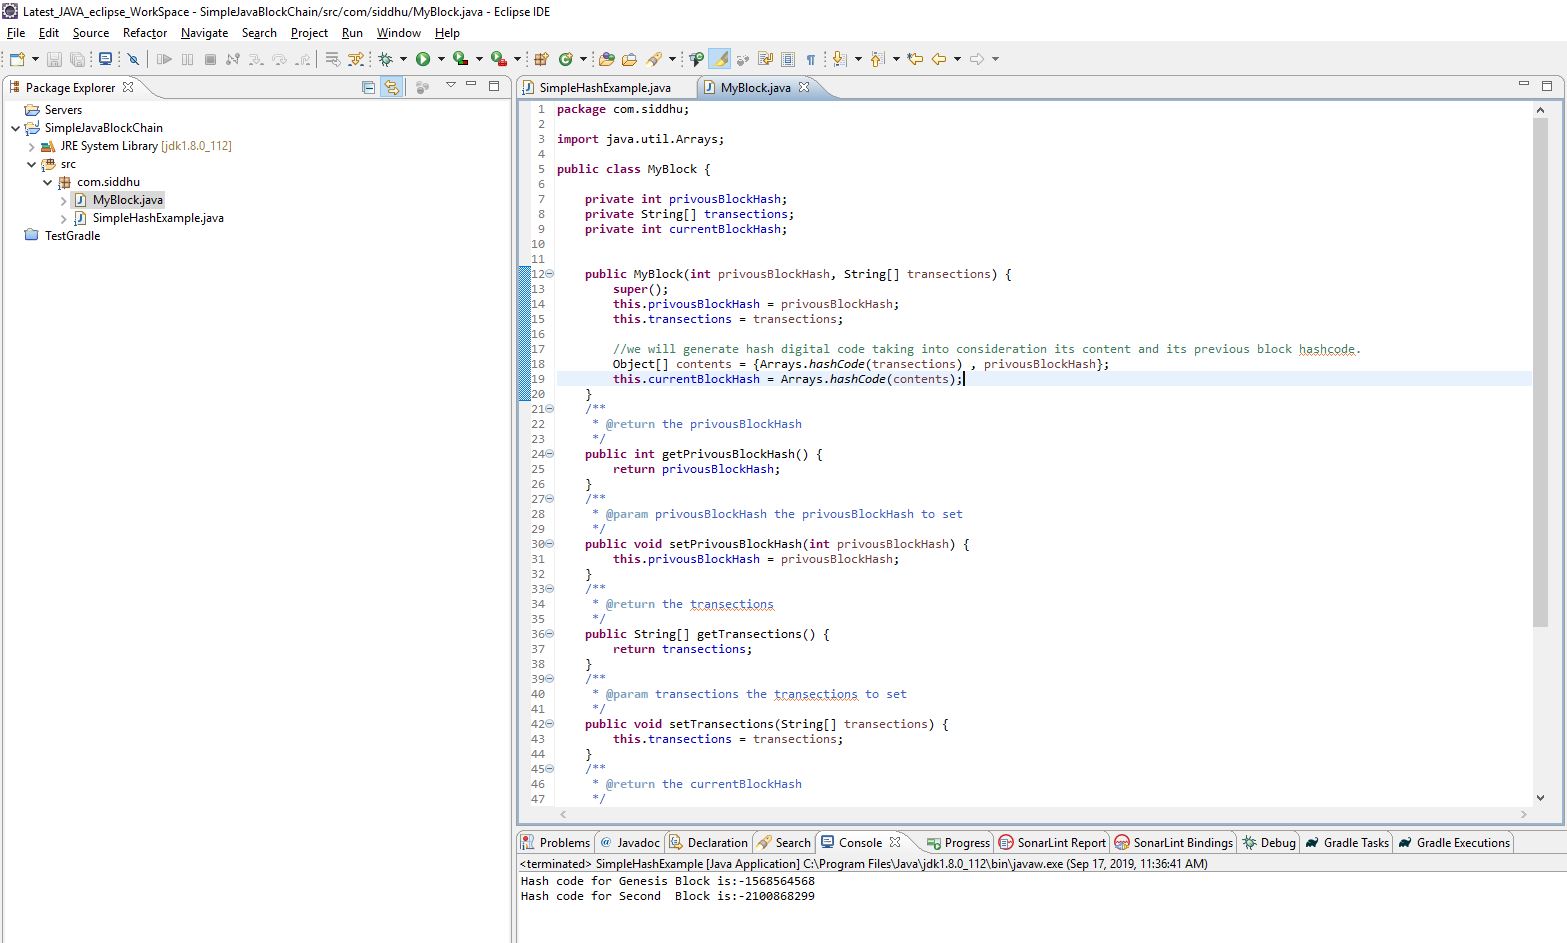
Now if you change any value in Genesis or any second node valye its hash value will be chaged and this is the base how the block chain make sure the data is secure and is not hamper. For this we use SHAH512 or SHAH64 and MD5,6 algorithum.
Now having understanding of the base hash method lets start having our own simple example of Ethereum.
Following things are needed to do the intial set up
1- Set up MetaMask extension in google chorme from below given url.MetaMask is used to connect you to Ethereum and the Decentralized Web.
https://chrome.google.com/webstore/detail/metamask/nkbihfbeogaeaoehlefnkodbefgpgknn?hl=en
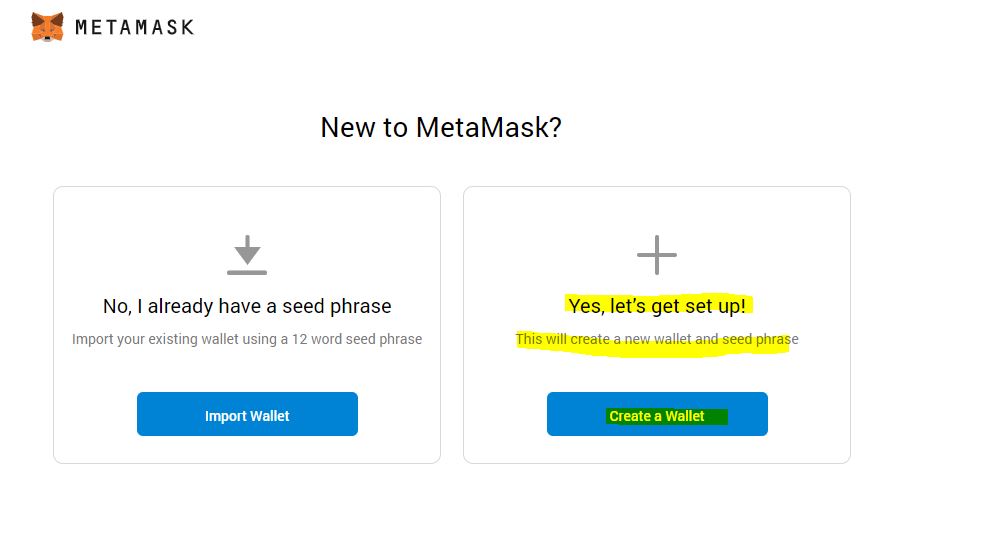
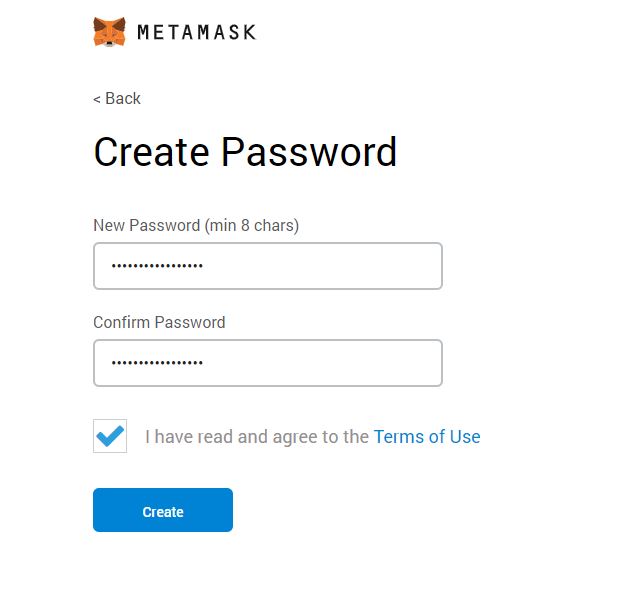
2- Please follow below screen shots sequentially

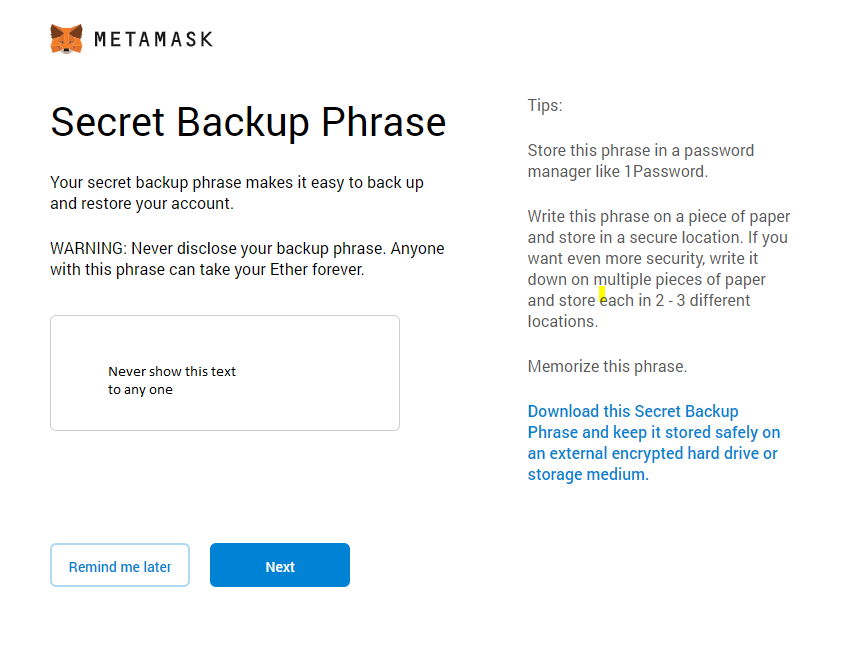
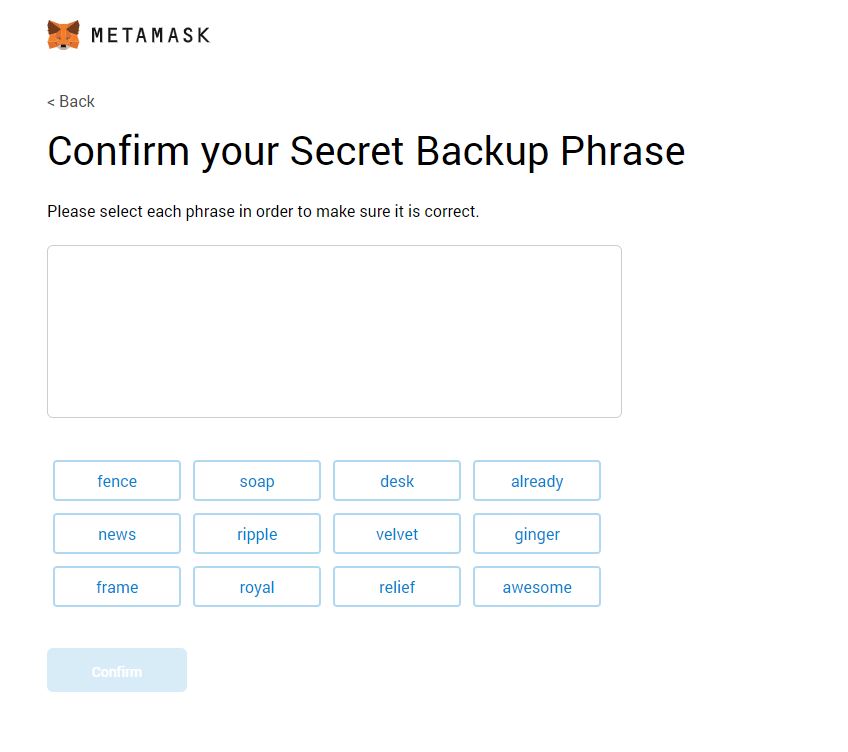
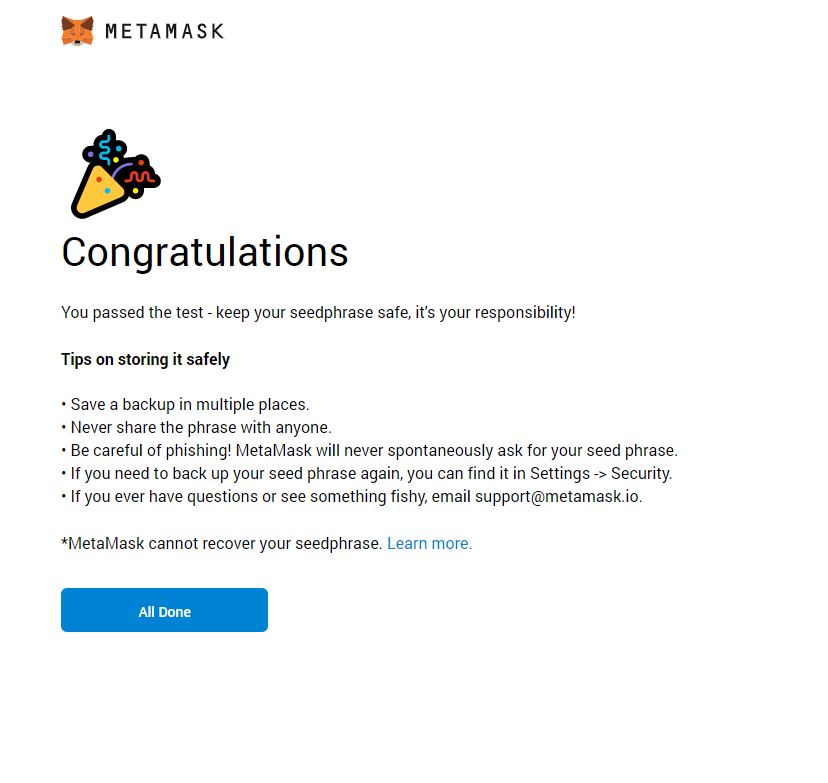
Once we had done with all the setup of MetaMask we will this screen
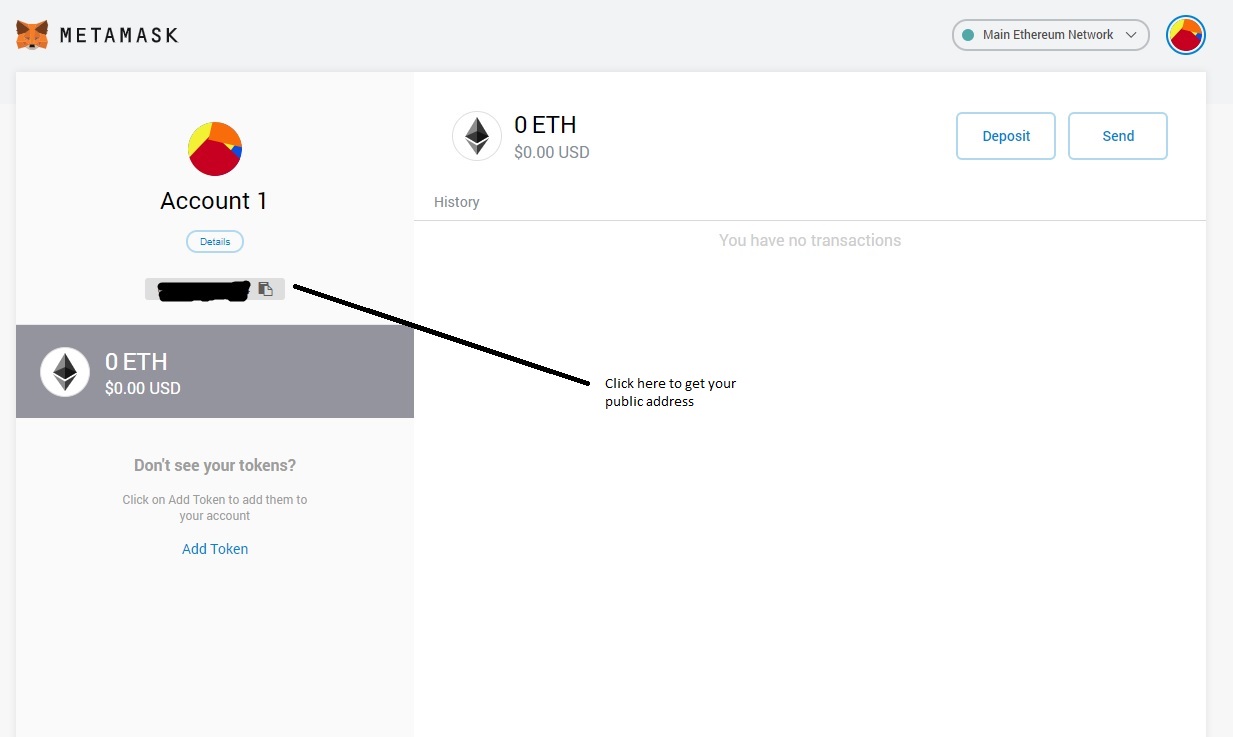
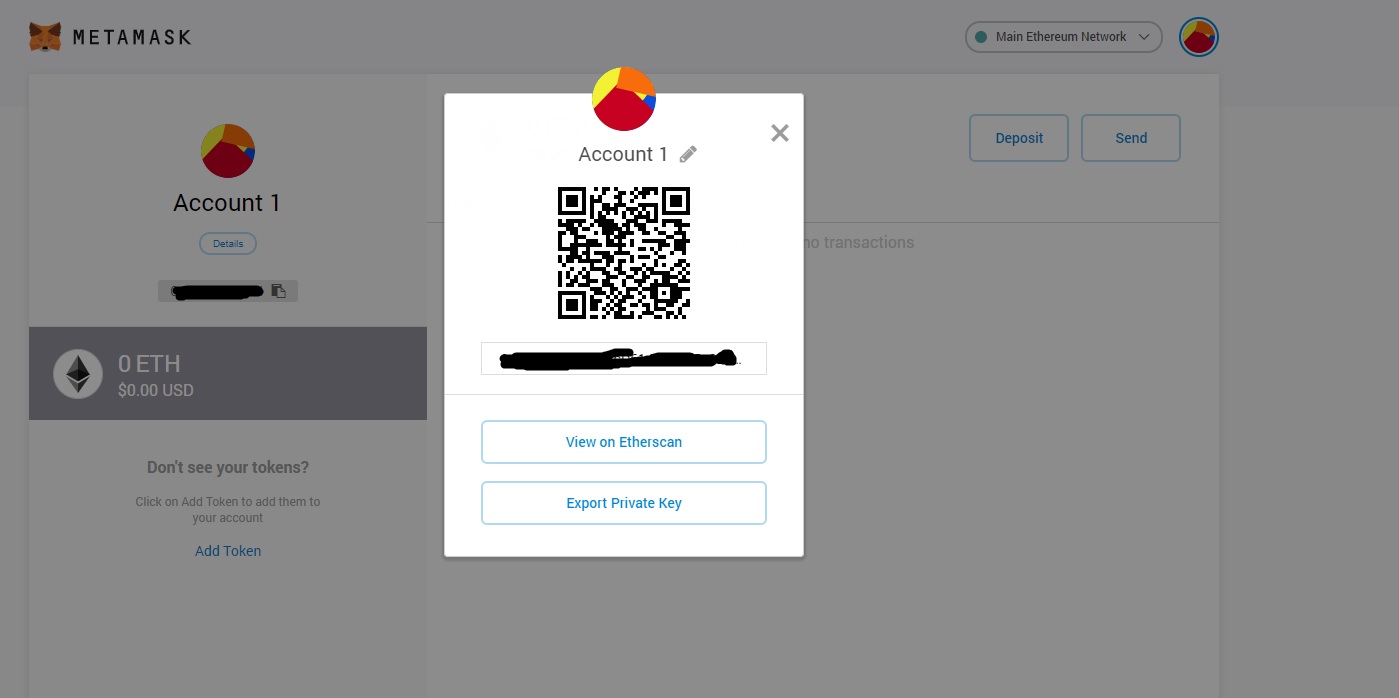
On click on view on Ether scan you will get below online screen
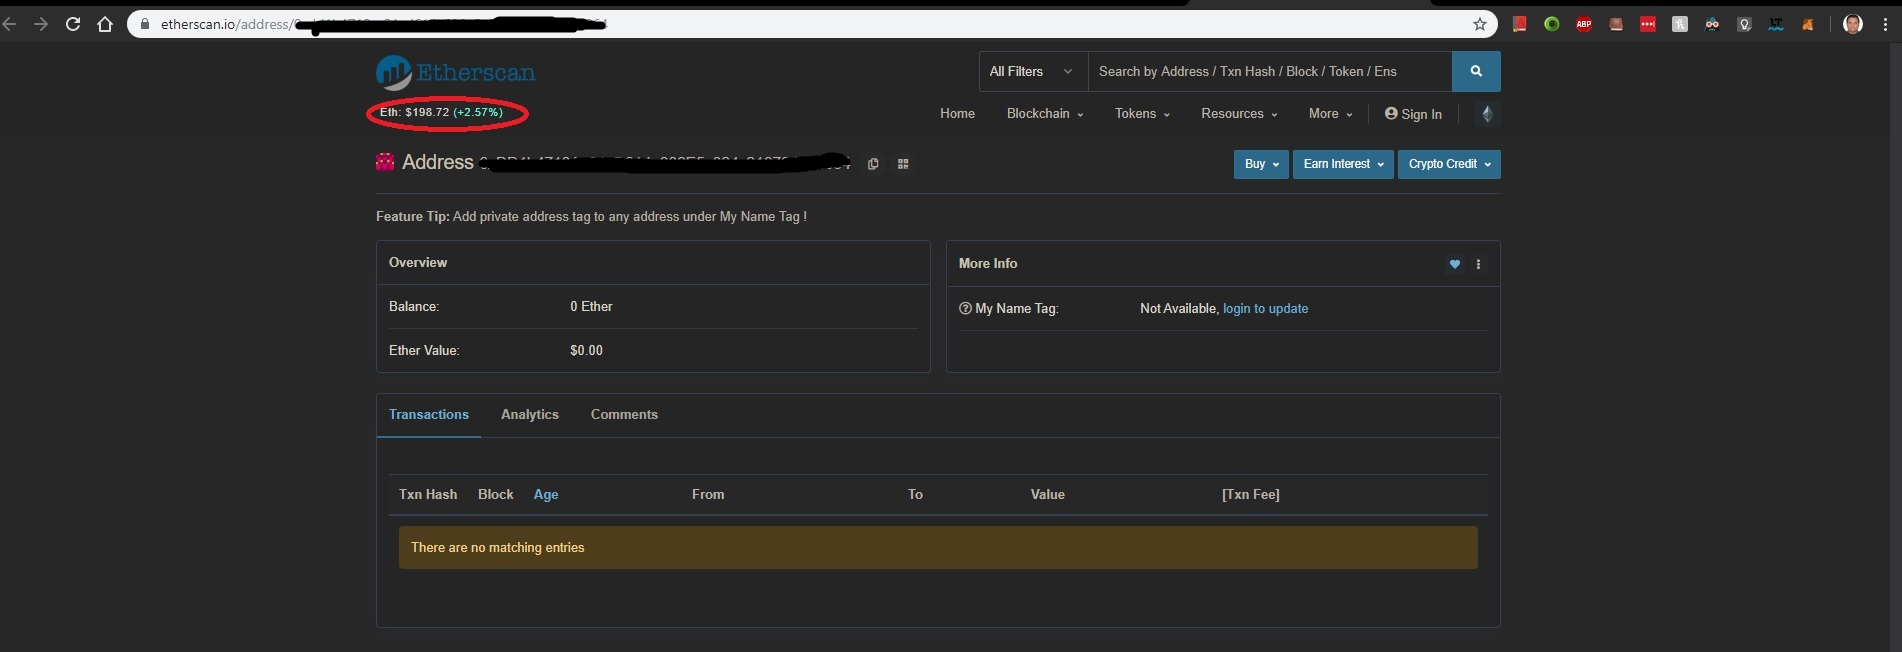
Now let say if we create an example in Ethereum for deposite and withdraw operation on our created blockchain to do this we need some Ether as an cryptocurrency. But if you see we have 0$. To perform above example in test environment we will required few of Ether. So as usual lets try to collect the free ether for our test environment.
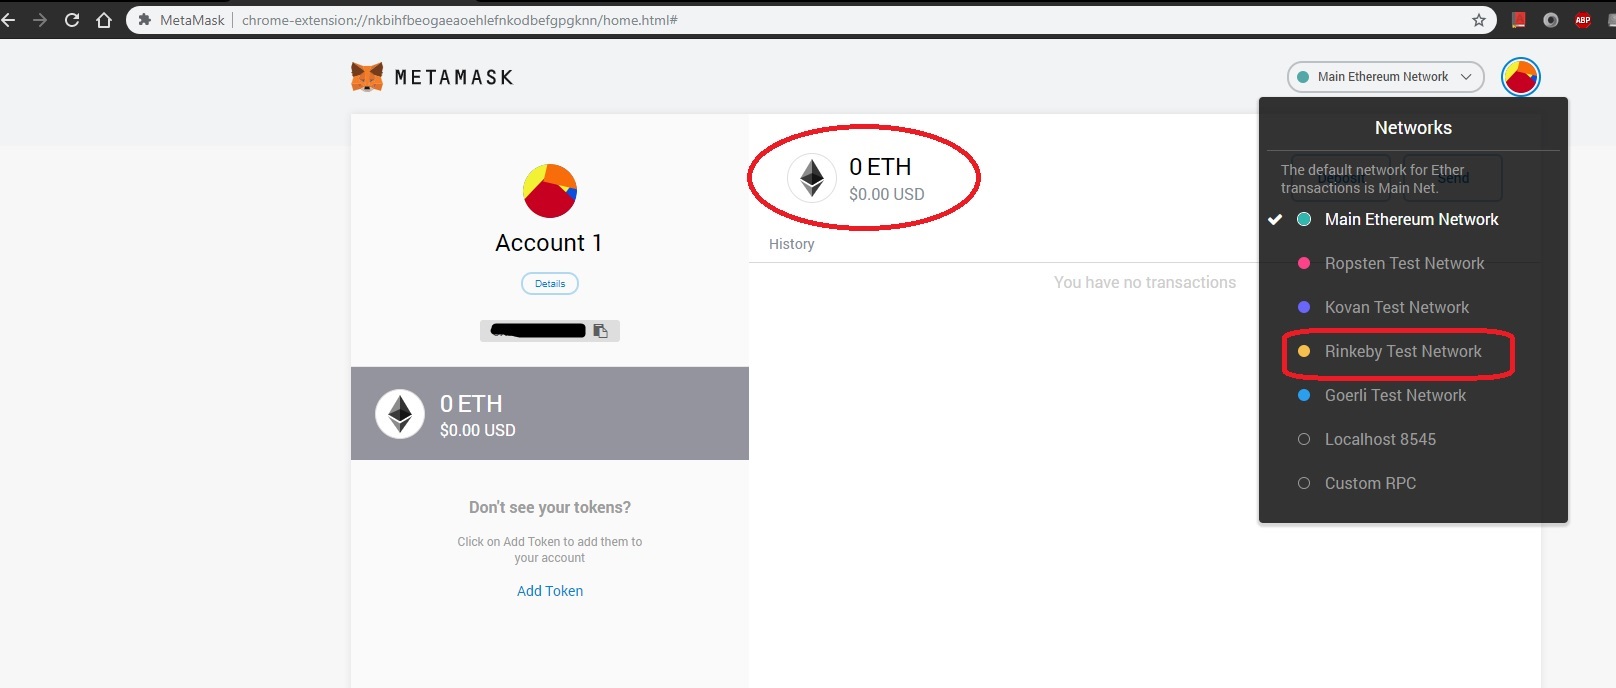
1- Change your Main environment to Test as shown below
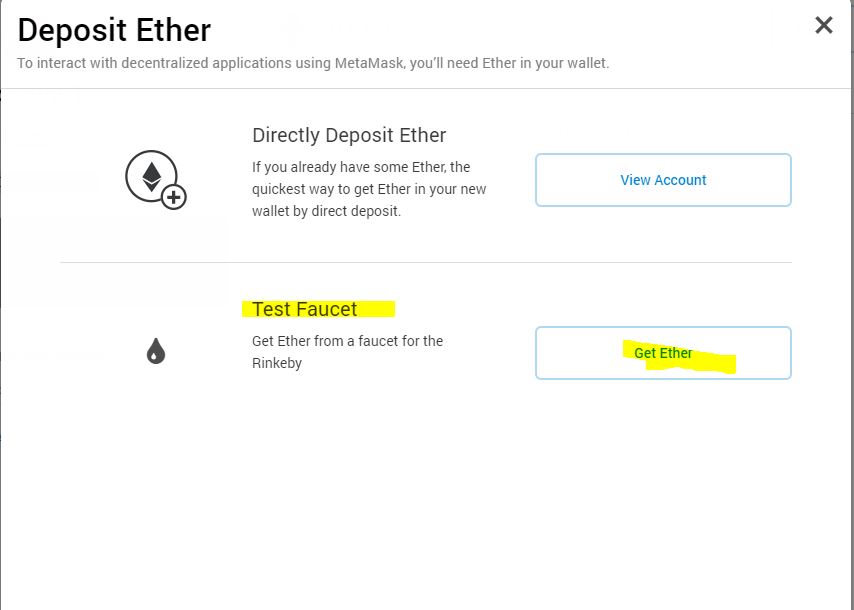
2- Now click on Deposite button of below image.

3- click on Get Ether button as shown below
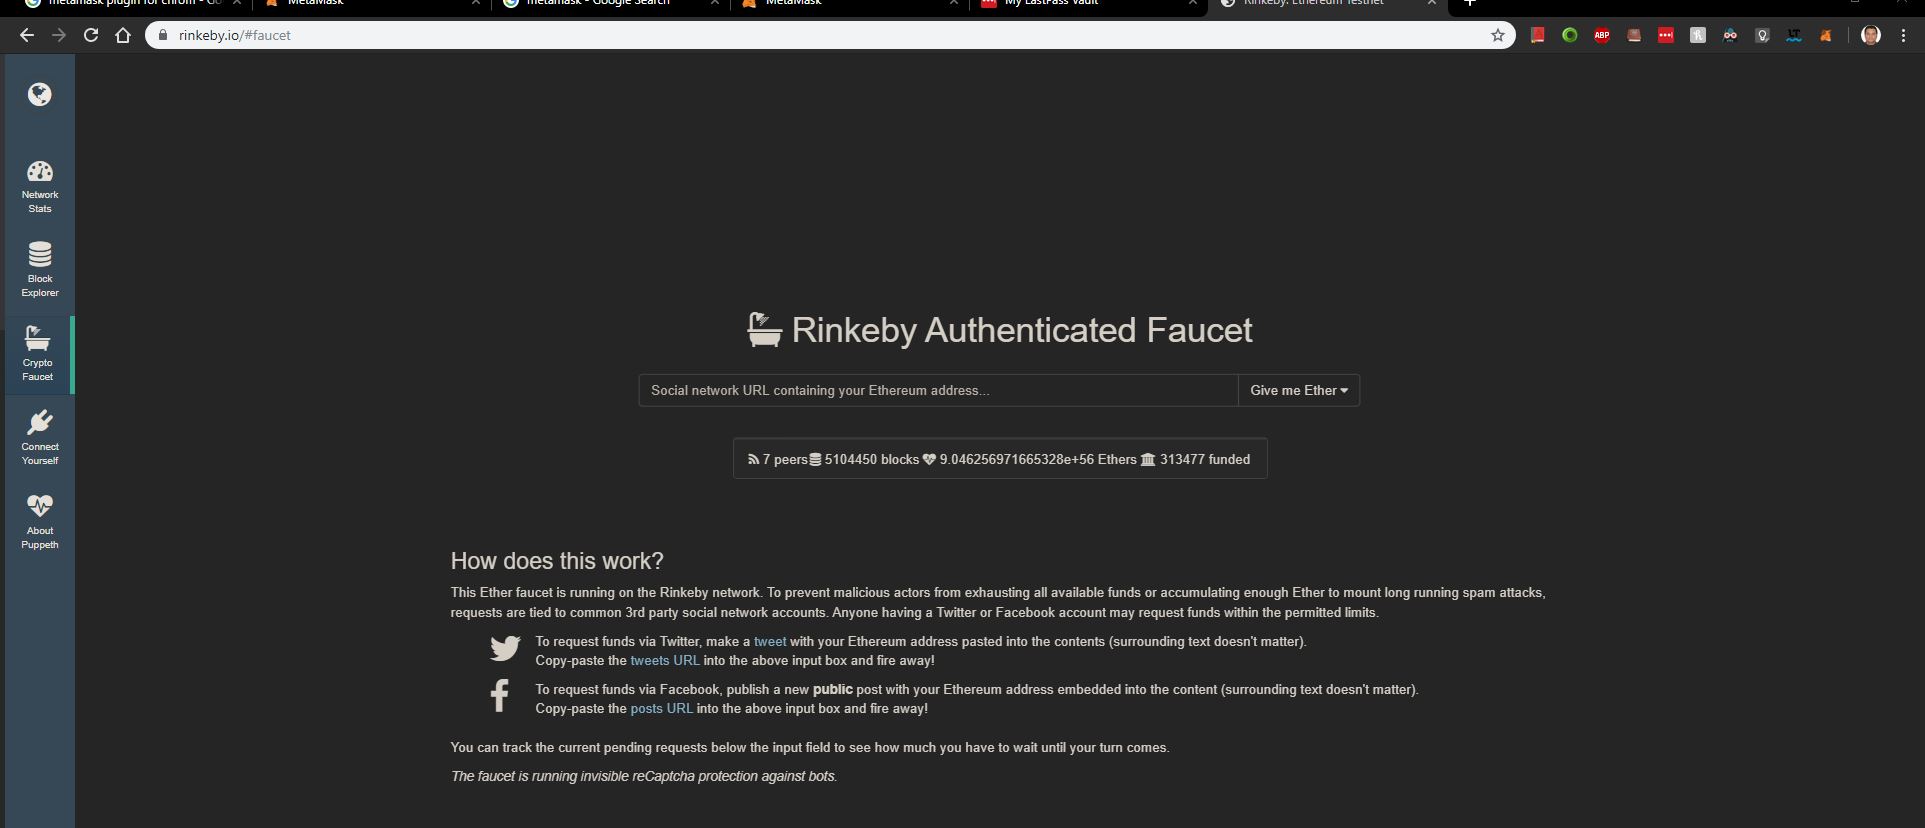
4- Following site will be open now click on the below give left side Crypto Faucet option

5- If you read the text in the below given screen it wil inform you if we want Ether then we need to share our address on social media like twitter, Facebook etc.
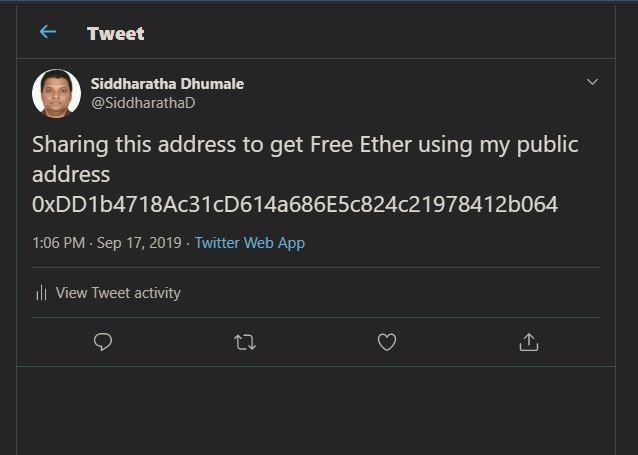
6- Lets share our address to facebook as shown belwo I am using Twitter
i.e. https://twitter.com/SiddharathaD/status/1173863404575973378
Now paste the above link on the belwo screen
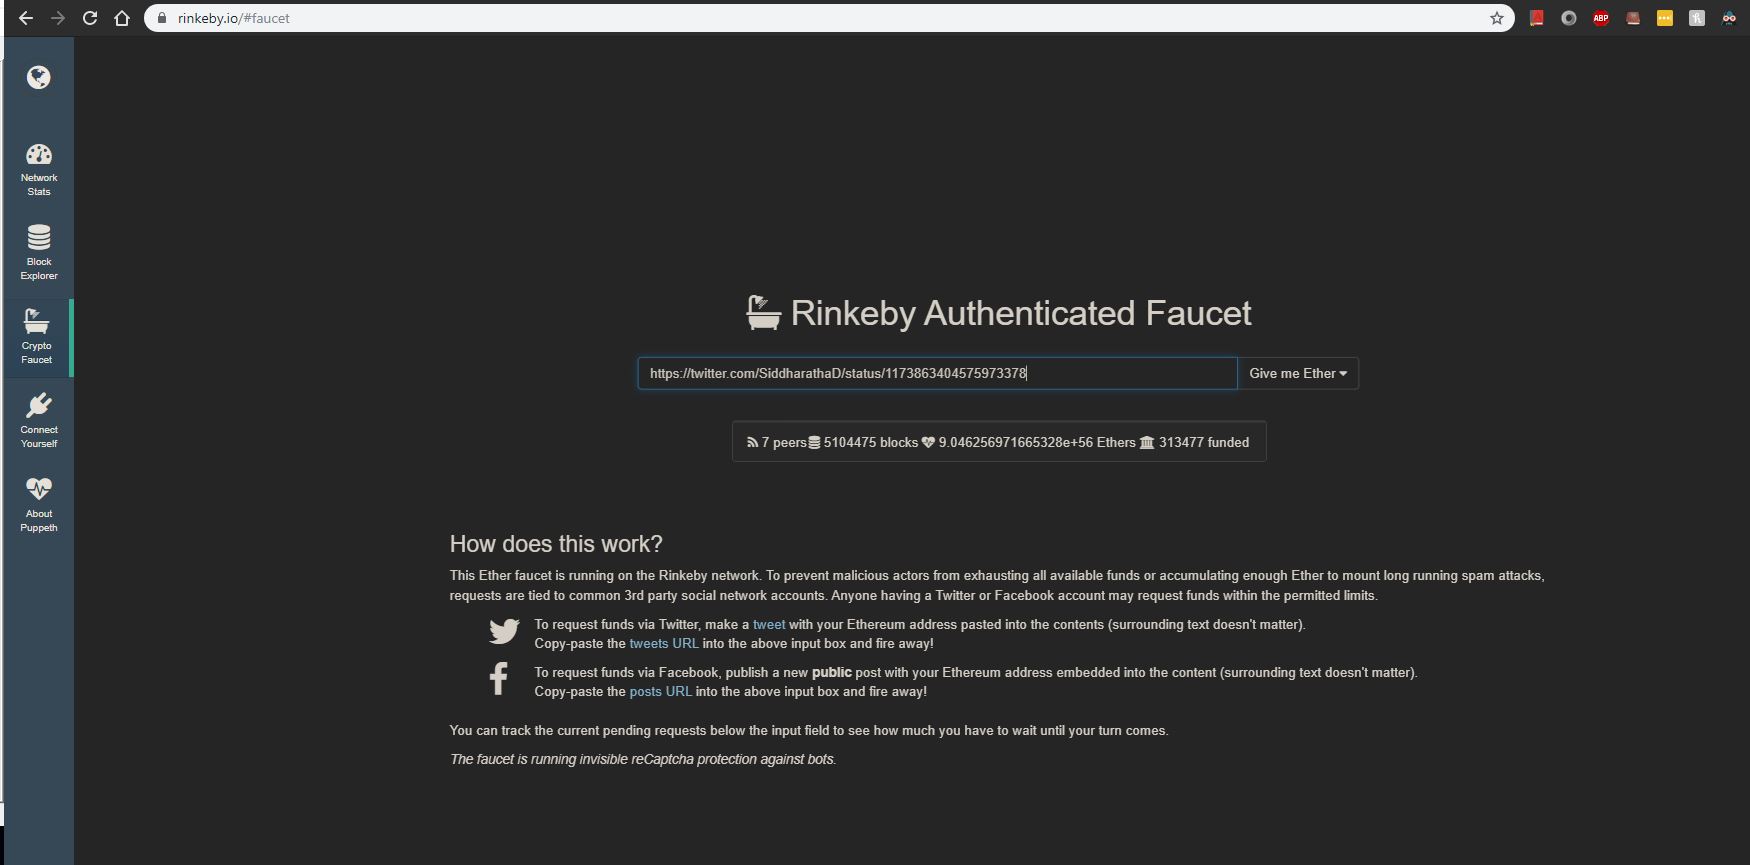
Now choose the option you want I choose 18.75 ethers/3 days and click Give me Ethers.

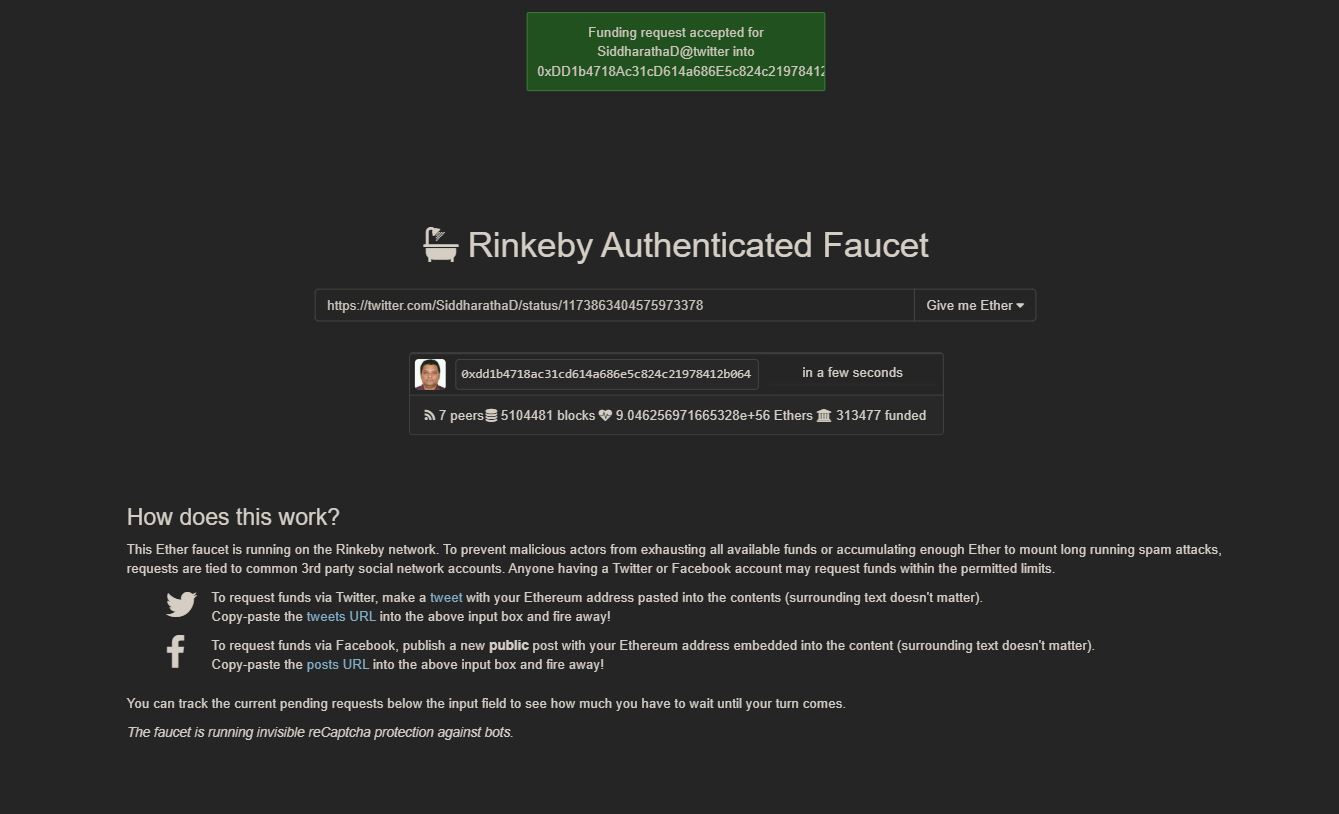
And you will Ether is added to your account
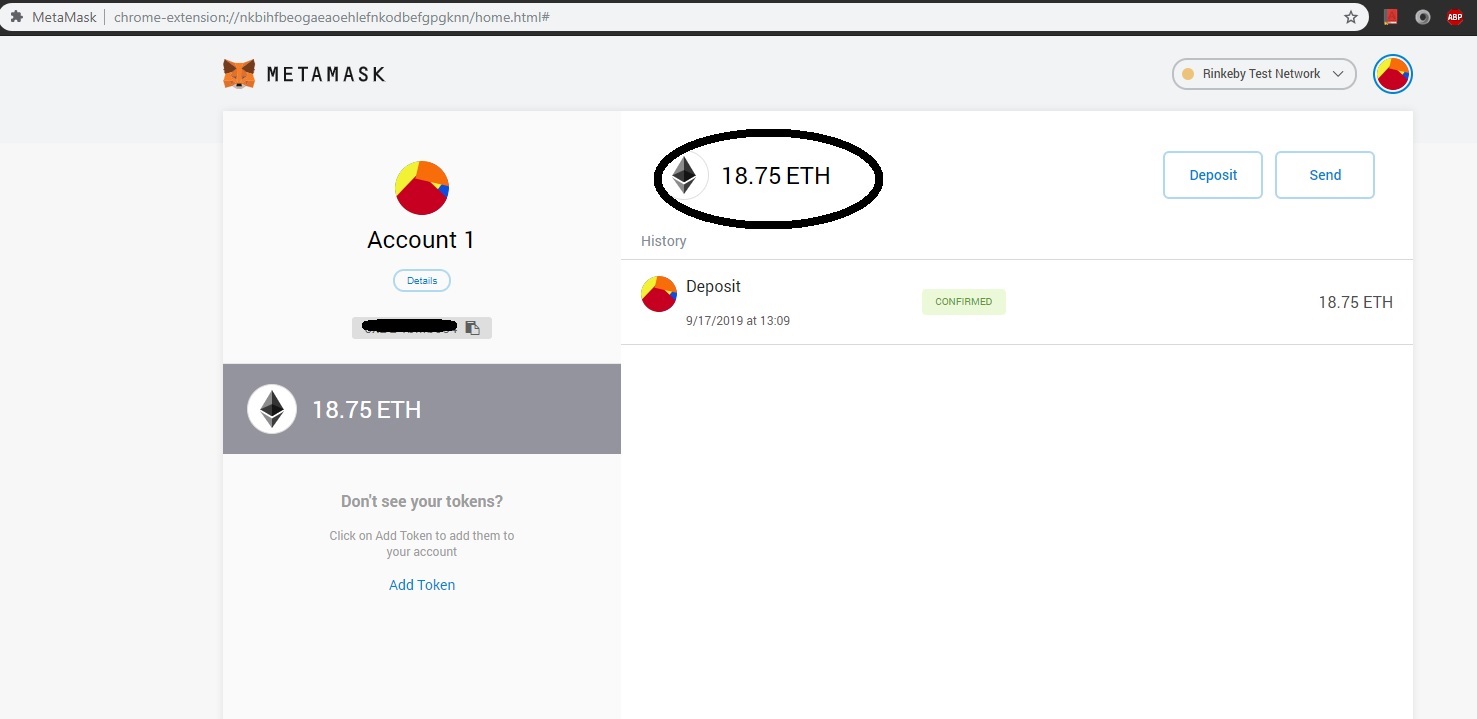
Hurrey now we had Free Ether to use for our BlockChain concepts.
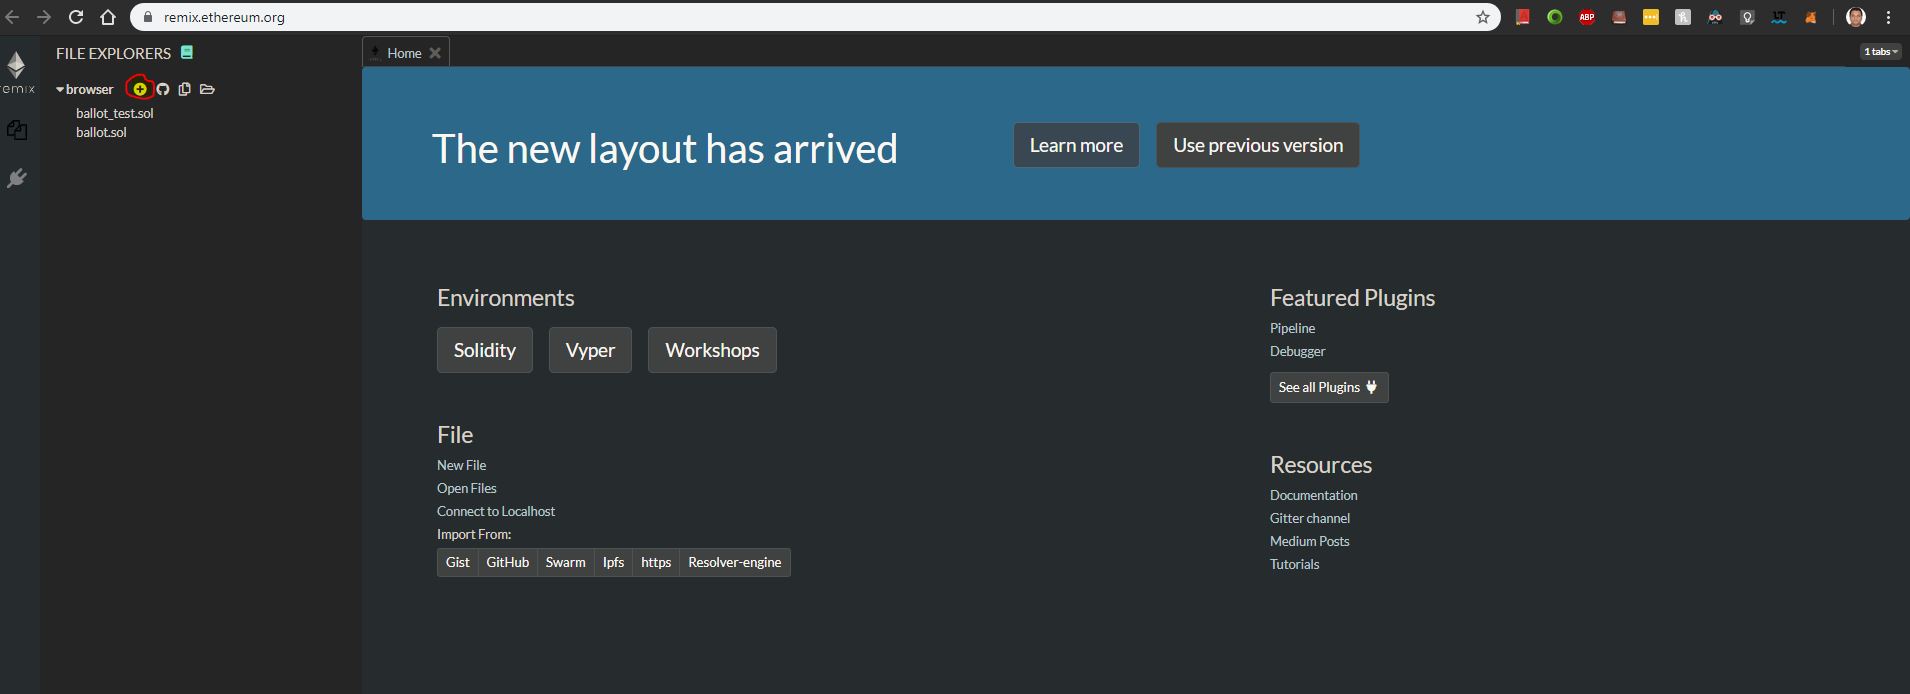
Now lets start to create our first Ethereum block or better to say our first Smart Contract. For this we need a IDE which use Ehthereum platform. For this we can use below site. This will provide
https://remix.ethereum.org/
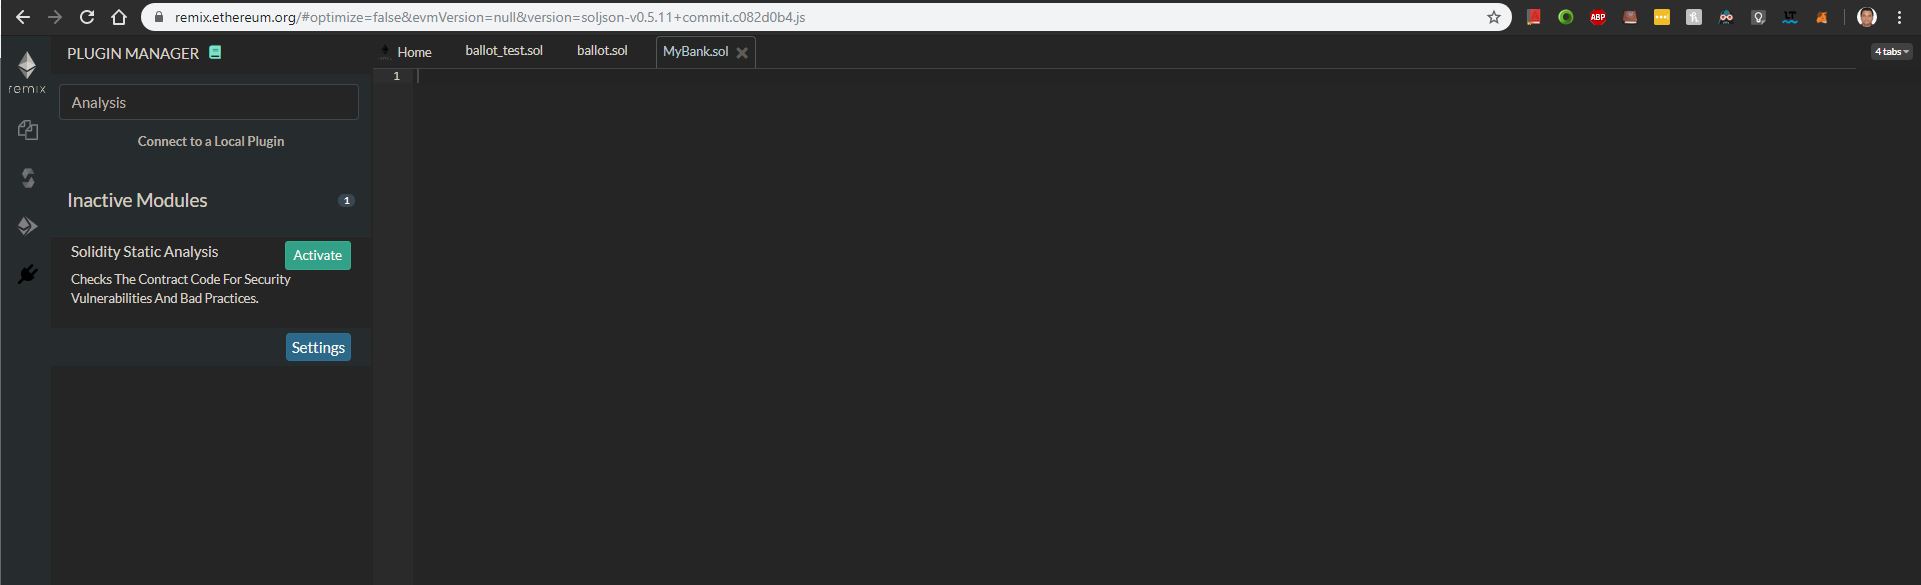
Now please Activate all the required module as given below
- Compile
- Run
- Analysis
- Testing
- Debugger
- Search
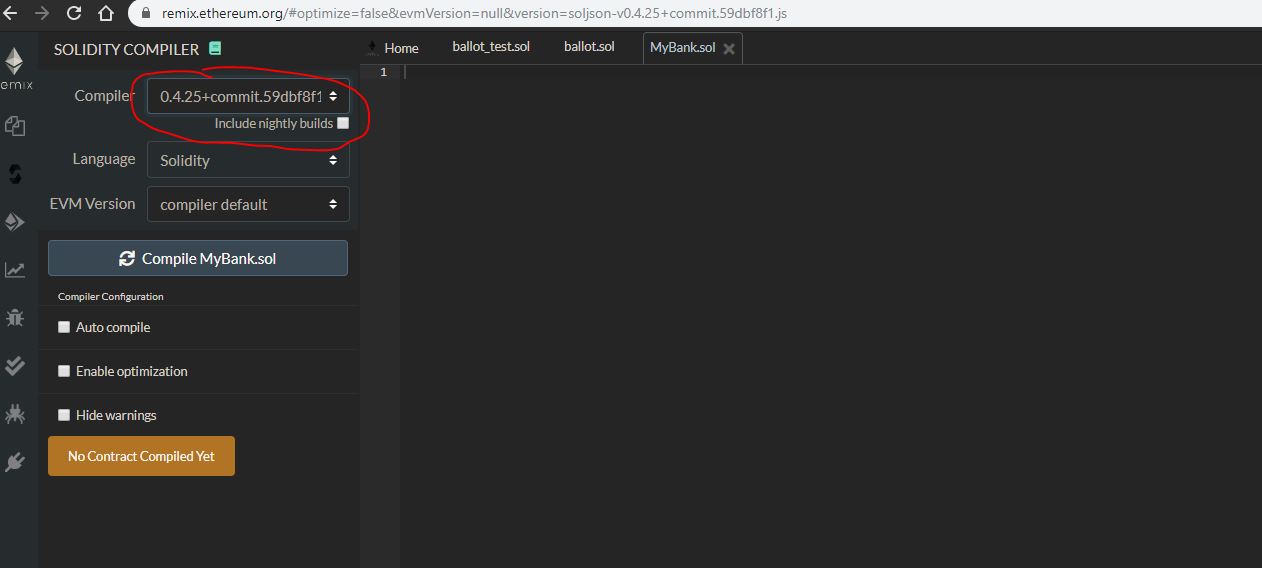
Now lets set the comipler we will use the old one for simpler side :)
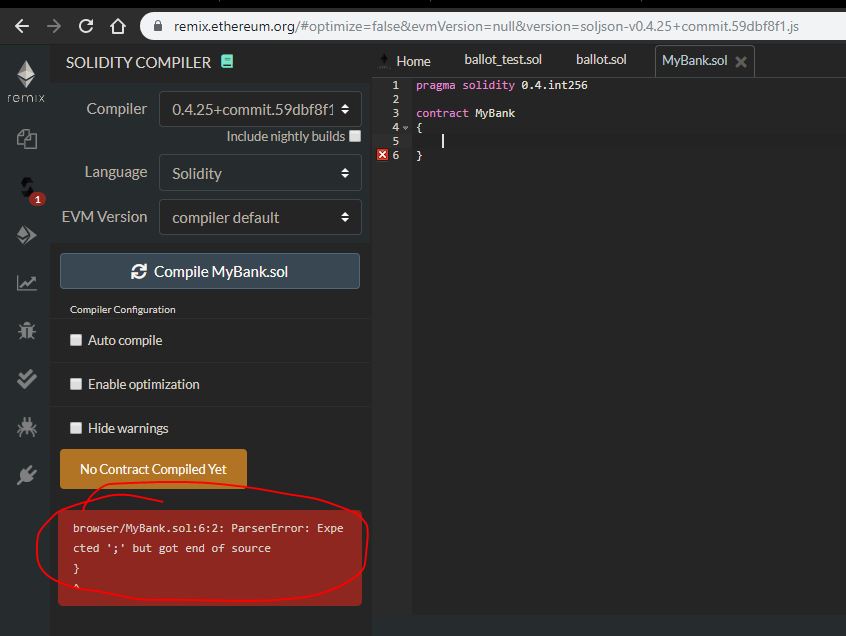
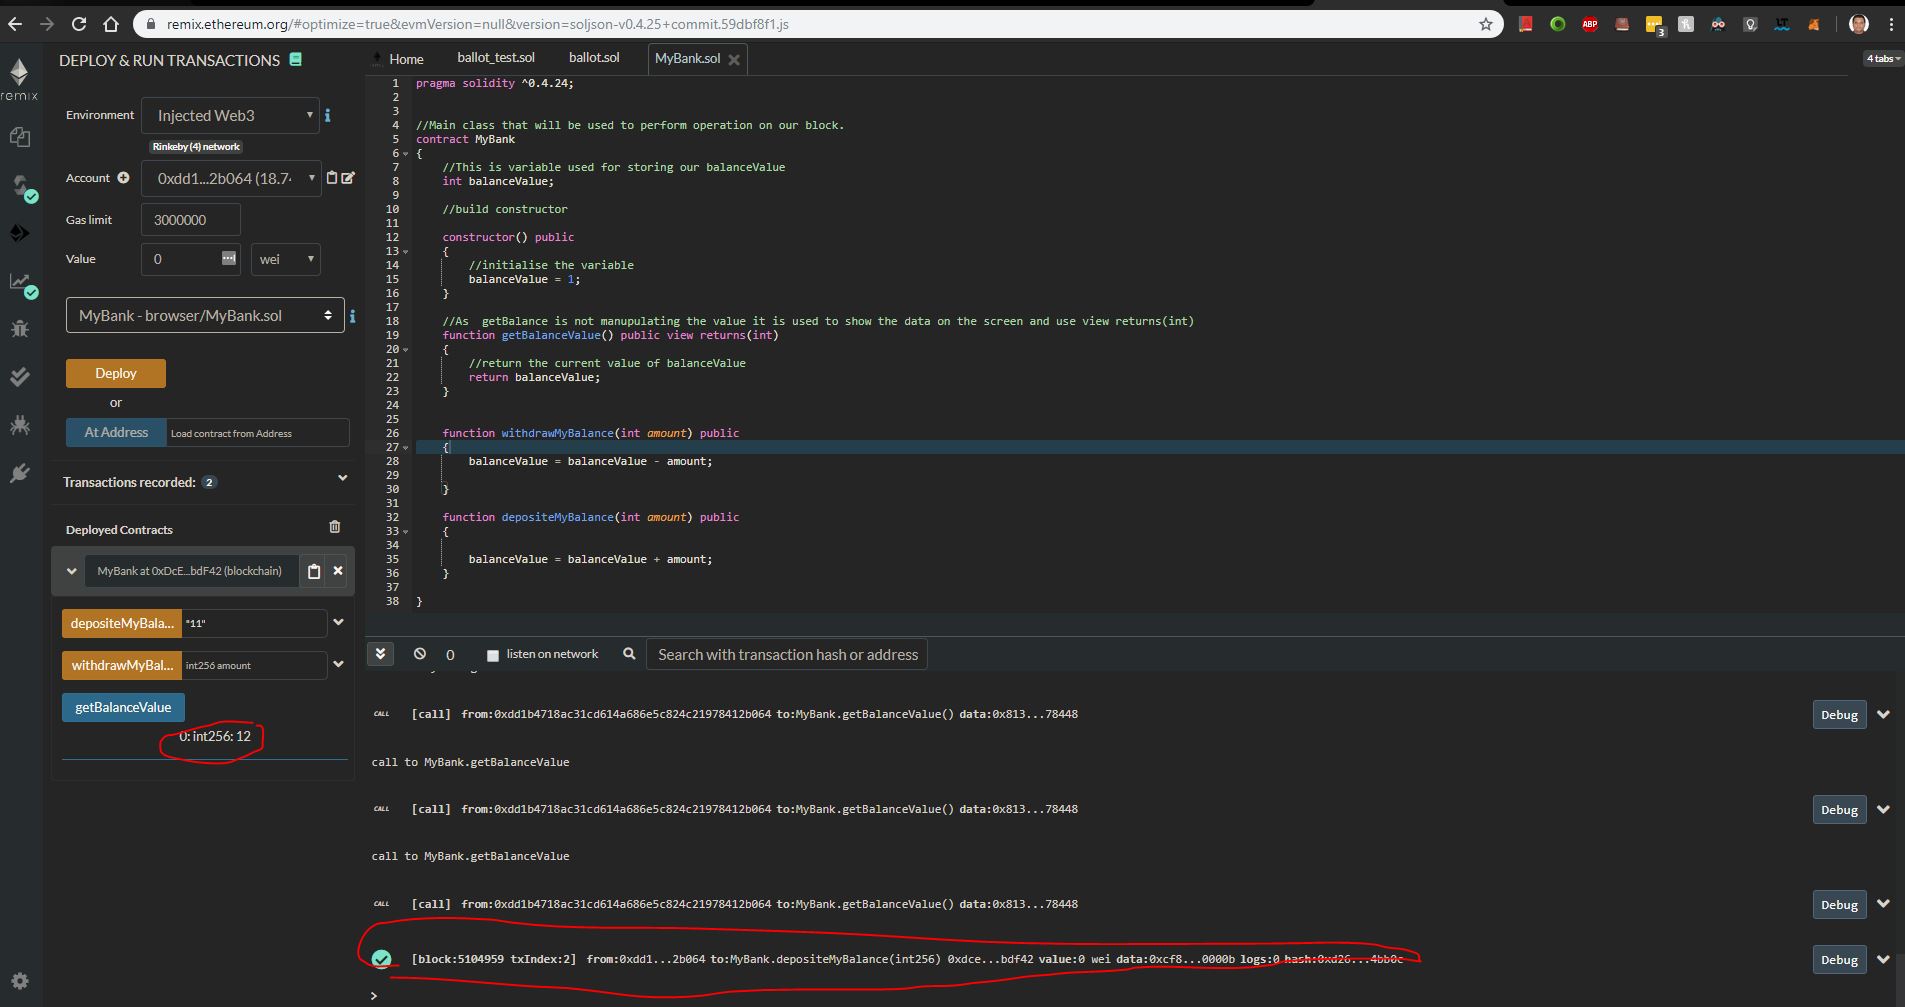
Here is the complete tocode
pragma solidity ^0.4.24;
//Main class that will be used to perform operation on our block.
contract MyBank
{
//This is variable used for storing our balanceValue
int balanceValue;
//build constructor
constructor() public
{
//initialise the variable
balanceValue = 1;
}
//As getBalance is not manupulating the value it is used to show the data on the screen and use view returns(int)
function getBalanceValue() public view returns(int)
{
//return the current value of balanceValue
return balanceValue;
}
function withdrawMyBalance(int amount) public
{
balanceValue = balanceValue - amount;
}
function depositeMyBalance(int amount) public
{
balanceValue = balanceValue + amount;
}
}
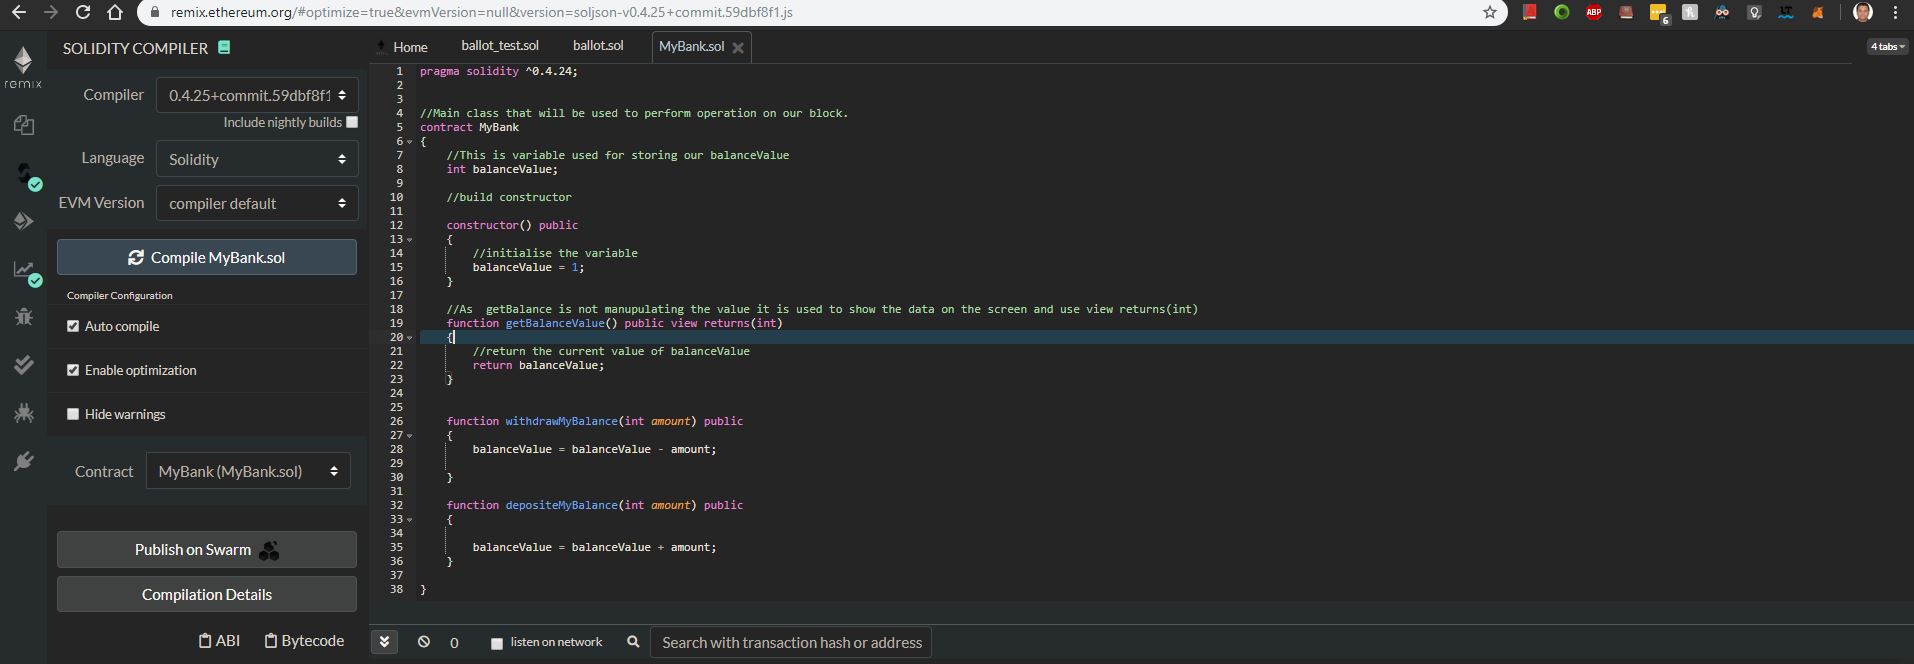
Now as we can see we dont have any compiler error we can run our first Smart Contract to do this click on this option
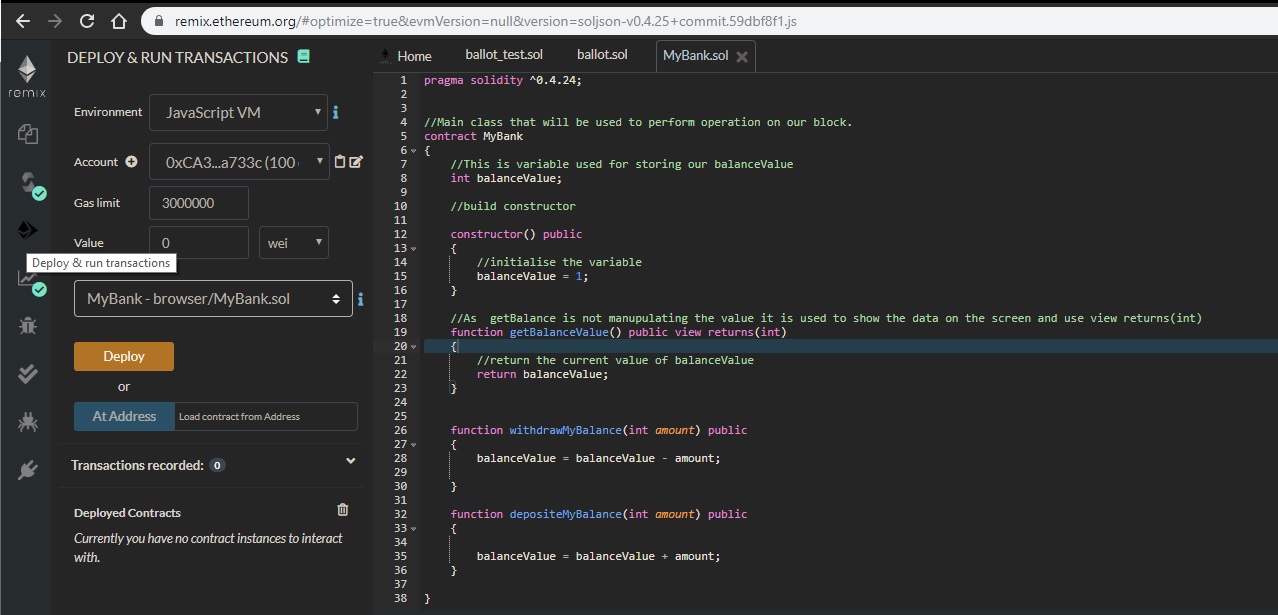
One belwo screen you will get three different option
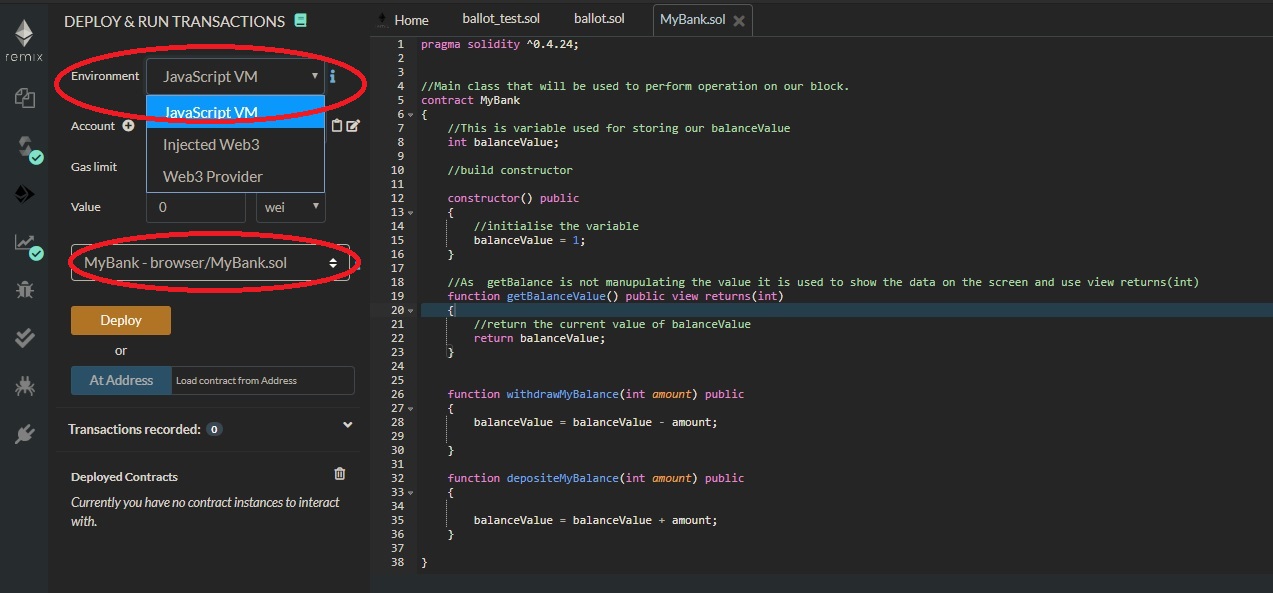
JavaScript
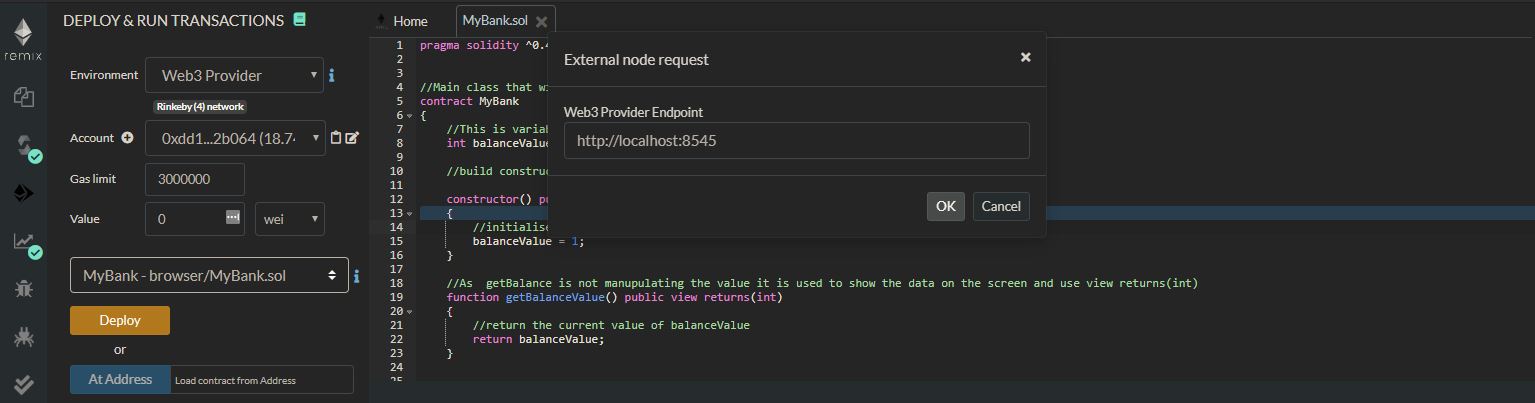
Injected
Web3 Provided
JavaScript :- This will use your or client JAVA JRE and run java script on the same and will perform the operations.
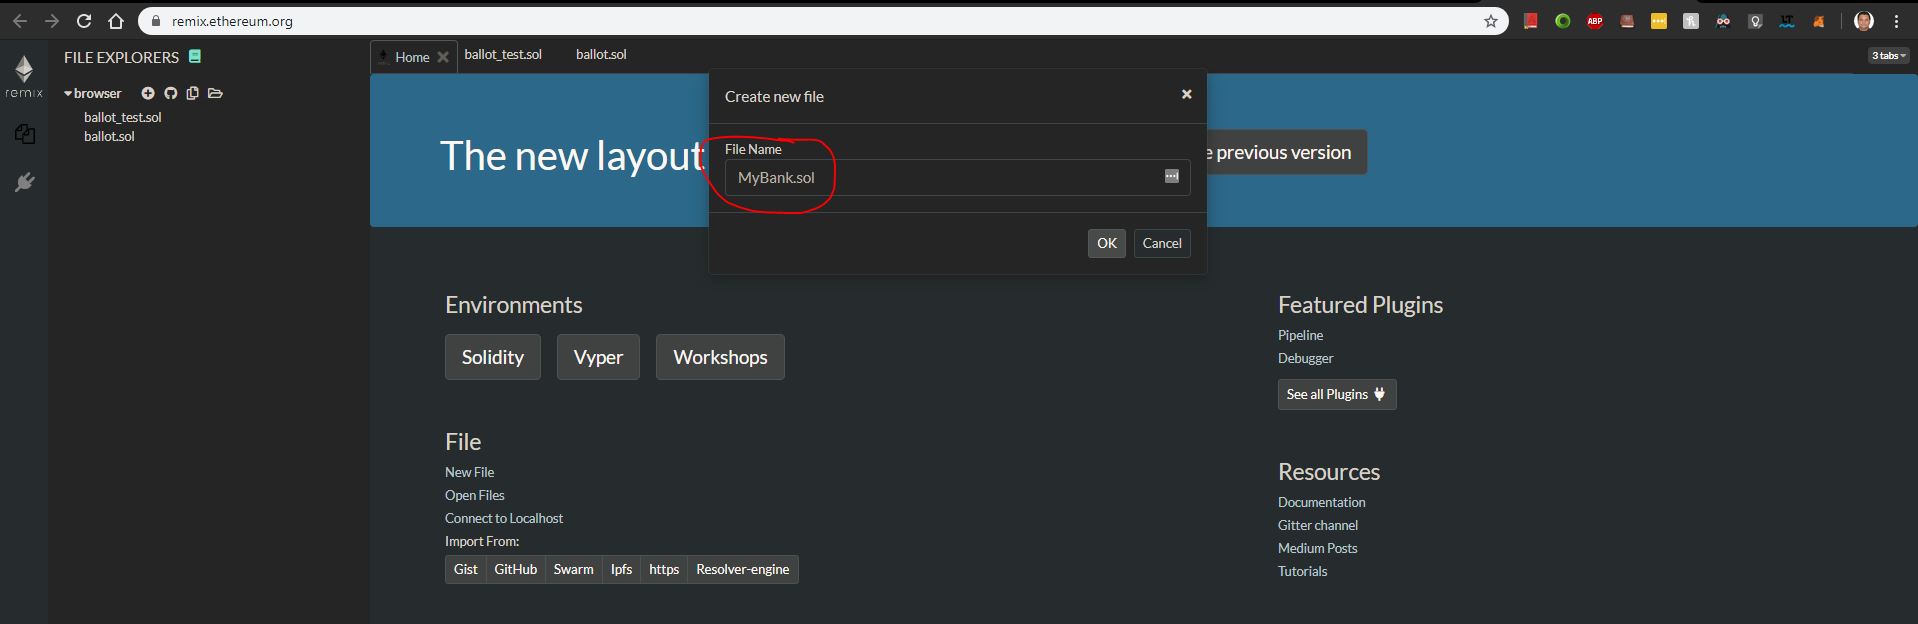
We will also select our MyBank.sol file that need to be executed.
Now click on the Deploy button and you will find we get Deployed contract seen on the screen as shown below.
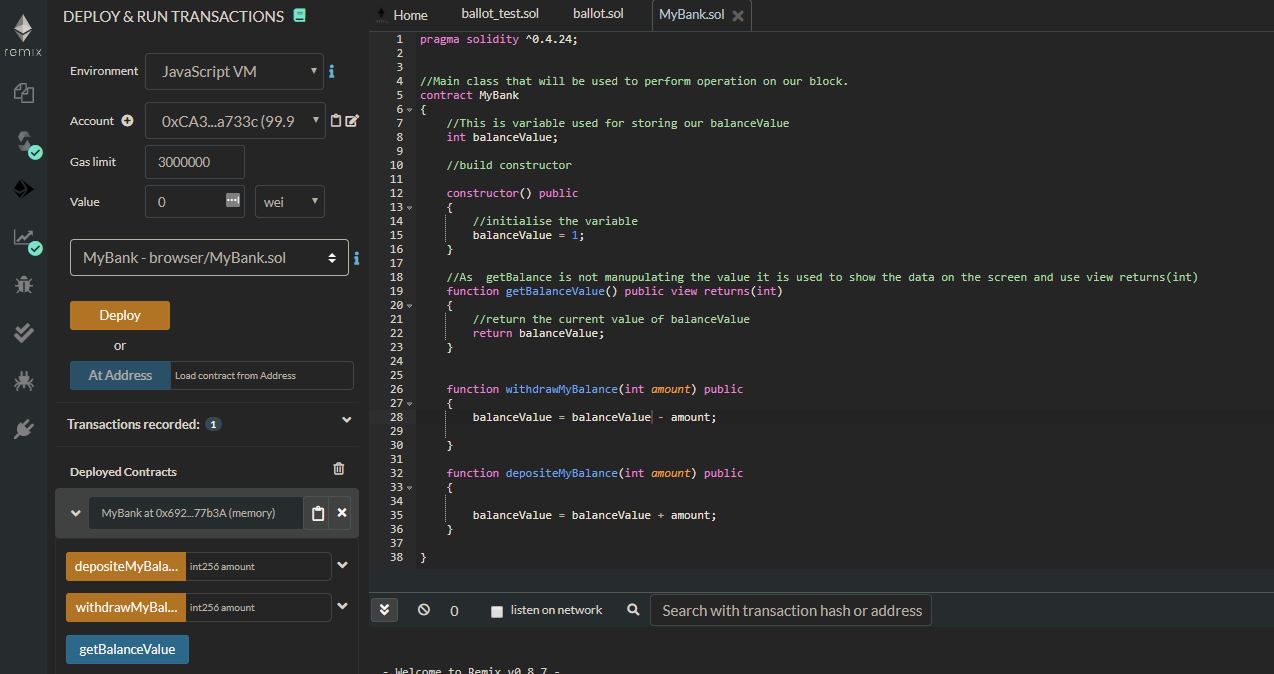
Lets play with this option and see how is working
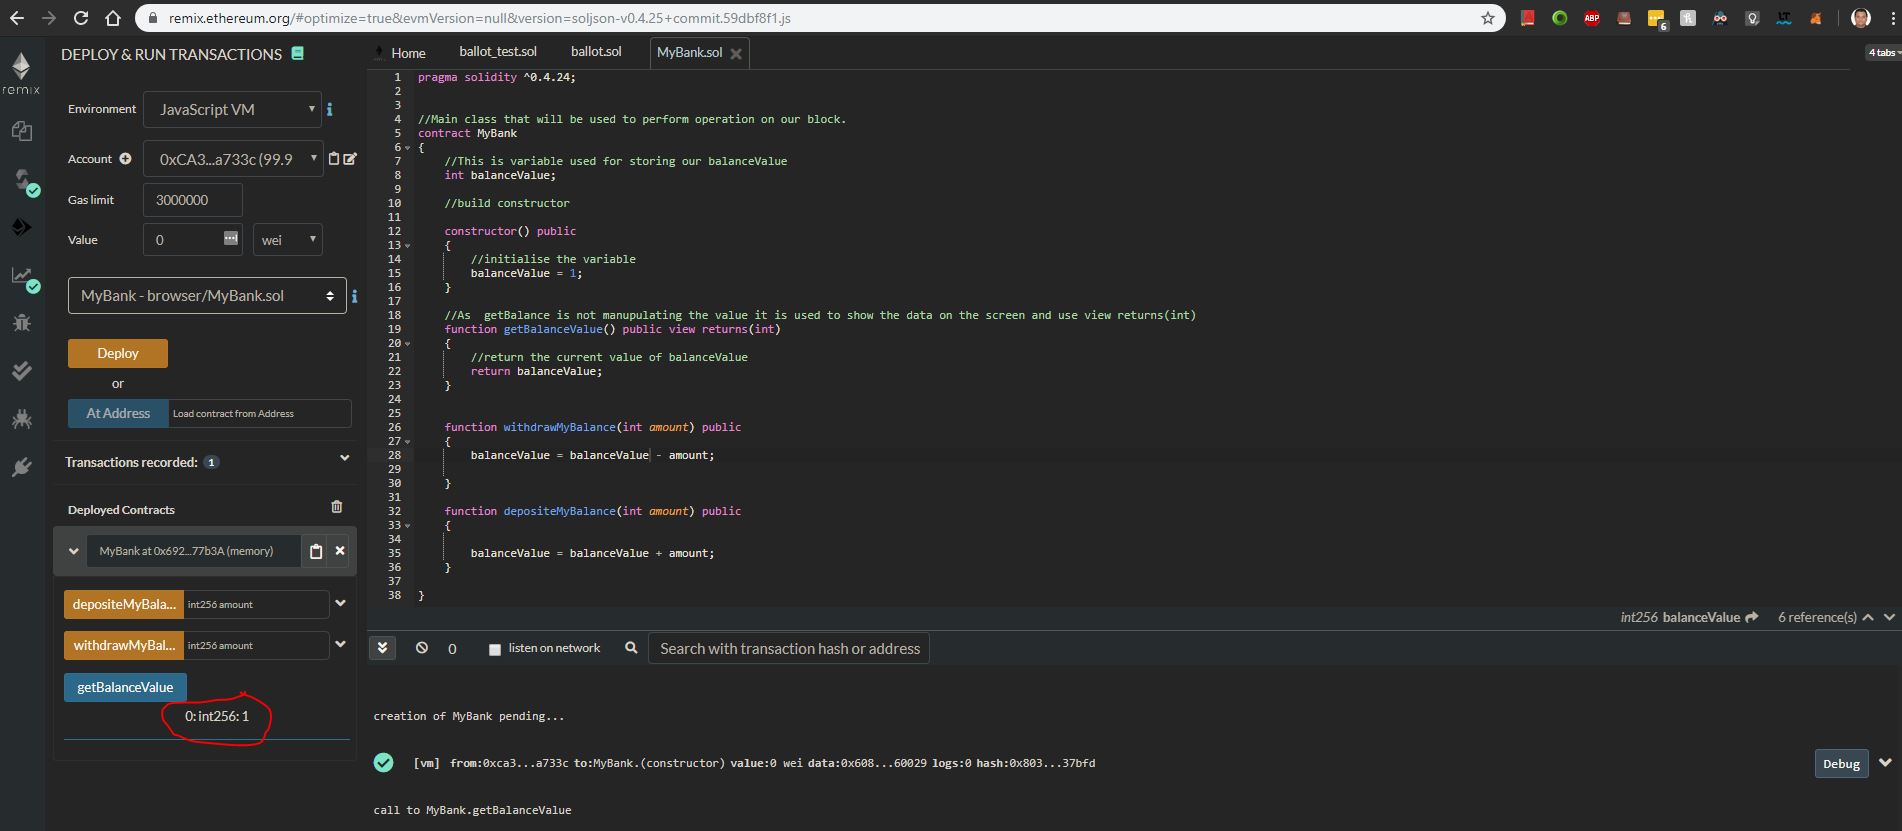
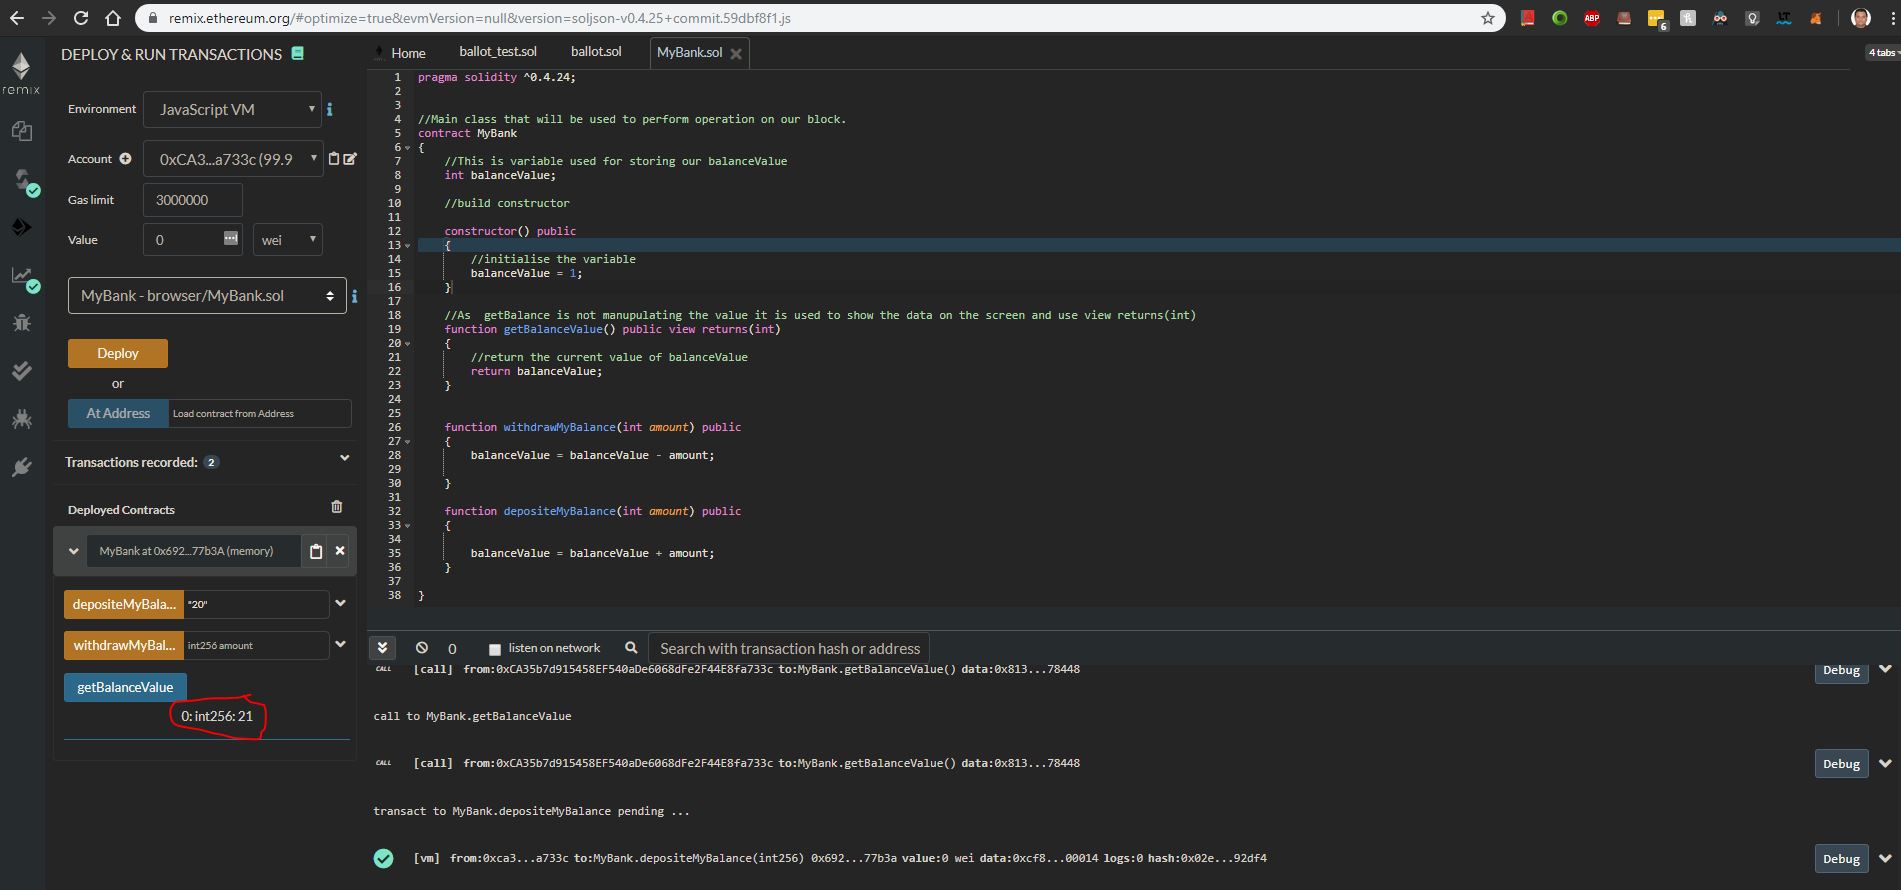
A :- Click on getBalanceValue and we will see we get value as 1 which is initial values.
B:- Now lets add 20 by using rransact button
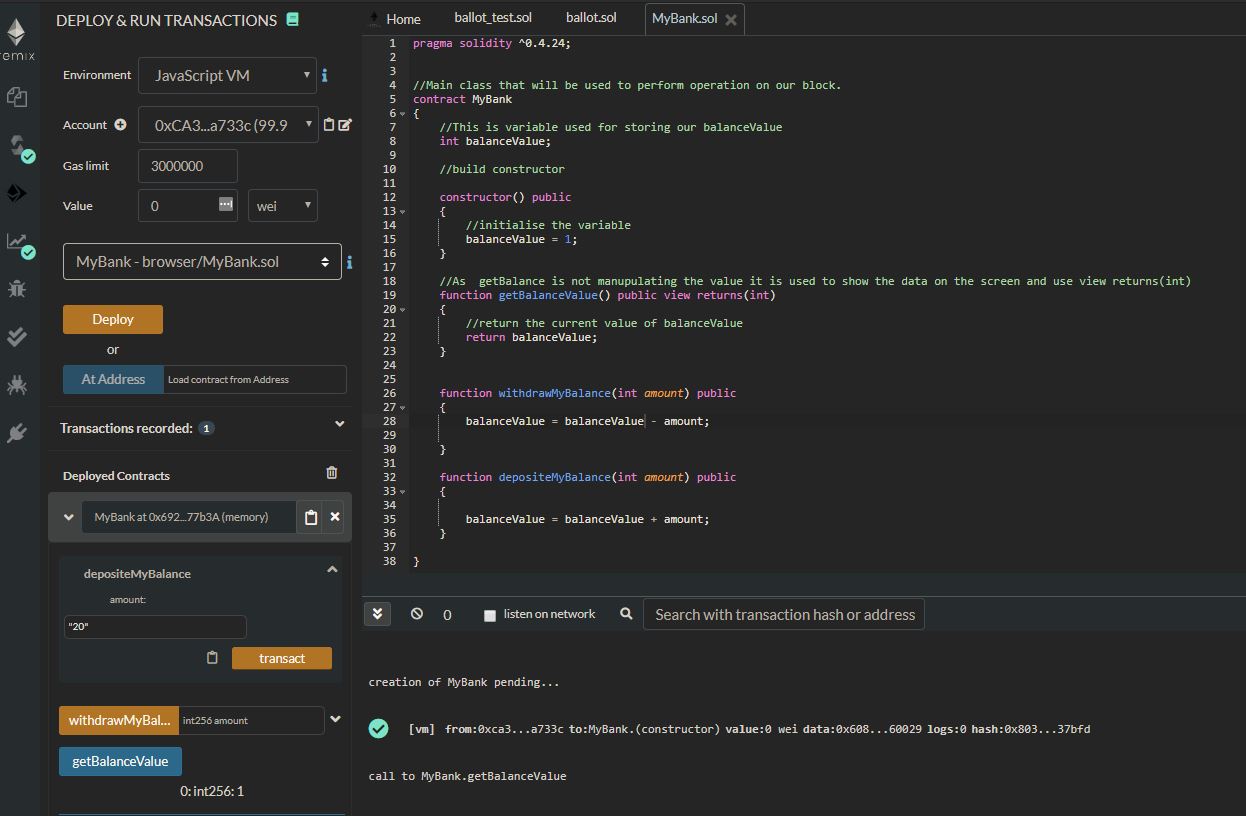
and now click on the getBalanceValue button and we will the value change to 21
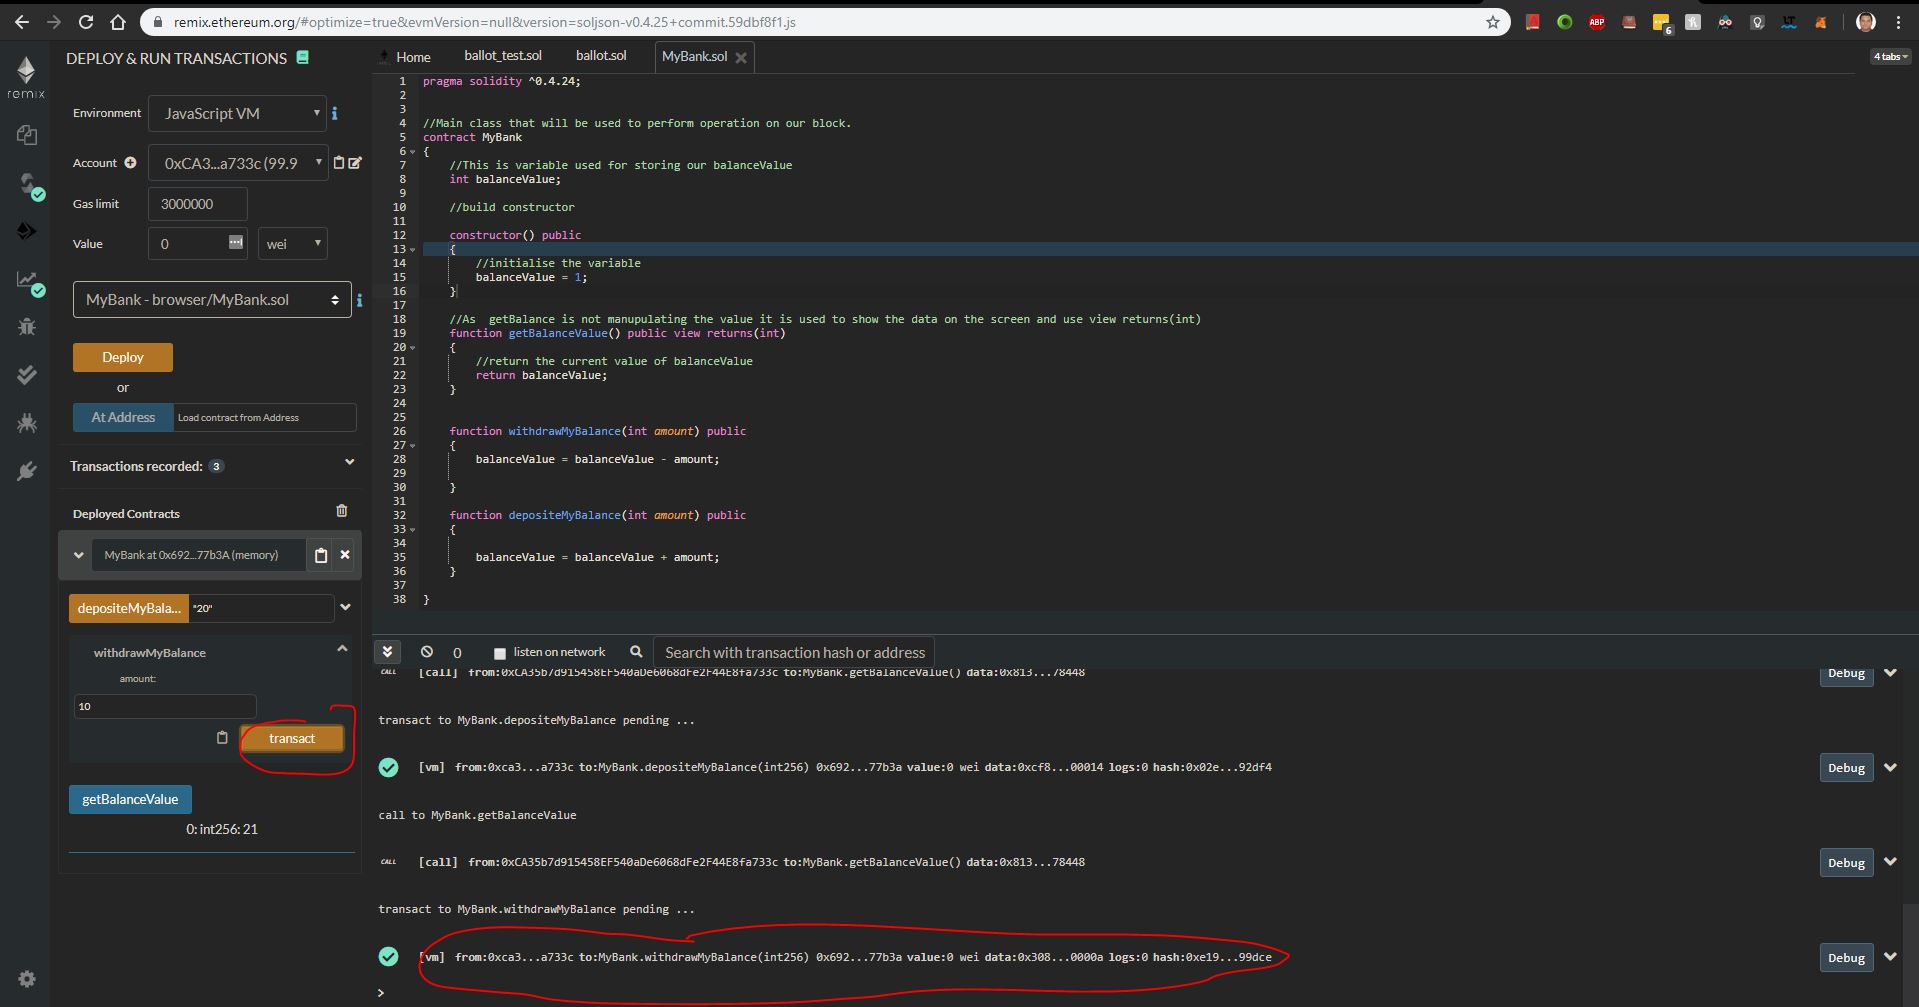
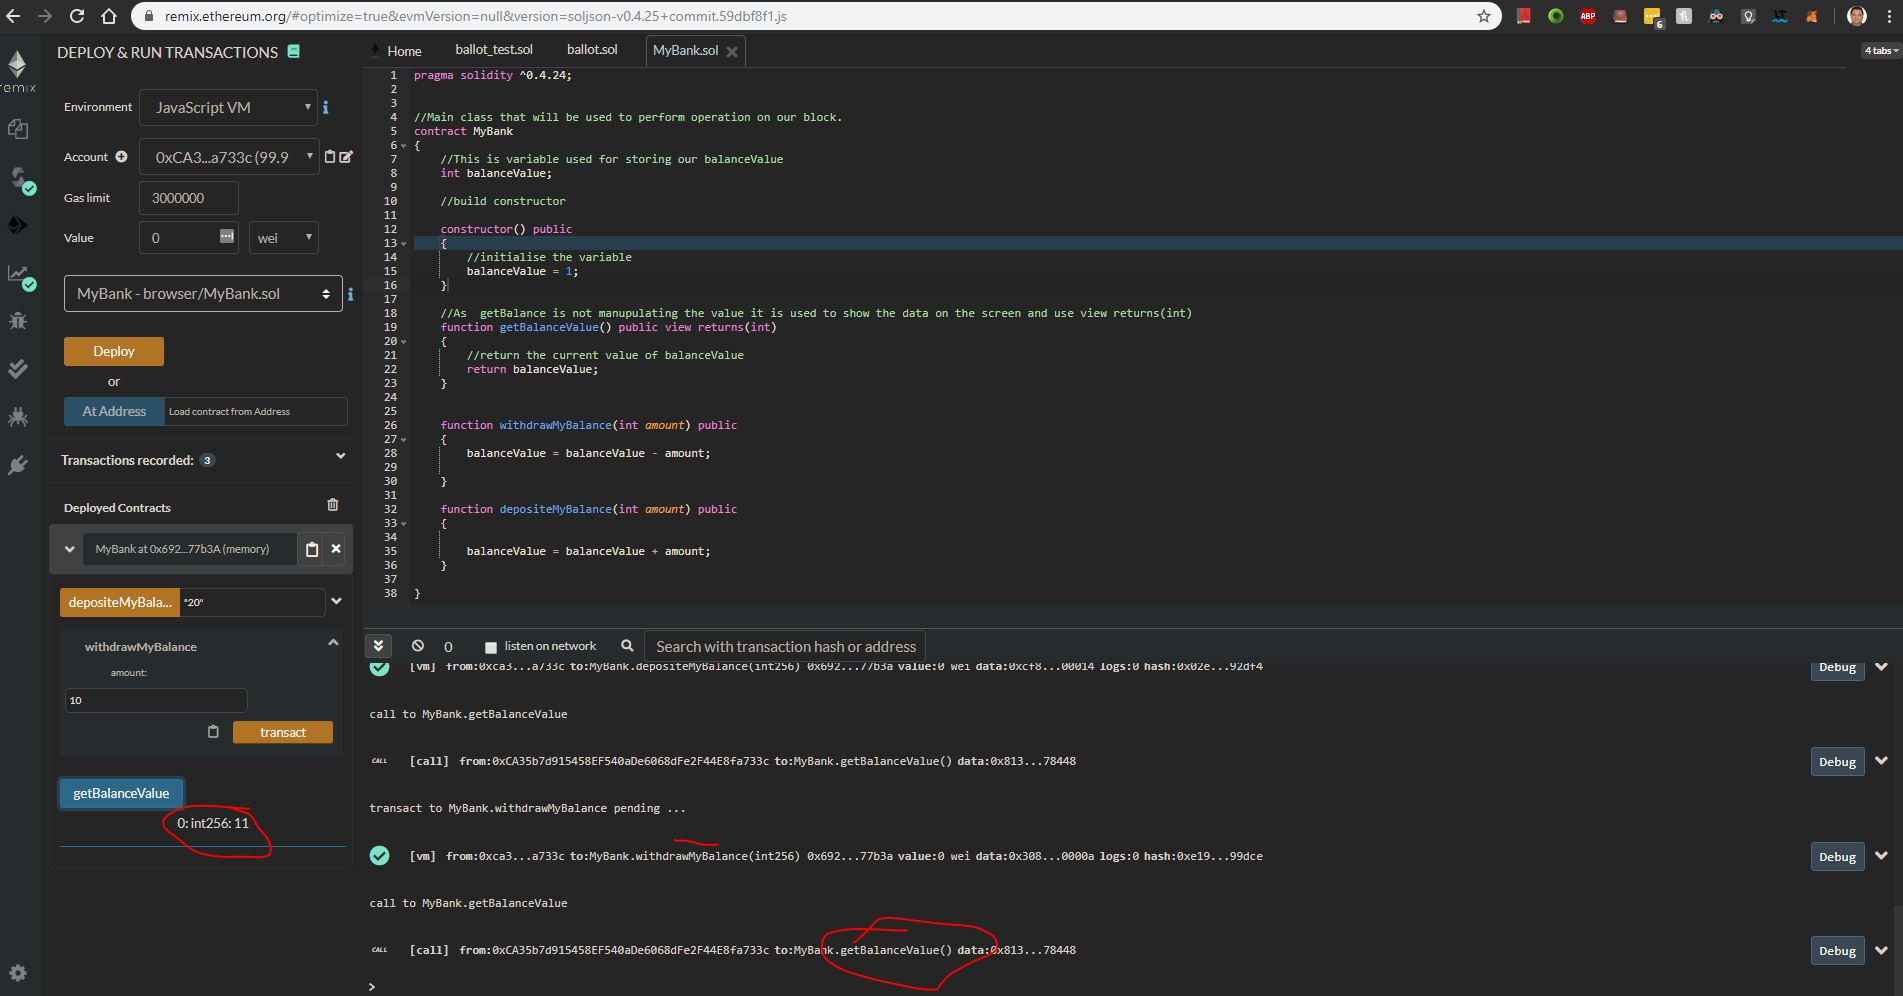
c:- Same way execute the withdraw method and check if it working
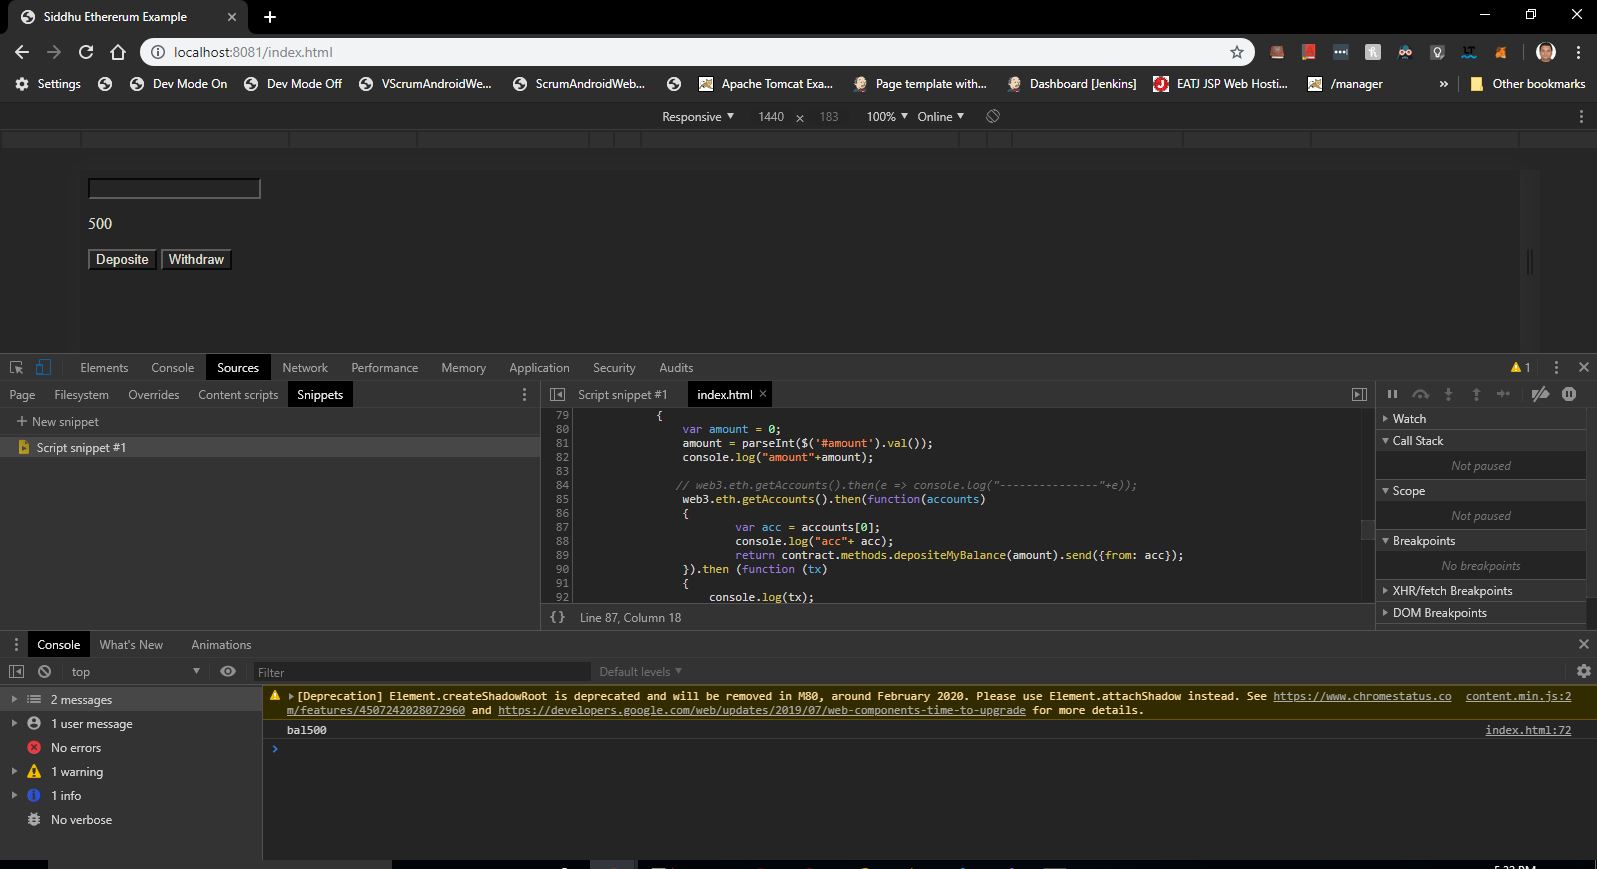
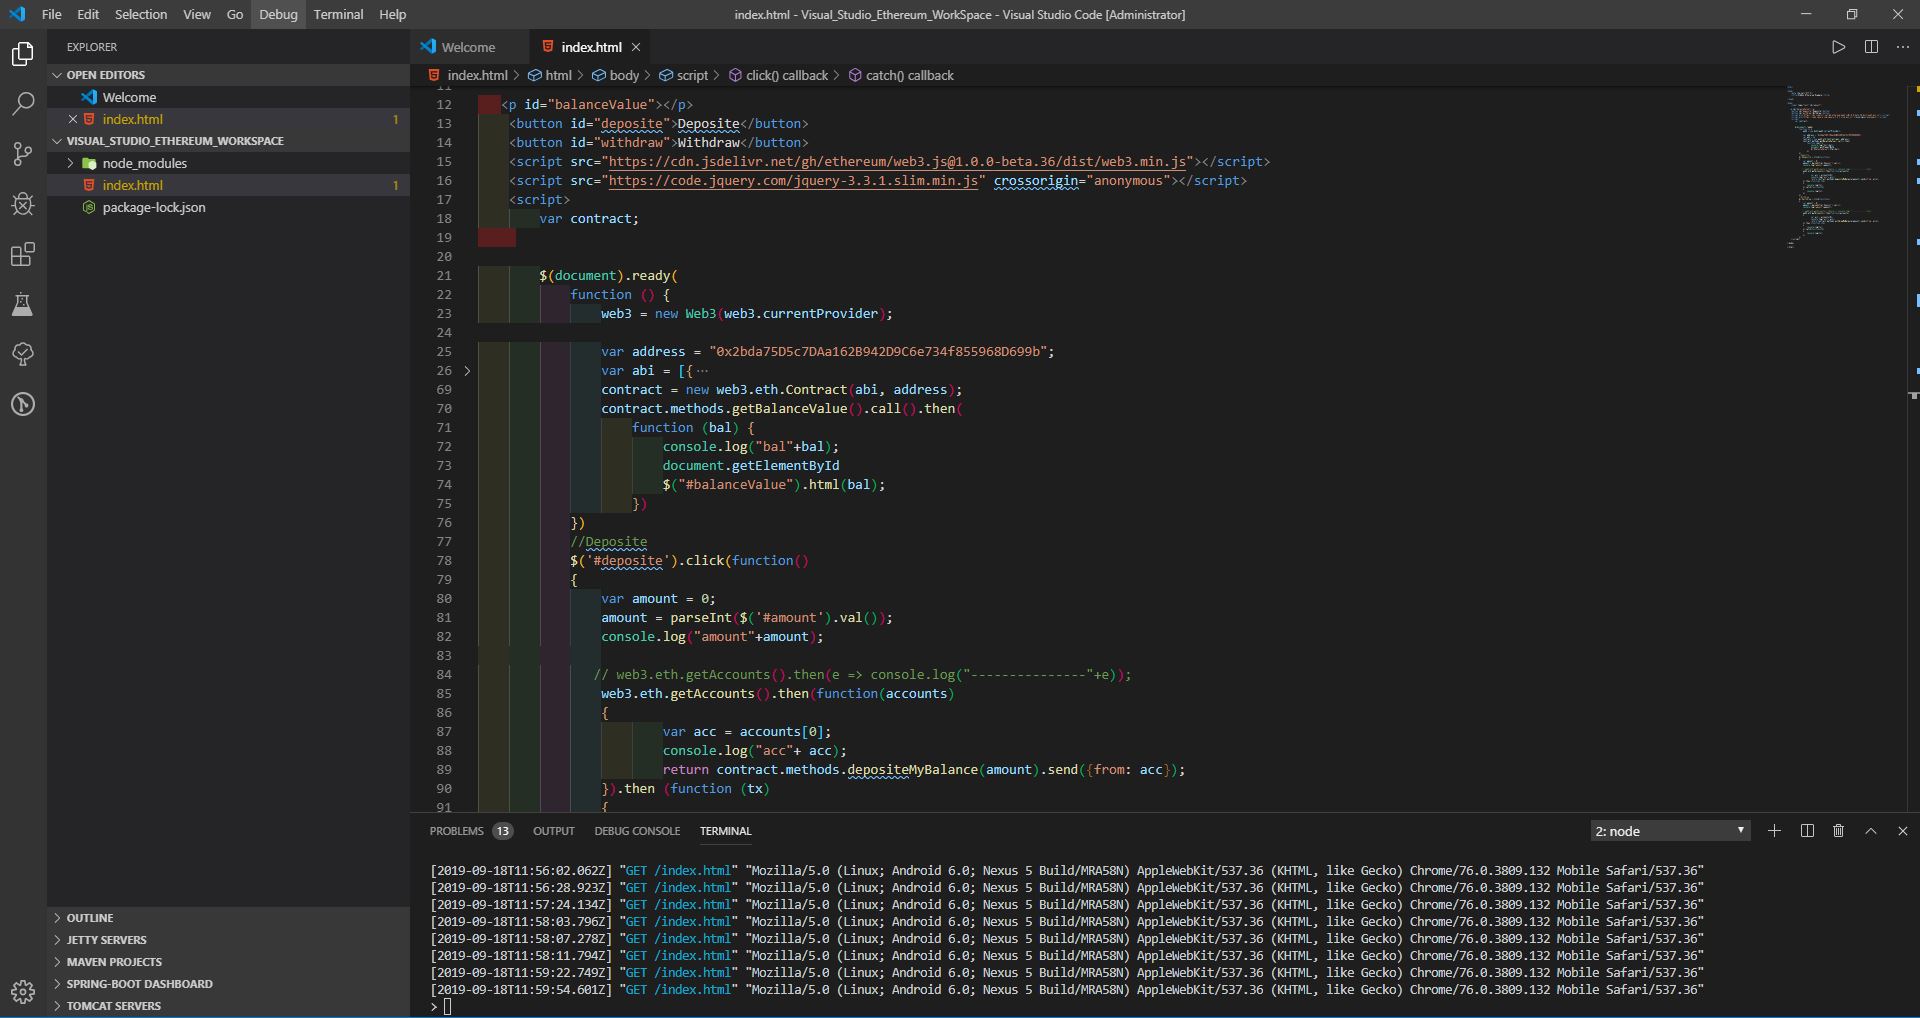
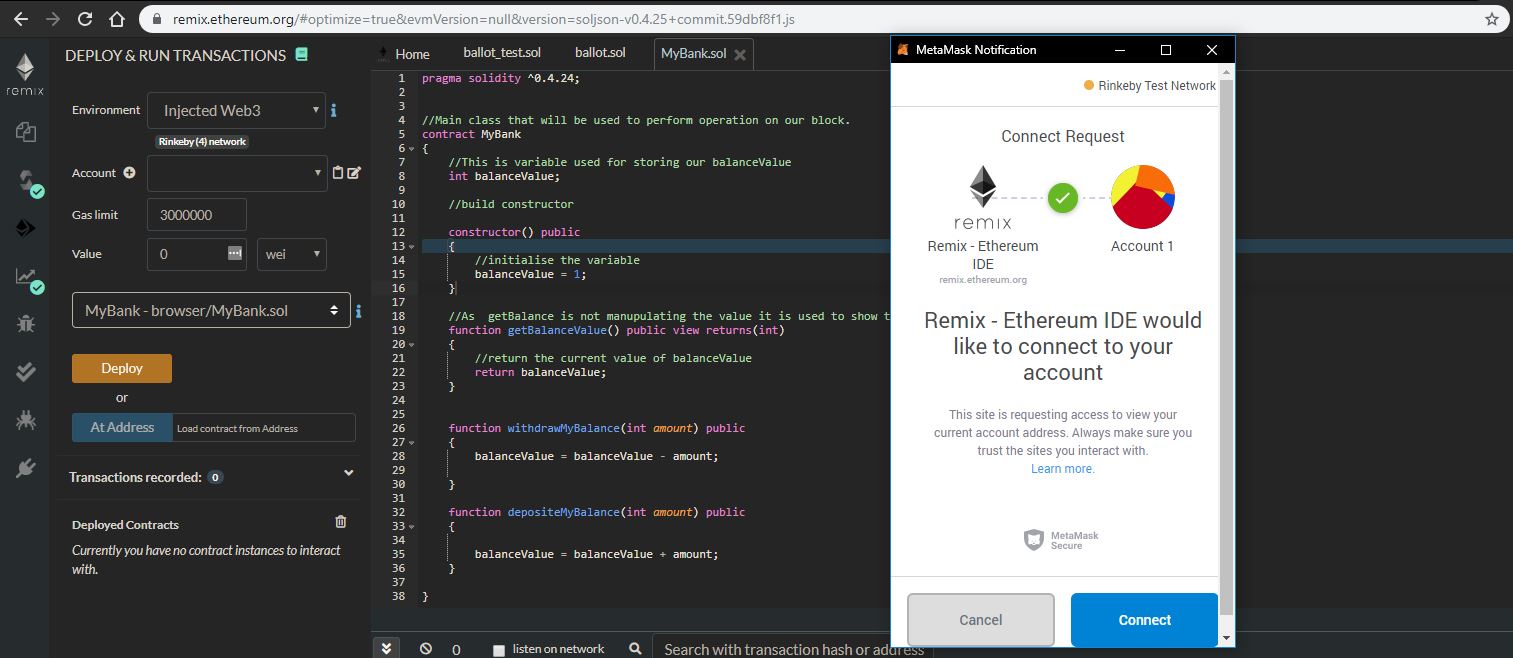
Now this testing of our Smart contract is done on solidity language IDE lets say we want to do it on our Browser
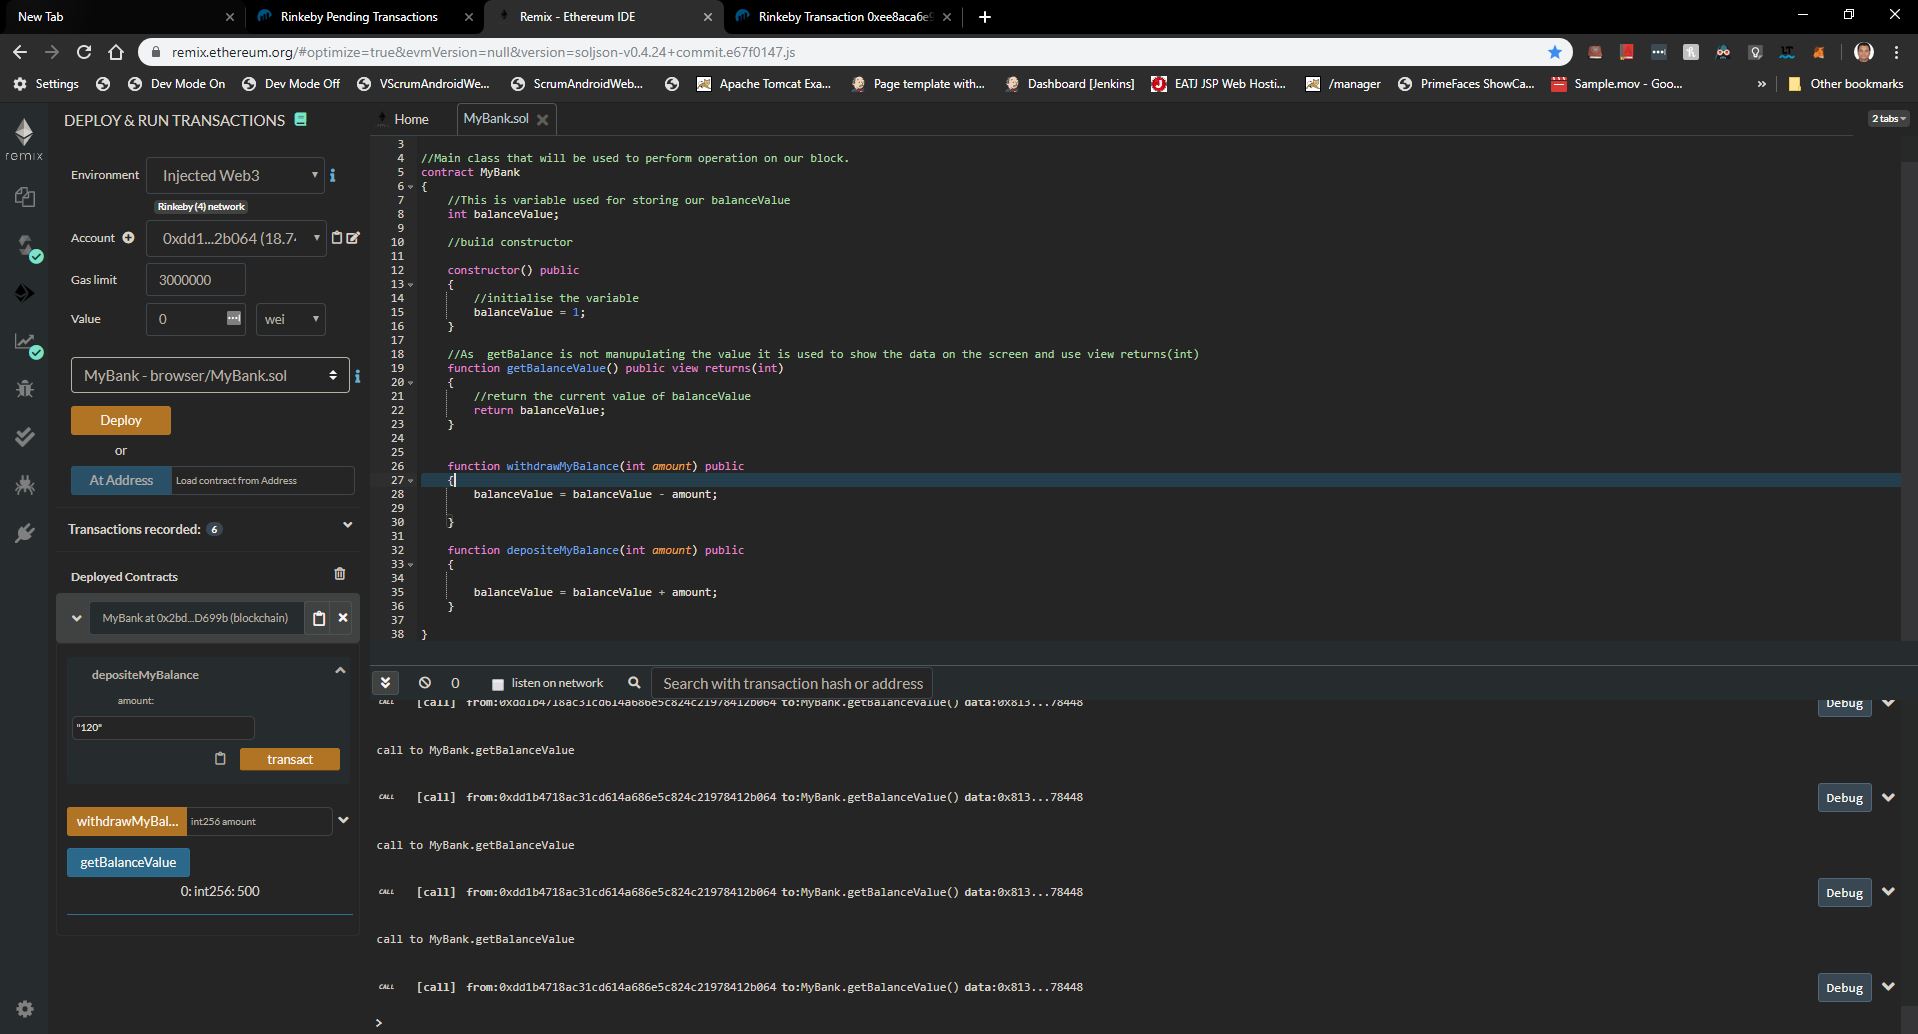
For this we need to choose Injected Web3 option and once we do it will ask your permission to connect. click on the connect button
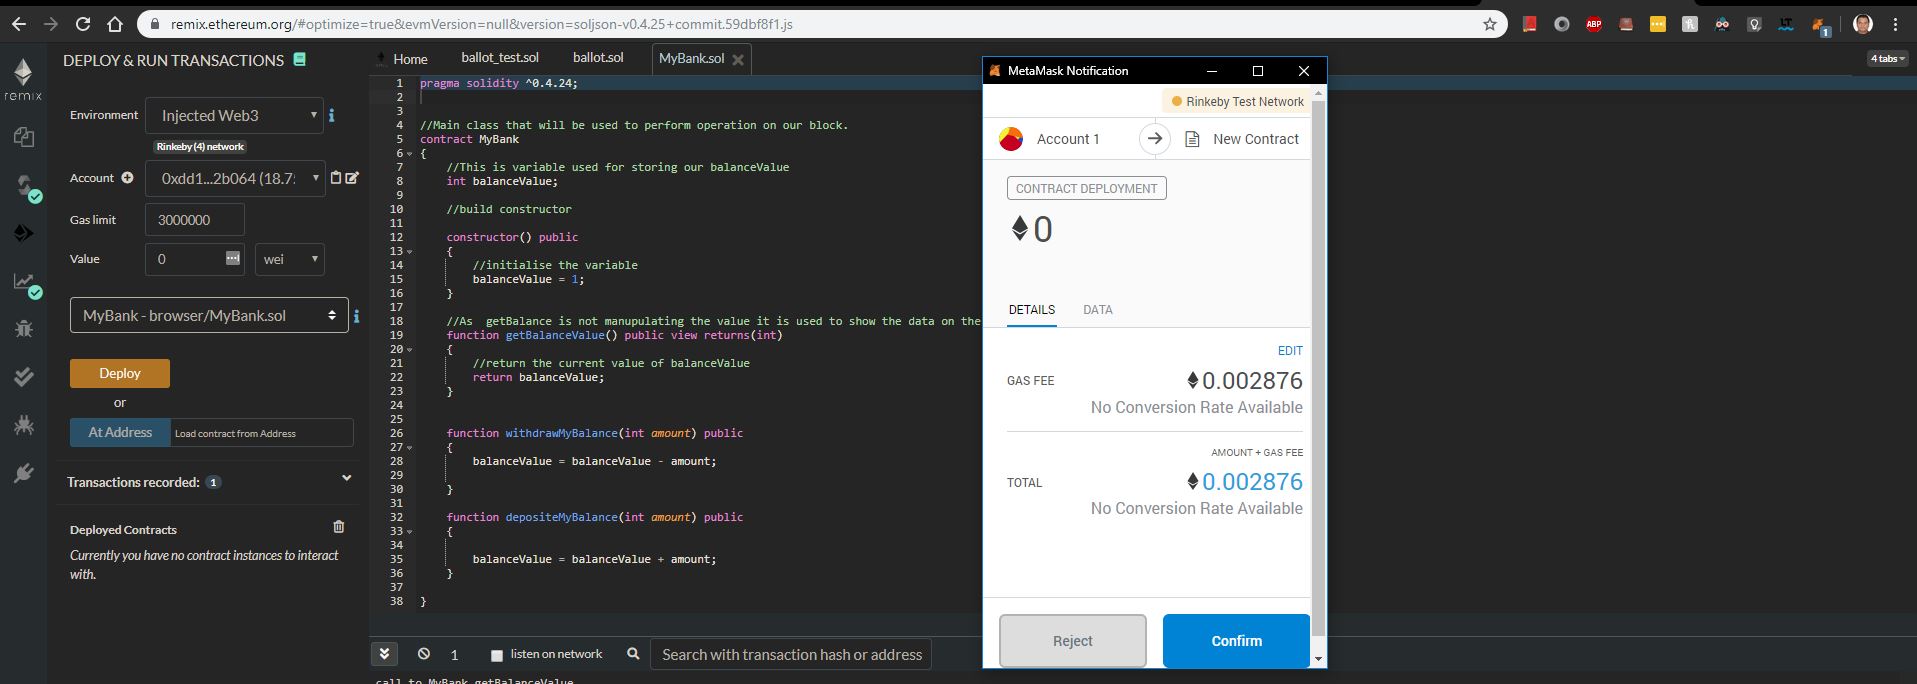
Now click on deploy to deploy our MyBank.SOL on test network. It will again ask for confiration .. do it by clicking confirm button below.
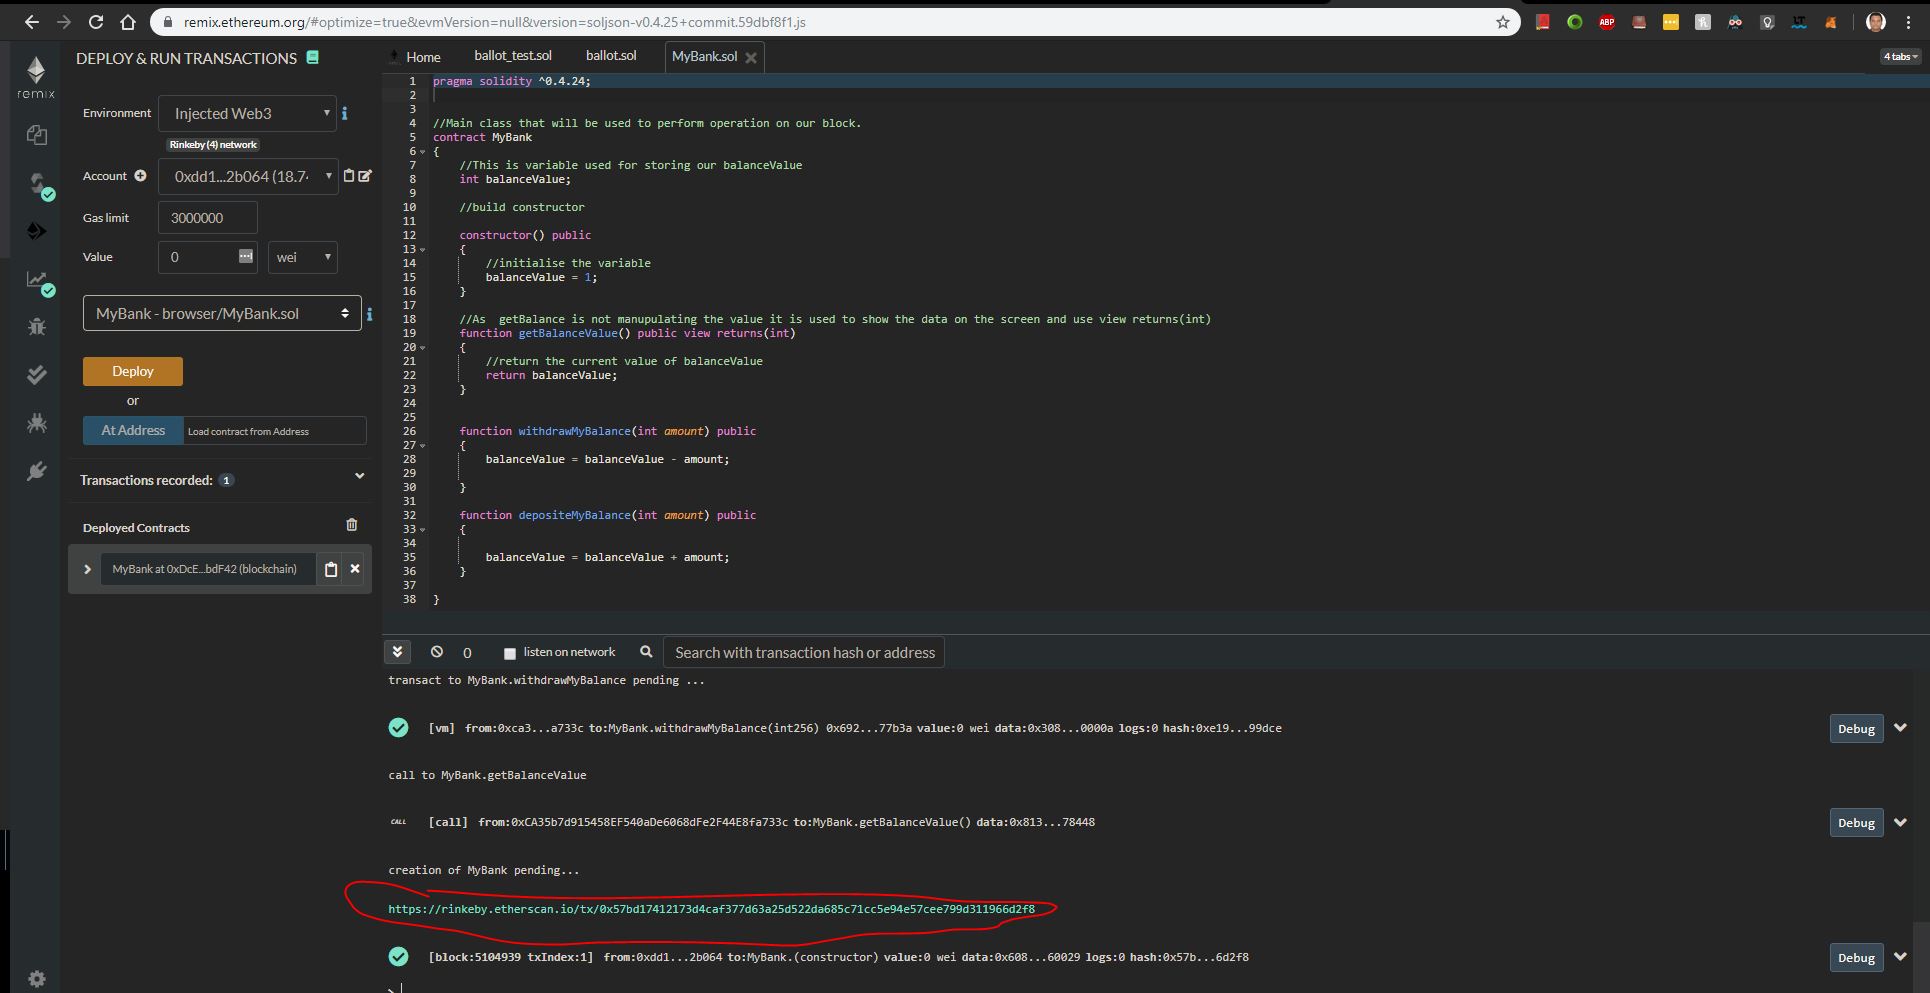
See the url on which our MyBank.SOL get deployed click on it and then you will see the below screen
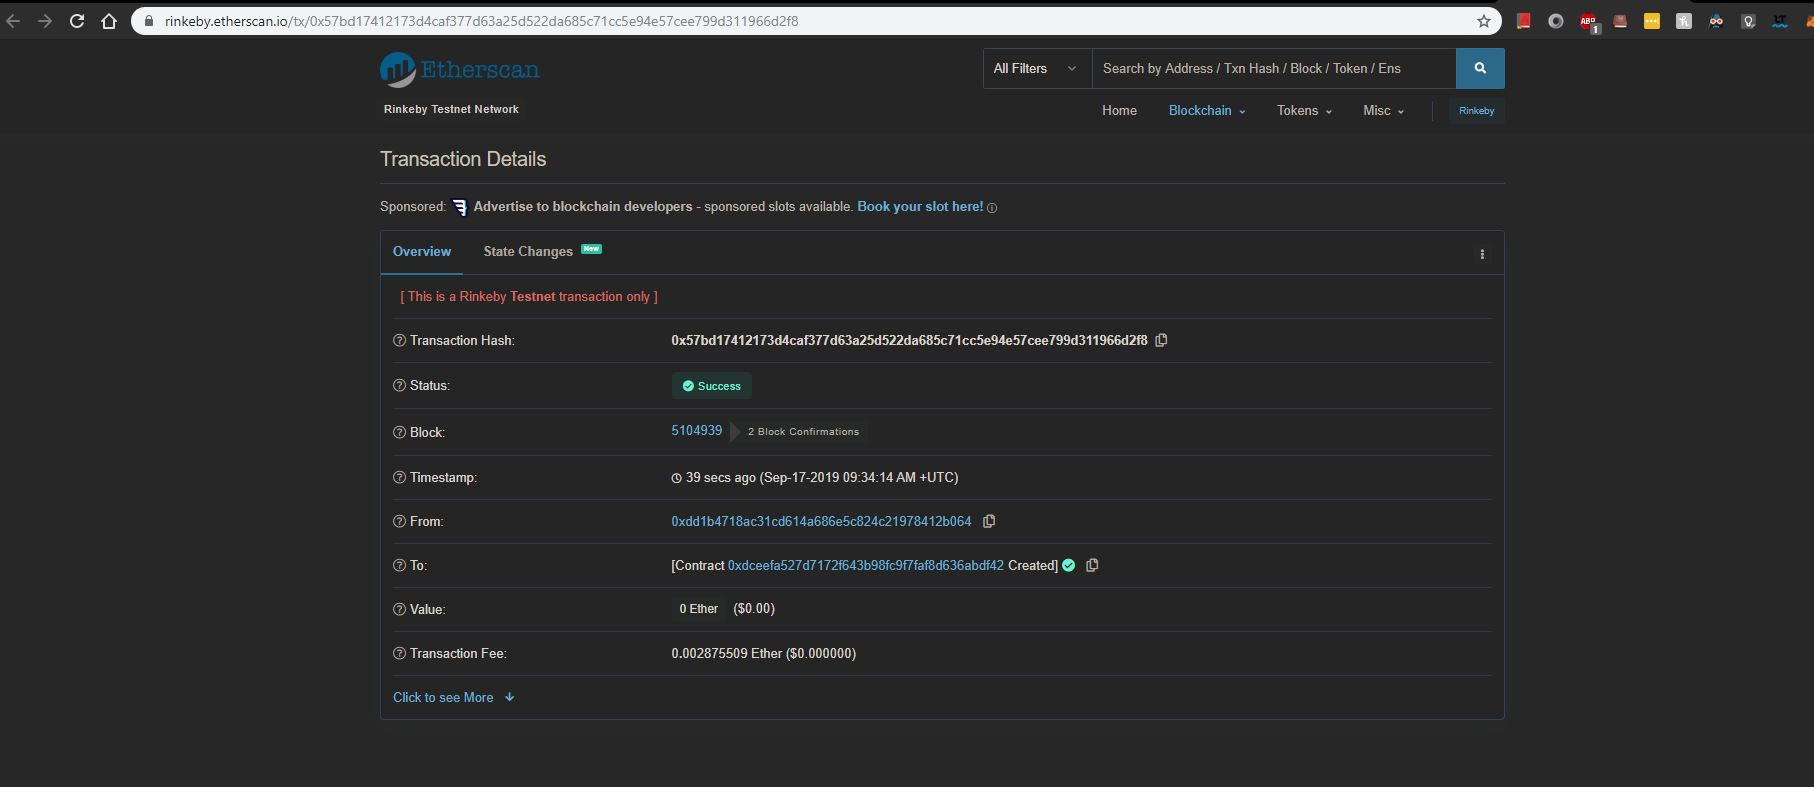
Initial status will be pending as it will take some time for POW and then once it is sucecess we are good to do the transection.
Let see it
Now perform all your GetBalance and Deposite and withdraw operation and you will see the now for Withdraw and deposite it will ask for some GAS from you just confirm it and we are done.