OAuth stands for OpenID authorization. What this means. In general, we have an authenication and authorization module maintain by the application itself. But it comes with cost i.e. security to maintain user credential and its authorization. Other way is to have this authentication and authorization to be done by other application and once the user is declared valid user then allow them to access the requested url.
“OAuth protocol comes to help us in this fashion. Where in we ask the user to get authenticated and authorized from other site and once done can access the url from our site.”
Lets try to understand this in sequence manner.
You might have come across many sites now a day which when you try to access ask you to login using google or linked in or GitHub and once you are successful you are able to access the content of that site. So how this happen
Step 1:- User ask for the url from our application
Step 2:- Our application check if the user is in session/live or not if not then show him the page that ask them to login through Google or LinkedIn etc.
Step 3:- Once the user click on the option user is moved to the login screen of respective site i.e. google. Along with some information like request scope – contacts or OpenID email profile, response type – code, callback url – that contains the url the user will be directed when user click allow grant button. And client id.
Step 4:- Once the user logged in they will be shown one concent page that says following application (i.e. our application url) is asking to acces resource i.e. profile or username etc from google. Do you agree ?
Step 5:- Once the user agree or click on the allow grant button then google send one temporary id i.e. grant authorization id to our browser
Step 6:- Our browser send this temprorary id i.e. grant authorization id to our server. This is simple as only one additional parameter is added either in url or in header.
Step 7:- Then this temporary id i.e. grant authorization id is send from our server to google along with some parameters to get the access token. This access token is called JWT json web token having much information of the user along with user email id.
Step 8:- Once we have this access token and id token to our server we can make a call to resource server to get user profile
Now in above we have discussed web flow, but there are other flow also i.e. JavaScript flow, mobile app flow, TV and Device flow.
This flow which is defined above which is build on top of OAuth2 is called OpenID connect flow.
‘So OpenID connect is a thin layer build on top of Oauth2 used for login purpose.”
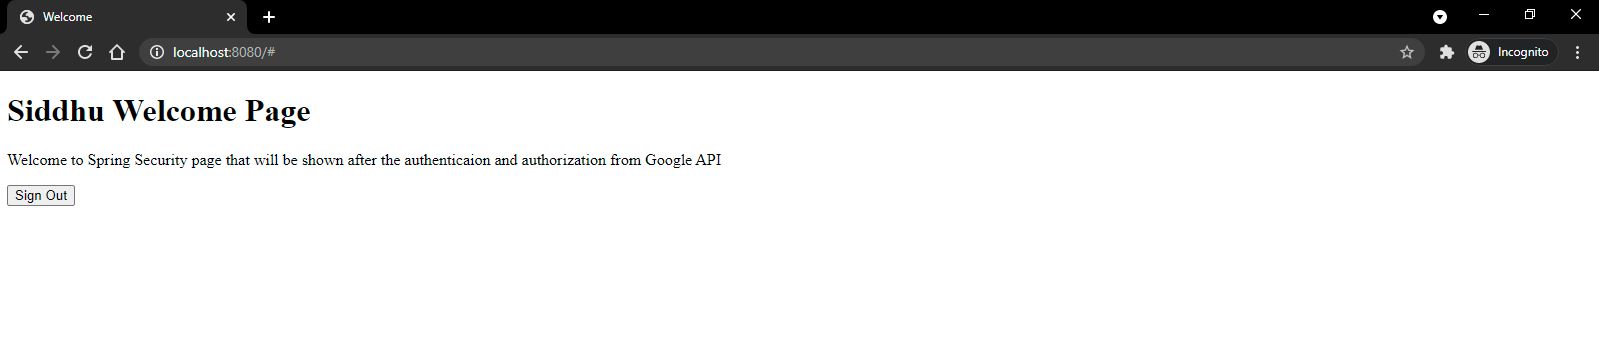
Now lets try to create a simple spring boot application when we try to access this application using browser we will be asked for first logged in to system i.e. google and then on successful login we will be able to see the first page.
Please follow the below step religiously.
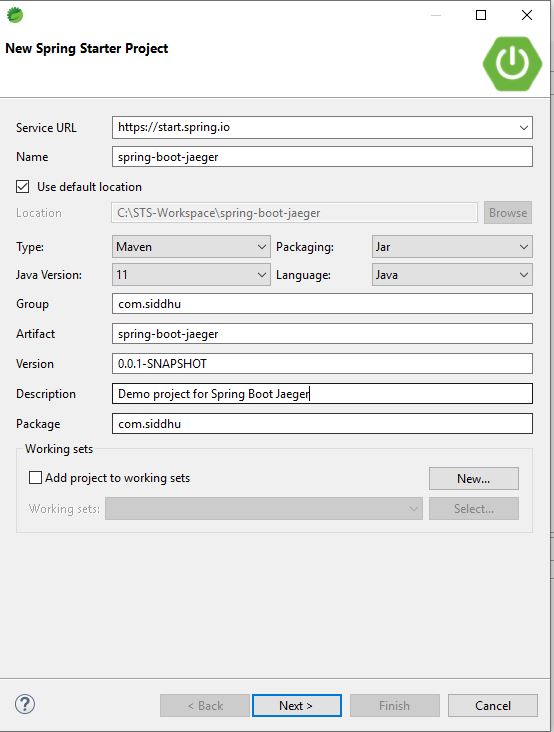
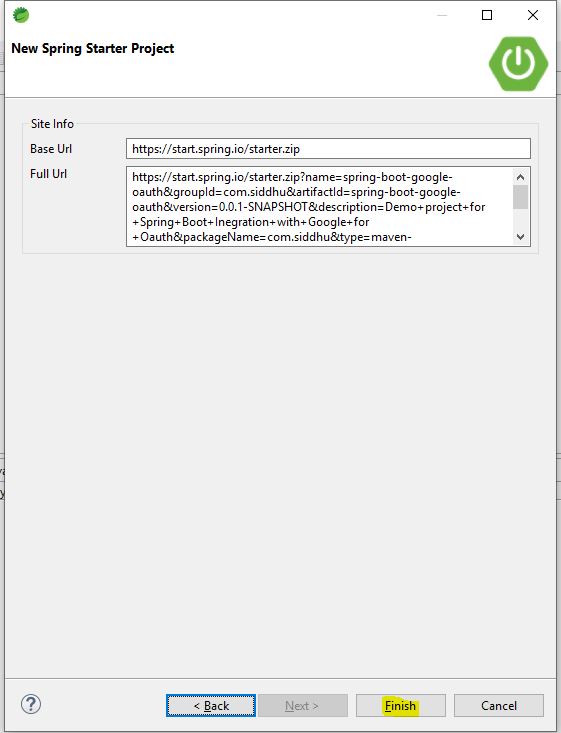
Step 1- Create spring boot application with following


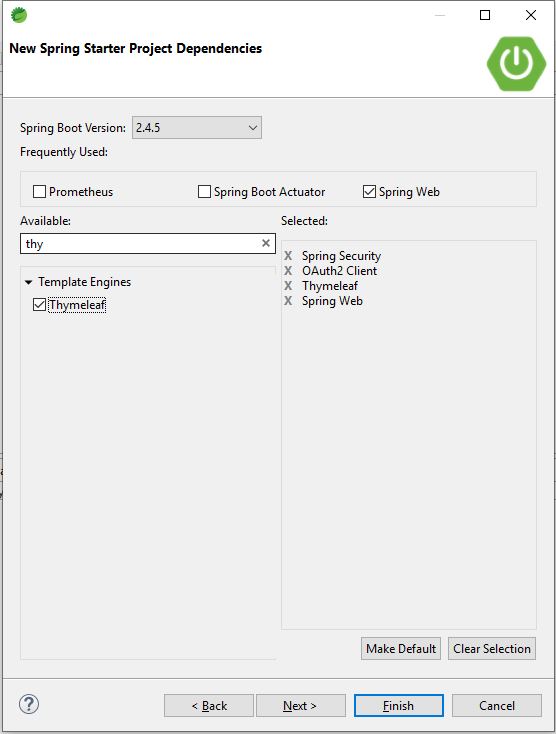

Add an Index Page in location: src/main/resources/templates/index.html
<!DOCTYPE html>
<html xmlns="http://www.w3.org/1999/xhtml" xmlns:th="https://www.thymeleaf.org"
      xmlns:sec="https://www.thymeleaf.org/thymeleaf-extras-springsecurity3">
<head>
    <title>Welcome</title>
</head>
<body>
<h1>Siddhu Welcome Page</h1>
<p>Welcome to Spring Security page that will be shown after the authenticaion and authorization from Google API</p>
<form th:action="@{/logout}" method="post">
    <input type="submit" value="Sign Out"/>
</form>
</body>
</html>
Now create following files
1- Controller.java
package com.siddhu;
import org.springframework.web.bind.annotation.GetMapping;
import org.springframework.web.bind.annotation.RestController;
@RestController
public class Controller {
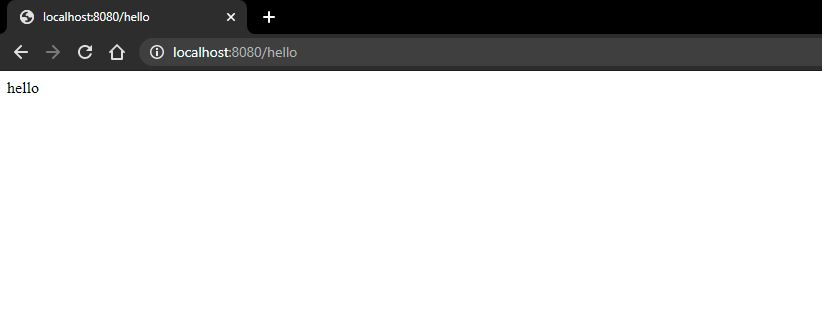
@GetMapping("/hello")
public String hello() {
return "hello";
}
}2-MvcConfig.java
package com.siddhu;

import org.springframework.context.annotation.Configuration;
import org.springframework.web.servlet.config.annotation.ViewControllerRegistry;
import org.springframework.web.servlet.config.annotation.WebMvcConfigurer;

@Configuration
public class MvcConfig implements WebMvcConfigurer {

    @Override
    public void addViewControllers(ViewControllerRegistry registry){
        registry.addViewController("/").setViewName("index");
        registry.addViewController("/index").setViewName("index");
    }
}
3- SecurityConfig.java :- this will Secure the application with Spring Security
package com.siddhu;

import org.springframework.security.config.annotation.web.builders.HttpSecurity;
import org.springframework.security.config.annotation.web.configuration.EnableWebSecurity;
import org.springframework.security.config.annotation.web.configuration.WebSecurityConfigurerAdapter;

@EnableWebSecurity
public class SecurityConfig extends WebSecurityConfigurerAdapter {

    @Override
    public void configure(HttpSecurity httpSecurity) throws Exception {
        httpSecurity.csrf().disable().antMatcher("/**").authorizeRequests()
                .antMatchers("/","/index").authenticated()
                .anyRequest().authenticated()
                .and()
                .oauth2Login().permitAll()
                .and()
                .logout()
                .invalidateHttpSession(true)
                .clearAuthentication(true)
                .logoutSuccessUrl("/");
    }
}
Now lets Register the Application in the Google Sign-in portal
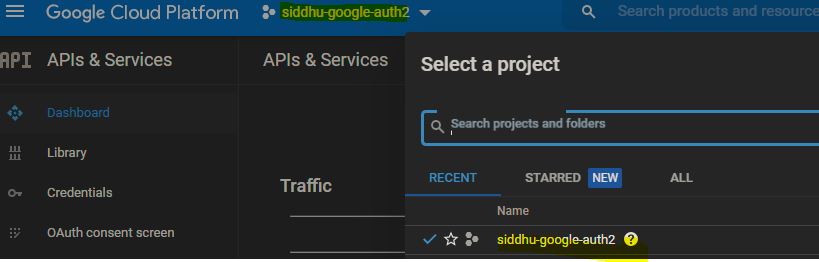
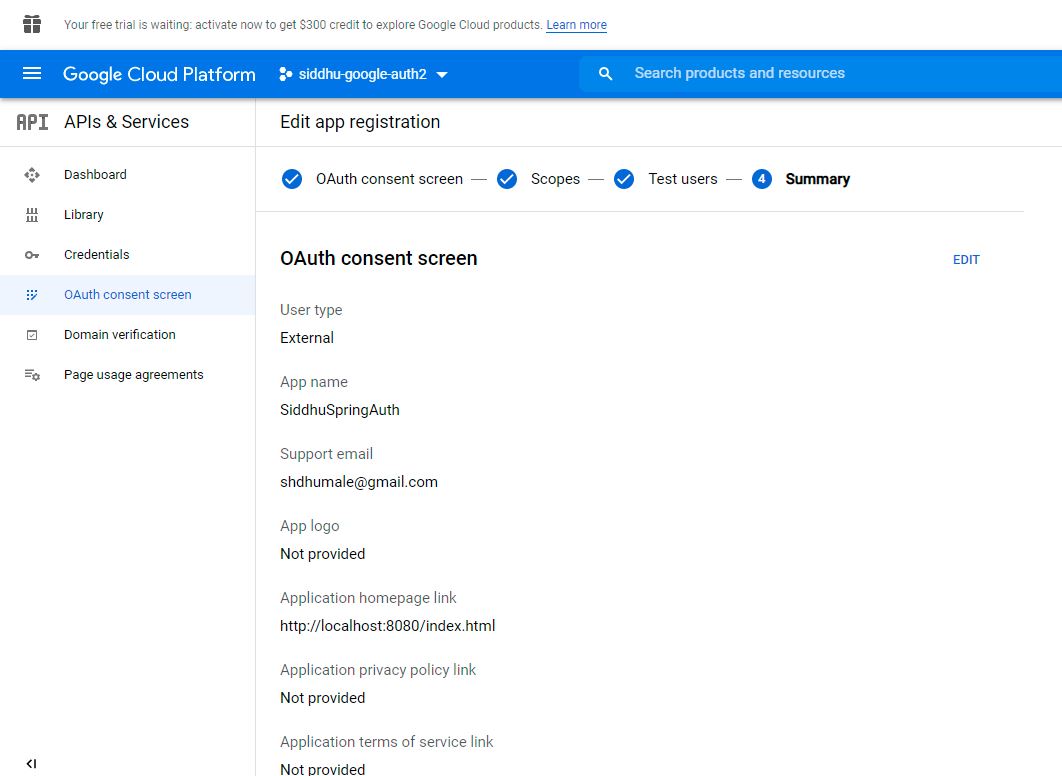
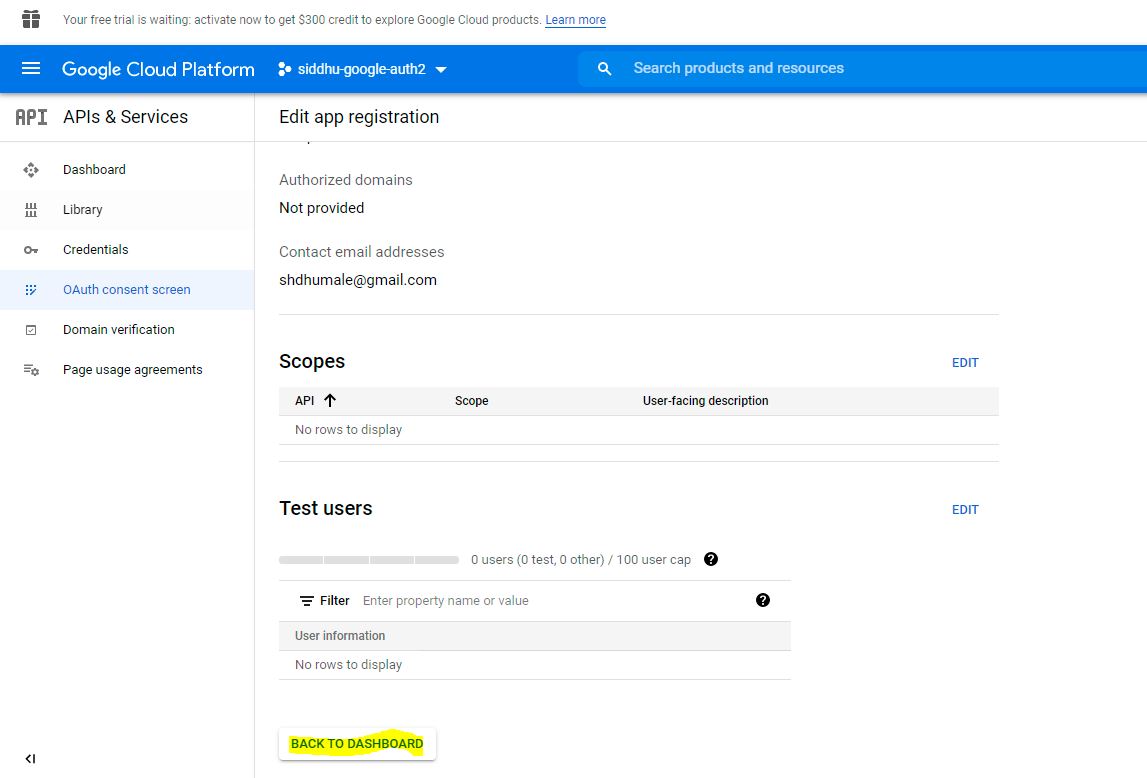
To use Google OAuth 2.0 as an authentication provider, let us create a web client in Google cloud console. To enable google auth with spring boot you need a client identifier and shared secret which needs to be passed as a configuration parameter to the application.
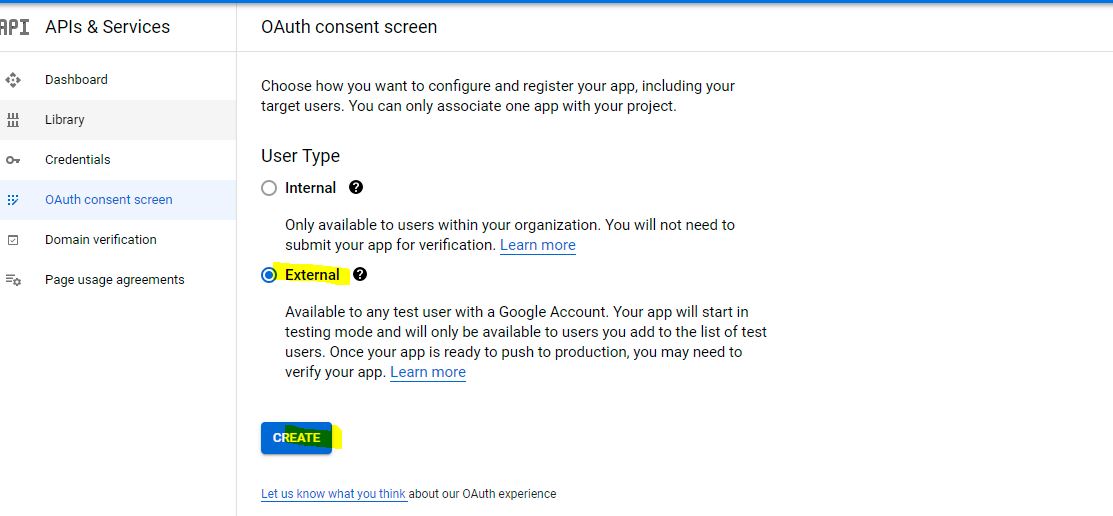
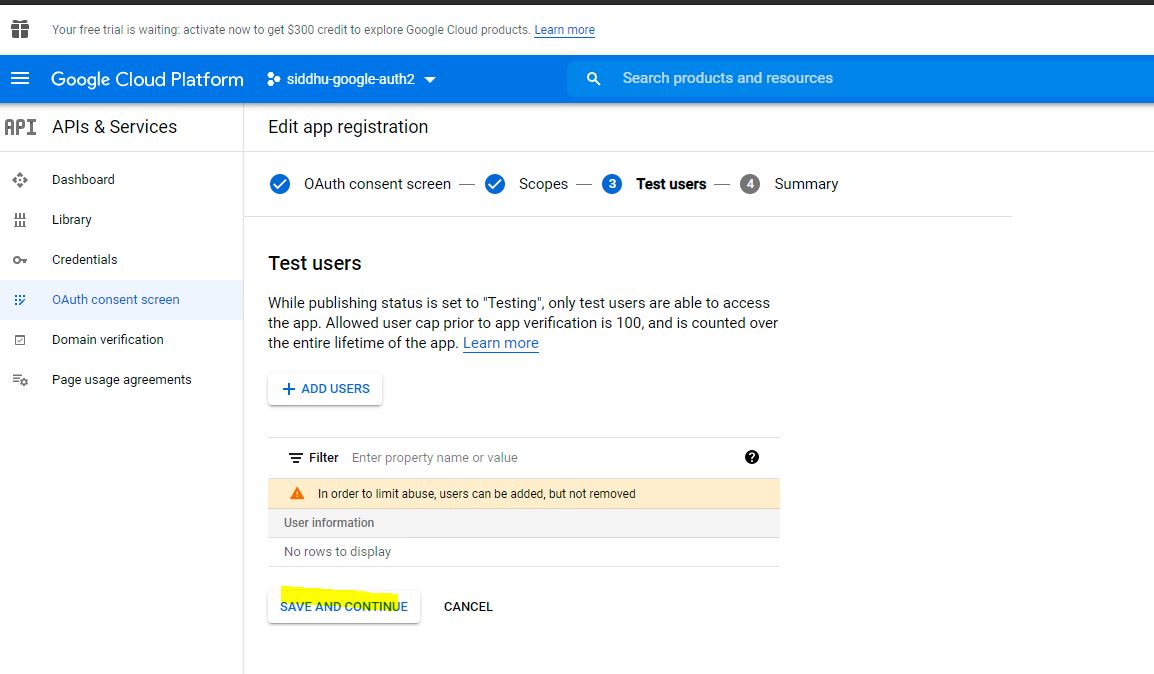
log in to the Google API console using your Google account.


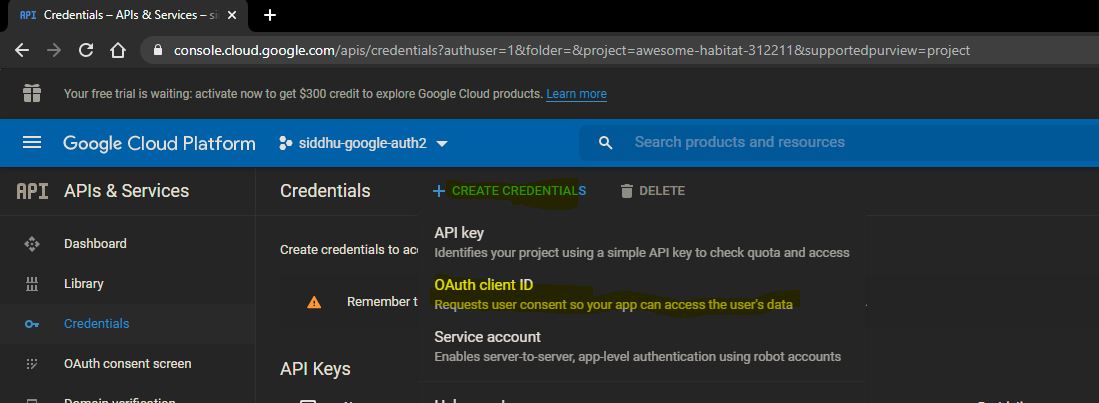
navigate to the credentials section on the left menu, and choose the OAuth client ID option.


Now lets change in our web application configuration files

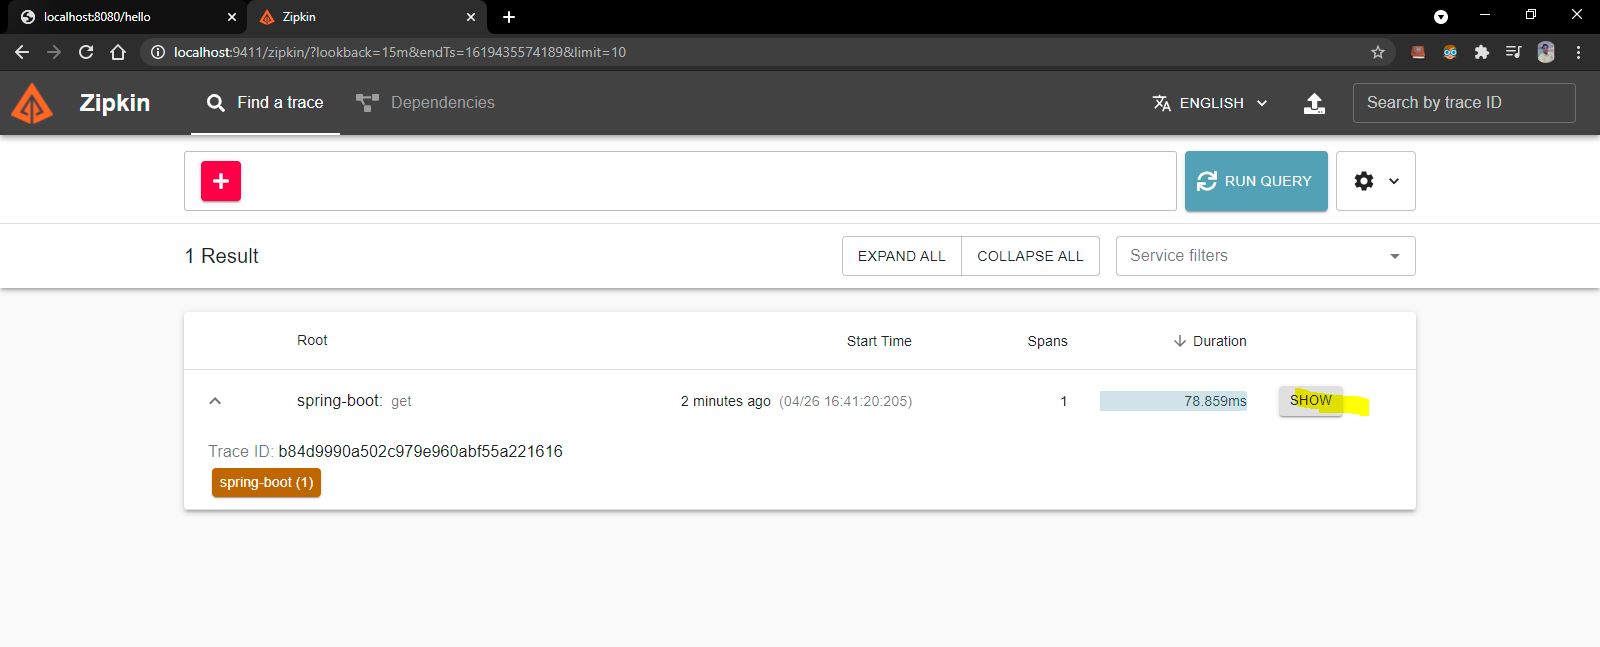
hit below url to the browser


You can download the code from https://github.com/shdhumale/siddhu-springboot-springsecurity-oauth.git