Sonar Qube is code review tool available in market for different language like java,javascript, C#, C, Cobol.
SonarQube is capable enough to show the health of an application and also highlight issues and risk introduced into the project due to new code/existing code merge.. With help of Sonar Qube we can improve code quality systematically.
To use SonarQube we need to follow below given steps. This include setup of SonarQube Server on local Machine along with Eclipse plugin to analysis the code.
Step 1:- How to do setup of SonarQube Server on Localhost.
Please refer to https://www.sonarqube.org/#_ and click on Dowload icon and select the latest version of SonarQube. While writing this blog we had 6.5 version as the laterst one. Extract the sonarqube-6.5.zip and move to the bin folder C:\sonarqube-6.5\sonarqube-6.5\bin.
Here we will find many subfolder that contains *.sh and *.bat file to start server in different O/S. As we are using windows-x86-64 move inside C:\sonarqube-6.5\sonarqube-6.5\bin\windows-x86-64 and execute following command.
C:\sonarqube-6.5\sonarqube-6.5\bin\windows-x86-64>StartSonar.bat
.......
jvm 1 | 2017.08.16 13:42:58 INFO app[][o.s.a.SchedulerImpl] SonarQube is up
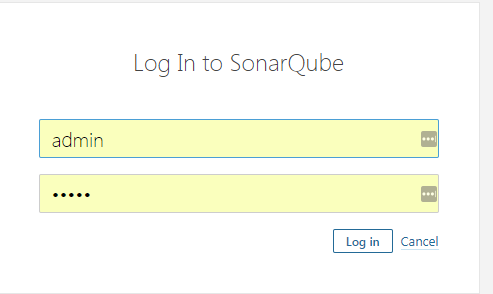
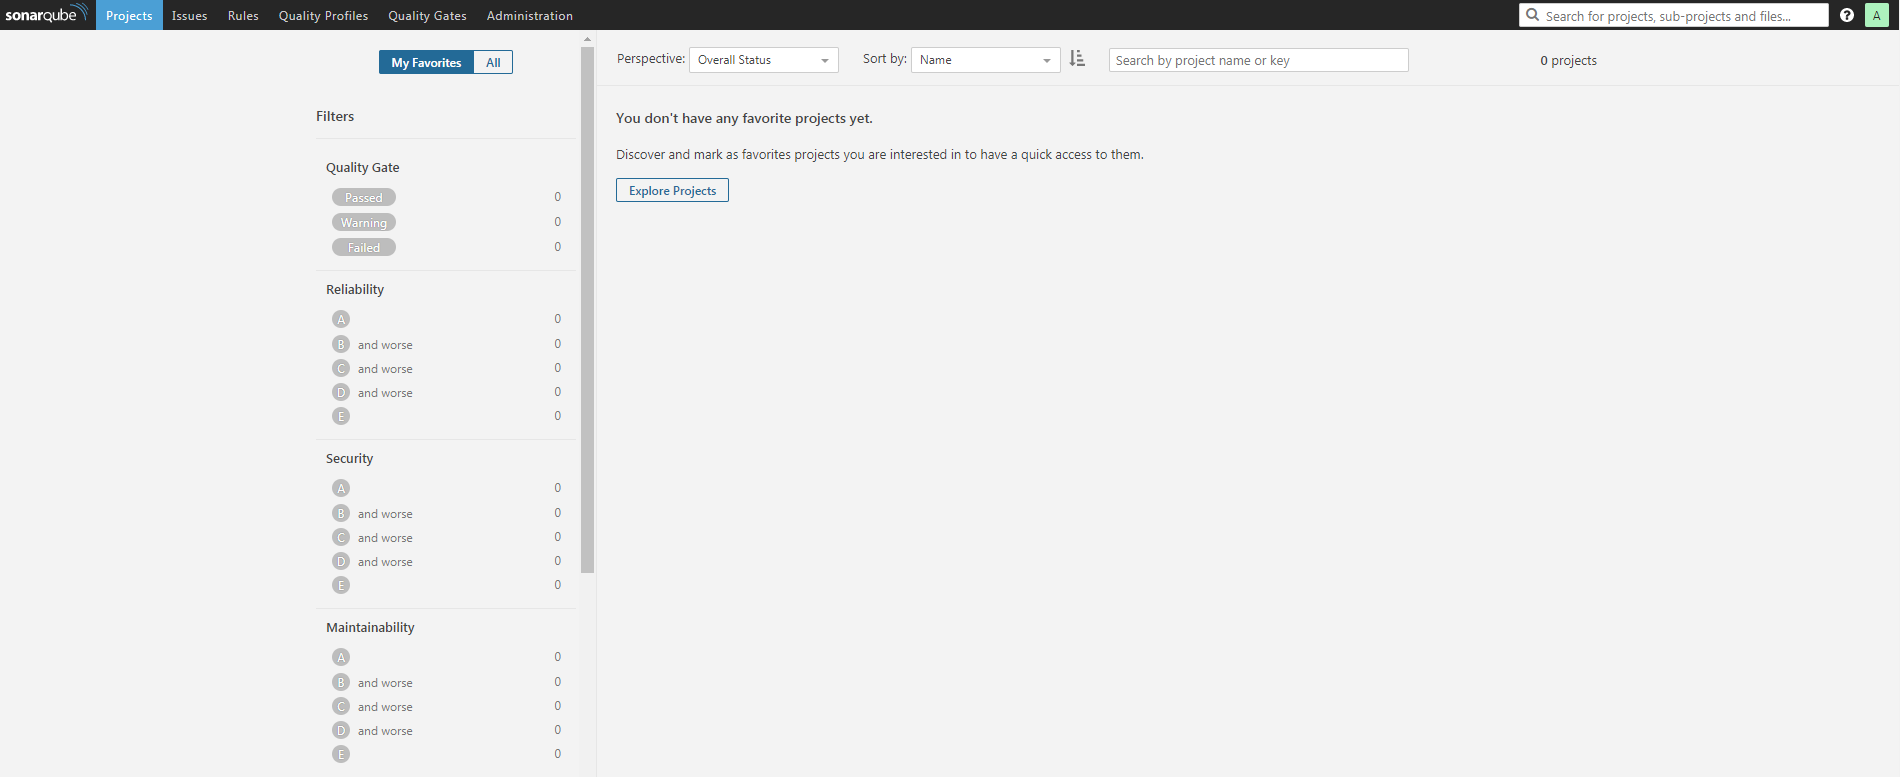
Above line indicate that our server is started on local host @ port 9000. Cross verify https://localhost:9000 and u will be able to see this screen. Click on Login and use default userid and passwrod admin/admin to get logged into the SonarQube server.
Step 2:- Performing Code Analysing using Eclipse Plug in for SonarLite
As a java developer we generally prefer Eclipse IDE. Eclipse come with many plugin for development one of them is sonar Qube. We can install this plugin from below given loacation
https://marketplace.eclipse.org/content/sonarlint
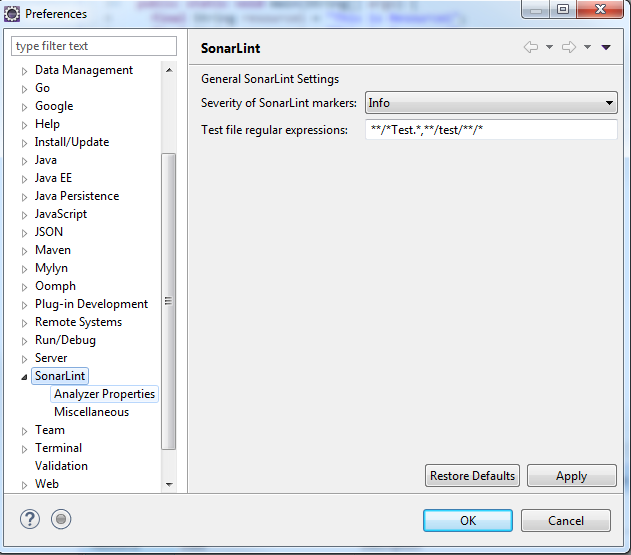
Once the plugin is installed in the Eclipse restart it and reconfirm successful installtion by checking availability of option Window-->preference->SolarLit
Step 3:- configure the Sonar server in eclipse
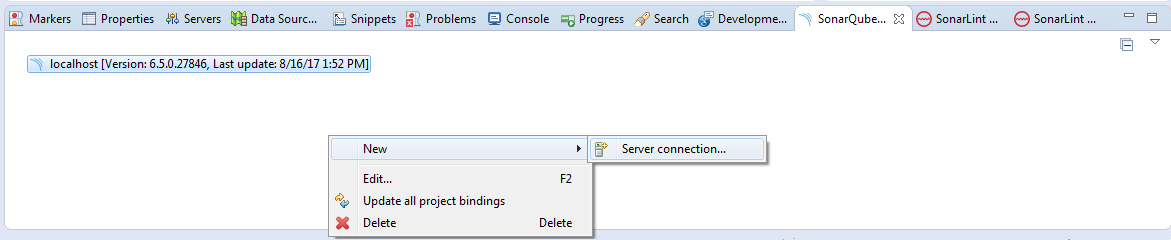
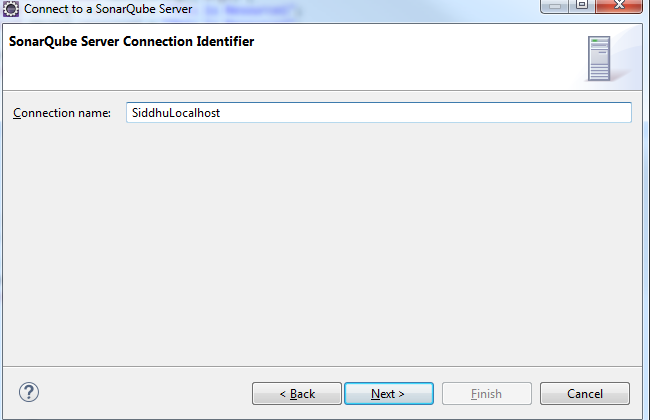
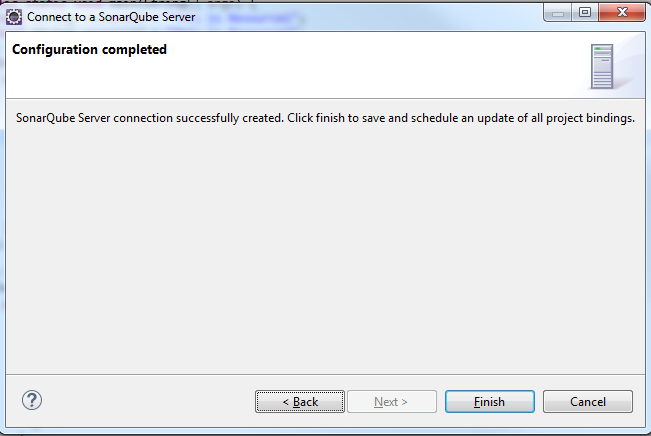
Lets now configure our Local host server inside Eclipse SolanLite Plugin. To do this Create a new SolarQube server using eclipse "File -> New -> Other... -> SonarLint -> New Server".
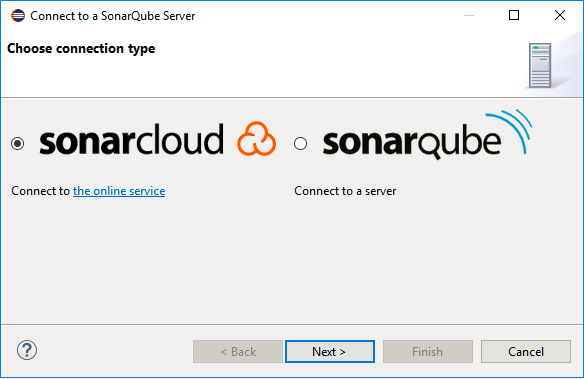
Here we had two option
1- Cloude
2- using Local host
Chose option 2 and follow below steps
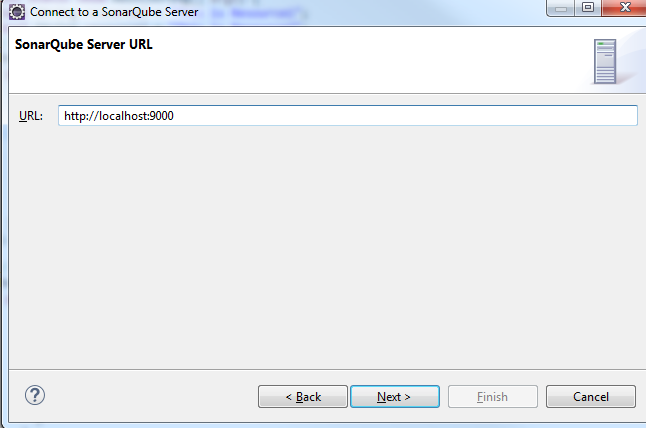
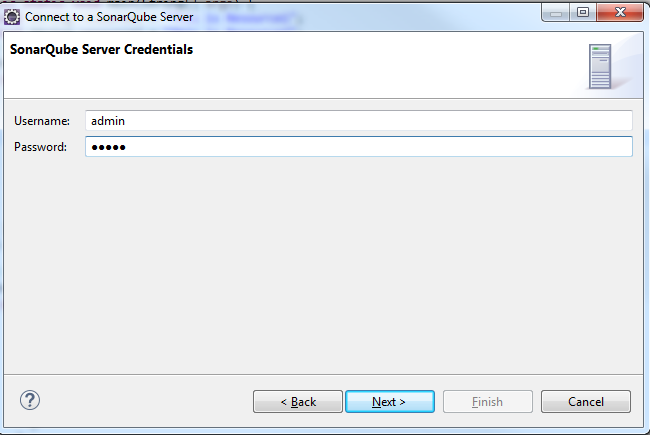
It will ask you for Token or User+password. If we chose to use Token by generating token from follwing below screen of our localhost SonarQube server.
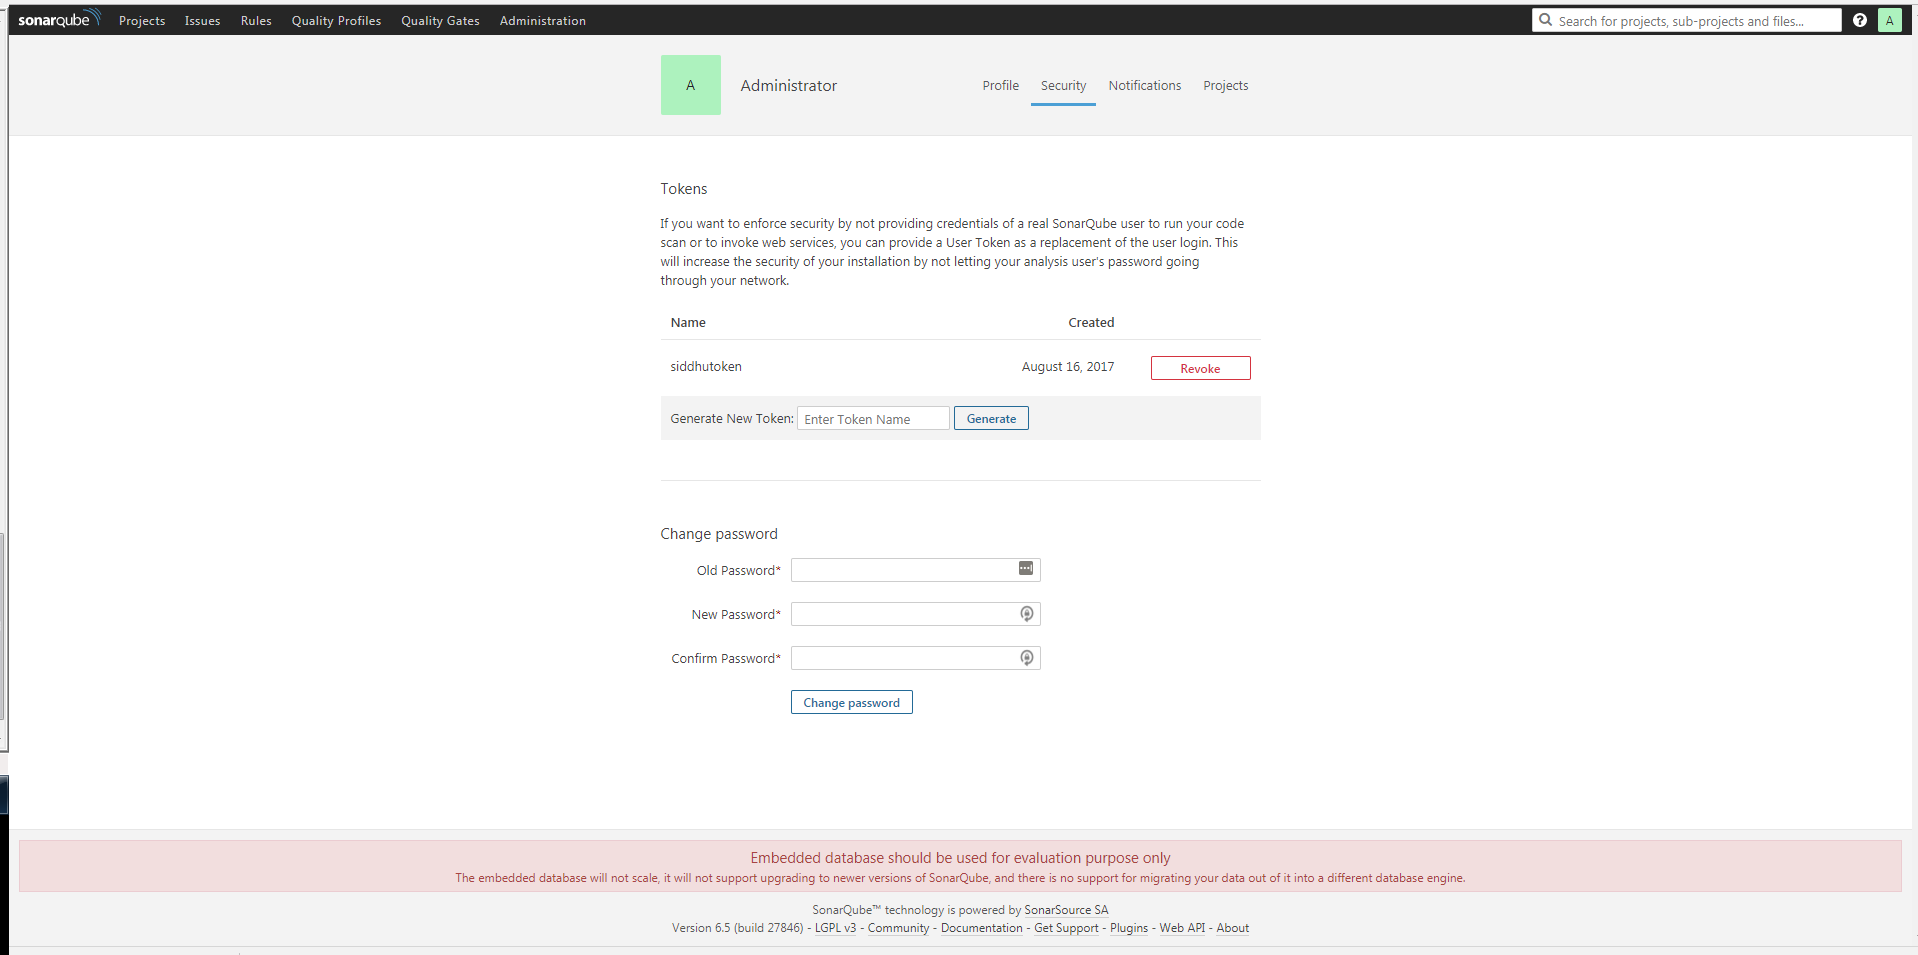
Or we can directly use userid and password admin/admin to configure Localhost SonarQube server.
SonarQube is capable enough to show the health of an application and also highlight issues and risk introduced into the project due to new code/existing code merge.. With help of Sonar Qube we can improve code quality systematically.
To use SonarQube we need to follow below given steps. This include setup of SonarQube Server on local Machine along with Eclipse plugin to analysis the code.
Step 1:- How to do setup of SonarQube Server on Localhost.
Please refer to https://www.sonarqube.org/#_ and click on Dowload icon and select the latest version of SonarQube. While writing this blog we had 6.5 version as the laterst one. Extract the sonarqube-6.5.zip and move to the bin folder C:\sonarqube-6.5\sonarqube-6.5\bin.
Here we will find many subfolder that contains *.sh and *.bat file to start server in different O/S. As we are using windows-x86-64 move inside C:\sonarqube-6.5\sonarqube-6.5\bin\windows-x86-64 and execute following command.
C:\sonarqube-6.5\sonarqube-6.5\bin\windows-x86-64>StartSonar.bat
.......
jvm 1 | 2017.08.16 13:42:58 INFO app[][o.s.a.SchedulerImpl] SonarQube is up
Above line indicate that our server is started on local host @ port 9000. Cross verify https://localhost:9000 and u will be able to see this screen. Click on Login and use default userid and passwrod admin/admin to get logged into the SonarQube server.
Step 2:- Performing Code Analysing using Eclipse Plug in for SonarLite
As a java developer we generally prefer Eclipse IDE. Eclipse come with many plugin for development one of them is sonar Qube. We can install this plugin from below given loacation
https://marketplace.eclipse.org/content/sonarlint
Once the plugin is installed in the Eclipse restart it and reconfirm successful installtion by checking availability of option Window-->preference->SolarLit
Step 3:- configure the Sonar server in eclipse
Lets now configure our Local host server inside Eclipse SolanLite Plugin. To do this Create a new SolarQube server using eclipse "File -> New -> Other... -> SonarLint -> New Server".
Here we had two option
1- Cloude
2- using Local host
Chose option 2 and follow below steps
It will ask you for Token or User+password. If we chose to use Token by generating token from follwing below screen of our localhost SonarQube server.
Or we can directly use userid and password admin/admin to configure Localhost SonarQube server.
In this approach we need to create a project first in the sonarqube and then need to run the maven project command and finally we will get the name here that is needed for binding with the sonar qube.
refer to the
3-Third option is to use the mvn command on prompt to reflect the report on the localhost SonarQube Server browser of below site
https://shdhumale.wordpress.com/2019/06/18/different-way-to-analysis-project-using-sonarqube/
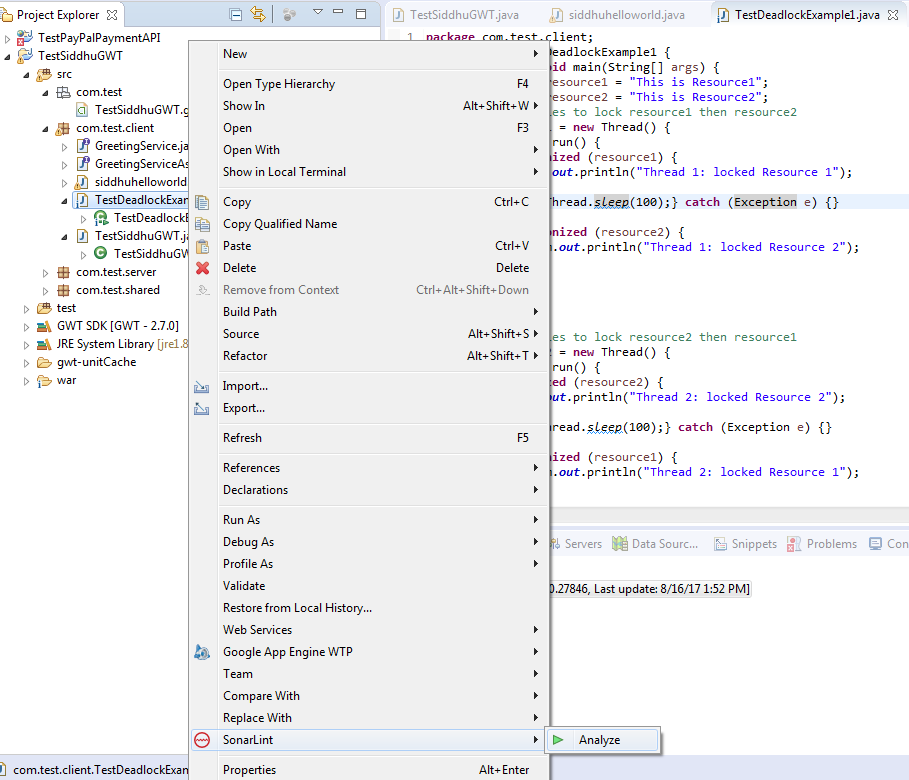
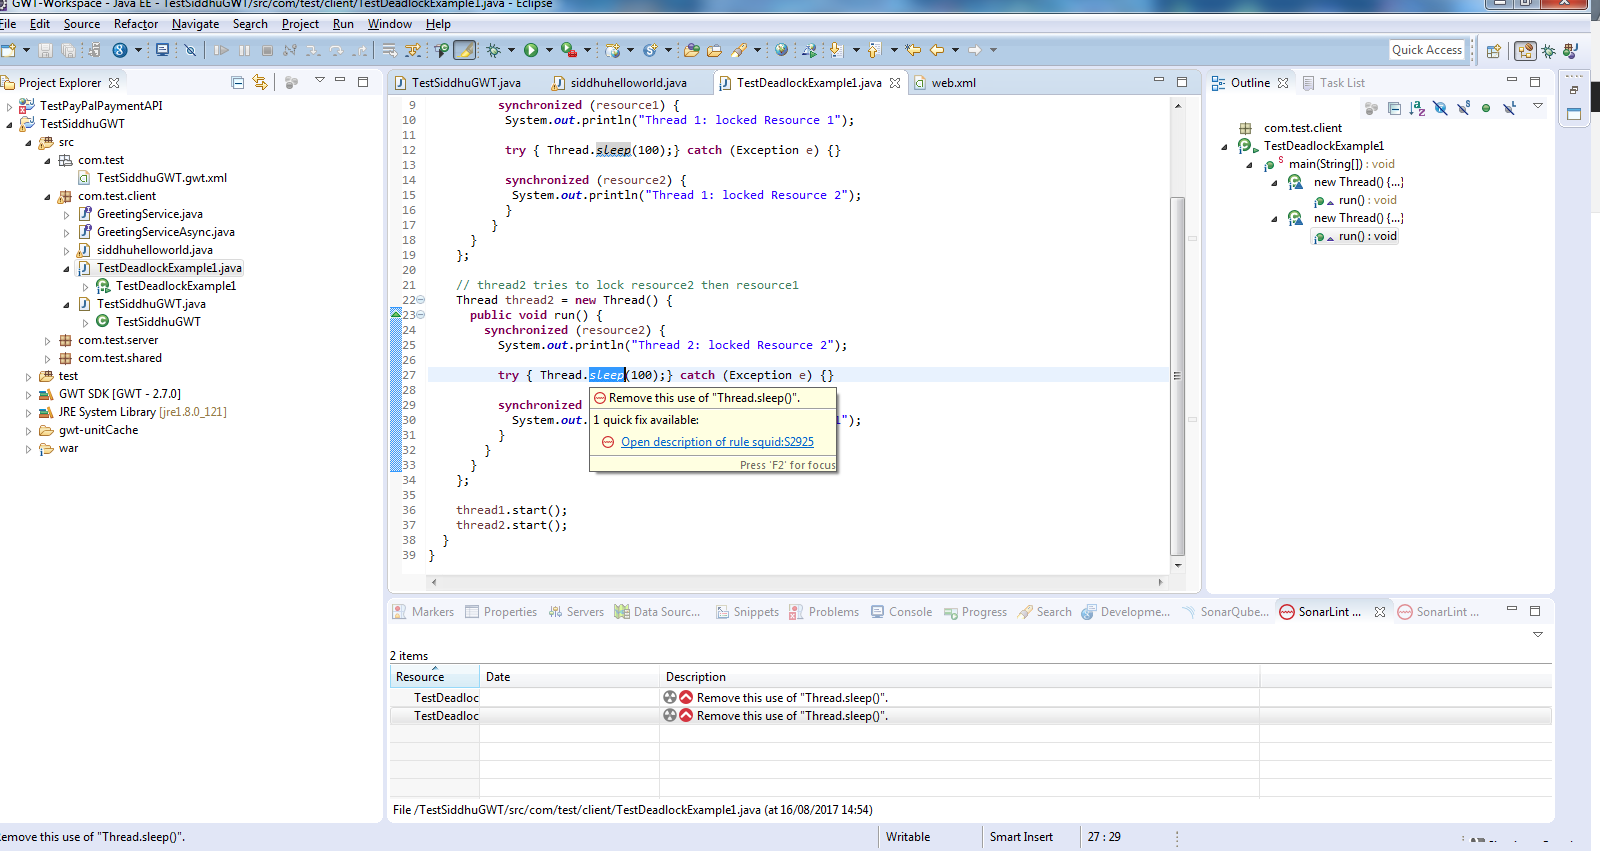
Step 4:- Run the sonar Plugin and modify the code.
Now we are ready to run the sonarQube code analyser on our code. Right click on the java file and find/modify the leak code .