In past blog we have seen use of Keykloak as IdP identity provider but there are bright chances that user like to have OAuth behaviour such as they want their user to be logged in from the external IdP such as twitter/facebook/linkedin etc. Keykloak provide you the same.
For this, you need to make this configuration changes in your keycloak server.
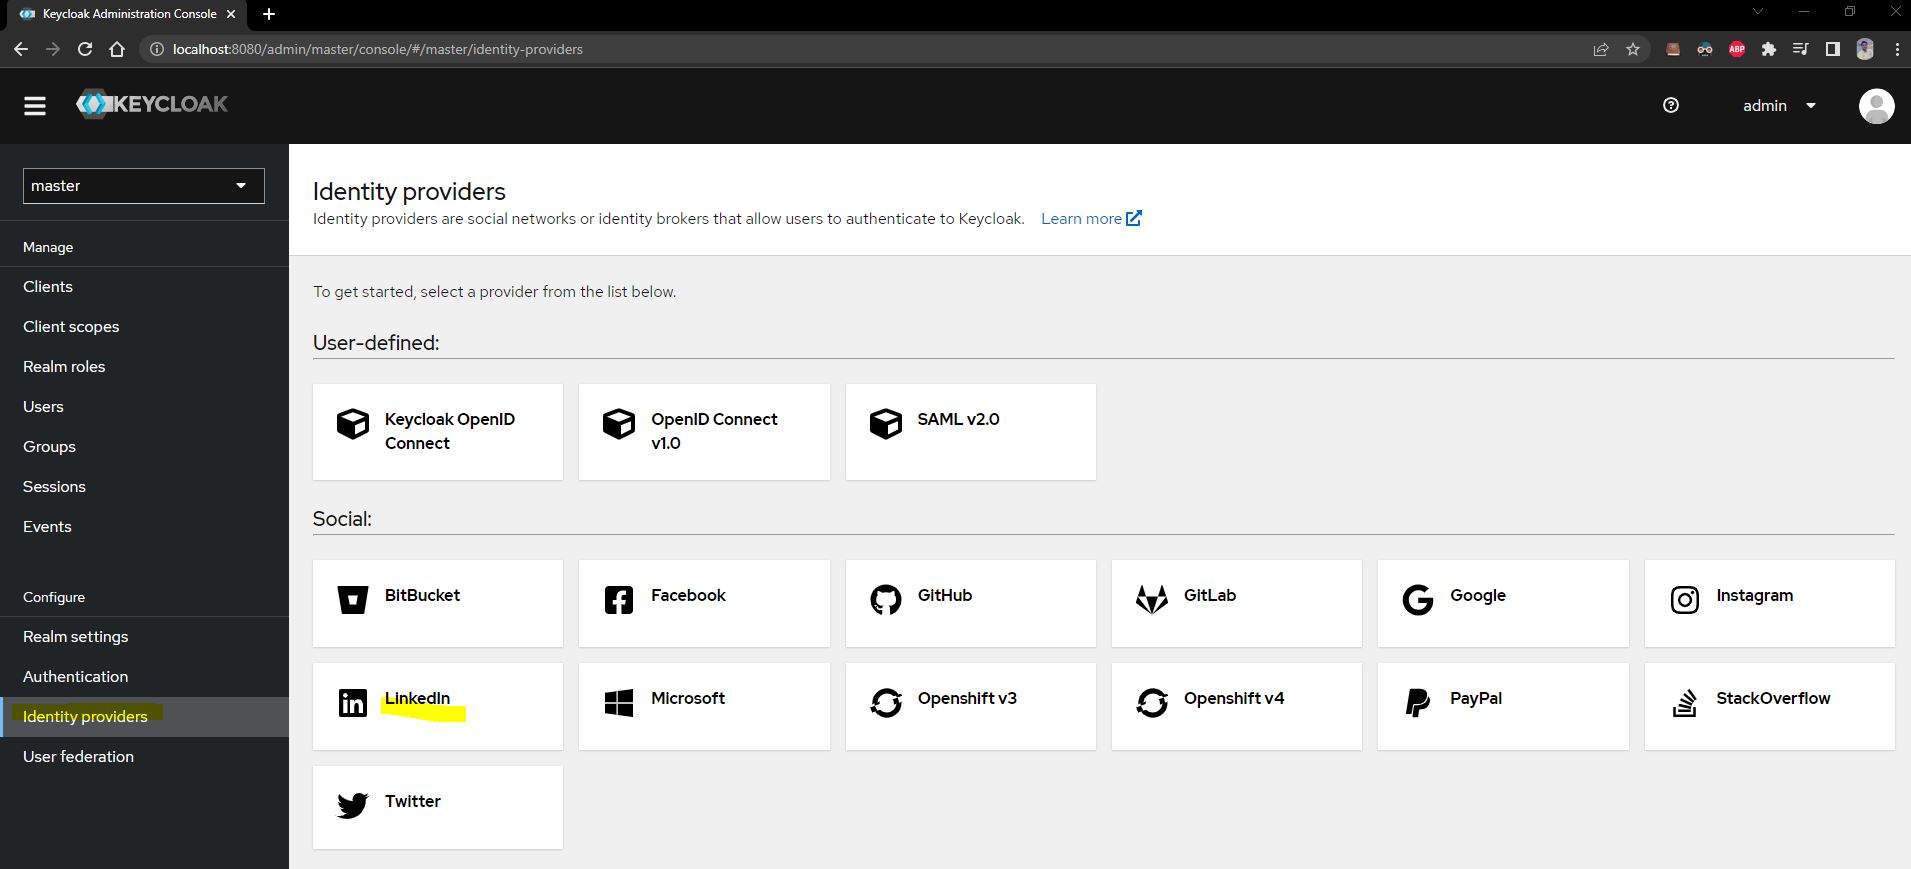
Go to Identity provider and chose from the option which IdP you want to get your user authenticated i.e. Linkedin
Enter your client id and client secret which we have used in past blog example
Finally when you hit the private url you will now able to see the linkedin logi url too
Now lets try to integrate our keycloak server with simple spring boot application and secure our url. In this exercise we will try to expose two url one public and one private and will try to protect our private url using keycloak server as an IDP.
For this exercise we will follow below step sequence wise
1- create client in keycloak 2- create role in keycloak 3- create user in keycloak 4- Create a spring boot application 5- finally integrate keycloak in springboot application using confi
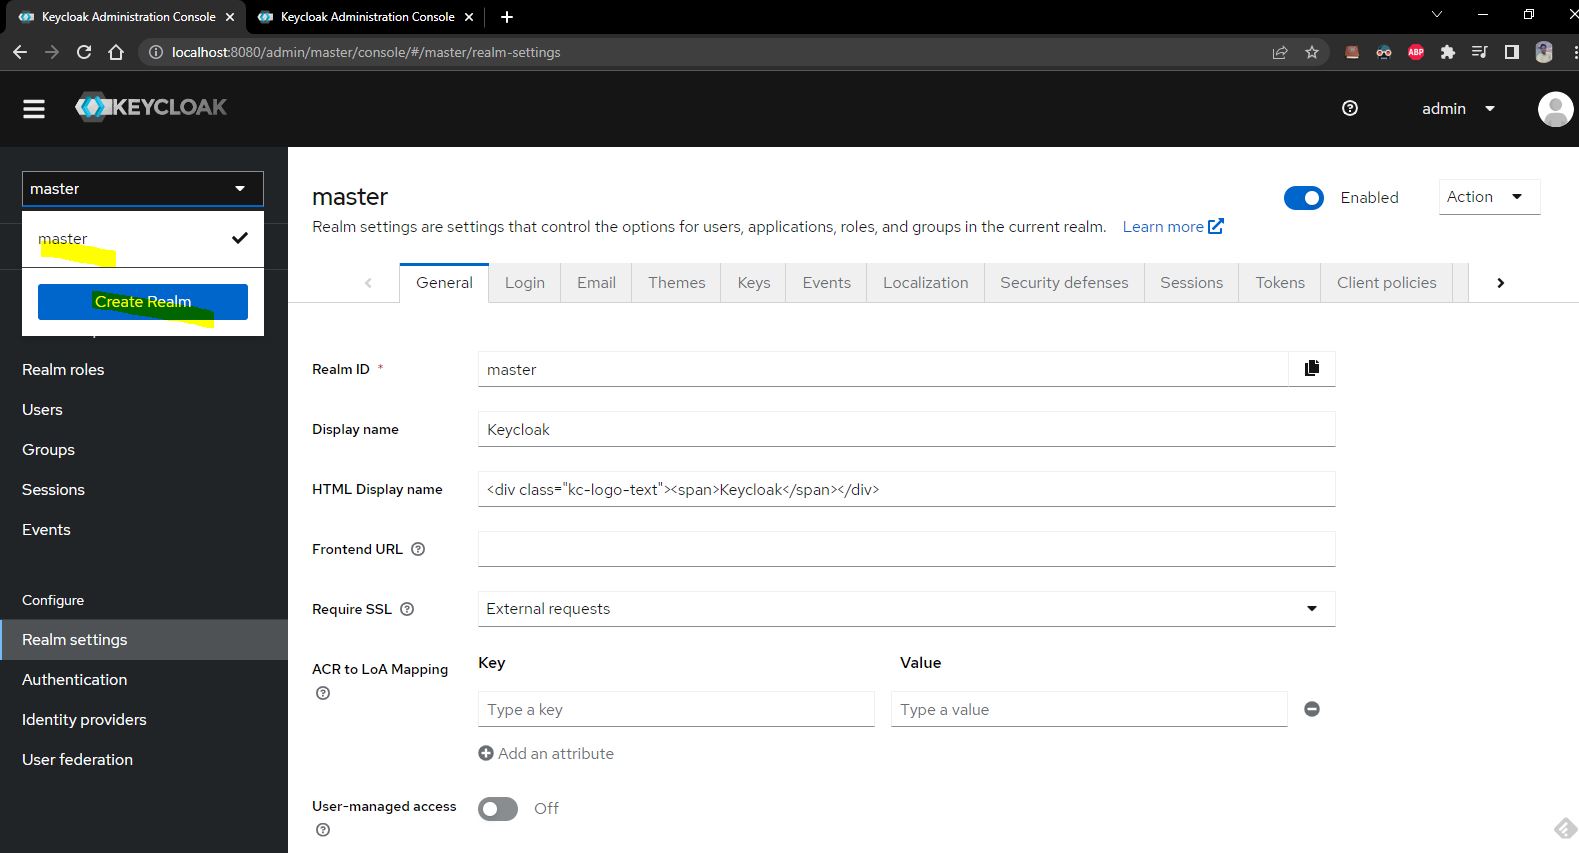
Note here we are doing everyting in default realm i.e. Master for better use do not touch with default realm better to create your own using below screen.
But as said we are doing this POC on Master realm.
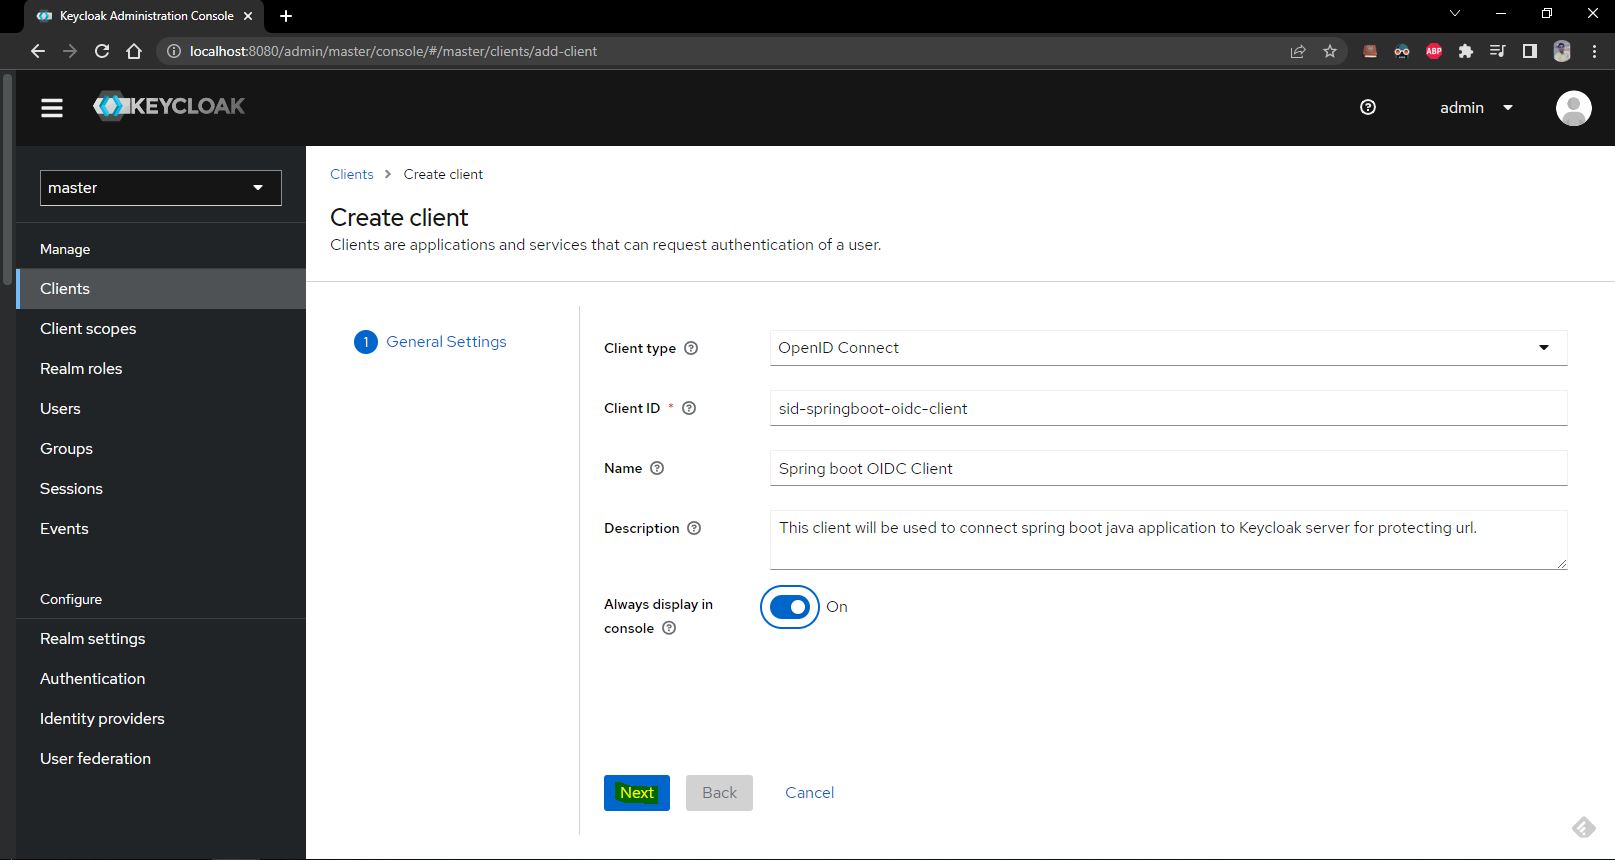
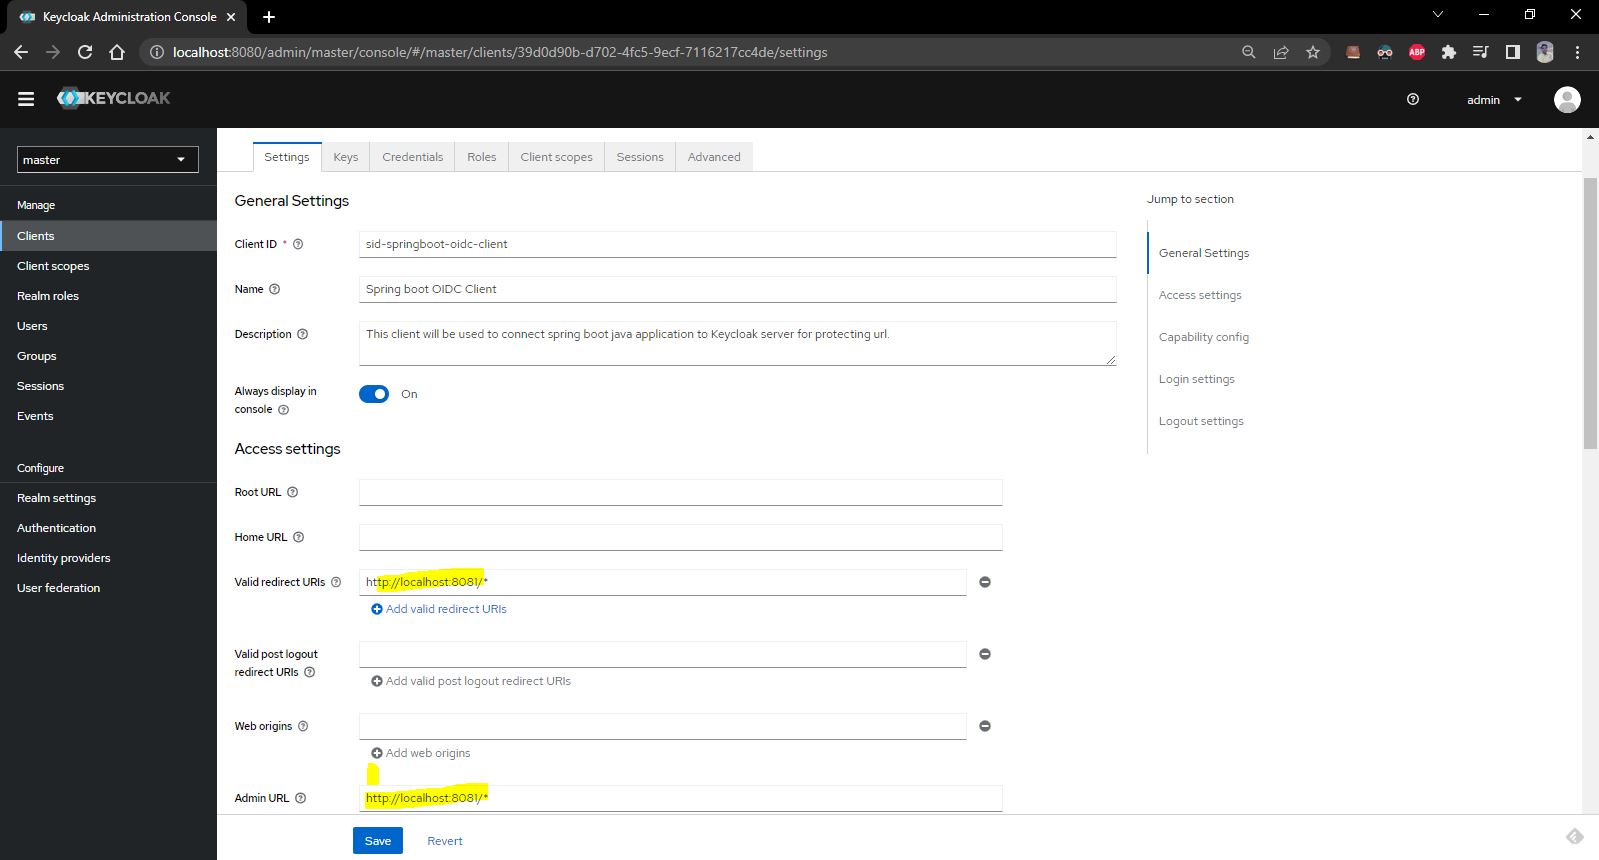
Lets do first step 1- create client in keycloak
Please follow below step religiously. We are using STS for the same. In this exercise we are using OpenID connectore protocol and keycloak spring boot adapter (This is openid connector adapter).
First open the keycloak admin console and create new client.
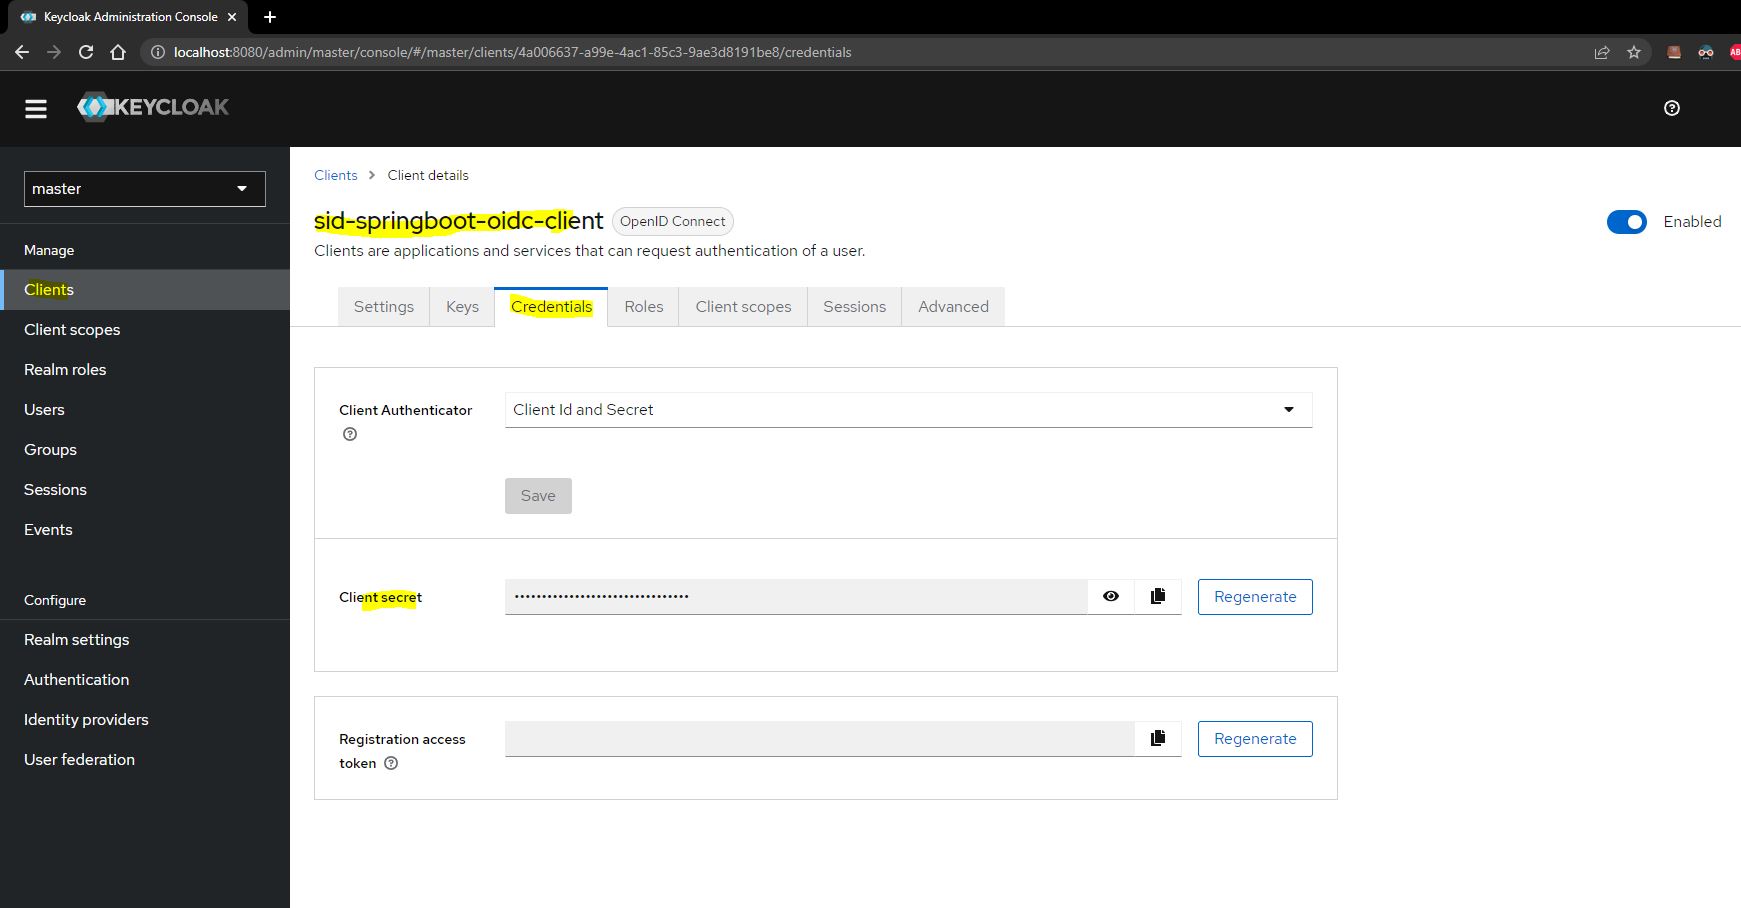
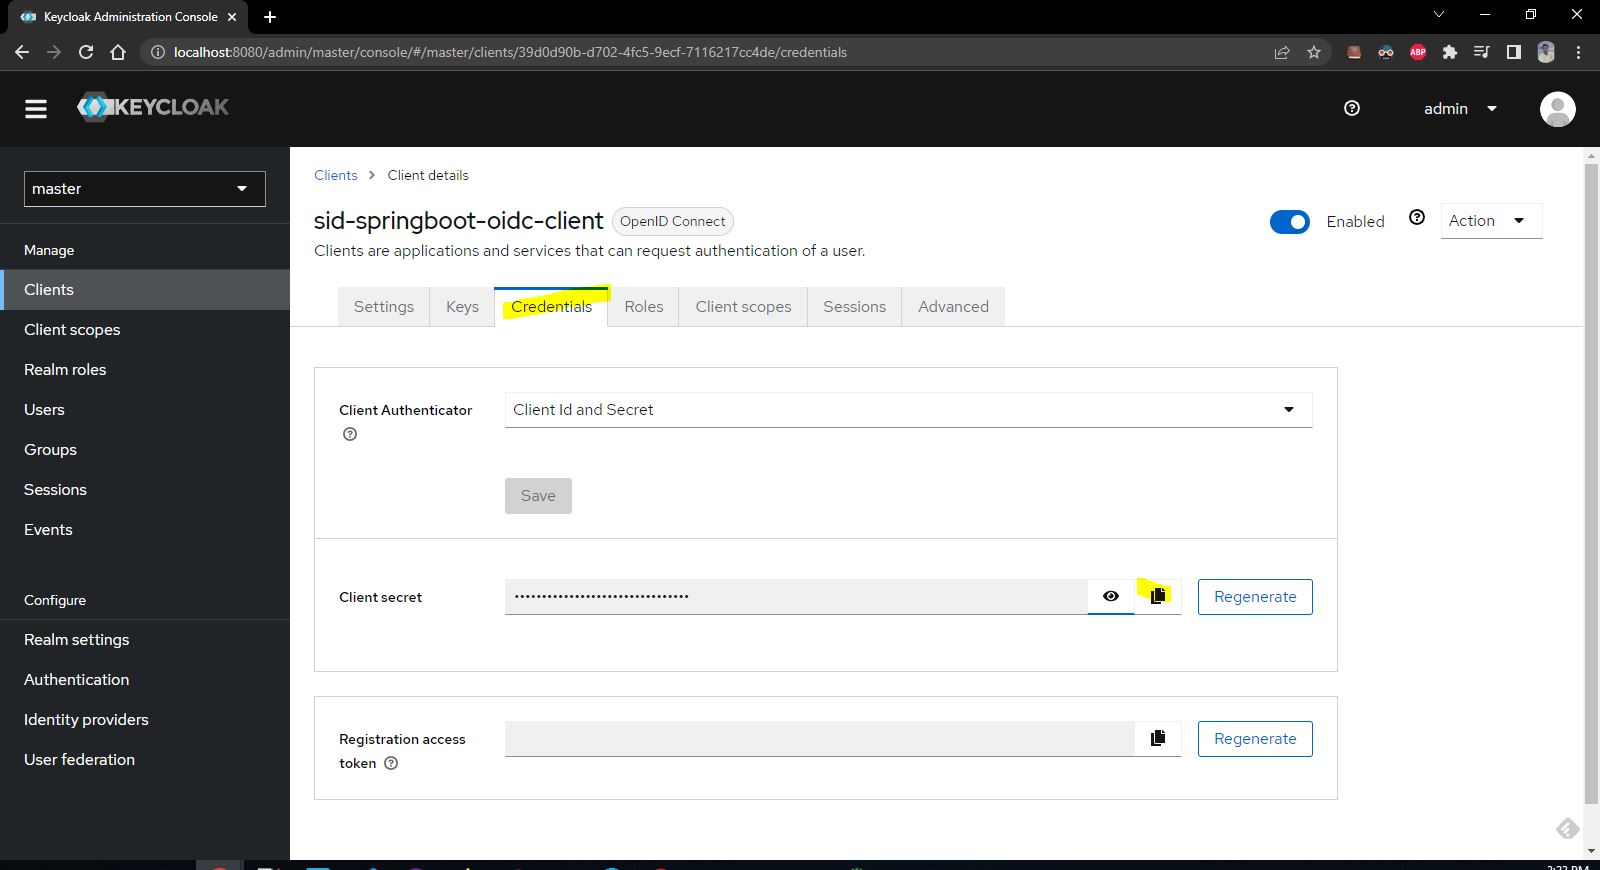
Now get the client secret from client credential
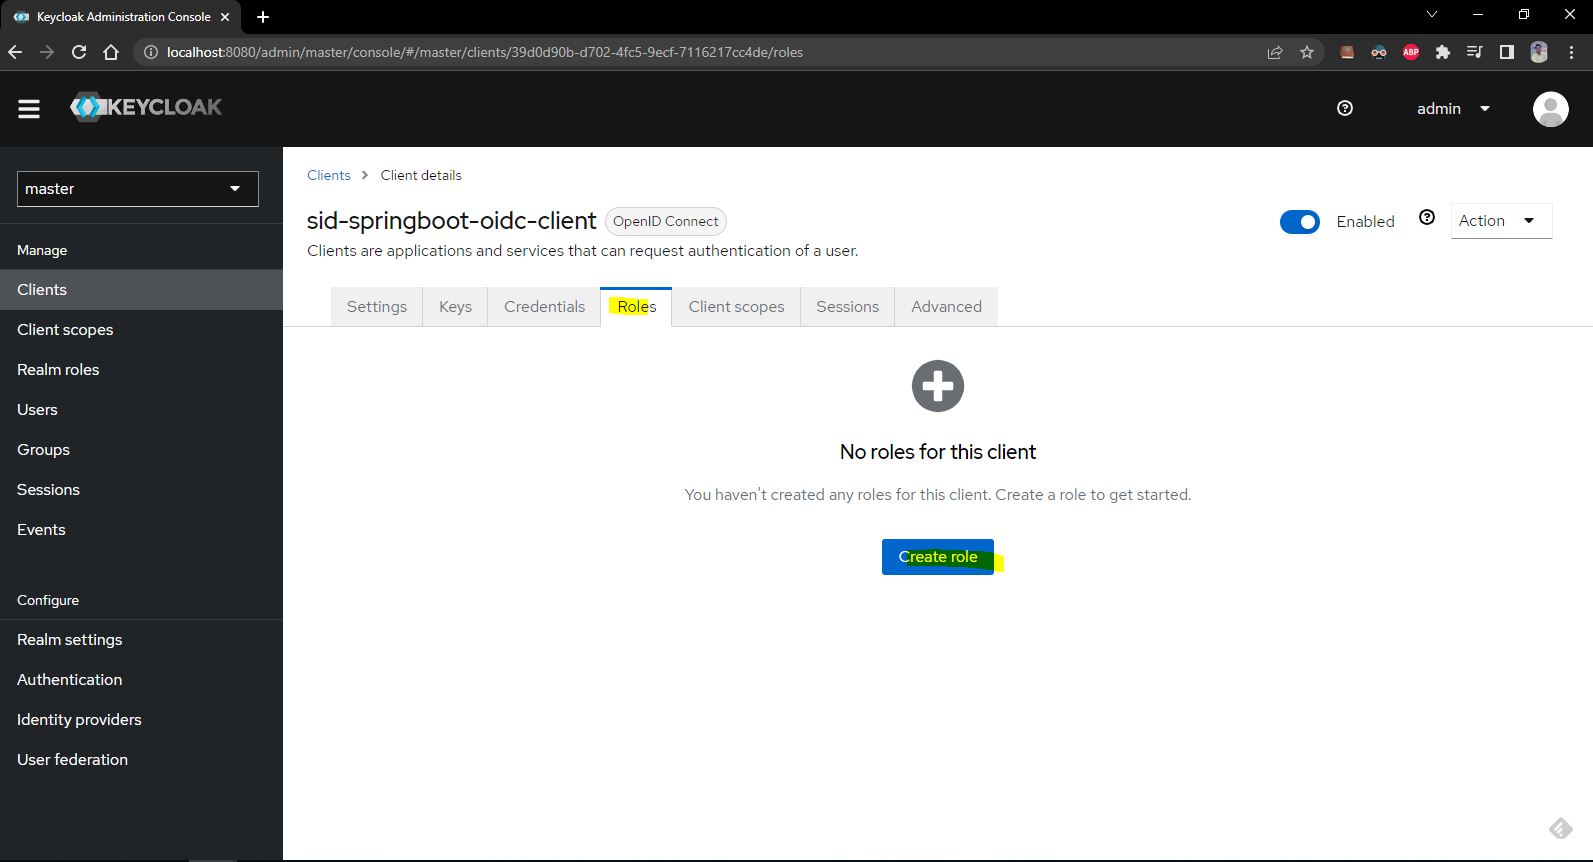
Now lets create a new role
2- create role in keycloak
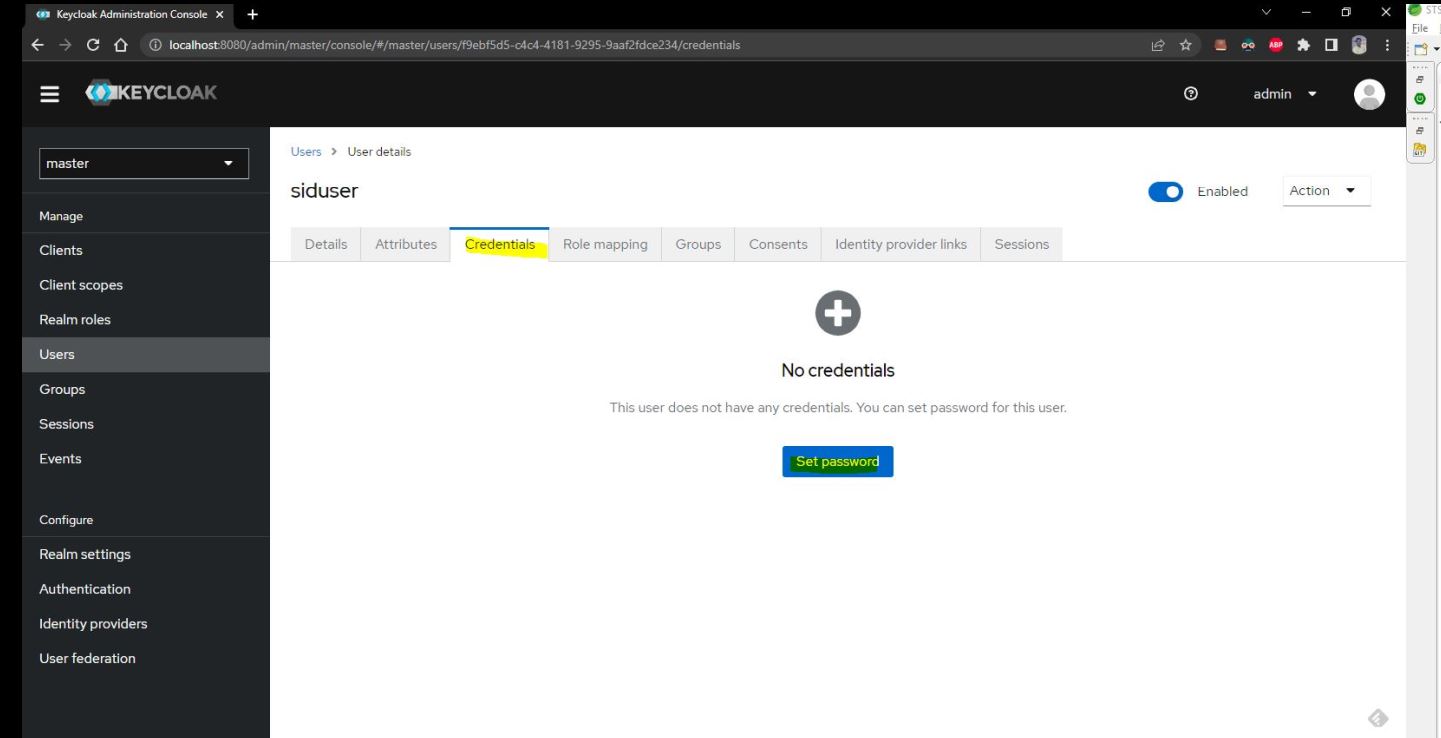
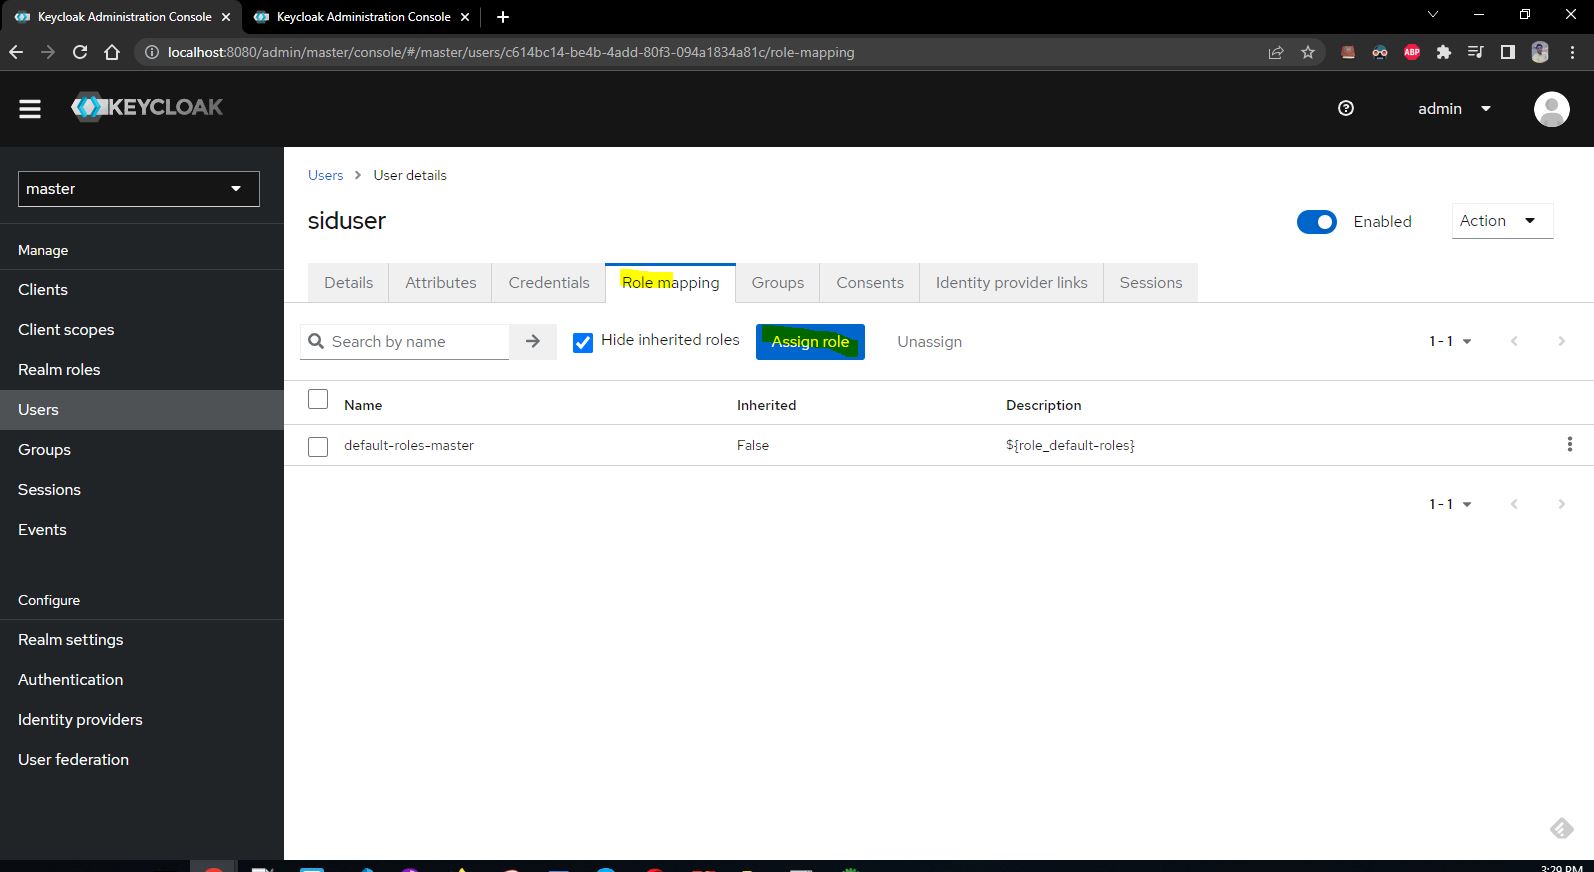
3- create user in keycloak
Now we will assgin the role created in step 2 to a new user in this step 3.
Now lets create the credential for this new created siduser using below screen
Now lets assign our created role to this user.
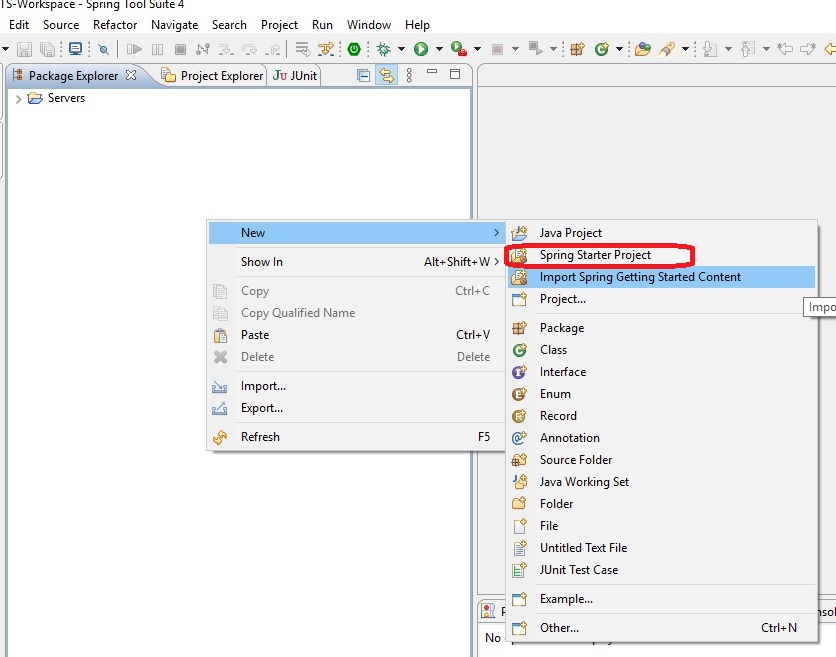
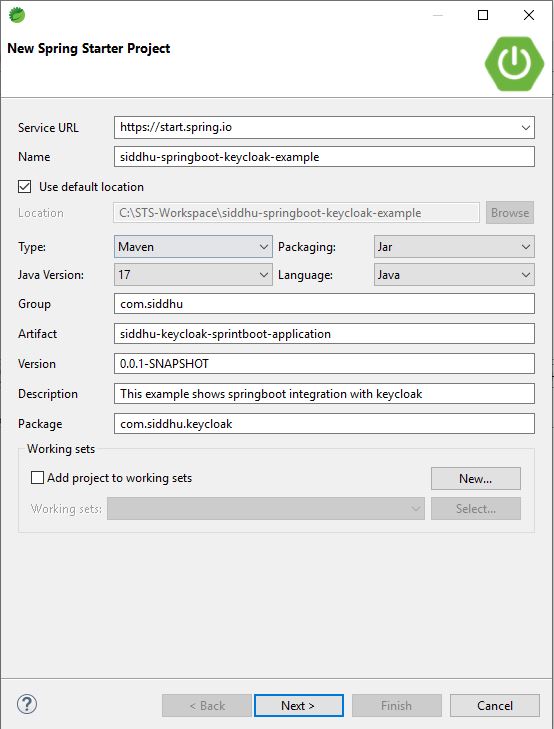
4- Create a spring boot application
Now lets create the springboot application as below