Step 1:- Download this selendroid-standalone-0.17.0-with-dependencies.jar from below given url
https://github.com/selendroid/selendroid/releases/download/0.17.0/selendroid-standalone-0.17.0-with-dependencies.jar
and use this command to start it on port 4444 (Use your desire port to start this jar)
C:\Software\Mobile_Automation\newone\NewAPK>java -jar selendroid-standalone-0.17.0-with-dependencies.jar
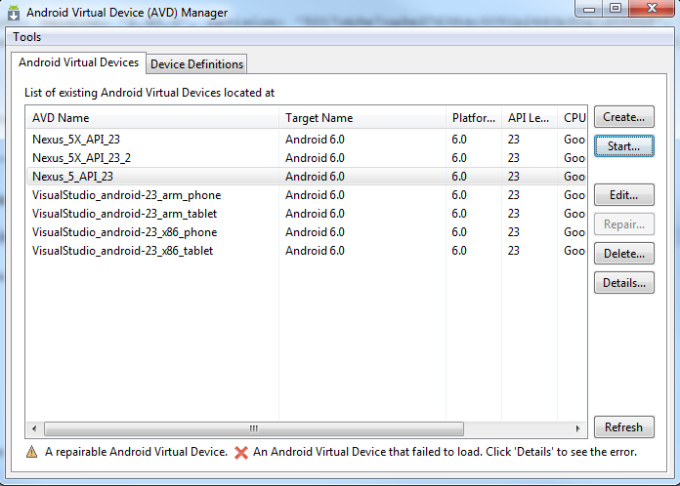
Step 2:- Run AVD Manager.exe kept at location
C:\Users\Test\AppData\Local\Android\sdk
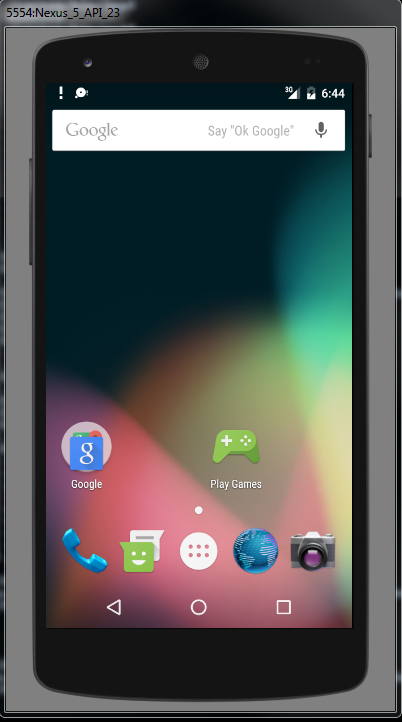
and Start Emulator i.e. execute AVD Manager.exe which we want to run
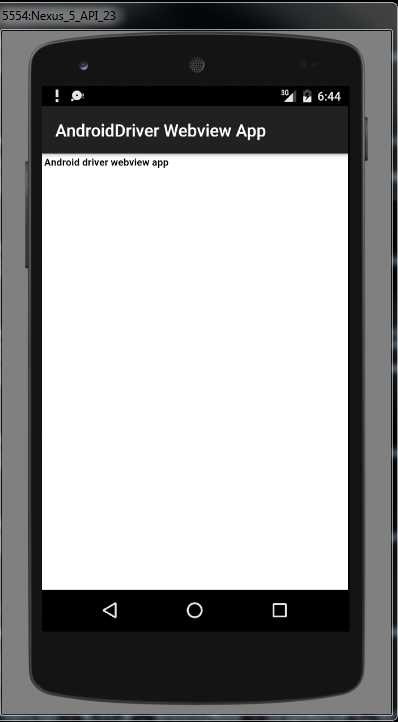
Step 3:- Once Emulator is start make sure to confirm that we are able to see our deployed apk main activity class and app id on this page on the screen along with Emulator name
http://localhost:4444/wd/hub/status
Step 4 :- Create signed apk from android studio using keystore file palced at debug.keystore available at C:\Users\test\AppData\Local\Android\sdk\platform-tools\debug.keystore for windows and for linux ~/.android/debug.keystore
Keystore name: "debug.keystore"
Keystore password: "android"
Key alias: "androiddebugkey"
Key password: "android"
CN: "CN=Android Debug,O=Android,C=US"
Or you can also used your signed jar using your own *.keystore
https://shdhumale.wordpress.com/2017/04/10/how-to-make-apk-signed-before-installing-it-in-android-device/
Note:- Refer below screen shot for signing the apk from Android Studio.


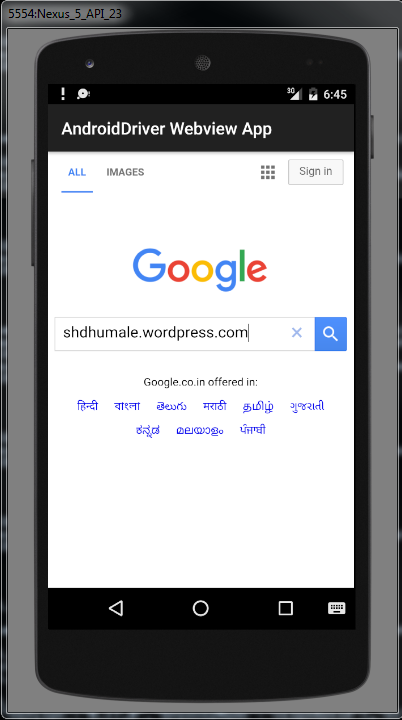
Step 5:- This is optional step if not done it will be taken care in Step 6. Install our APK in Emulator.If you don't want to use install command for installing APK you can directly drag drop apk on the Emulator screen and it will deploy your APK.
Step 6:- Take app-release-unaligned.apk that is created in step4 and start your selendroid standalone server using below command and check if you are able to see your applicaition the ui. i.e. http://localhost:4444/wd/hub/status
java -jar selendroid-standalone-0.17.0-with-dependencies.jar -keystore C:\Software\Mobile_Automation\newone\NewAPK\debug.keystore -keystorePassword android -aut app-release-unaligned.apk
or
java -jar selendroid-standalone-0.17.0-with-dependencies.jar -app app-release-unaligned.apk
Step 7:- Make sure to inspect the tag/widget id of our apk file refer to belwo site for the same.
http://selendroid.io/inspector.html
Use below java code to execute your test case
package com.test.siddhu;
import io.selendroid.client.SelendroidDriver;
import io.selendroid.common.SelendroidCapabilities;
import io.selendroid.common.device.DeviceTargetPlatform;
import io.selendroid.standalone.SelendroidLauncher;
import java.net.URL;
import org.junit.Assert;
import org.junit.Test;
import org.openqa.selenium.By;
import org.openqa.selenium.WebDriver;
import org.openqa.selenium.WebElement;
public class MobileWebTest {
private SelendroidLauncher selendroidServer = null;
private WebDriver driver = null;
@Test
public void shouldSearchWithEbay() {
try {
/* SelendroidConfiguration config = new SelendroidConfiguration();
config.addSupportedApp("/resigned-app-debug.apk");
selendroidServer = new SelendroidLauncher(config);
selendroidServer.launchSelendroid();
SelendroidCapabilities capabilities = new SelendroidCapabilities("add.siddhu.com.siddhuaddproject:1.0");
capabilities.setPlatformVersion(DeviceTargetPlatform.ANDROID22);
capabilities.setEmulator(true);
driver = new SelendroidDriver(capabilities);*/
/* SelendroidConfiguration config = new SelendroidConfiguration();
config.addSupportedApp("C:\\Software\\Mobile_Automation\\newone\\app-release-unaligned.apk");
selendroidServer = new SelendroidLauncher(config);
selendroidServer.launchSelendroid();*/
//SelendroidCapabilities capabilities = new SelendroidCapabilities("add.siddhu.com.siddhuaddproject:1.0");
// SelendroidCapabilities capa = new SelendroidCapabilities("add.siddhu.com.siddhuaddproject:1.0");
//capa.setPlatformVersion(DeviceTargetPlatform.ANDROID19);
//capa.setEmulator(true);
//capa.setModel("Nexus 5");
//WebDriver driver = new SelendroidDriver(capa);
//SelendroidCapabilities caps = SelendroidCapabilities.emulator("add.siddhu.com.siddhuaddproject:1.0");
//SelendroidCapabilities capabilities = new SelendroidCapabilities("add.siddhu.com.siddhuaddproject:1.0");
/* capabilities.setAut("add.siddhu.com.siddhuaddproject:1.0");
capabilities.setBrowserName("selendroid");
capabilities.setCapability("appPackage", "add.siddhu.com.siddhuaddproject");
capabilities.setCapability("appActivity", "add.siddhu.com.siddhuaddproject.MainActivity");*/
URL url = new URL("http://localhost:4444/wd/hub");
// DesiredCapabilities desiredCapabilities = SelendroidCapabilities.android();
//WebDriver driver = new SelendroidDriver(url,capabilities);
SelendroidCapabilities caps = new SelendroidCapabilities("add.siddhu.com.siddhuaddproject:1.0");
caps.setLaunchActivity("add.siddhu.com.siddhuaddproject.MainActivity");
// explicitly state that we want to run our test on an Android API level 10 device
//caps.setPlatformVersion(DeviceTargetPlatform.ANDROID10);
// explicitly state that we use an emulator (an AVD) for test execution rather than a physical device
caps.setEmulator(true);
WebDriver driver = new SelendroidDriver(url,caps);
WebElement inputField1 = driver.findElement(By.id("editText"));
Assert.assertEquals("true", inputField1.getAttribute("enabled"));
inputField1.sendKeys("12");
WebElement inputField2 = driver.findElement(By.id("editText2"));
Assert.assertEquals("true", inputField2.getAttribute("enabled"));
inputField2.sendKeys("13");
WebElement button = driver.findElement(By.id("button"));
button.click();
// Delay time to take effect
Thread.sleep(5000);
WebElement inputField3 = driver.findElement(By.id("editText3"));
Assert.assertEquals("true", inputField3.getAttribute("enabled"));
Assert.assertEquals("25", inputField3.getText());
driver.quit();
} catch (Exception e) {
// TODO Auto-generated catch block
e.printStackTrace();
}
}
}
Note: - If you are getting below
Selendroid server on the device didn't came up after 20sec:
OR
WARNING: Could not free Selendroid port
SEVERE: Error executing command: C:\Users\test\AppData\Local\Android\sdk\platform-tools\adb.exe forward --remove tcp:8080
Make sure to see Logcat i.e. C:\Users\test\AppData\Local\Android\sdk\platform-tools\adb.exe logcat
and check the detail log for me my application/apk was installing in the emulator but was not able to display on the screen. It was getting closed immediately and the answer was in below exception
04-12 12:56:23.729 6520 6534 E SELENDROID: java.io.FileNotFoundException: /sdcard/appcrash.log: open failed: ENOENT (No such file or directory)
To over come this add following line inside your AndroidManifest.xml
<!--uses-permission android:name="android.permission.INTERNET" />
<!--uses-permission android:name="android.permission.ACCESS_NETWORK_STATE"/>
<!--uses-permission android:name="android.permission.READ_EXTERNAL_STORAGE"/>
<!--uses-permission android:name="android.permission.WRITE_EXTERNAL_STORAGE"/>
For Example we had taken apk which provide addition of two value on gui.