Pipeline concept is well known in Devops. Pipeline can be define as the process of integration ll the aspect of devop(Build-Deploy-Test-Release) in sequential manner.
Jenkin has build in plugin call as "Delivery Pipeline Plugin" and "Build Pipeline view" which can be used in extensively manner for the same. Make sure Pipeline is wellknow in implementing CI,CD and CDI concept
CI:- Continueous Integration - Commit Code + Junit + Integration.
CDI :- Continueous Delivery - Commit Code + Junit + Integration + Deploy in Testing Env + Acceptance Testing.
CD :- Continueous Deployment- Commit Code + Junit + Integration + Deploy in Testing Env + Acceptance Testing + Deploy in production.
Lets take a small example how to build Jenikin Pipeline
Assume we have following fow jobs that need to be done before sending the deployment component in productions
1- Build the jobs
2- Deploy the jobs
3- Test the jobs
4- Release the jobs
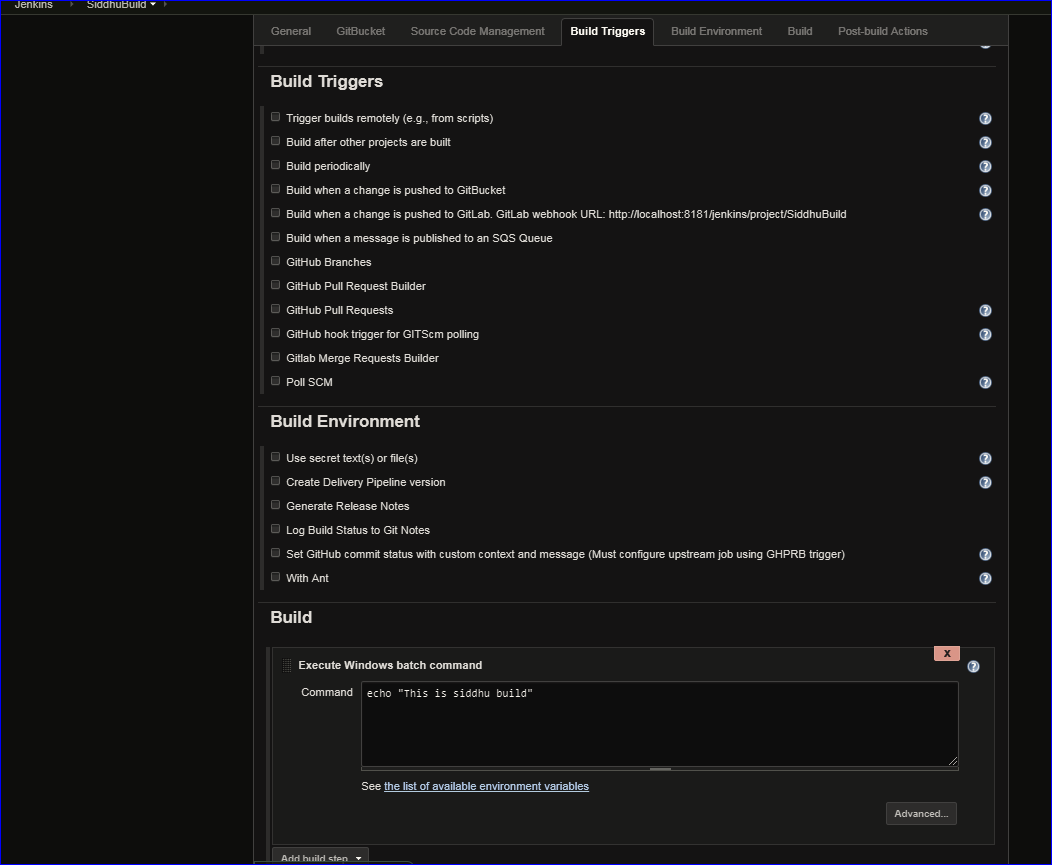
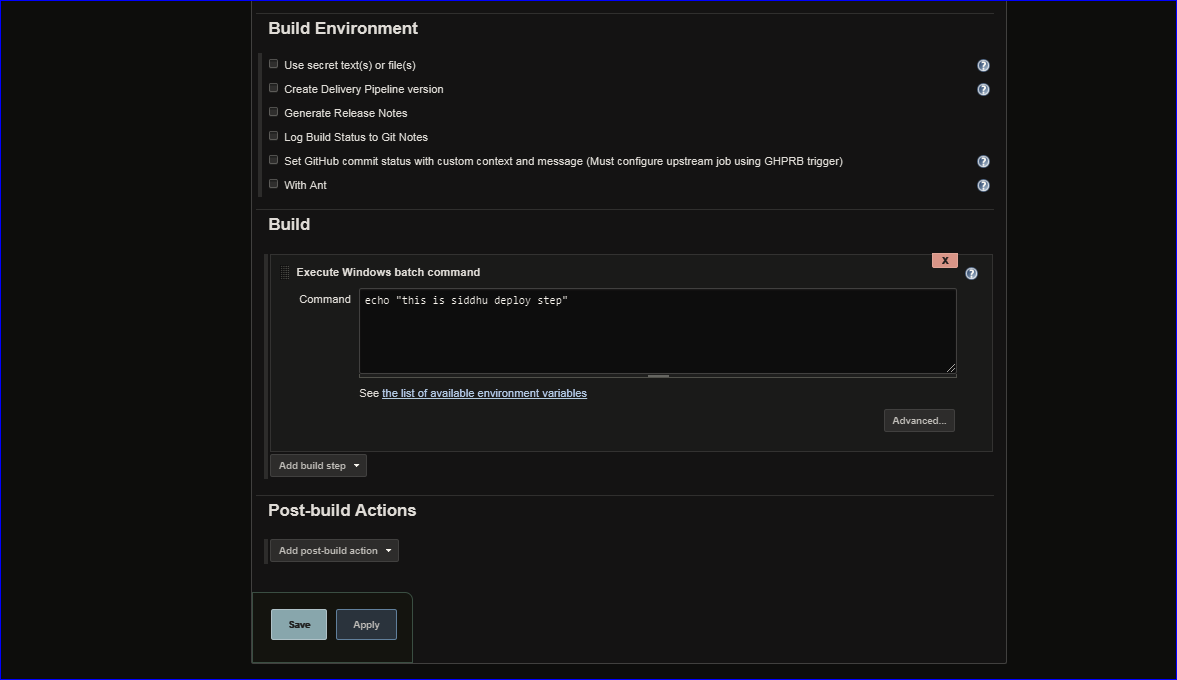
For ease of this tutorial we are not explaining what the step you need to do in all steps i.e. Build step:- if it smaven you will need maven plugin and then configuration etc, Deploy :- You need to stop the tomcat and them depoly the war etc Test :- for Junit during maven build only we can suggest to do JUnit else trigger the external automation testing like selenium etc.
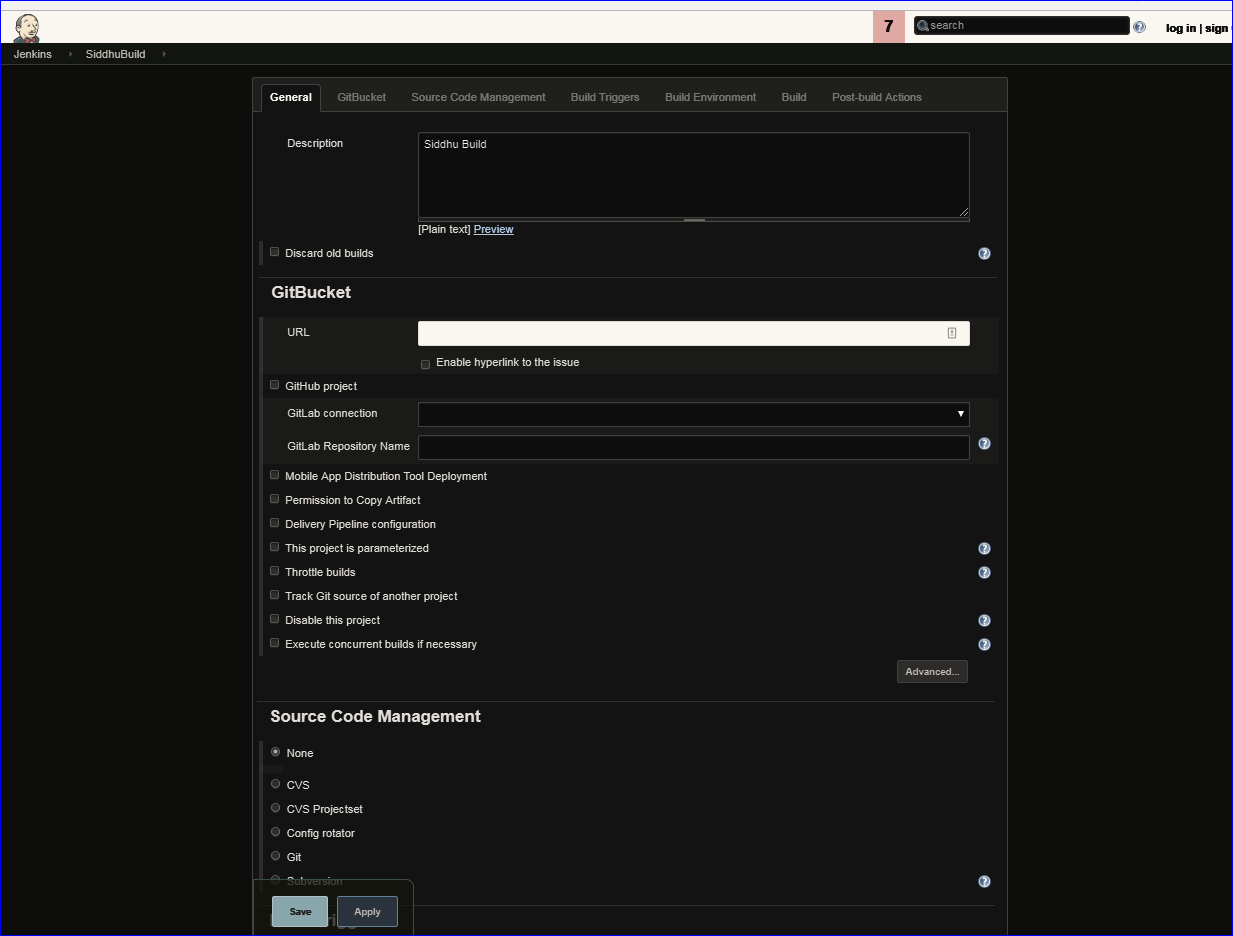
Here in our example we will keep it simple just window cmd command to execute as we are just trying to understand Jenkin Pipeline
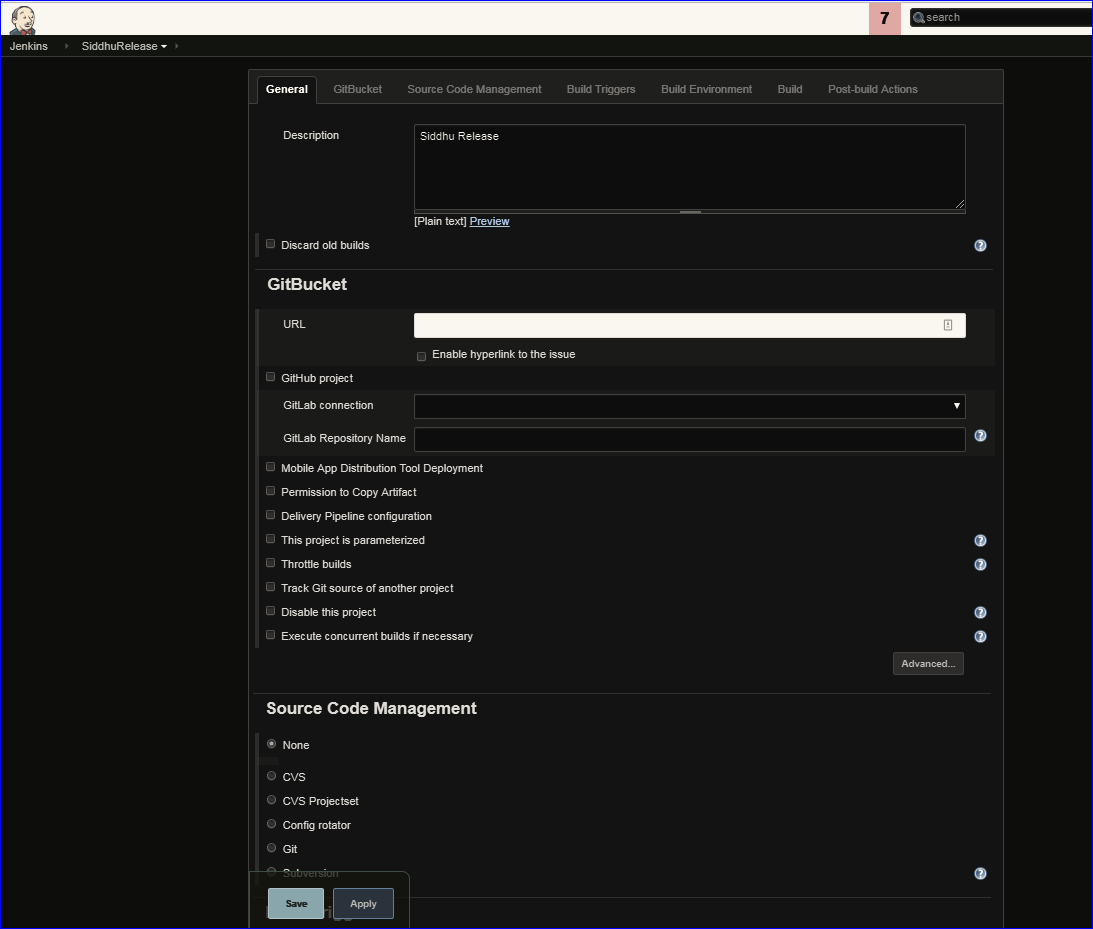
Now lets try to create all belwo four jobs.
1- Build Job
2-Deploy Job
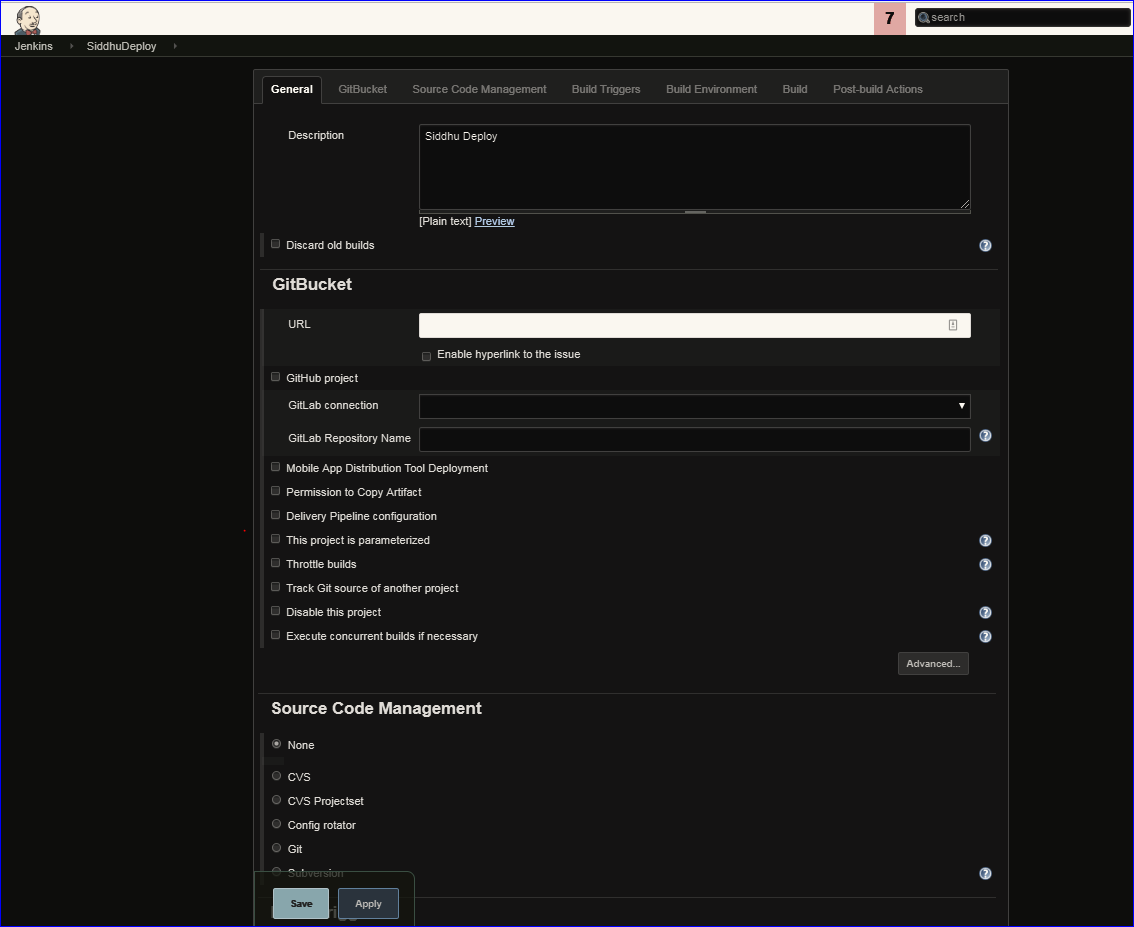
3- Test Job
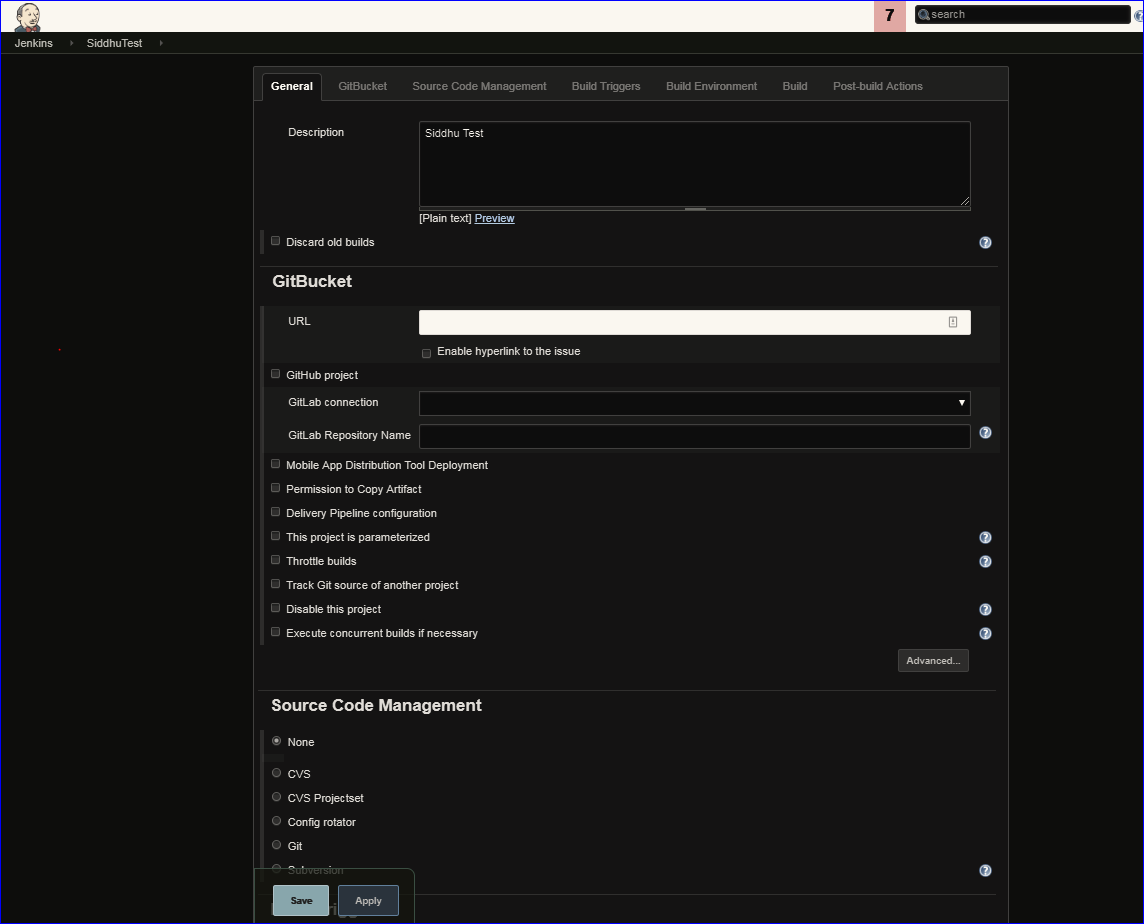
4- Release
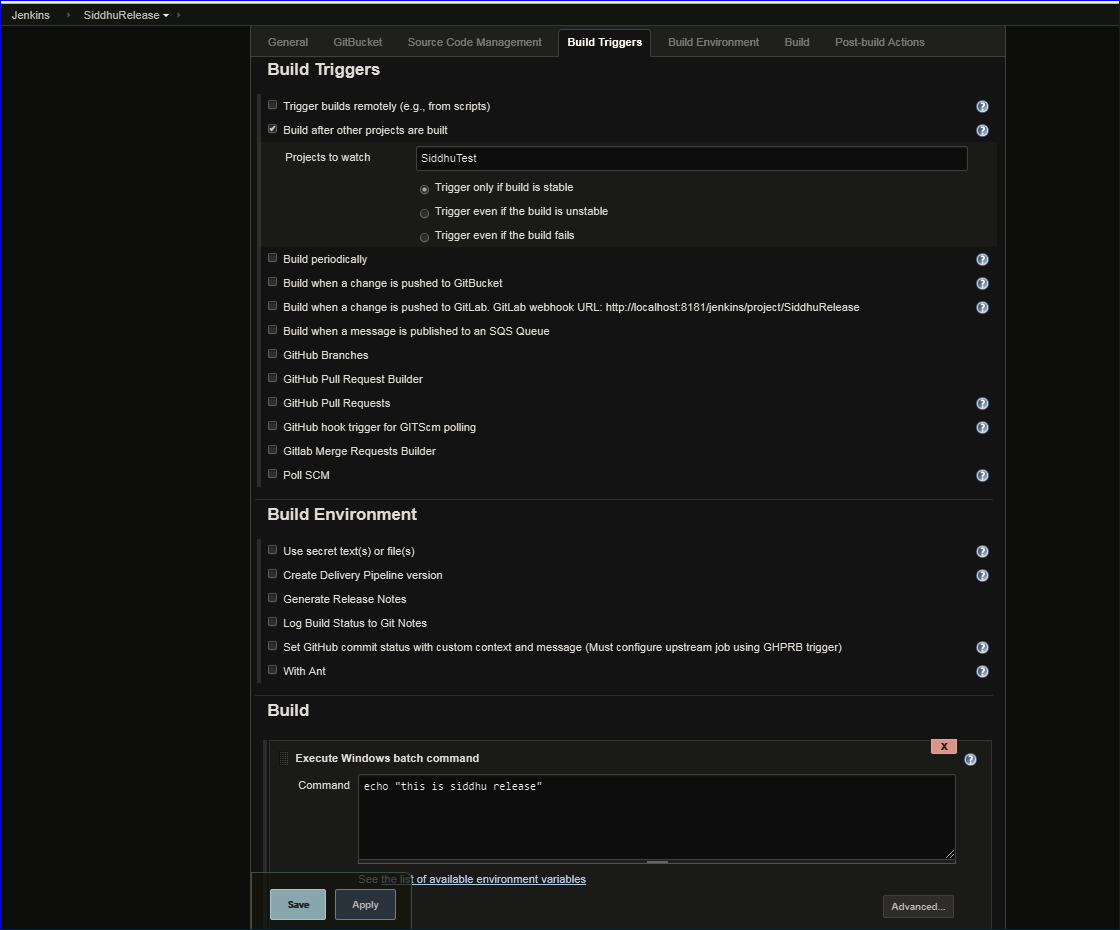
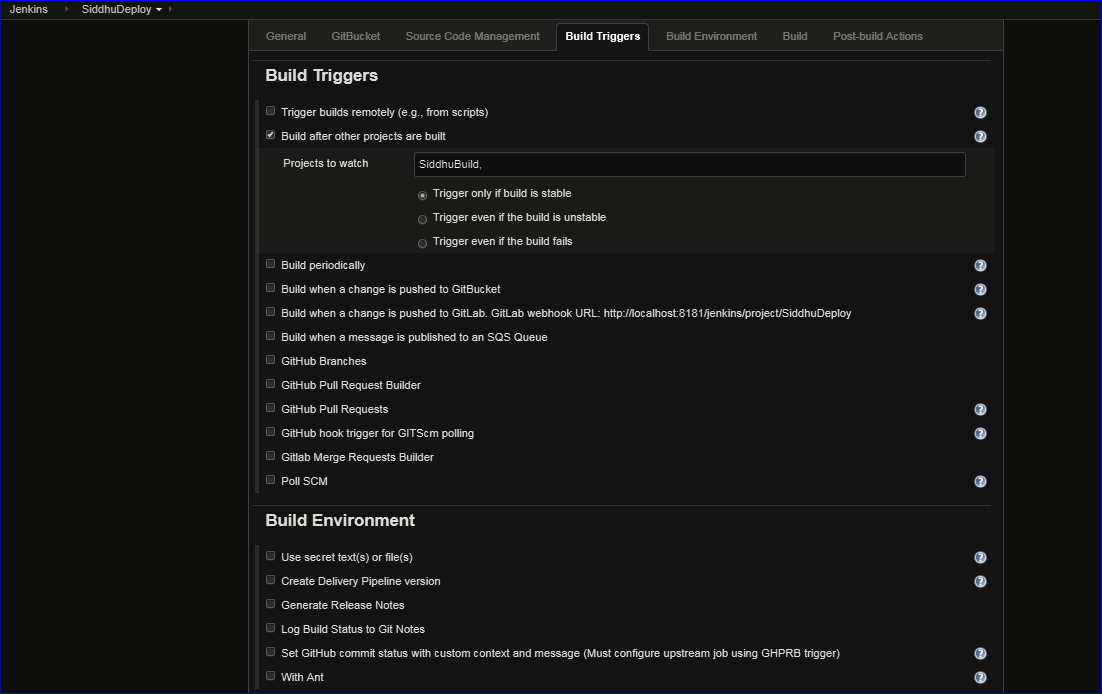
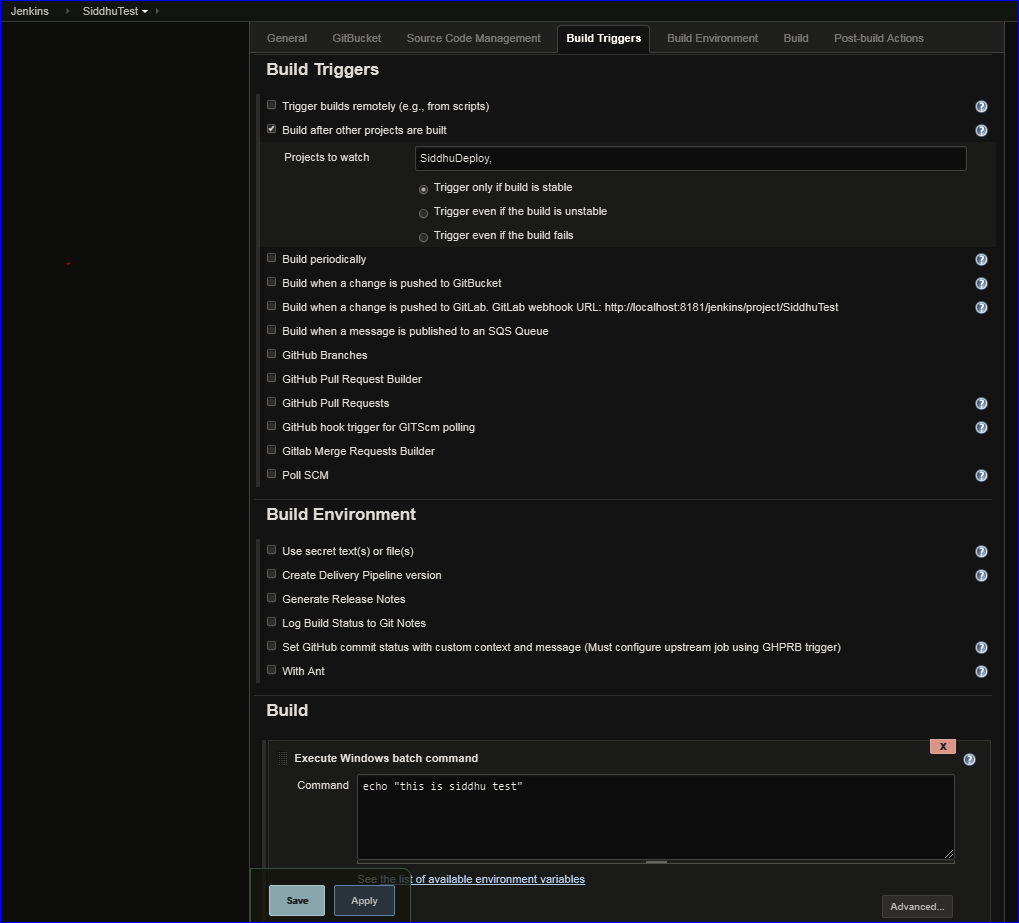
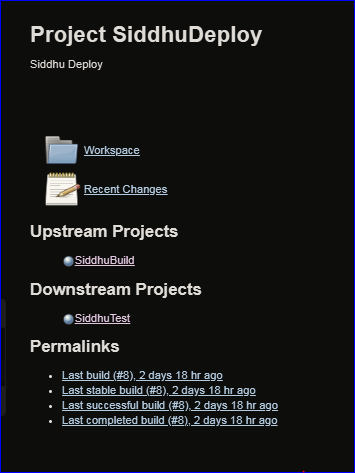
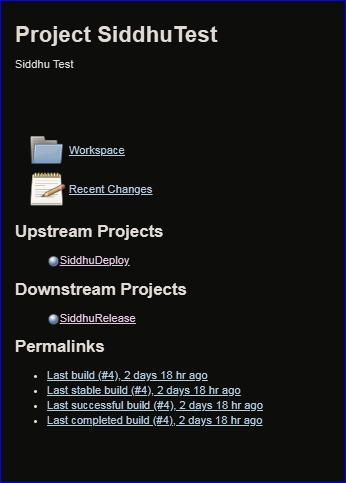
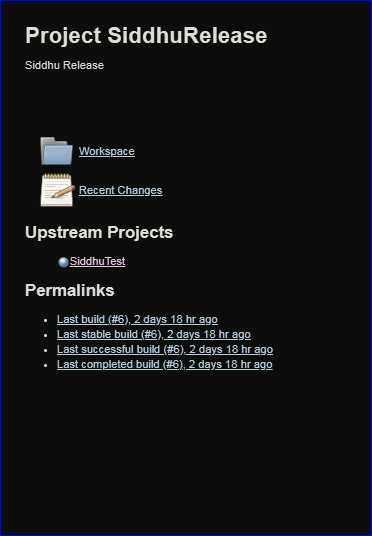
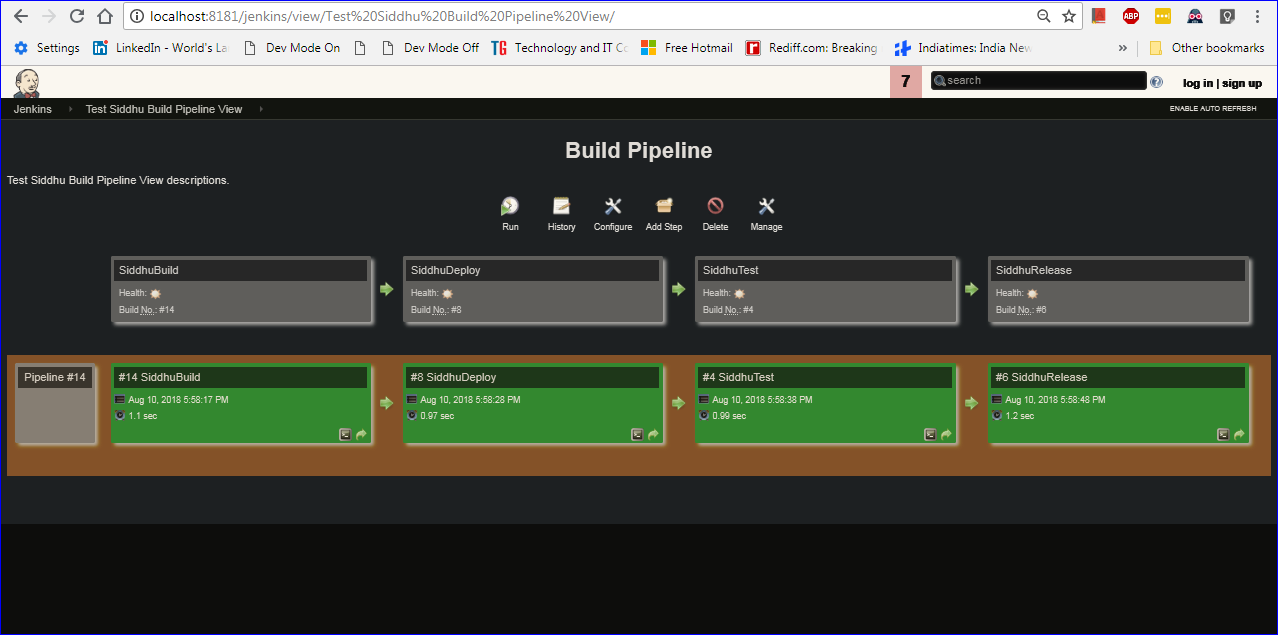
Now just check downstream and upstream proejct for our created jobs i.e. when we execute build job then on success it will auto trigger deploy and then it will auto trigger test and finally release jobs
Now check we have following plugin "Dilivery Pipeline Plugin"inside
Jenkin-- > Manage Jenkin -- > Manage Plugin -->Installed
If this plugin is not present then go to "Available" tab and installed the same.
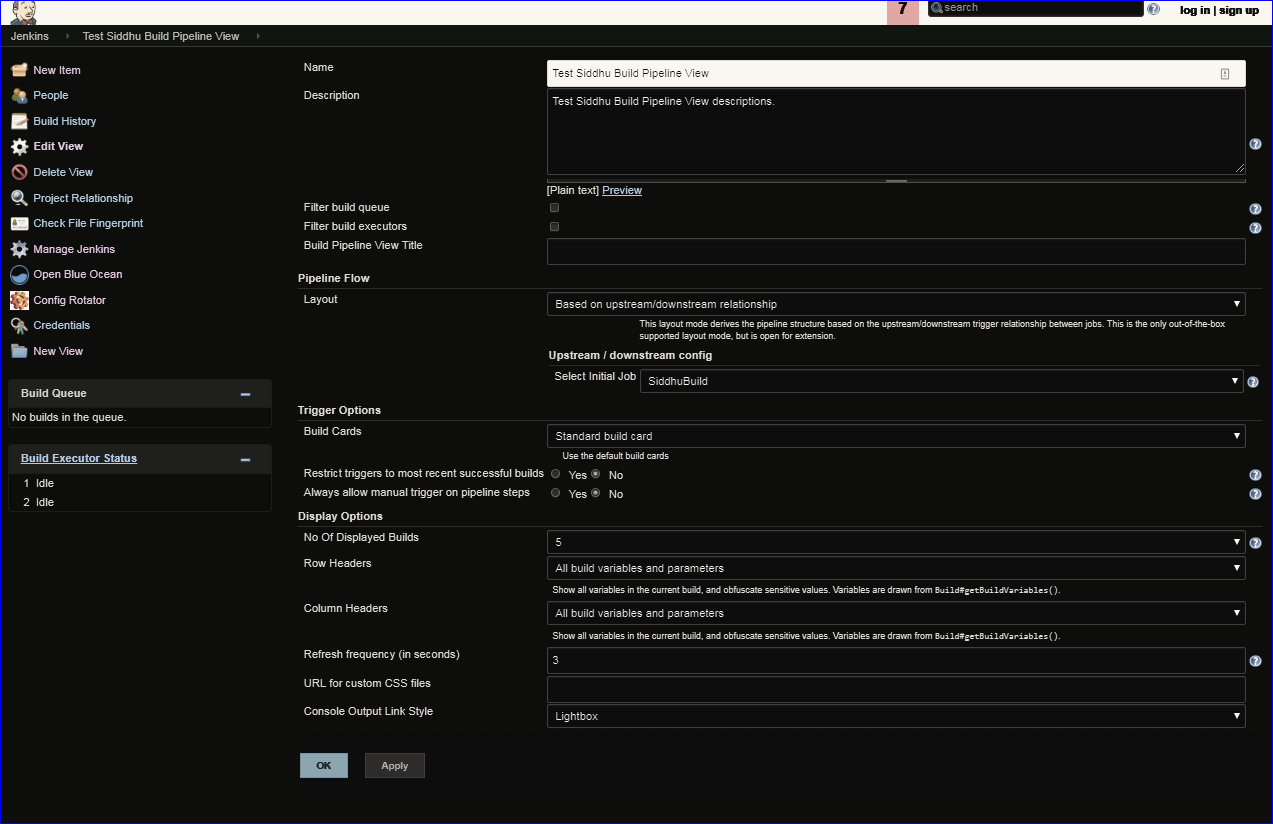
Once you installed the Plugin then create a new view as given below
Jenkin --> New View
Now when you run our Build Job then open this newly created View and you will be able to see bekow screen.
Jenkin has build in plugin call as "Delivery Pipeline Plugin" and "Build Pipeline view" which can be used in extensively manner for the same. Make sure Pipeline is wellknow in implementing CI,CD and CDI concept
CI:- Continueous Integration - Commit Code + Junit + Integration.
CDI :- Continueous Delivery - Commit Code + Junit + Integration + Deploy in Testing Env + Acceptance Testing.
CD :- Continueous Deployment- Commit Code + Junit + Integration + Deploy in Testing Env + Acceptance Testing + Deploy in production.
Lets take a small example how to build Jenikin Pipeline
Assume we have following fow jobs that need to be done before sending the deployment component in productions
1- Build the jobs
2- Deploy the jobs
3- Test the jobs
4- Release the jobs
For ease of this tutorial we are not explaining what the step you need to do in all steps i.e. Build step:- if it smaven you will need maven plugin and then configuration etc, Deploy :- You need to stop the tomcat and them depoly the war etc Test :- for Junit during maven build only we can suggest to do JUnit else trigger the external automation testing like selenium etc.
Here in our example we will keep it simple just window cmd command to execute as we are just trying to understand Jenkin Pipeline
Now lets try to create all belwo four jobs.
1- Build Job
2-Deploy Job
3- Test Job
4- Release
Now just check downstream and upstream proejct for our created jobs i.e. when we execute build job then on success it will auto trigger deploy and then it will auto trigger test and finally release jobs
Now check we have following plugin "Dilivery Pipeline Plugin"inside
Jenkin-- > Manage Jenkin -- > Manage Plugin -->Installed
If this plugin is not present then go to "Available" tab and installed the same.
Once you installed the Plugin then create a new view as given below
Jenkin --> New View
Now when you run our Build Job then open this newly created View and you will be able to see bekow screen.
