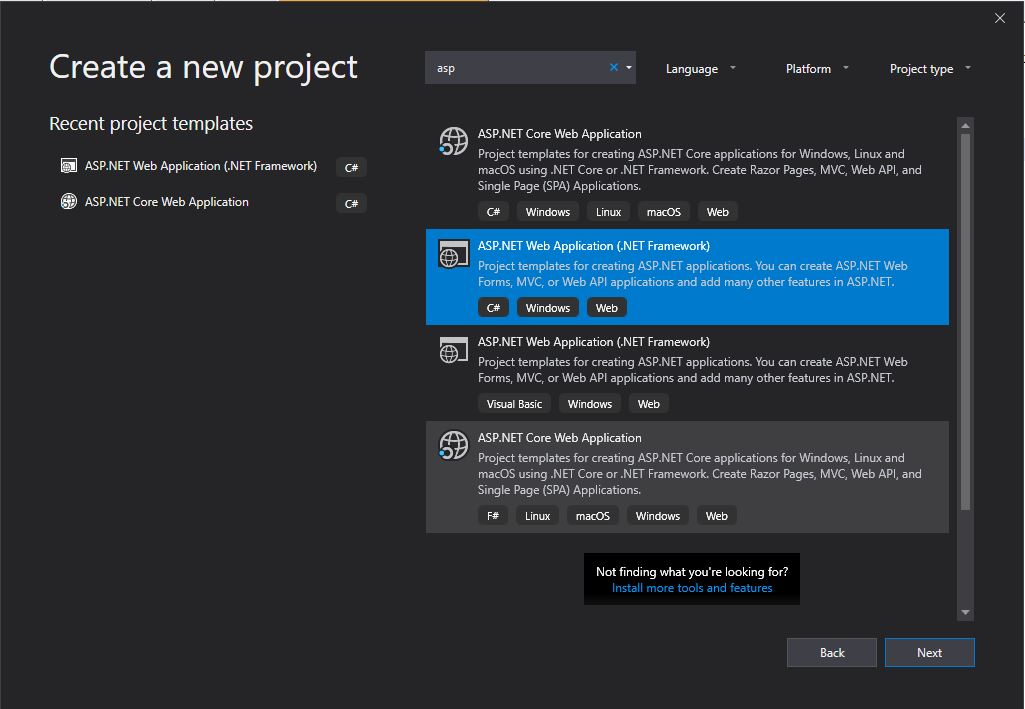
Step 1:- Creat a new project
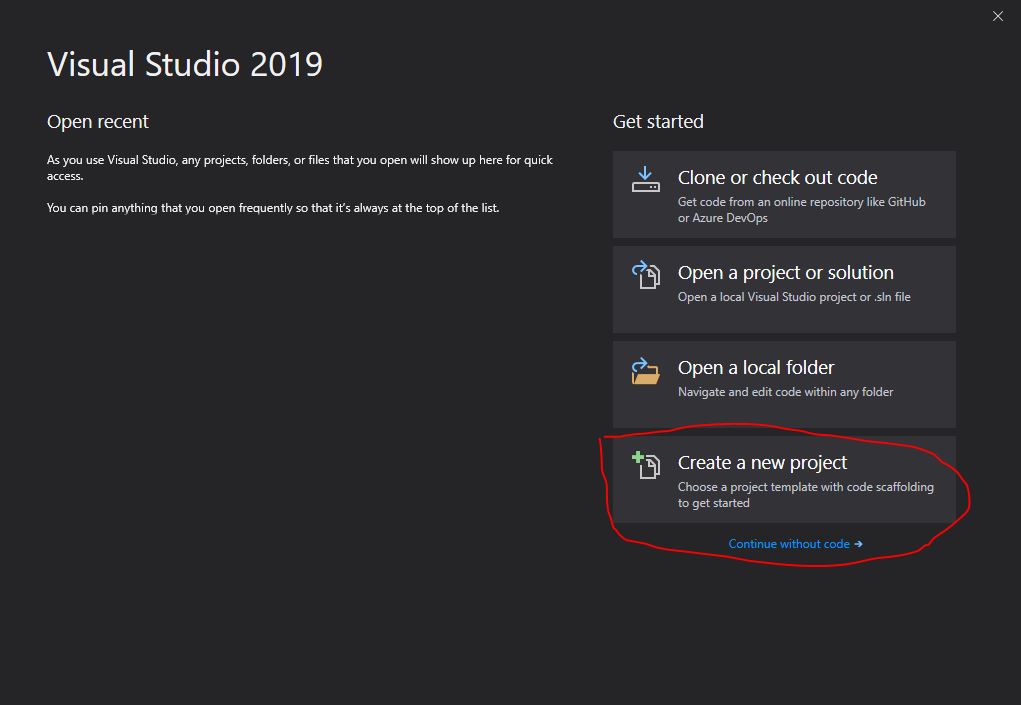
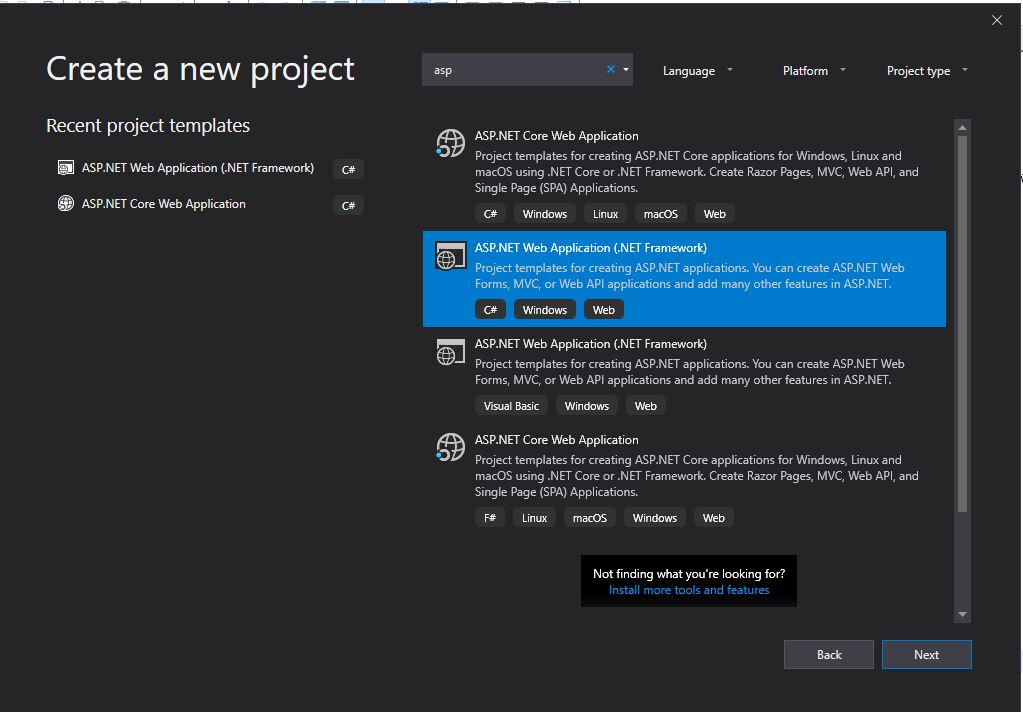
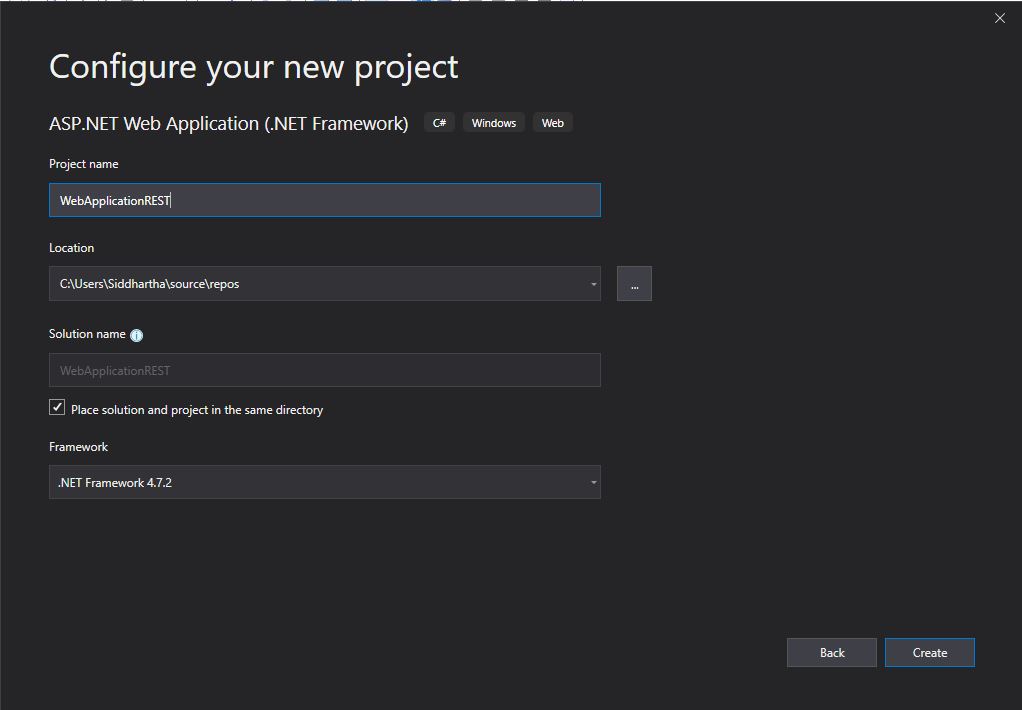
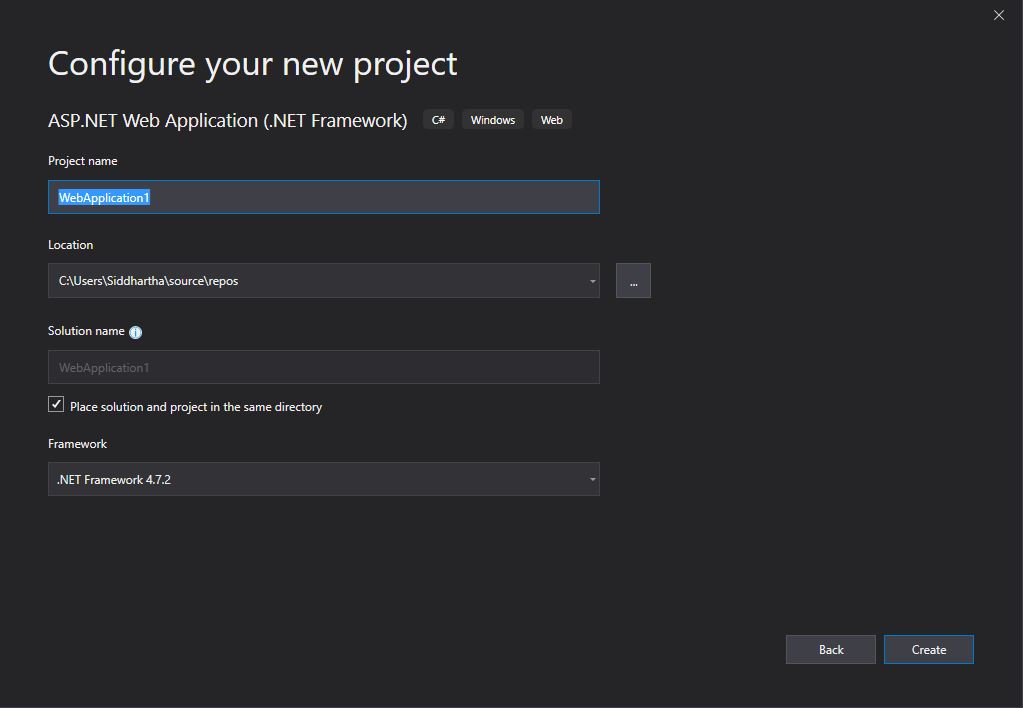
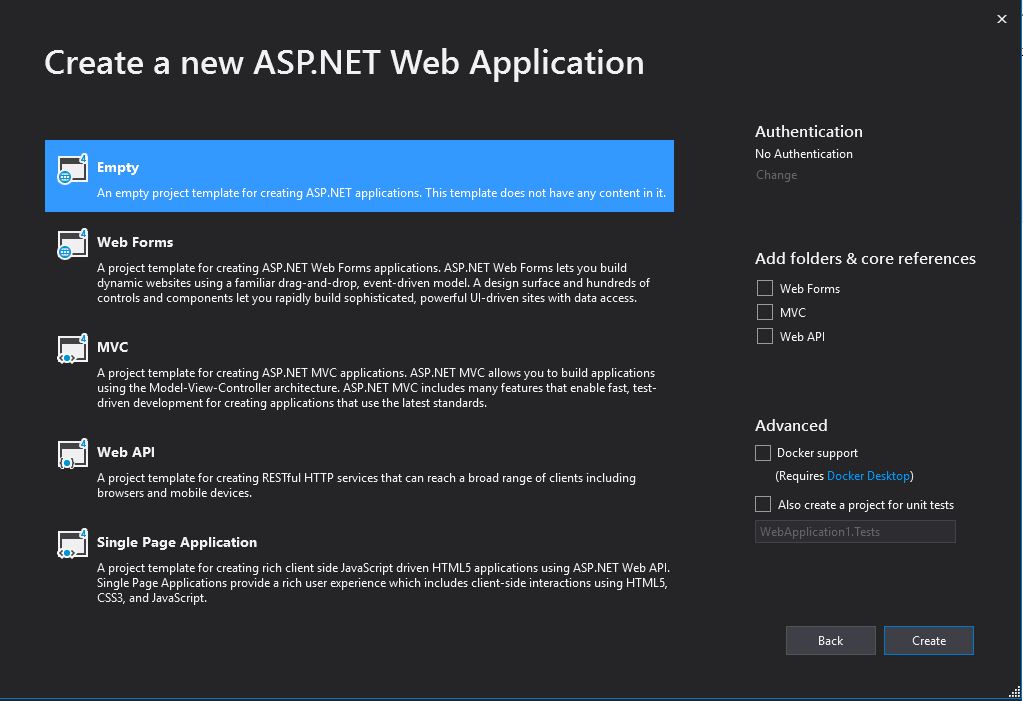
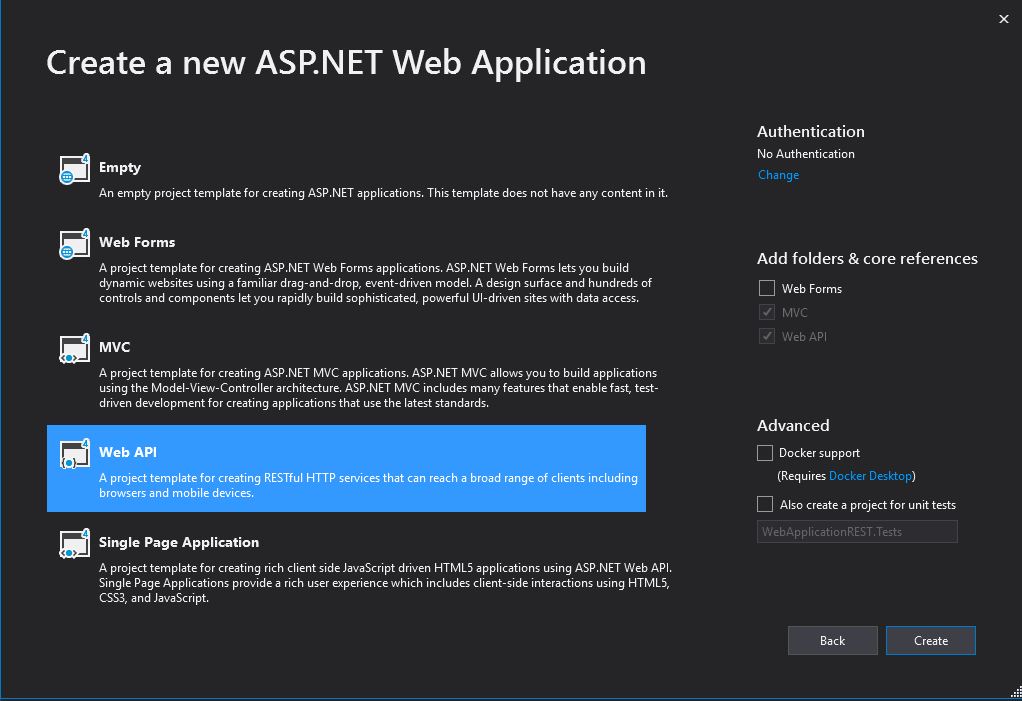
click on Create Button

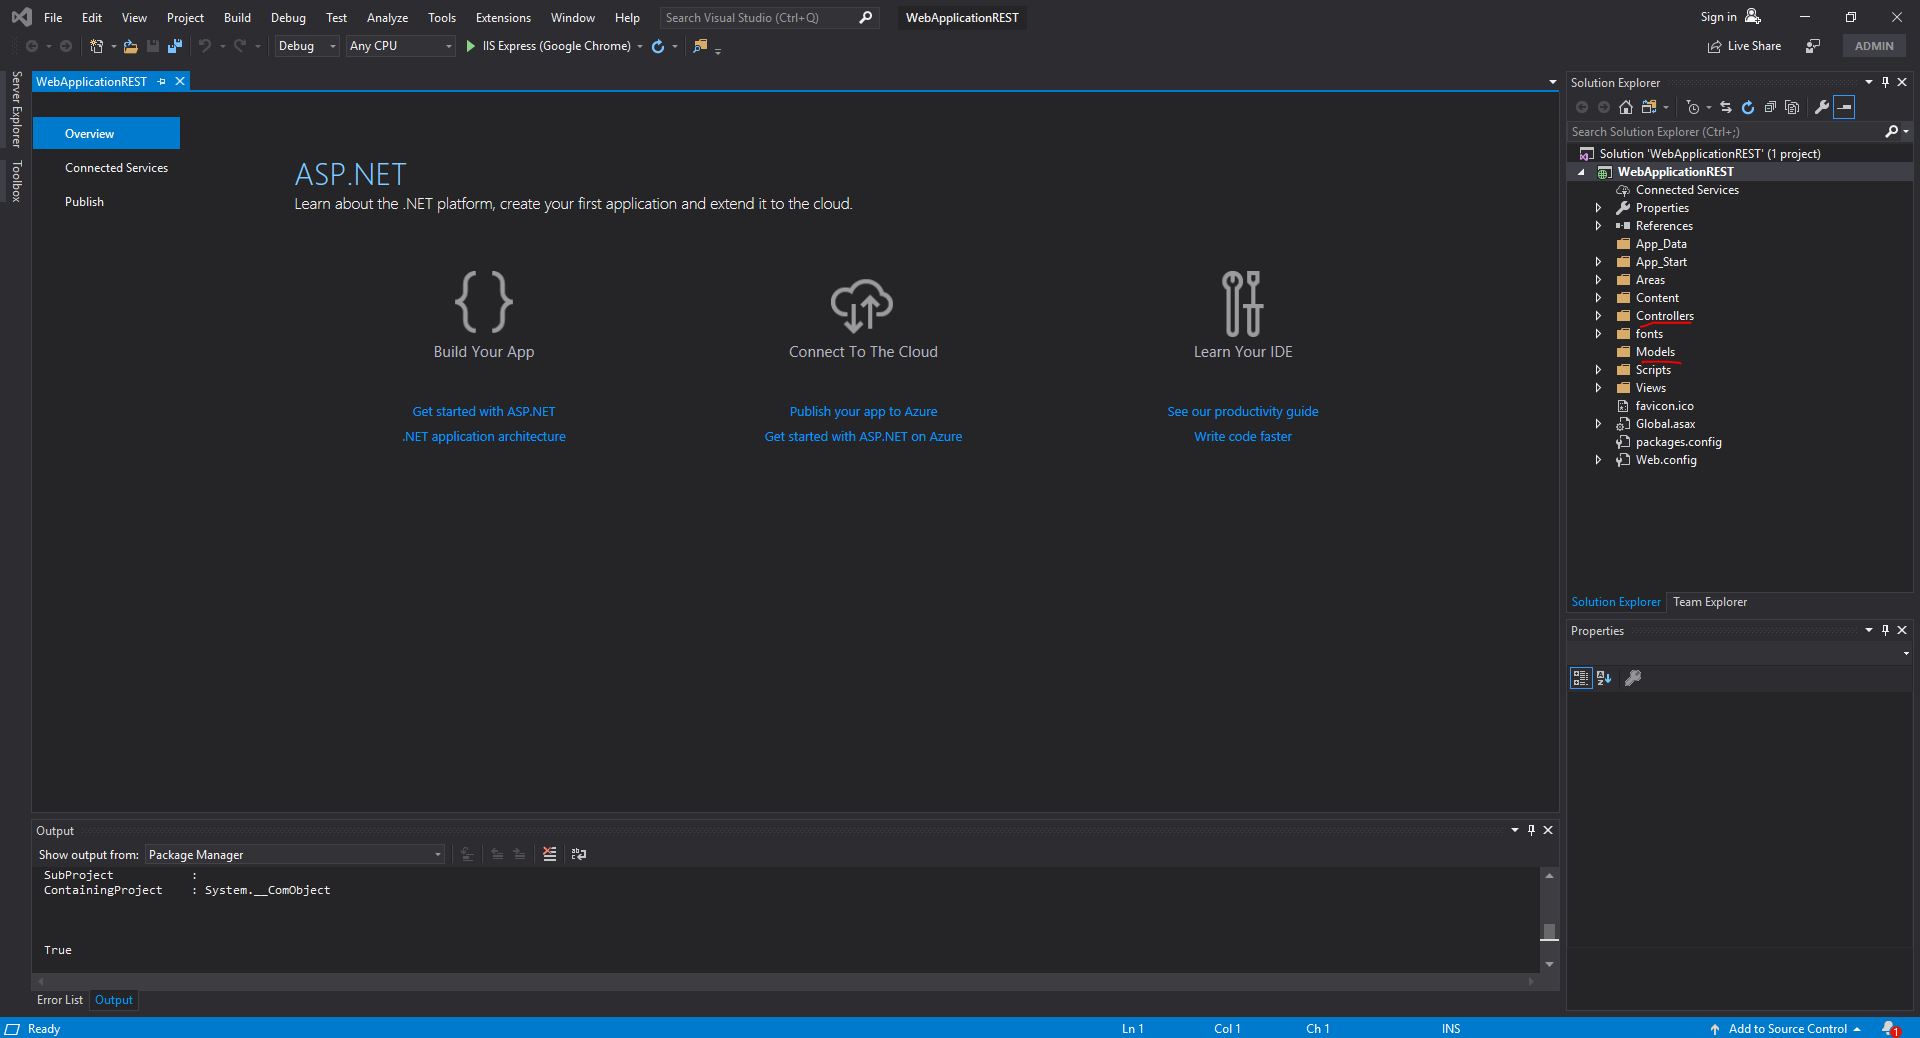
Step 2:-
Now we will create the below classes for handling our GET, POST, PUT, and DELETE services from client
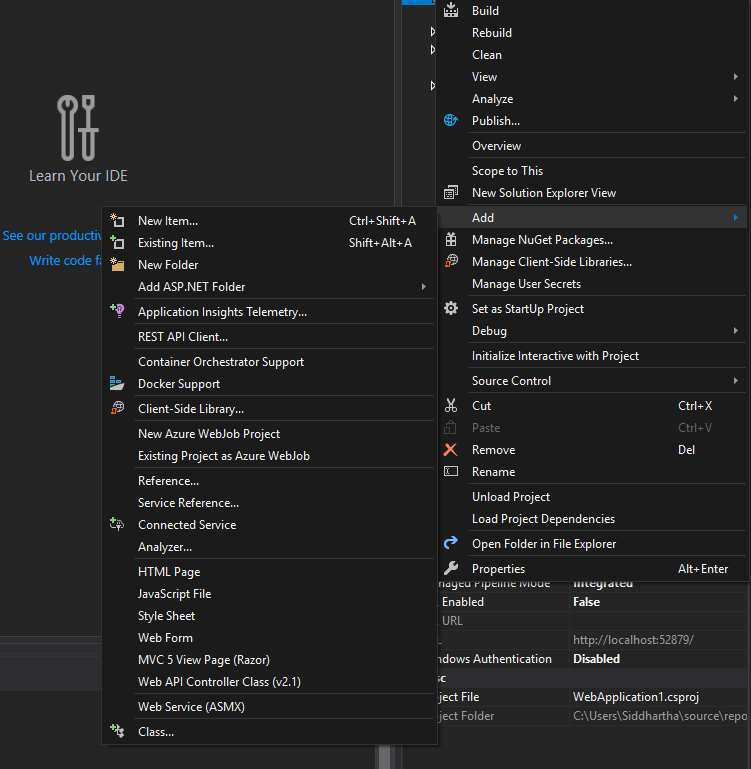
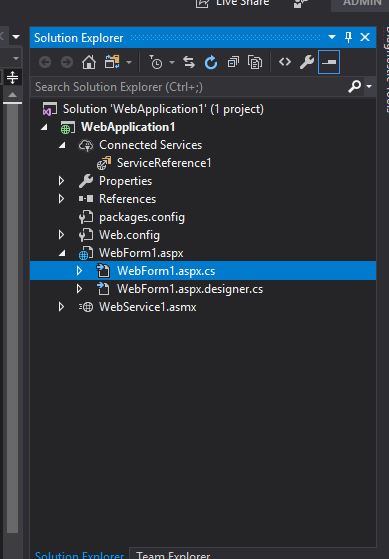
Right-click on the Models folder from the project explorer window and select Add=>Class

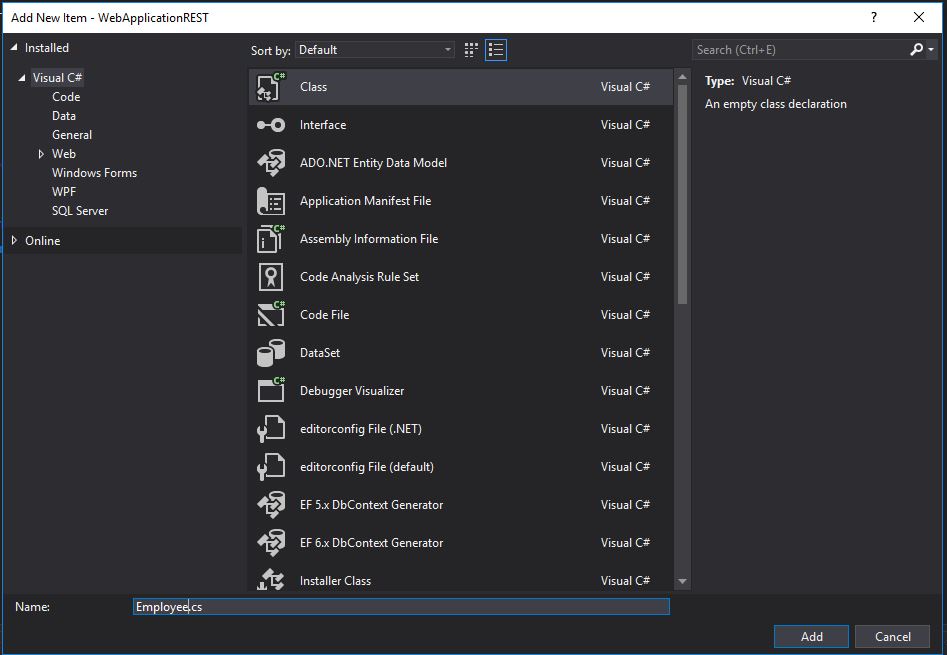
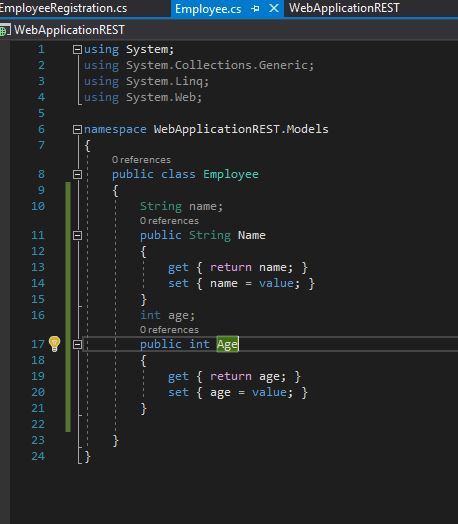
Modify Employee Class as given below
Step3:-
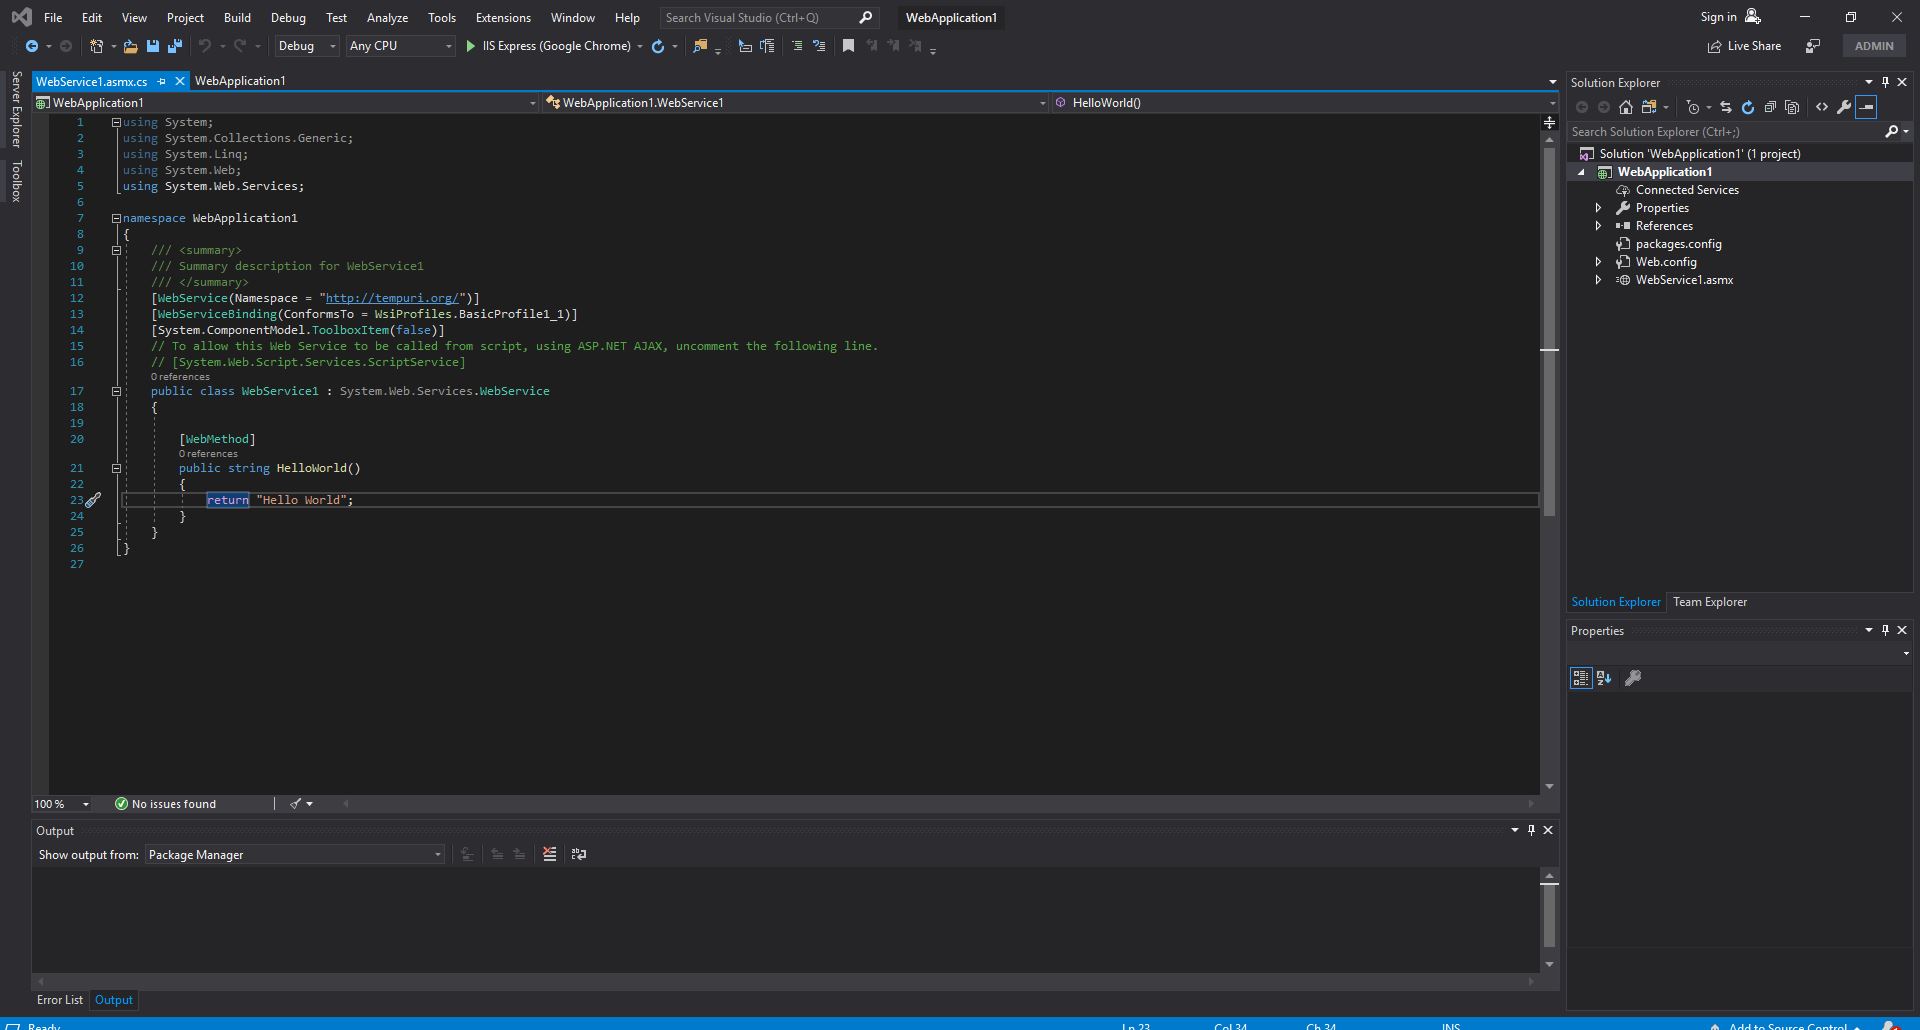
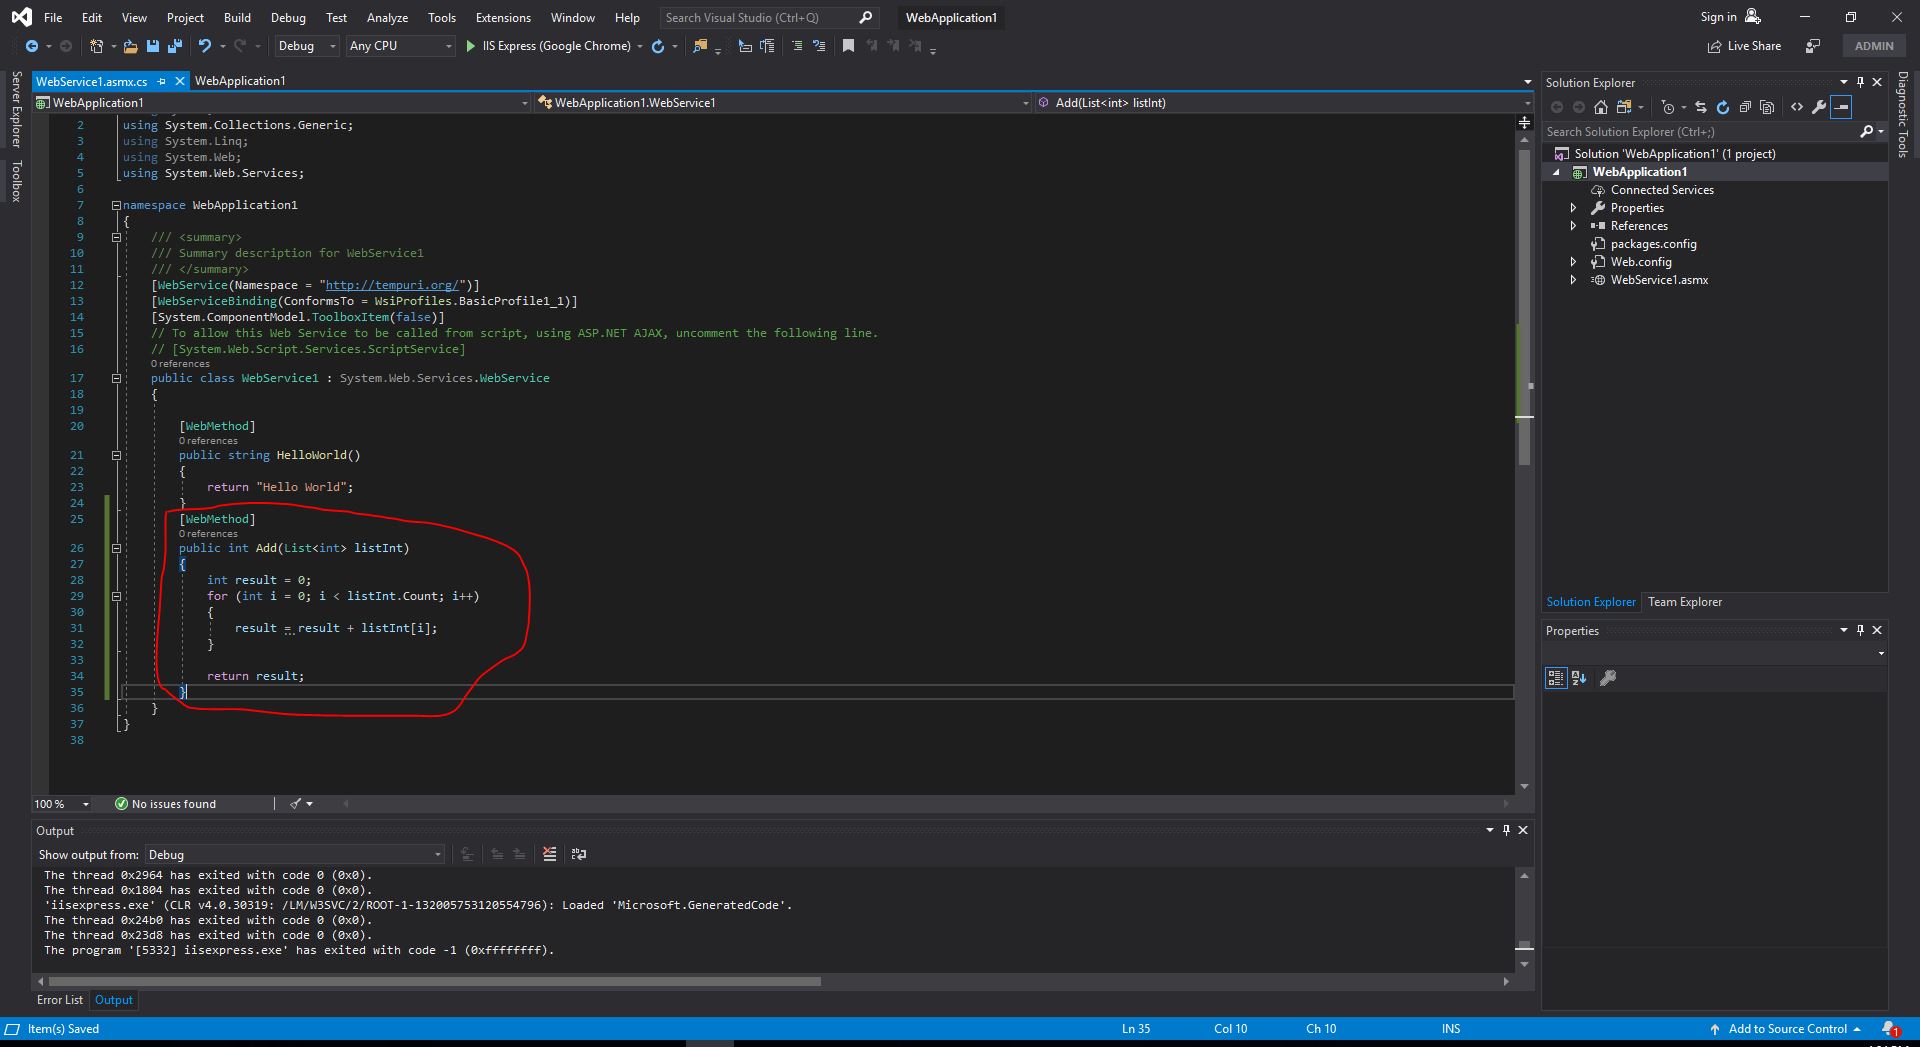
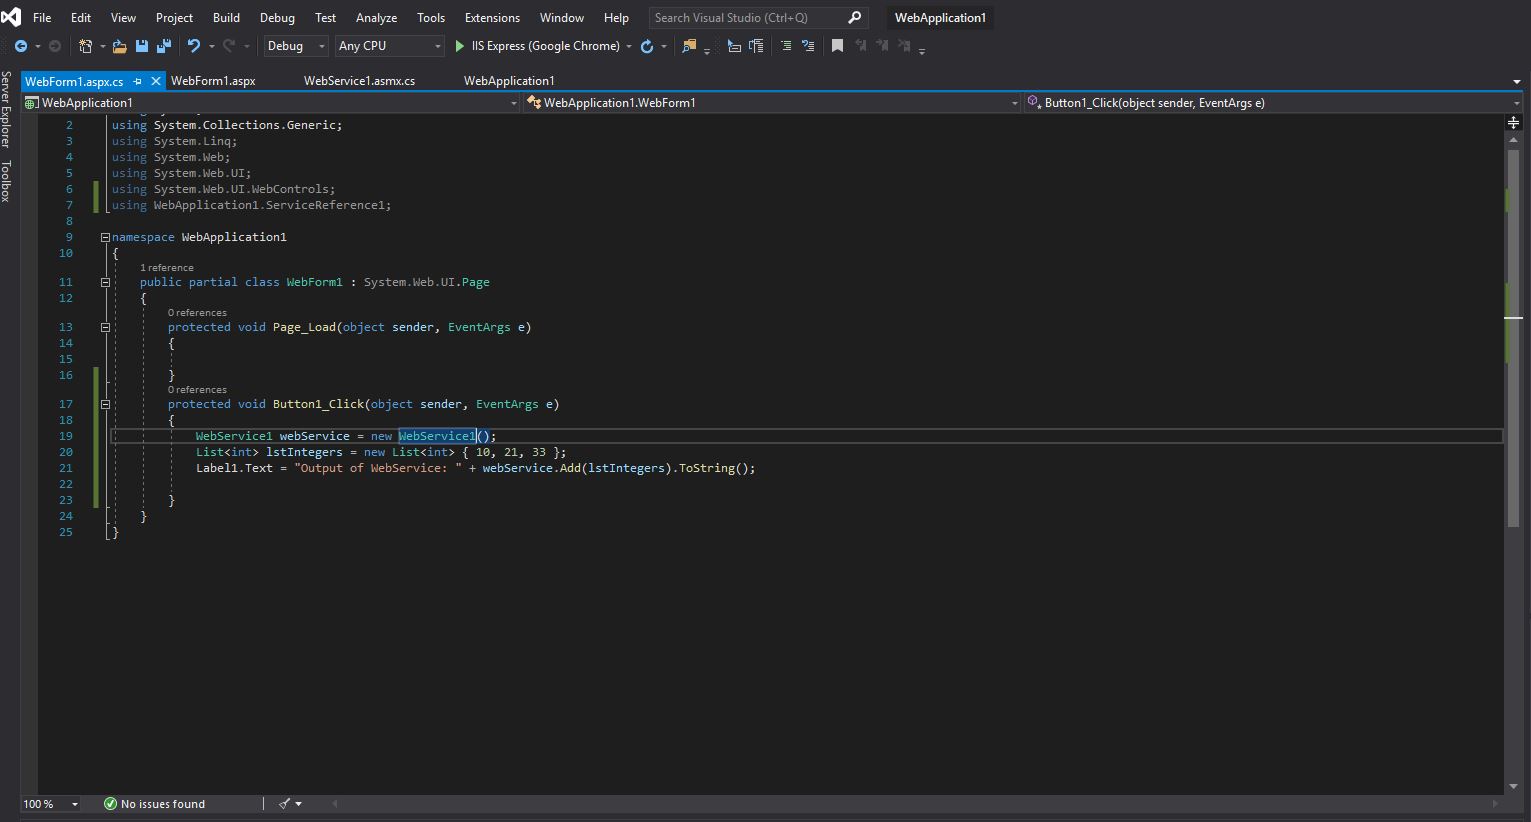
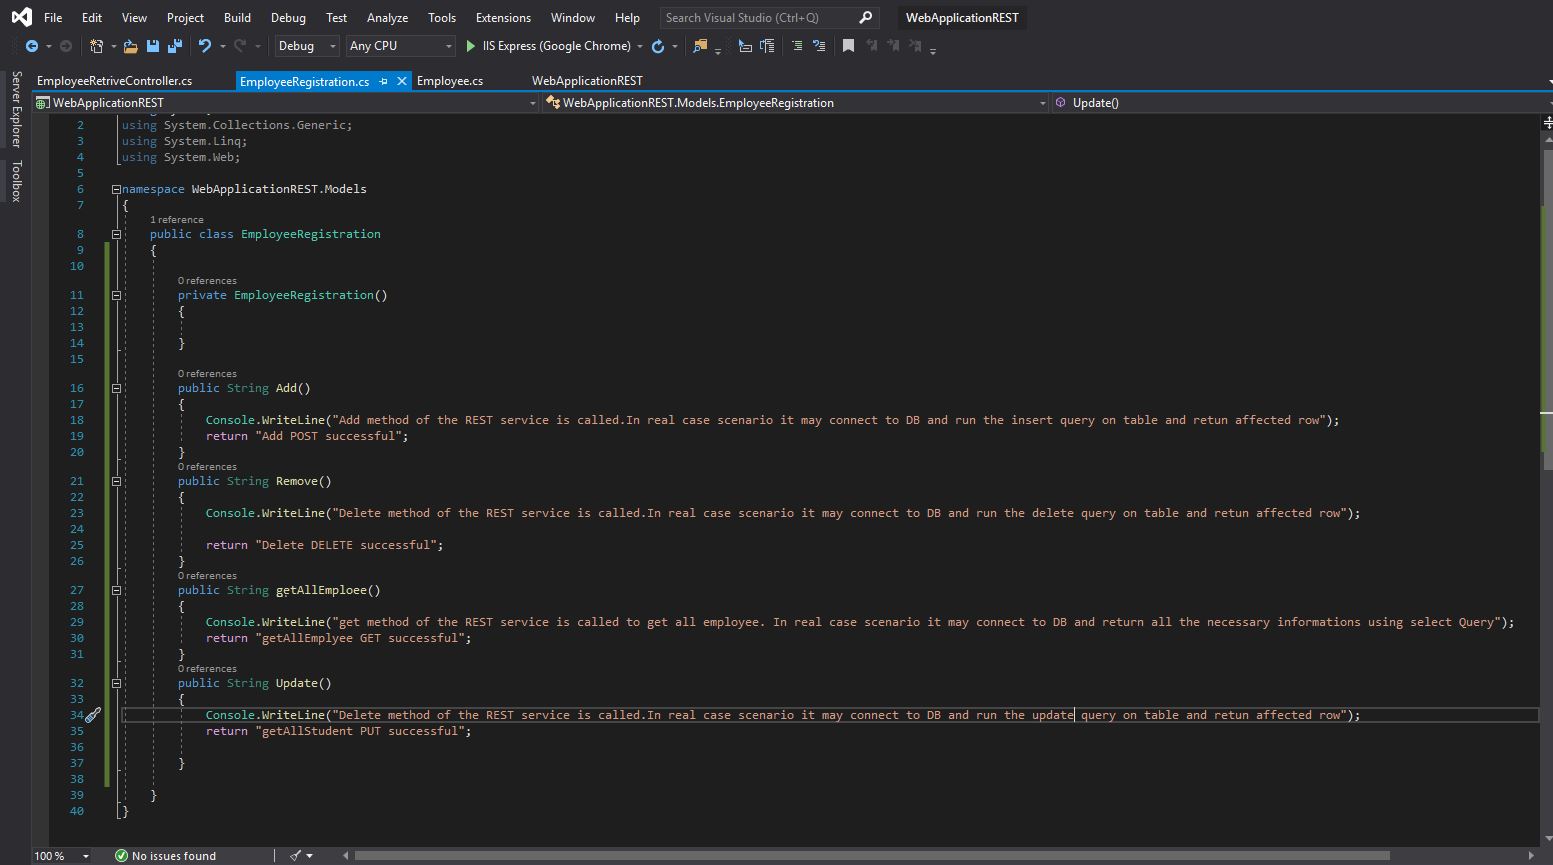
We will have one class that will containt he original logic that will perform GET/POST/PUT/DELETE Operation
i.e.
GET:- To get all the information of the resource.
POST:- TO create the resource
PUT:- To Update the resource if present or cretae it if not present.
DELETE:- To delete the resource.
Step 4:-
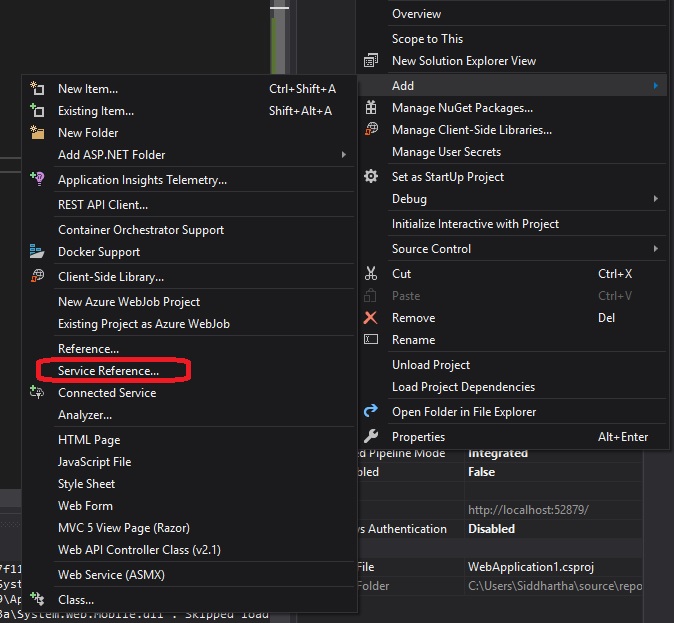
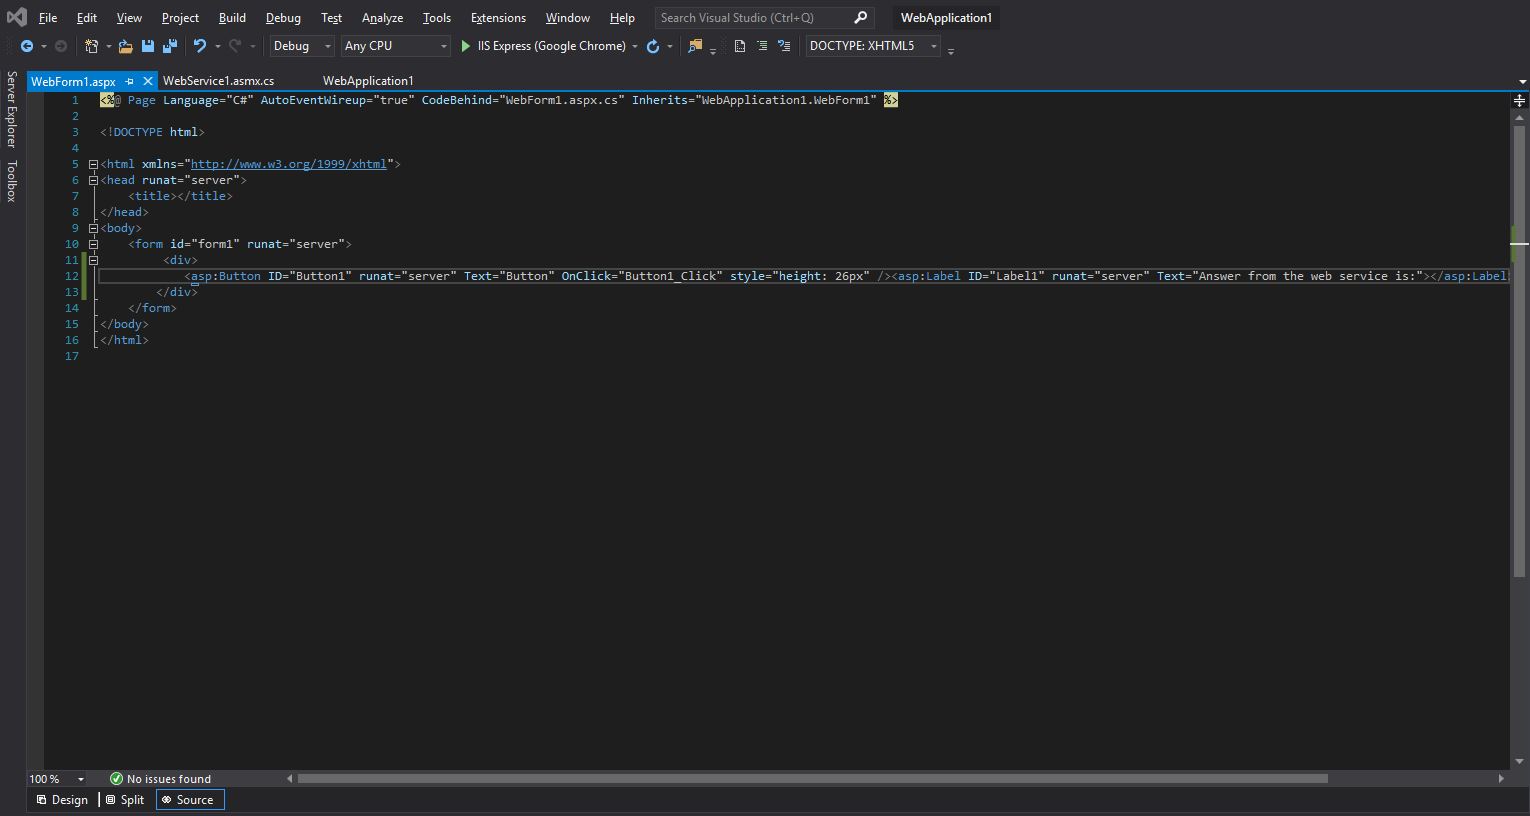
Now lets develop the controller. This is the front facing class of server to client i.e. all the request are first diverted to this controler and depending on it further corresponding business logic class method is called.
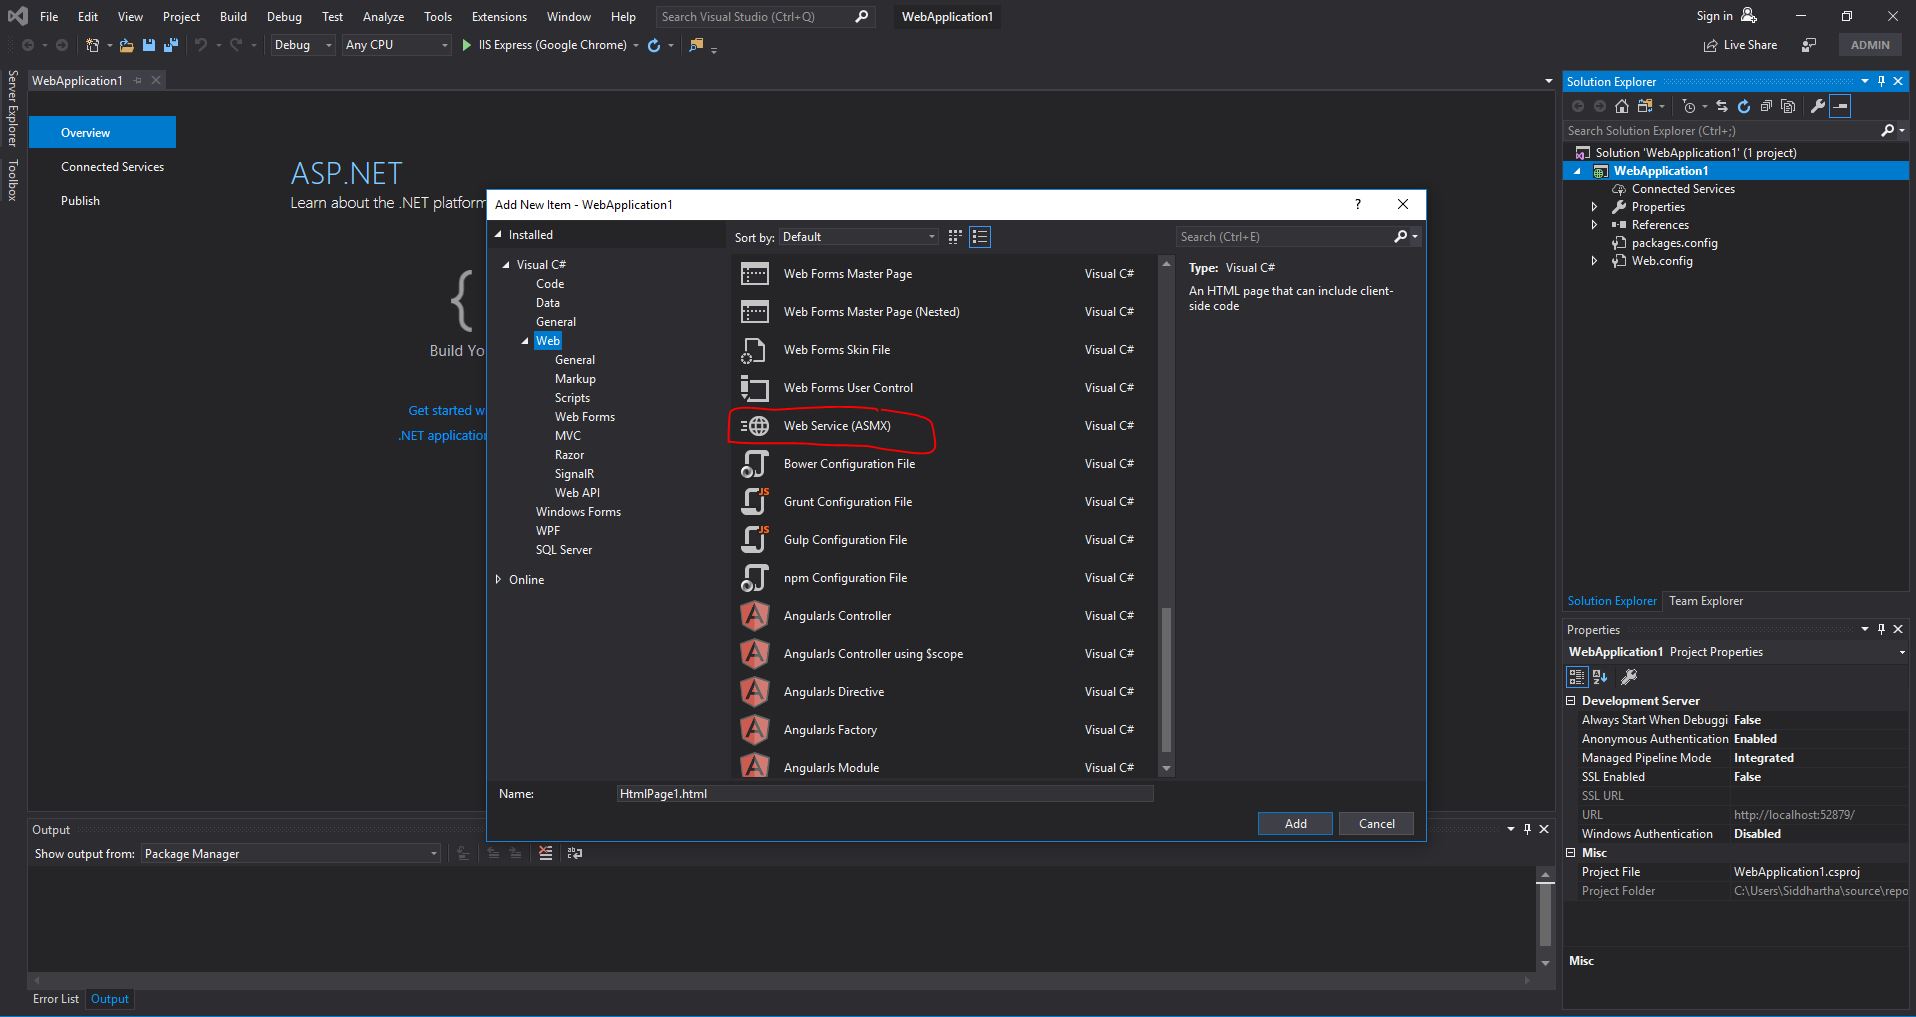
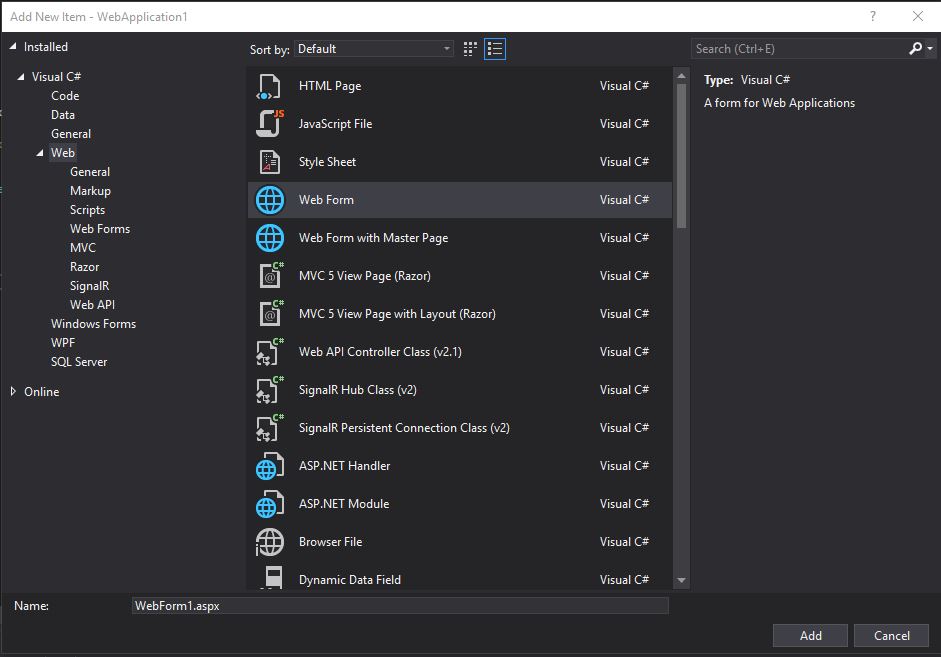
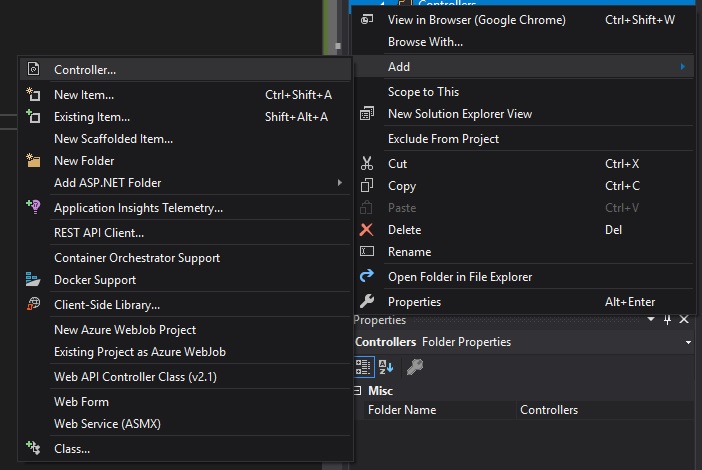
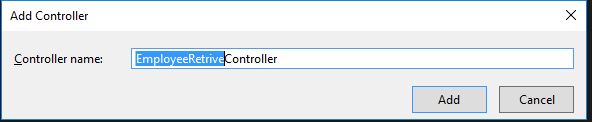
We will first creat the GET Controller class. Right-click on the Controllers folder and select Add=>Controller. From the below window, select Web API 2 Controller — Empty
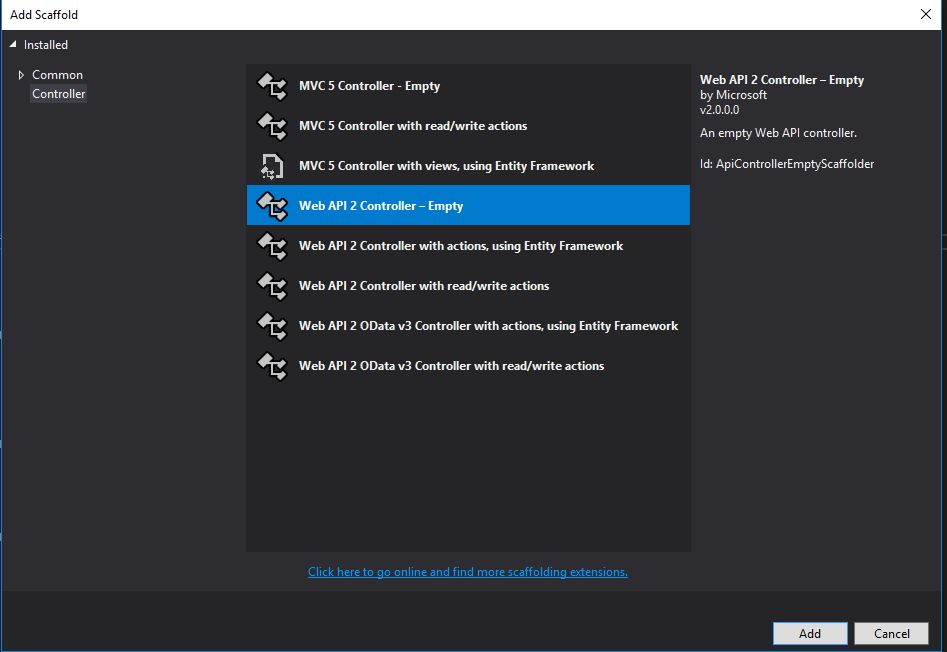
Click Add button
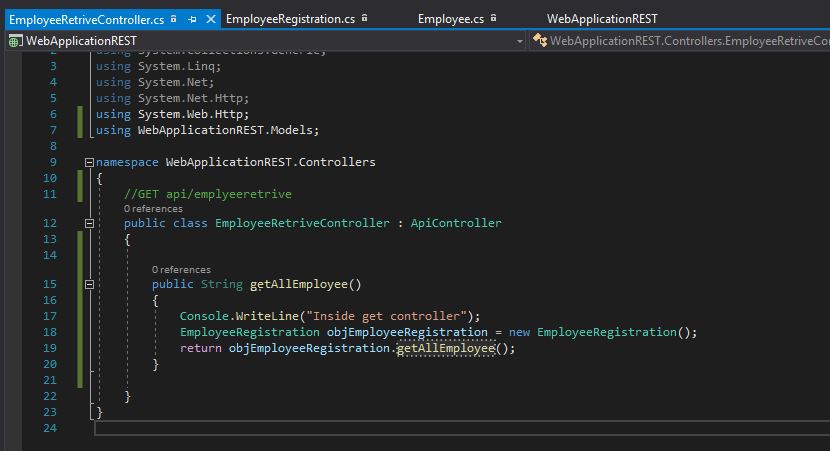
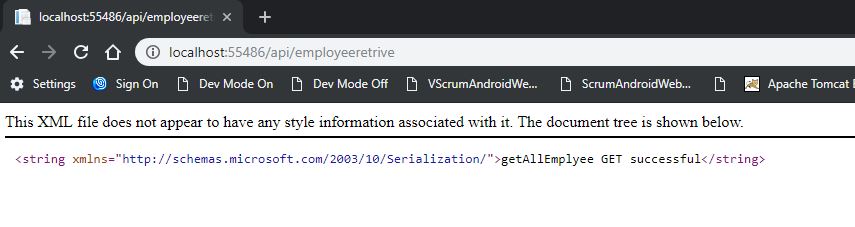

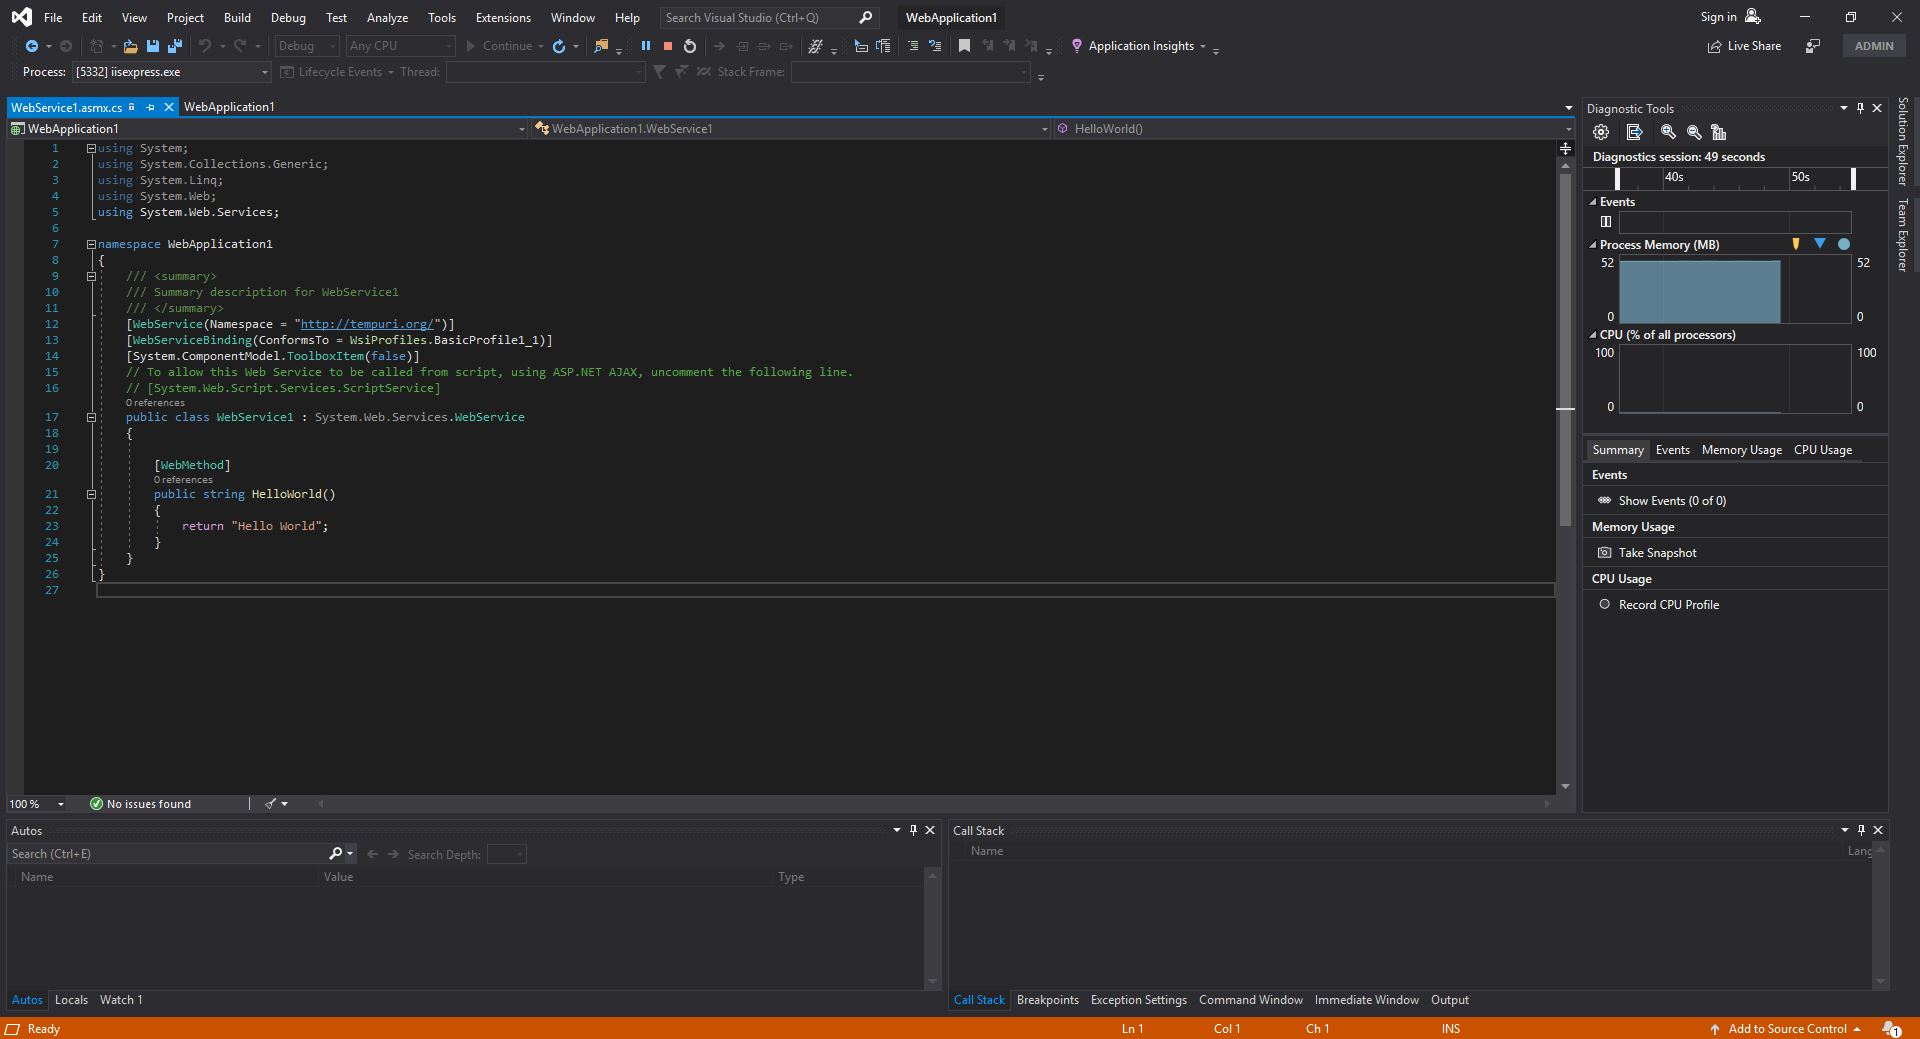
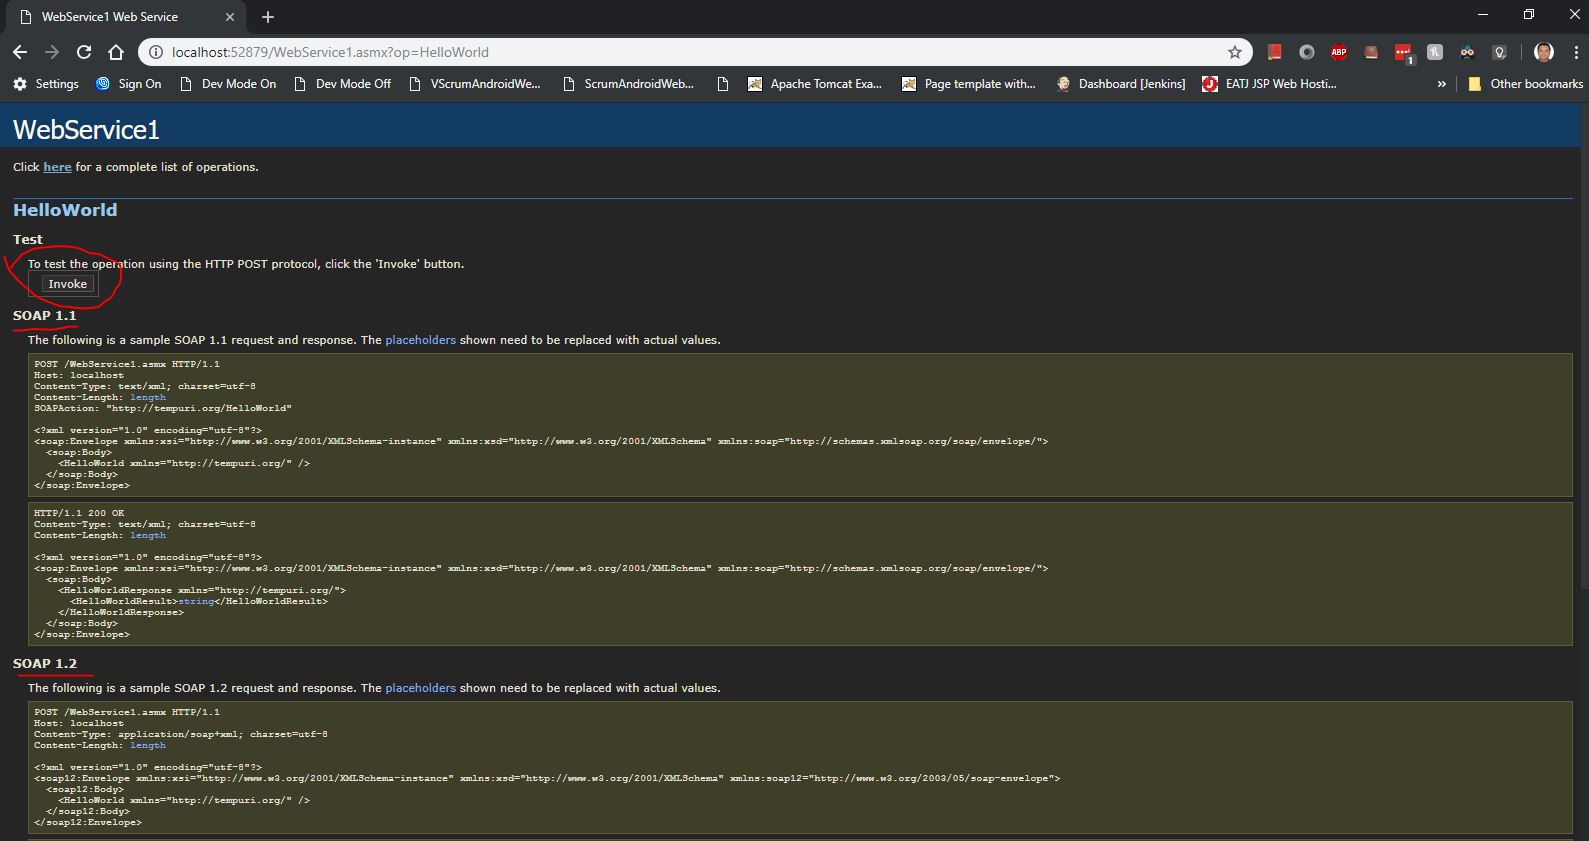
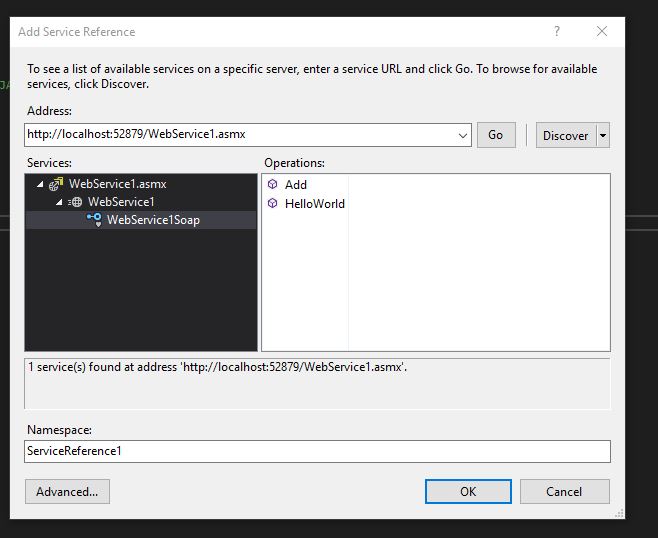
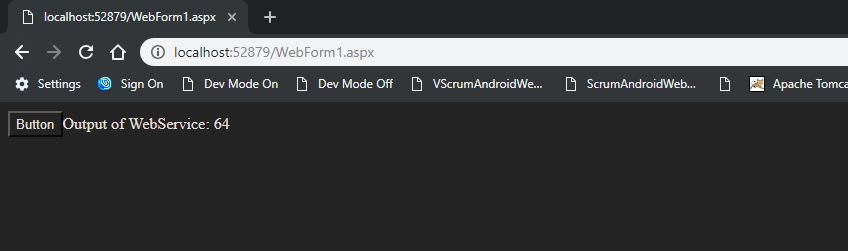
Hurrey !!! you are done with exposing your first REST service. Run the application and hit the url
Same way we need to create Controller for all the different operaiton i.e. PUT/POST/DELETE.
Note:- Please see the url
http://localhost:55486/api/employeeretrive
employteeretrive = EmployeeRetriveController
click on Create Button
Step 2:-
Now we will create the below classes for handling our GET, POST, PUT, and DELETE services from client
Right-click on the Models folder from the project explorer window and select Add=>Class
Modify Employee Class as given below
Step3:-
We will have one class that will containt he original logic that will perform GET/POST/PUT/DELETE Operation
i.e.
GET:- To get all the information of the resource.
POST:- TO create the resource
PUT:- To Update the resource if present or cretae it if not present.
DELETE:- To delete the resource.
Step 4:-
Now lets develop the controller. This is the front facing class of server to client i.e. all the request are first diverted to this controler and depending on it further corresponding business logic class method is called.
We will first creat the GET Controller class. Right-click on the Controllers folder and select Add=>Controller. From the below window, select Web API 2 Controller — Empty
Click Add button
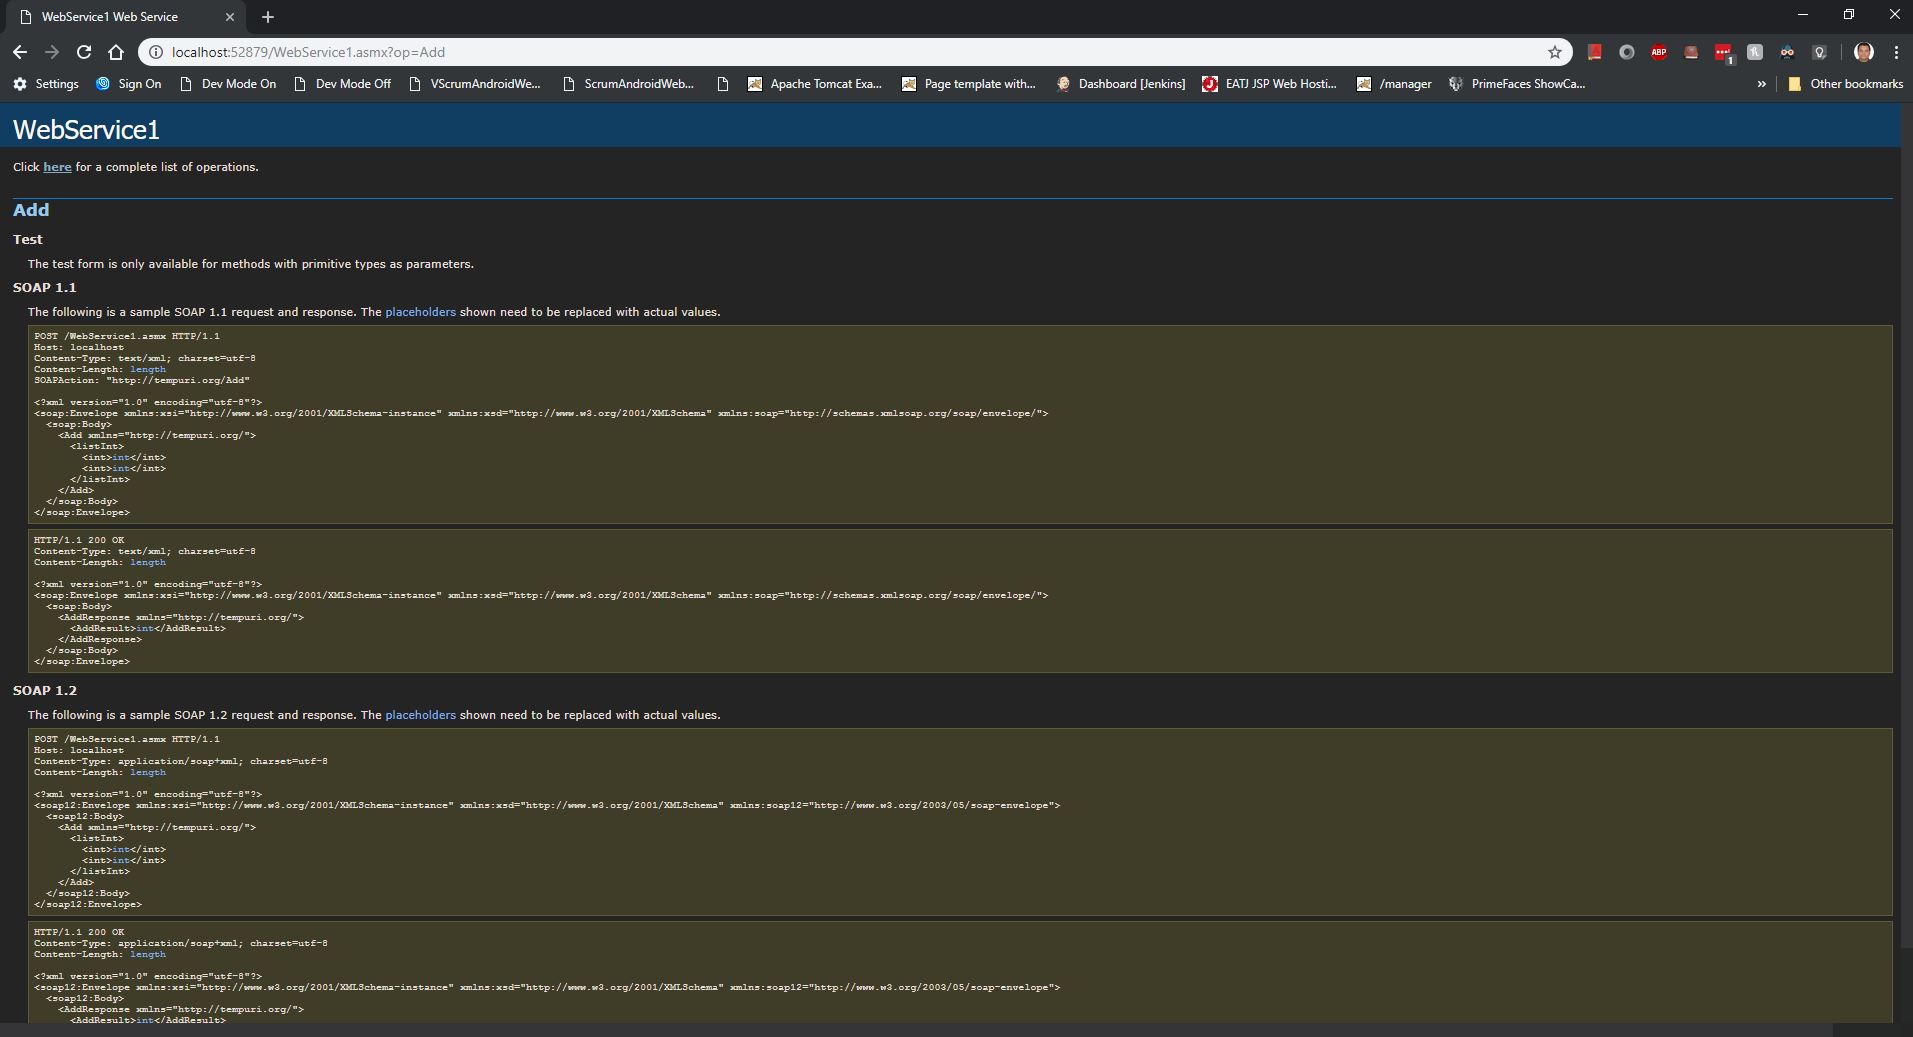
Hurrey !!! you are done with exposing your first REST service. Run the application and hit the url
Same way we need to create Controller for all the different operaiton i.e. PUT/POST/DELETE.
Note:- Please see the url
http://localhost:55486/api/employeeretrive
employteeretrive = EmployeeRetriveController