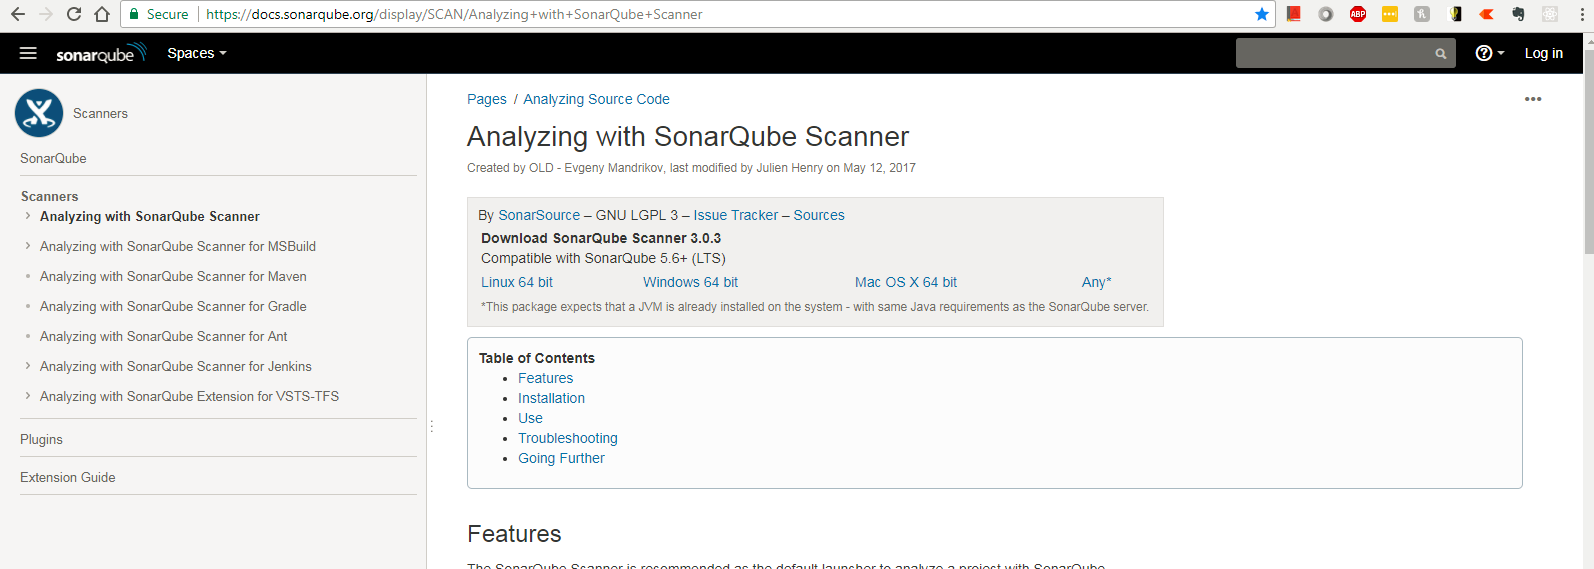
Step 1:- Download the O/S Specific version from below site
https://docs.sonarqube.org/display/SCAN/Analyzing+with+SonarQube+Scanner
Step:-2 Modify sonar-scanner.properties for configuring new project
C:\sonar-scanner-3.0.3.778-windows\conf\sonar-scanner.properties
#Configure here general information about the environment, such as SonarQube DB details for example
#No information about specific project should appear here
#----- Default SonarQube server
sonar.host.url=http://localhost:9000
#----- Default source code encoding
#sonar.sourceEncoding=UTF-8
sonar.projectName=TestSiddhuGWT
sonar.projectVersion=1.0
sonar.sources=C:/GWT-Workspace/rest-api-sample
sonar.projectKey=TestSiddhuGWT
Step 3:- Execute the scanner with below given command in another cmd prompt
C:\sonar-scanner-3.0.3.778-windows\bin>sonar-scanner.bat

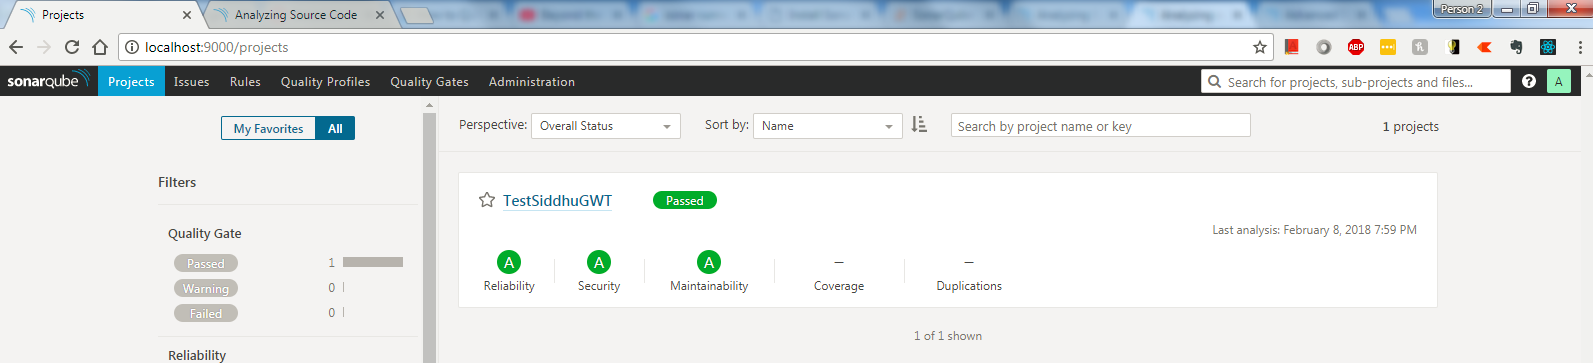
And see the resultant information on the screen
https://docs.sonarqube.org/display/SCAN/Analyzing+with+SonarQube+Scanner
Step:-2 Modify sonar-scanner.properties for configuring new project
C:\sonar-scanner-3.0.3.778-windows\conf\sonar-scanner.properties
#Configure here general information about the environment, such as SonarQube DB details for example
#No information about specific project should appear here
#----- Default SonarQube server
sonar.host.url=http://localhost:9000
#----- Default source code encoding
#sonar.sourceEncoding=UTF-8
sonar.projectName=TestSiddhuGWT
sonar.projectVersion=1.0
sonar.sources=C:/GWT-Workspace/rest-api-sample
sonar.projectKey=TestSiddhuGWT
Step 3:- Execute the scanner with below given command in another cmd prompt
C:\sonar-scanner-3.0.3.778-windows\bin>sonar-scanner.bat
And see the resultant information on the screen


