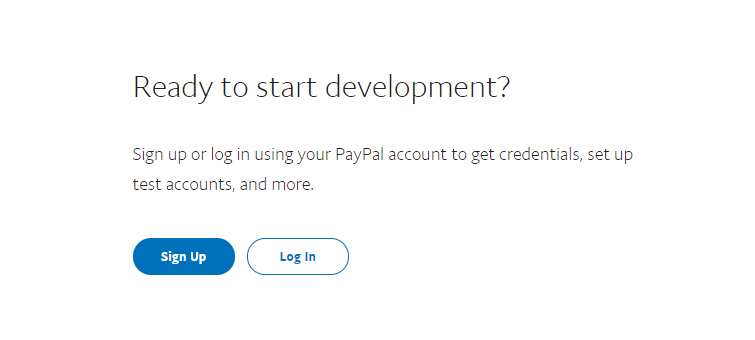
Step 1 - Create gmail Id that we are going to use as a paypal reference i.e. TestingPaypalgateway@gmail.comStep 1 - Create gmail Id that we are going to use as a paypal reference i.e. TestingPaypalgateway@gmail.comStep 2 - Open this url and click on signup and register above created user in paypal i.e. TestingPaypalgateway@gmail.comhttps://developer.paypal.com/
Step 3 - Login with TestingPaypalgateway@gmail.com in paypal and go to account section of the screen. we will be able to see the below screen.
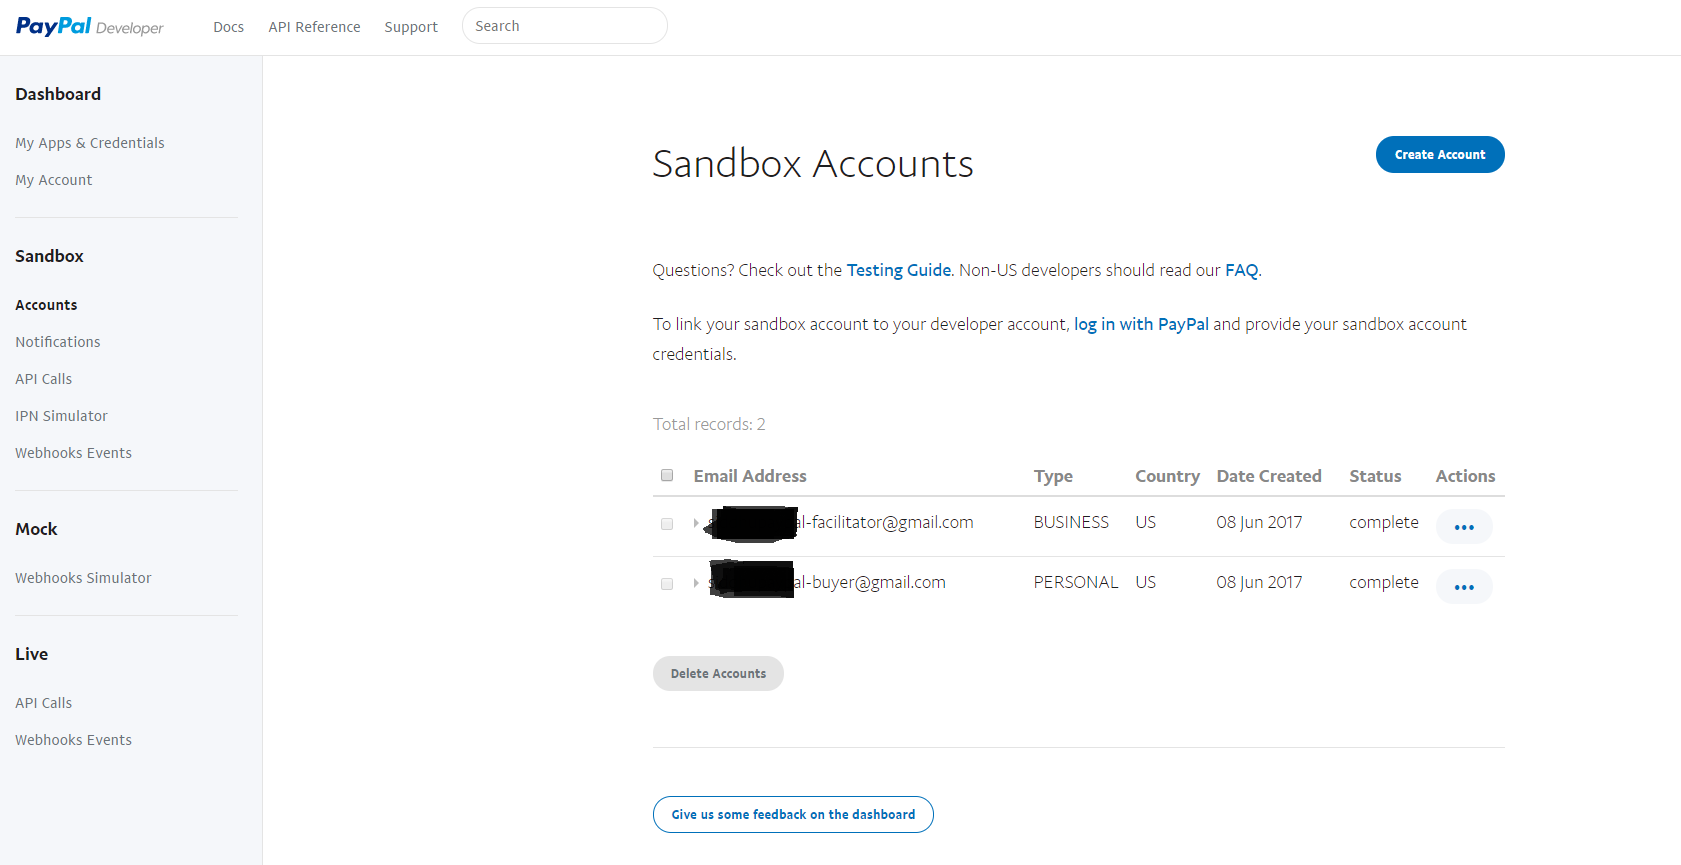
Paypal will create two email id for us 1- *-facilitator@gmail.com of Type business 2- *-buyer@gmail.com of type personal or individual
Step 4:- Go to My Apps $Credentials screen and generate Sand box Access Token. This token is needed when we try to make Financial transactions.
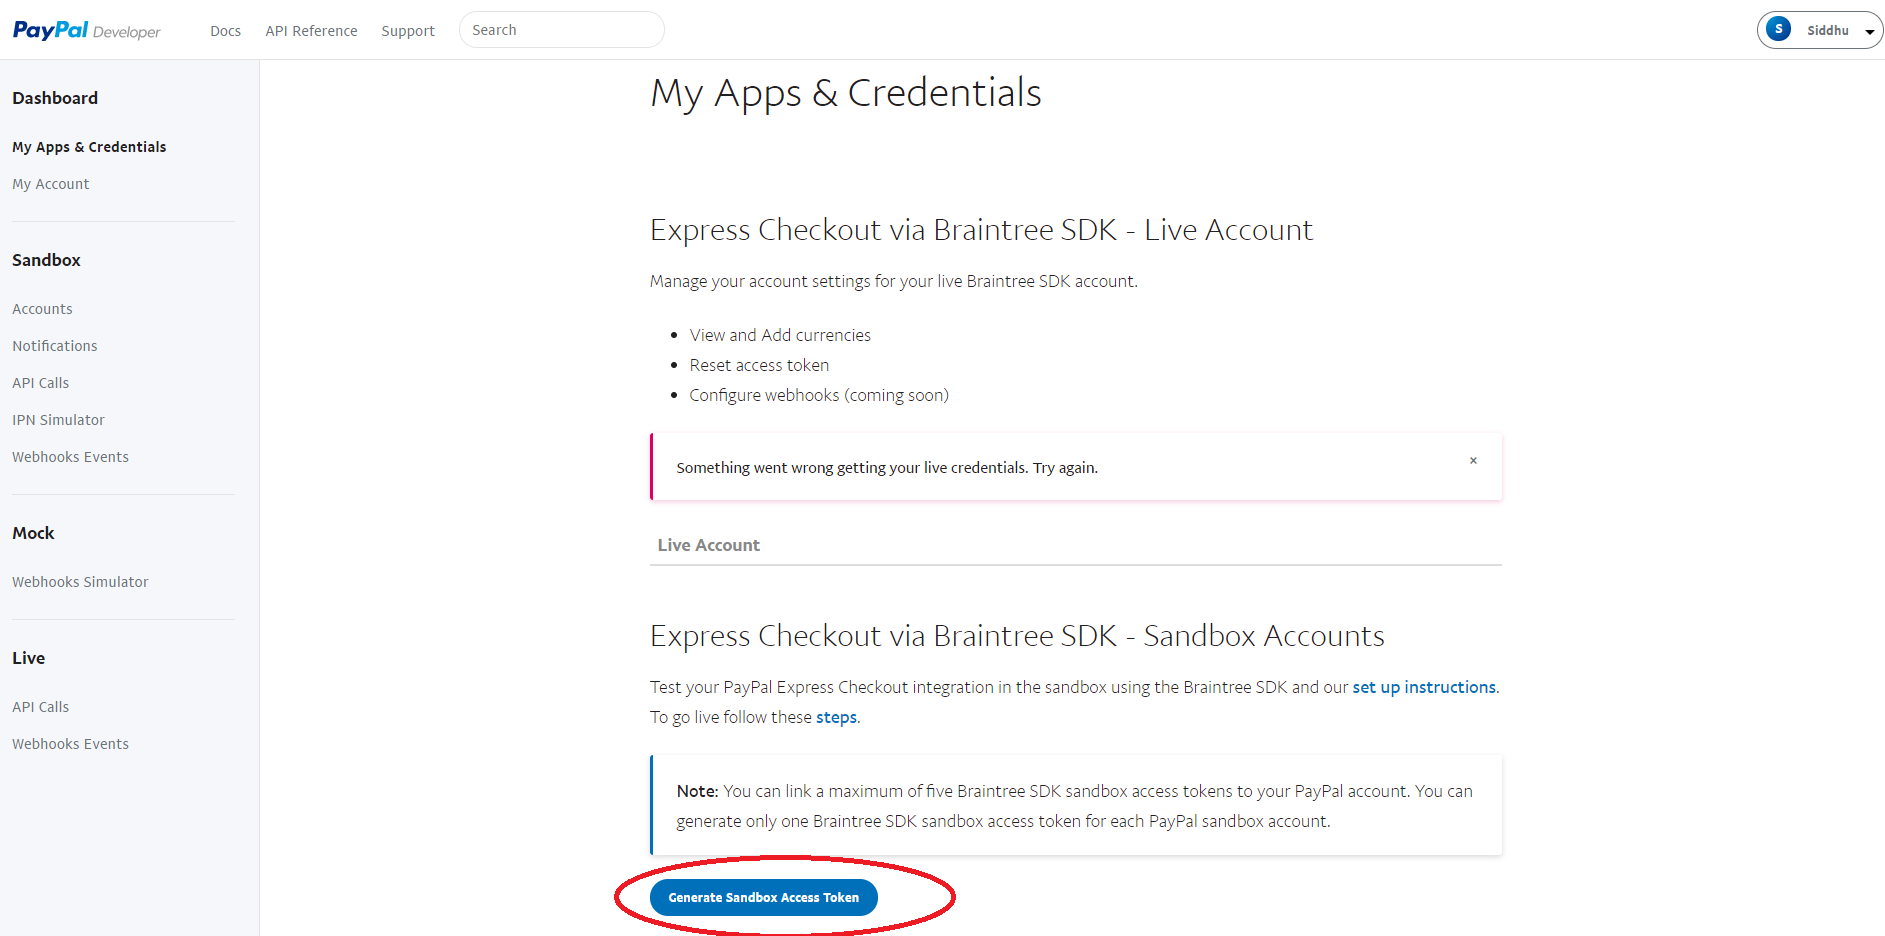
Click on the button and fill select *-facilitator@gmail.com of Type business in combobox.
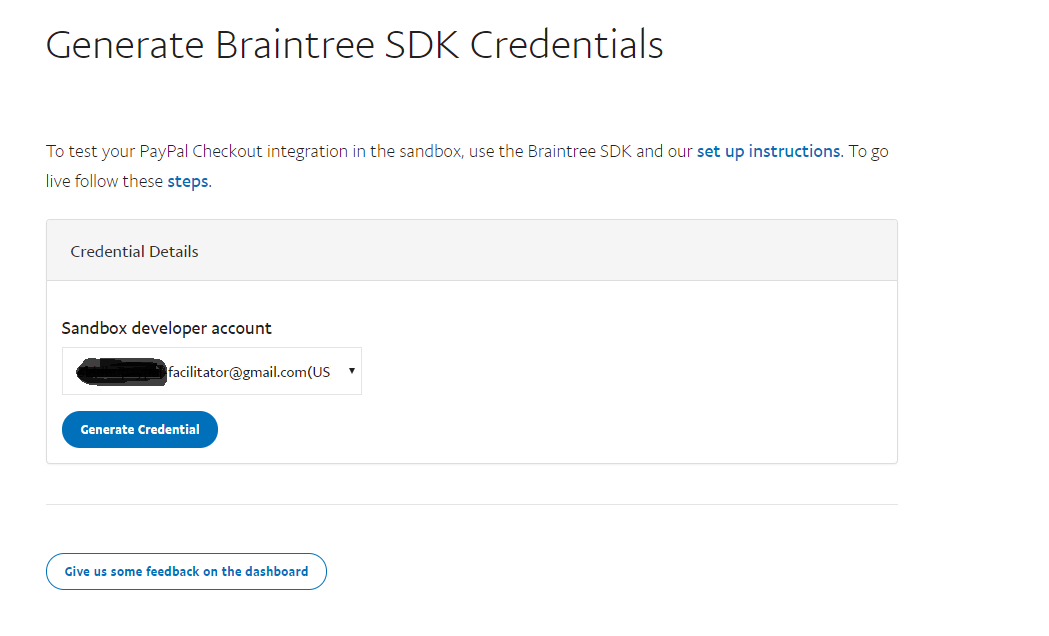
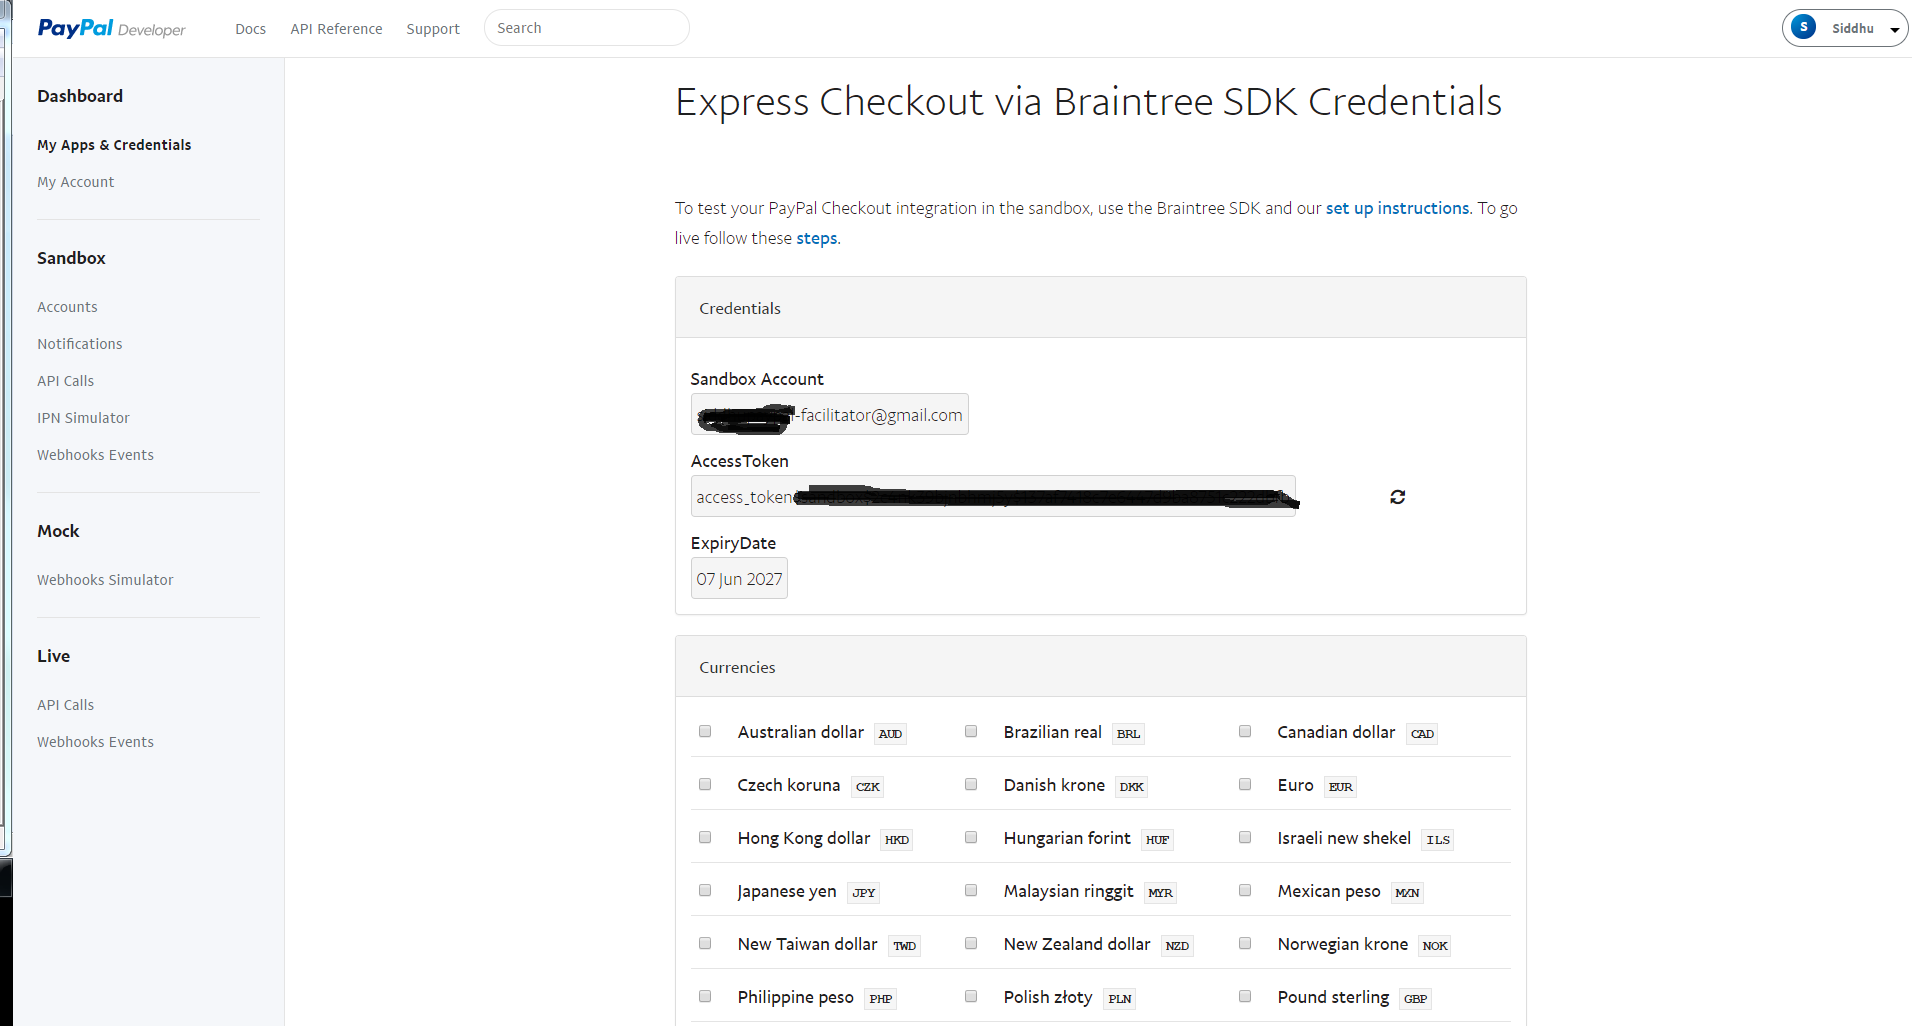
Step 5:-click on Generate Credential button and we will see Access token created for us in sandbox for use. On the same screen we can also define the currency in which we are going to use the transaction.
Note: This Access token has an expiry
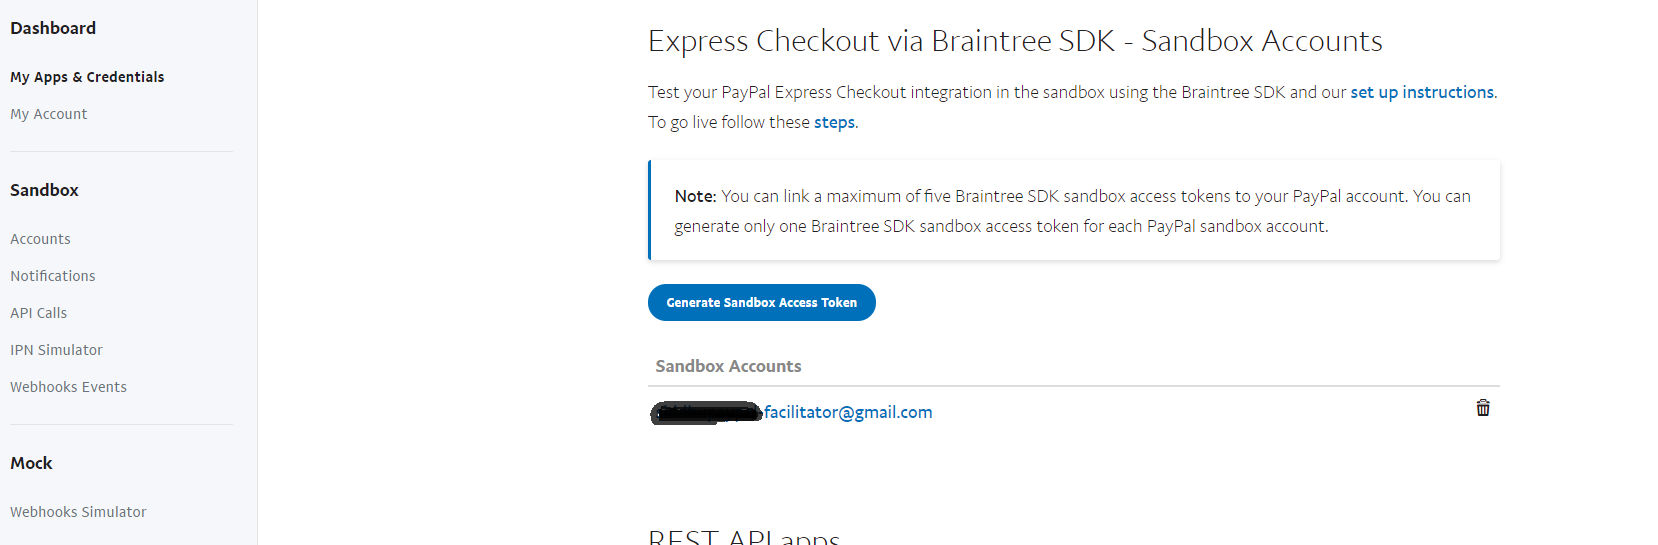
Step 6:-After adding the access token to our id we will be able to see this facilitator id on on My Apps & credentials Screen as shown below
Step 7:- Now lets try to implement PayPal payment services. Choose the solution that bests suits your needs
Refer to this page https://developer.paypal.com/docs/
We will try to use the simple yet effective option of checking out and paying the purchase product on line using Paypal.
https://developer.paypal.com/docs/integration/direct/express-checkout/integration-jsv4/
- Create simple dynamic web project and create an index.jsp in our webcontent
place following code inside it
<!--%@ page language="java" contentType="text/html; charset=ISO-8859-1"<!--%@ page language="java" contentType="text/html; charset=ISO-8859-1" pageEncoding="ISO-8859-1"%><!--!DOCTYPE html PUBLIC "-//W3C//DTD HTML 4.01 Transitional//EN" "http://www.w3.org/TR/html4/loose.dtd"><!--html><!--head><!--meta http-equiv="Content-Type" content="text/html; charset=ISO-8859-1"><!--title>Insert title here<!--/title><!--meta http-equiv="X-UA-Compatible" content="IE=edge" /><!--script src="https://www.paypalobjects.com/api/checkout.js"><!--/script><!--/head><!--body>
<!--h2>hello siddhu<!--/h2> <!--div id="paypal-button"><!--/div>
<!--script> paypal.Button.render({
env: 'production', // Or 'sandbox',
commit: true, // Show a 'Pay Now' button
payment: function() { // Set up the payment here },
onAuthorize: function(data, actions) { // Execute the payment here }
}, '#paypal-button'); <!--/script><!--/body><!--/html>
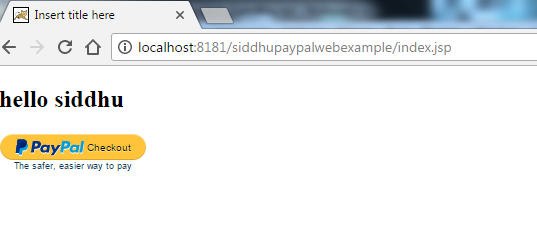
When you run above code you will be able to see a paypal button on the screen.
Now we need to add logic that will work for us to do payment using Paypal. for this we will use Client-side REST integration
For this we need to create a client id and for that we have to follow below given steps.
1- Go to PayPal developer My apps page, and click the top right button to log in.2- Scroll down to the REST API Apps section. If you do not have any apps listed in this section, create a PayPal app i.e. https://developer.paypal.com/developer/applications/createand and copy paste the cliend id for our app created and then return to the REST API Apps section.
Modify above code with this lines which state that we are going to
<!--%@ page language="java" contentType="text/html; charset=ISO-8859-1"<!--%@ page language="java" contentType="text/html; charset=ISO-8859-1" pageEncoding="ISO-8859-1"%><!--!DOCTYPE html PUBLIC "-//W3C//DTD HTML 4.01 Transitional//EN" "http://www.w3.org/TR/html4/loose.dtd"><!--html><!--head><!--meta http-equiv="Content-Type" content="text/html; charset=ISO-8859-1"><!--title>Insert title here<!--/title><!--meta http-equiv="X-UA-Compatible" content="IE=edge" /><!--script src="https://www.paypalobjects.com/api/checkout.js"><!--/script><!--/head><!--body>
<!--h2>hello siddhu<!--/h2> <!--div id="paypal-button"><!--/div>
<!--script> paypal.Button.render({
env : 'sandbox', // Or 'production'
client : { sandbox : 'ASEbOgMkFPF1J2nYV3CbDb8k7JSfWveIHDdsVjJrqEtAQeBJsvavDtuN1ULZABXREGx3UdfEyDGcVNpn', production : 'xxxxxxxxx' },
commit : true, // Show a 'Pay Now' button
payment : function(data, actions) { return actions.payment.create({ transactions : [ { amount : { total : '1.00', currency : 'USD' } } ] }); },
onAuthorize : function(data, actions) { return actions.payment.execute().then(function(payment) {
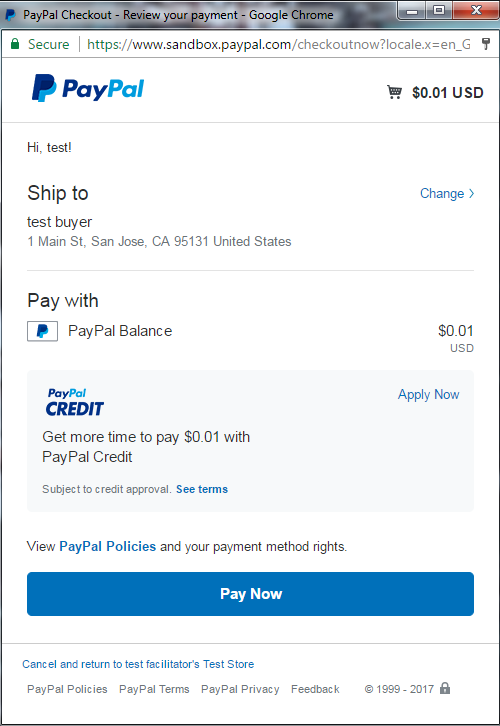
window.alert("Payment done successfully!!!!!!");
// The payment is complete! // You can now show a confirmation message to the customer }); }
}, '#paypal-button'); <!--/script><!--/body><!--/html>
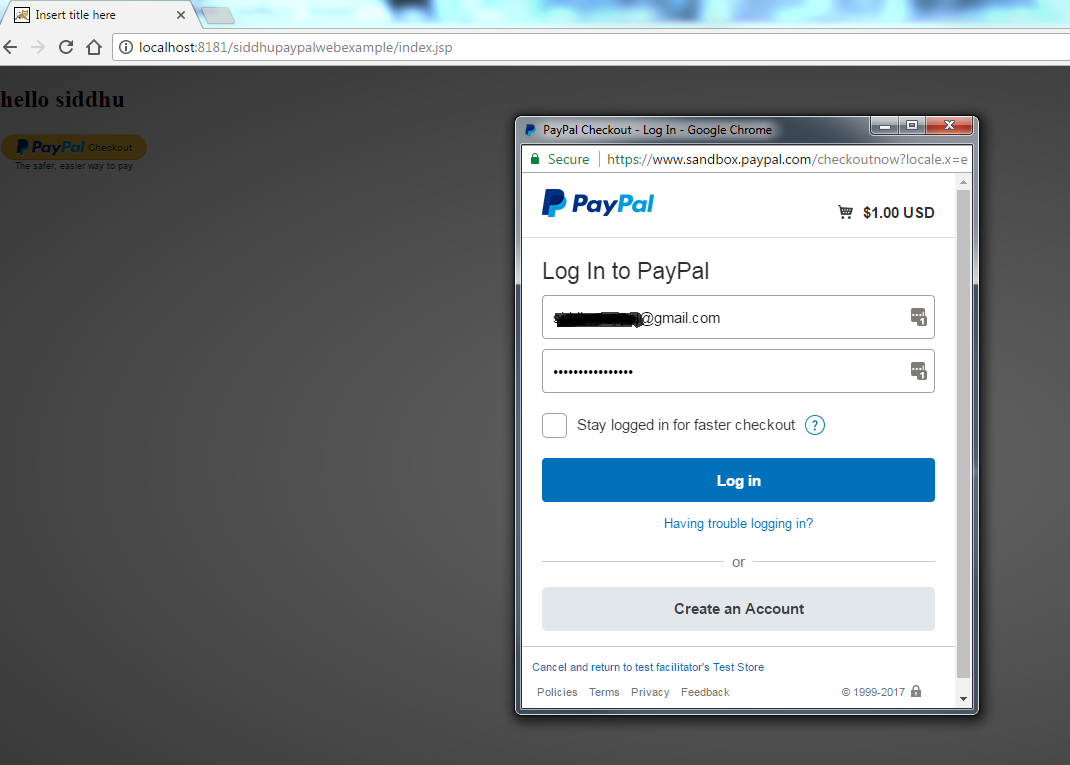
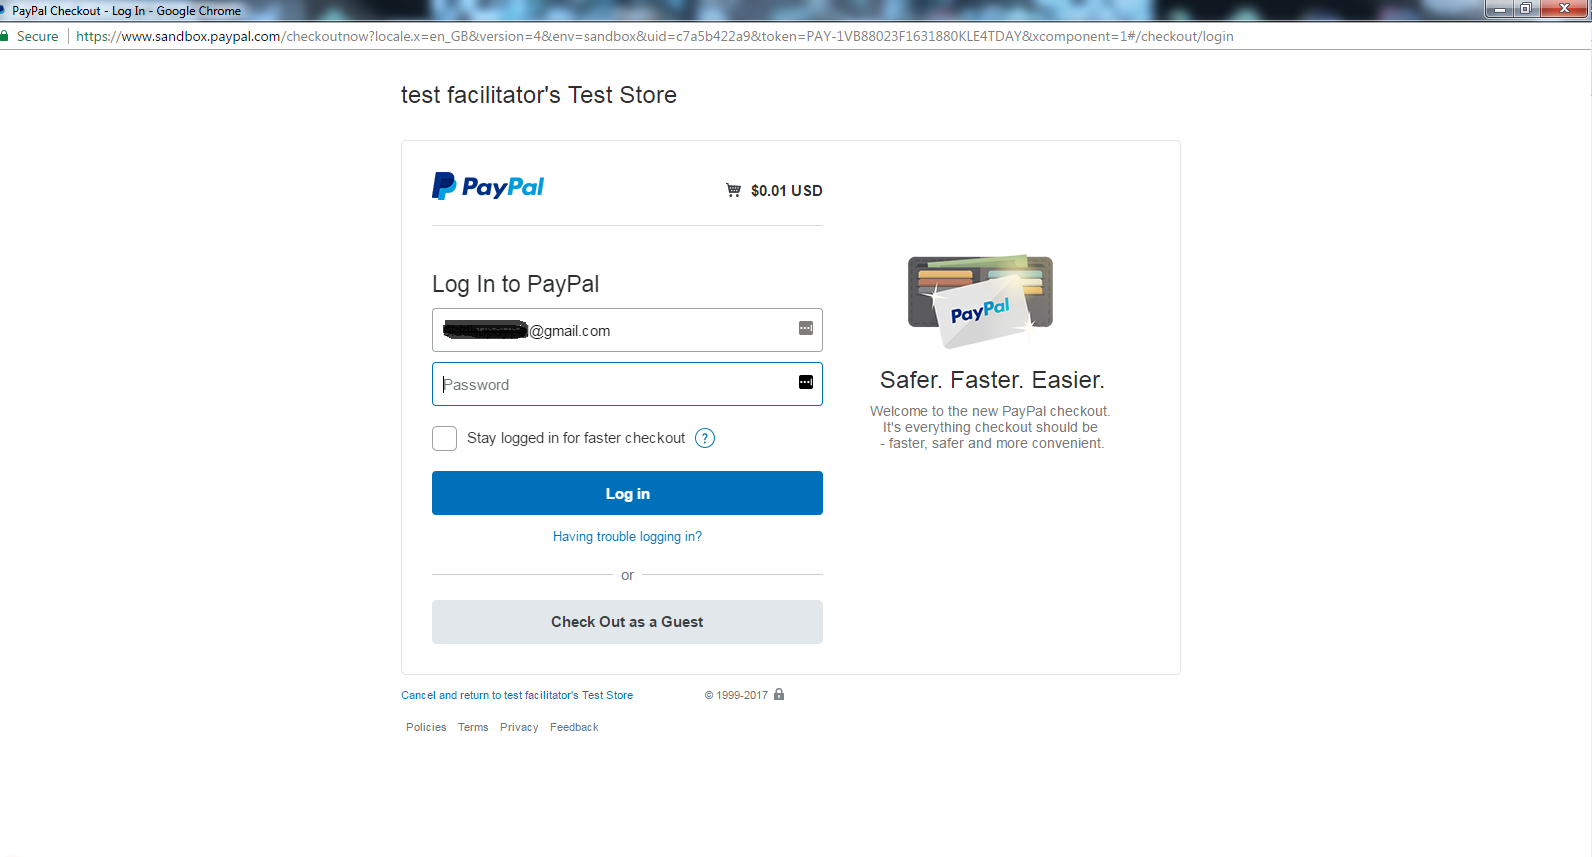
As I am acting as a buyer so I had used my buyer emailid and password.
Refer to the below url for more in details:-
https://developer.paypal.com/docs/integration/direct/express-checkout/integration-jsv4/add-paypal-button/https://developer.paypal.com/docs/integration/direct/express-checkout/integration-jsv4/choose-integration-method/