In past all example we had written producer and consumer by hand to send and consume the data from topic. But what if someone has already developed this part for us. Means code for producer which will fetch data from the external system and insert the data inside the topic this is called Kakfa connect source API and same is the case to read the data from the Kakfa from topic and insert into external system using inbuild kafka consumer api this is called kafka sink api.
In this example we will try to understand use the below model of execution
Source connect :-
My SQL DB –> Apache Kafka Connect source API –> Apache Kafka Topic
Sink connect :-
Apache Kafka Topic –> Apache Kafka Connect source API –> My SQL DB
Lets first concentrate on Source connect :-
My SQL DB –> Apache Kafka Connect source API –> Apache Kafka Topic
As we are using MySQL DB we will be going to use debezium/debezium-connector-mysql
i.e. https://www.confluent.io/hub/debezium/debezium-connector-mysql
We can either download the zip that contains all the jar files that is required to connect to the MySQL or we can use the maven repository.
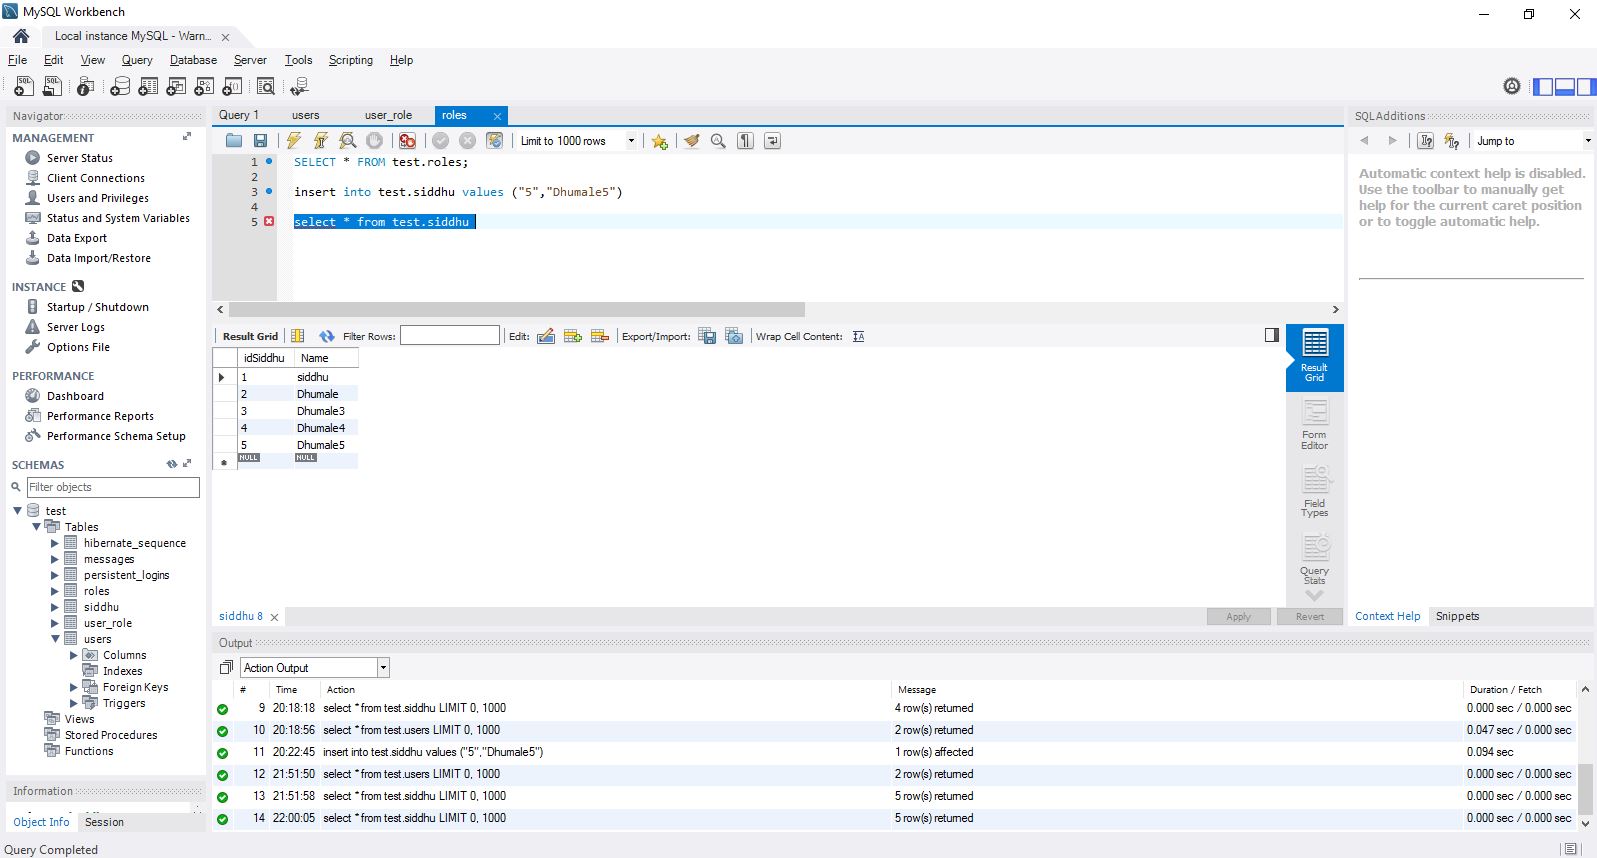
We already have MySQL installed in our window machine and we have a table called as a siddhu with two column as shown below.
Image22
Now Lets make follwing entry in our pom.xml to incorporate debezium-connector-mysql connector.
Prerequisite:-
1- We assume you already have MySQL installed in your system.
2- MySql has a schema called Test and a table name as siddhu with two coliumn idSiddhu and name.
3- We have Apache Kafka installed in your system. We are using confluent Apache Kafka for the same.
As our system is Window please follow below given step to use Apache Connect in windows
- Configure mysql connector jar in following location. If you don’t have folder with name kafka-connect-jdbc then create it
C:\confluent-community-6.0.1\confluent-6.0.1\share\java\kafka-connect-jdbc\mysql-connector-java-5.1.38-bin.jar - Create folder kafka-connect-jdbc inside etc folder of kagfka and create a property files quickstart-mysql.properties in
C:\confluent-community-6.0.1\confluent-6.0.1\etc\kafka-connect-jdbc\quickstart-mysql.properties
with following content
1 2 3 4 5 6 7 | name=test-source-mysql-jdbc-autoincrement connector.class=io.confluent.connect.jdbc.JdbcSourceConnectortasks.max=1connection.url=jdbc:mysql://localhost:3306/test?user=root&password=rootmode=incrementingincrementing.column.name=idSiddhutopic.prefix=my-replicated-topic-siddhu |
Follow below steps religiously
Steps:
- Start zookeeper
zookeeper-server-start.bat \etc\kafka\zookeeper.properties - Start Kafka Broker
kafka-server-start.bat \etc\kafka\server.properties - Start Mysql Source
connect-standalone.bat C:\confluent-community-6.0.1\confluent-6.0.1\etc\kafka\connect-standalone.properties C:\confluent-community-6.0.1\confluent-6.0.1\etc\kafka-connect-jdbc\quickstart-mysql.properties
Start inserting data inside your siddhu table of test schema.
You will be able to see that my-replicated-topic-siddhusiddhu topic created with the data in json format as shown in the below
as we have given topic.prefix=my-replicated-topic-siddhu the new topic will be created using this as prefix to the table in which we inserted the data
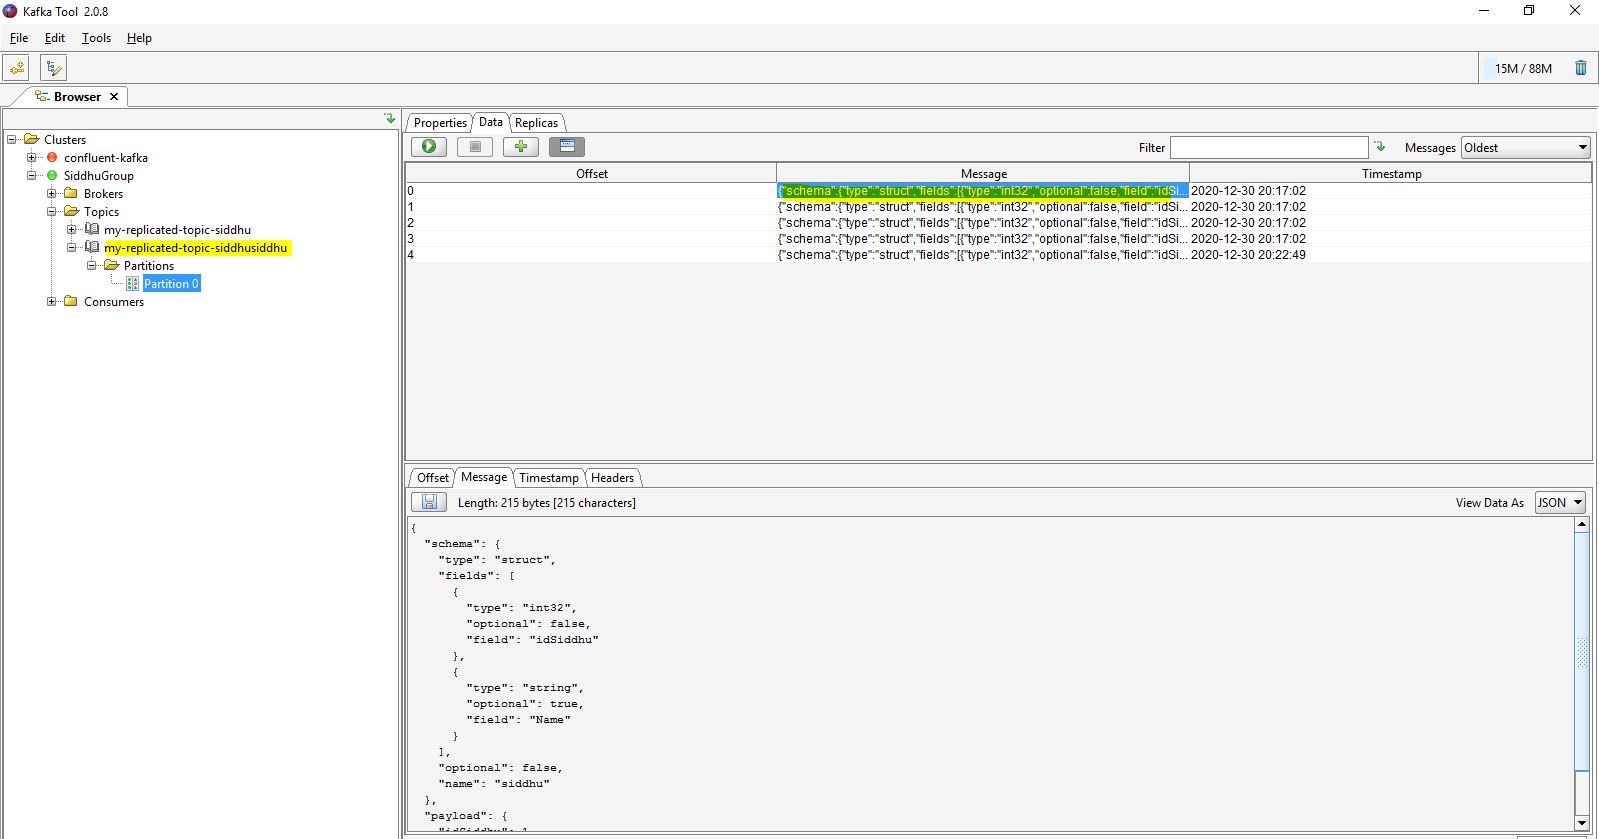
Now execute any query in the table i.e. unsert, update , delete or update and you will find corresponding message is update in the kafka topic.

No comments:
Post a Comment