Lets try to take advantage of opentracing concept for distributed application i.e. springboot application.
Lets create a simple spring boot web application and inject Opentrace jager dependencies in it and try to trace the request.
Before starting lets understand what is distributed tracing. Generelly in loggin we trace the request from one point to another point in same context. i.e. in microservice concept lets say our whole process need to get flow from Microservice A->Microservice B->Microservice C to complete the task .. in this case we should be able to trace the complete flow from A to C and not from A to b and B to C only. Distributed tracing help us in that concept as we get the complete ui of tracing the log from start to end.
We are using jager to provide the ui for tracing https://www.jaegertracing.io/
you can directly download the jager from the below location
https://www.jaegertracing.io/download/#binaries
Add Jager to you path in the system so that you can use it from the console.
C:\jaeger-1.22.0-windows-amd64
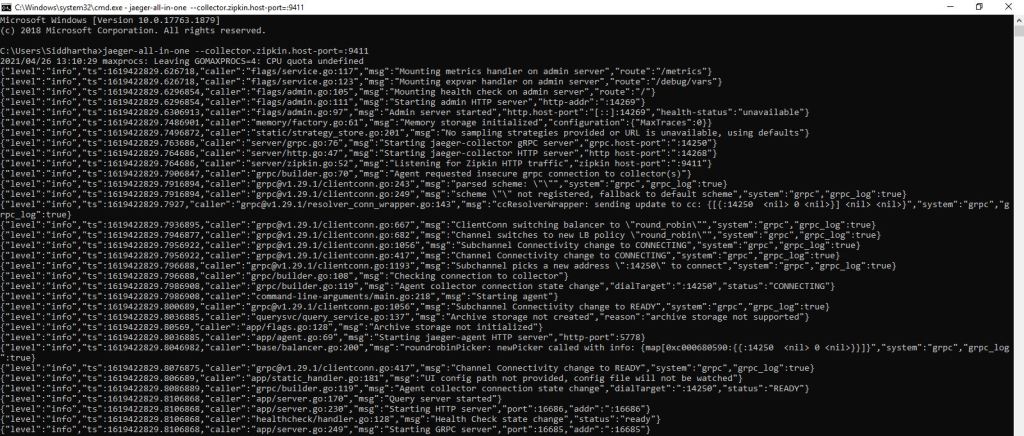
You can run the Jagger using below command
jaeger-all-in-one –collector.zipkin.host-port=:9411
Note:- you can also use the docker container to run them in the isolate environment.this is the most preferable way as it is executed in docker env.
Use this command to start Jager in docker env
docker run -d -p 5775:5775/udp -p 16686:16686 jaegertracing/all-in-one:latest

Open the ui on the browser

Now lets create our Spring boot application whose request we want to trace.
Please follow the belwo step religiously. We are using Spring STS IDE for the same.
Now lets add required dependecies in our pom.xml as show belwo
<!-- https://mvnrepository.com/artifact/io.opentracing.contrib/opentracing-spring-web-starter -->
		<dependency>
			<groupId>io.opentracing.contrib</groupId>
			<artifactId>opentracing-spring-web-starter</artifactId>
			<version>4.1.0</version>
		</dependency>
		<!-- https://mvnrepository.com/artifact/io.opentracing.contrib/opentracing-spring-jaeger-starter -->
		<dependency>
			<groupId>io.opentracing.contrib</groupId>
			<artifactId>opentracing-spring-jaeger-starter</artifactId>
			<version>3.3.1</version>
		</dependency>
Now add a simple @Restcontroller to our springboot application
@SpringBootApplication
@RestController
public class SpringBootJaegerApplication {
1 2 3 4 5 6 7 8 9 | public static void main(String[] args) { SpringApplication.run(SpringBootJaegerApplication.class, args);} @GetMapping("/hello") public String hello() { return "hello"; } |
}
Lets run our spring boot application

Hit the url

Run our Jaeger server

Open Jaeger ui
Note:- You can download the source code from
https://github.com/shdhumale/spring-boot-jaeger
Now lets do the same thing using the Zipkin tracing
For this we will use the docker engine
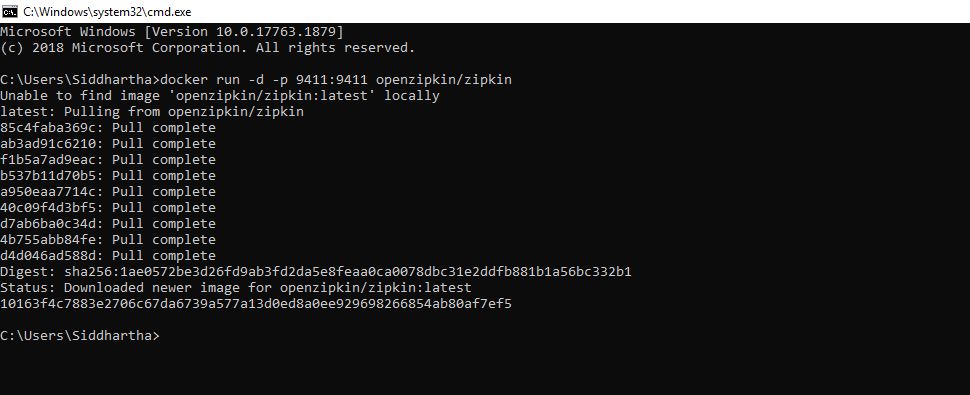
Use below command to execute zipkin server
docker run -d -p 9411:9411 openzipkin/zipkin

Now Open the url below url and check we are able to access zipkin screen

Now lets start our Spring boot application and check if it is working on port http://localhost:8080/hello
Now change the pom.xml for integrating Zipkin
<dependency>
			<groupId>io.zipkin.reporter</groupId>
			<artifactId>zipkin-sender-okhttp3</artifactId>
			<version>0.10.0</version>
		</dependency>

		<dependency>
			<groupId>io.opentracing.brave</groupId>
			<artifactId>brave-opentracing</artifactId>
			<version>0.20.0</version>
		</dependency>

		<dependency>
			<groupId>io.opentracing.contrib</groupId>
			<artifactId>opentracing-spring-web-autoconfigure</artifactId>
			<version>0.0.4</version>
		</dependency>
Now let following code in out main class
@Bean
public RestTemplate restTemplate(RestTemplateBuilder restTemplateBuilder) {
return restTemplateBuilder.build();
}
1 2 3 4 5 6 7 8 9 10 11 12 13 14 15 | @Beanpublic io.opentracing.Tracer zipkinTracer() { OkHttpSender okHttpSender = OkHttpSender.builder() .encoding(Encoding.JSON) .endpoint("http://localhost:9411/api/v1/spans") .build(); AsyncReporter<Span> reporter = AsyncReporter.builder(okHttpSender).build(); Tracing braveTracer = Tracing.newBuilder() .localServiceName("spring-boot-zipkin") .reporter(reporter) .traceId128Bit(true) .sampler(Sampler.ALWAYS_SAMPLE) .build(); return BraveTracer.create(braveTracer);} |
Now lets run our springboot application and click on RunQuery button on the zipkin and you will be able to trace your request.
Note:- Code can be downloaded from url
https://github.com/shdhumale/spring-boot-zipkin


No comments:
Post a Comment