First create AngularJS project using following command
npm install - g @angular/cli
ng new myAngularInternationalization
cd myAngularInternationalization
ng serve
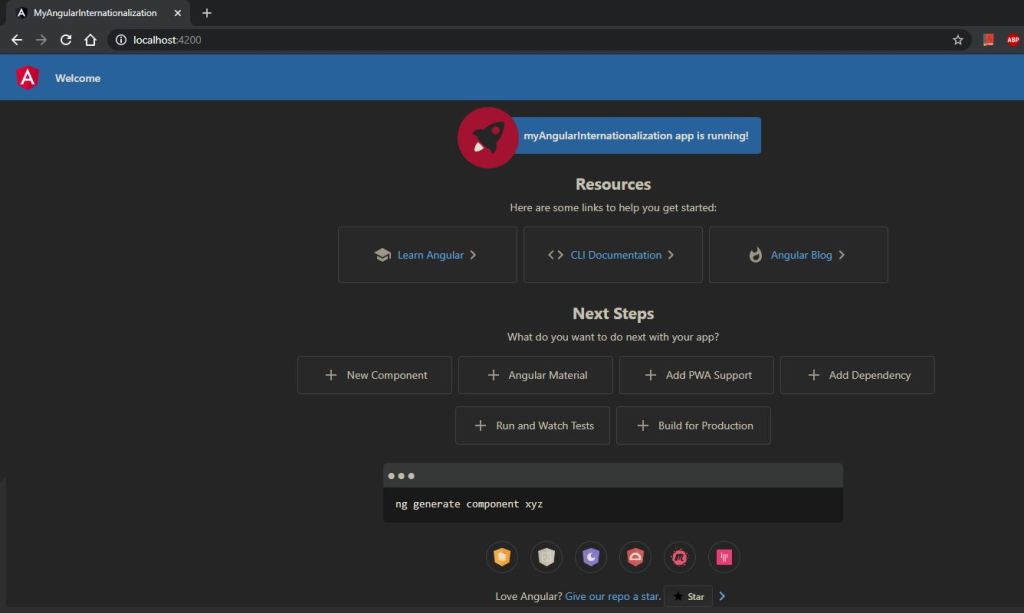
You will be able to see the default screen for angular project
Note:- Make sure you already have node , npm etc is installed in the machine.
Now lets add internationalization
We can add internationalization (i18n) in Angular 10 via the ngx-translate package. [As our angular version in package.json is "@angular/core": "~10.0.6",]
Let's get started by installing the required dependencies using the following command:
npm install @ngx-translate/core @ngx-translate/http-loader
or
npm i @ngx-translate/core --save
npm i @ngx-translate/http-loader --save
Make sure both the packages are installed in package.json
"@ngx-translate/core": "^13.0.0",
"@ngx-translate/http-loader": "^6.0.0",
Next, add the following translations files:
cd src/assets/i18n
touch en.json
touch fr.json
Open the src/assets/i18n/en.json file and the following JSON content:
{
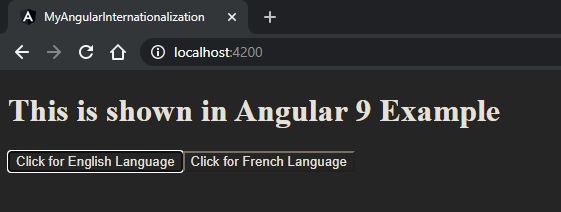
"appText": "This is shown in Angular 9 Example"
}
Next, open the src/assets/i18n/fr.json:
{
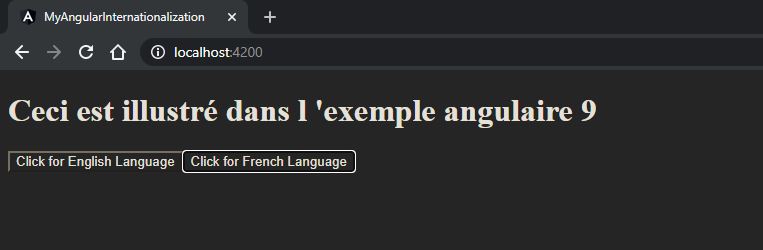
"appText": "Ceci est illustré dans l 'exemple angulaire 9"
}
Now that we have created the translation files, we need to import the ngx-translate module and loading the translations by adding the following code in the src/app/app.module.ts file
//Added for Internationalization of Project
import { HttpClient, HttpClientModule } from '@angular/common/http';
import { TranslateLoader, TranslateModule } from '@ngx-translate/core';
import { TranslateHttpLoader } from '@ngx-translate/http-loader';
export function httpTranslateLoader(http: HttpClient) {
return new TranslateHttpLoader(http);
}imports: [
BrowserModule,
AppModule,
HttpClientModule,
TranslateModule.forRoot({
loader: {
provide: TranslateLoader,
useFactory: httpTranslateLoader,
deps: [HttpClient],
},
}),
],Next, open the src/app/app.component.html file and update it as follows:
<h1>
  {{'appText' | translate }}
</h1>
<div>
  <button (click)="switchLang('en')">Click for English Language</button>
  <button (click)="switchLang('fr')">Click for French Language</button>
</div>
Next, we need to implement the useLanguage() method in our App component.
Open the src/app/app.component.ts file and update it as folows:
<!-- wp:paragraph -->
<p>import { Component } from '@angular/core';<br>import { TranslateService } from '@ngx-translate/core';</p>
<!-- /wp:paragraph -->

<!-- wp:paragraph -->
<p>@Component({<br>selector: 'app-root',<br>templateUrl: './app.component.html',<br>styleUrls: ['./app.component.css'],<br>})<br>export class AppComponent {<br>constructor(<br>public translate: TranslateService<br>) {<br>translate.addLangs(['en', 'fr']);<br>translate.setDefaultLang('en');<br>}</p>
<!-- /wp:paragraph -->

<!-- wp:paragraph -->
<p>switchLang(lang: string) {<br>this.translate.use(lang);<br>}<br>}</p>
<!-- /wp:paragraph -->
We simply inject TranslateService in our component and use the getBrowserLang and setDefaultLang methods to get the default browser language and set the default language.
Now, that we have implemented internationalization in our Angular 10 app, let's run it using the following command:
Note:- You can download the source code from below url
https://github.com/shdhumale/angularjsinternationalization.git

No comments:
Post a Comment