In this example we will use the FluentBit to collect the CPU stats and store it in ElasticSearch db and finally have it on Kiabana UI for monitoring.
We are using Window machine you will need to download respective package for fluentbit as per your O/S version.
Step 1:- Install fluentBit. You can download the same from below location.
https://docs.fluentbit.io/manual/installation/windows
Add following to your application and system path
C:\Program Files\td-agent-bit\bin
Now lets start the fluentbit using below command.
C:\Program Files\td-agent-bit\bin\fluent-bit.exe -i dummy -o stdout
you will be able to see the belwo output. This indicate that your fluentbit is running.
C:\Users\Siddhartha>fluent-bit.exe -i dummy -o stdout
Fluent Bit v1.7.4
* Copyright (C) 2019-2021 The Fluent Bit Authors
* Copyright (C) 2015-2018 Treasure Data
* Fluent Bit is a CNCF sub-project under the umbrella of Fluentd
* https://fluentbit.io
[2021/05/17 16:34:09] [ info] [engine] started (pid=8064)
[2021/05/17 16:34:09] [ info] [storage] version=1.1.1, initializing...
[2021/05/17 16:34:09] [ info] [storage] in-memory
[2021/05/17 16:34:09] [ info] [storage] normal synchronization mode, checksum disabled, max_chunks_up=128
[2021/05/17 16:34:09] [ info] [sp] stream processor started
[0] dummy.0: [1621249450.913351900, {"message"=>"dummy"}]
[1] dummy.0: [1621249451.914558700, {"message"=>"dummy"}]
[2] dummy.0: [1621249452.915630300, {"message"=>"dummy"}]
[3] dummy.0: [1621249453.916200700, {"message"=>"dummy"}]
[4] dummy.0: [1621249454.917336500, {"message"=>"dummy"}]
[0] dummy.0: [1621249455.905589500, {"message"=>"dummy"}]
[1] dummy.0: [1621249456.906112000, {"message"=>"dummy"}]
[2] dummy.0: [1621249457.906381400, {"message"=>"dummy"}]
[3] dummy.0: [1621249458.907409500, {"message"=>"dummy"}]
[4] dummy.0: [1621249459.907748200, {"message"=>"dummy"}]
In window if you want to check what input plugin you have use the below command
C:\Users\Siddhartha>fluent-bit --help
Inputs
tail Tail files
dummy Generate dummy data
statsd StatsD input plugin
winlog Windows Event Log
tcp TCP
forward Fluentd in-forward
random Random
Now lets try to tail the log file using fluentbit
we have our log file at belwo location C:/springboot-log/spring-boot-eflk.txt execute this command from the prompt
C:\Users\Siddhartha>fluent-bit fluent-bit -i tail -p path=C:/springboot-log/spring-boot-eflk.txt -o stdout
Fluent Bit v1.7.4
* Copyright (C) 2019-2021 The Fluent Bit Authors
* Copyright (C) 2015-2018 Treasure Data
* Fluent Bit is a CNCF sub-project under the umbrella of Fluentd
* https://fluentbit.io
[2021/05/17 16:37:29] [ info] [engine] started (pid=9892)
[2021/05/17 16:37:29] [ info] [storage] version=1.1.1, initializing...
[2021/05/17 16:37:29] [ info] [storage] in-memory
[2021/05/17 16:37:29] [ info] [storage] normal synchronization mode, checksum disabled, max_chunks_up=128
[2021/05/17 16:37:29] [ info] [sp] stream processor started
Or you can also update fluent-bit.conf by adding follwing line.
[INPUT]
Name tail
Path C:/springboot-log/spring-boot-eflk.log
[OUTPUT]
Name stdout
Match *
and now execute this command.
C:\Users\Siddhartha>fluent-bit -c C:\fluent-bit-conf-files\fluent-bit.conf
Fluent Bit v1.7.4
* Copyright (C) 2019-2021 The Fluent Bit Authors
* Copyright (C) 2015-2018 Treasure Data
* Fluent Bit is a CNCF sub-project under the umbrella of Fluentd
* https://fluentbit.io
[2021/05/17 16:40:23] [ info] [engine] started (pid=1704)
[2021/05/17 16:40:23] [ info] [storage] version=1.1.1, initializing...
[2021/05/17 16:40:23] [ info] [storage] in-memory
[2021/05/17 16:40:23] [ info] [storage] normal synchronization mode, checksum disabled, max_chunks_up=128
[2021/05/17 16:40:23] [ info] [sp] stream processor started
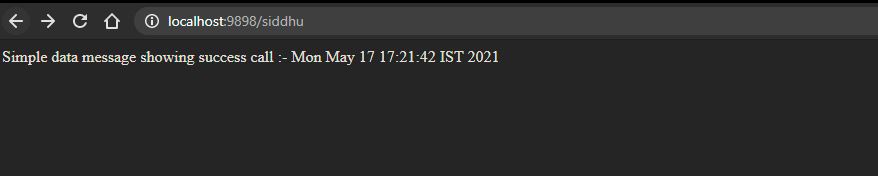
Now lets change the log using the application and lets check we are able to see the output on the console for the log.
hit below url to generate log in our C:/springboot-log/spring-boot-eflk.txt
http://localhost:9898/siddhu
http://localhost:9898/exception
You will be able to see the change in the prompt as shown below
for http://localhost:9898/siddhu
C:\Users\Siddhartha>fluent-bit -c C:\fluent-bit-conf-files\fluent-bit.conf -R C:\fluent-bit-conf-files\parsers.conf
Fluent Bit v1.7.4
* Copyright (C) 2019-2021 The Fluent Bit Authors
* Copyright (C) 2015-2018 Treasure Data
* Fluent Bit is a CNCF sub-project under the umbrella of Fluentd
* https://fluentbit.io
[2021/05/17 17:21:31] [error] [parser] parser named 'apache' already exists, skip.
[2021/05/17 17:21:31] [ info] [engine] started (pid=5680)
[2021/05/17 17:21:31] [ info] [storage] version=1.1.1, initializing...
[2021/05/17 17:21:31] [ info] [storage] in-memory
[2021/05/17 17:21:31] [ info] [storage] normal synchronization mode, checksum disabled, max_chunks_up=128
[2021/05/17 17:21:31] [ info] [sp] stream processor started
[0] tail.0: [1621252302.456784000, {"log"=>"2021-05-17 17:21:42.438 INFO 7444 --- [http-nio-9898-exec-8] c.s.ElkBeatSpringbootExampleApplication : response found : Simple data message showing success call :- Mon May 17 17:21:42 IST 2021"}]
For http://localhost:9898/exception
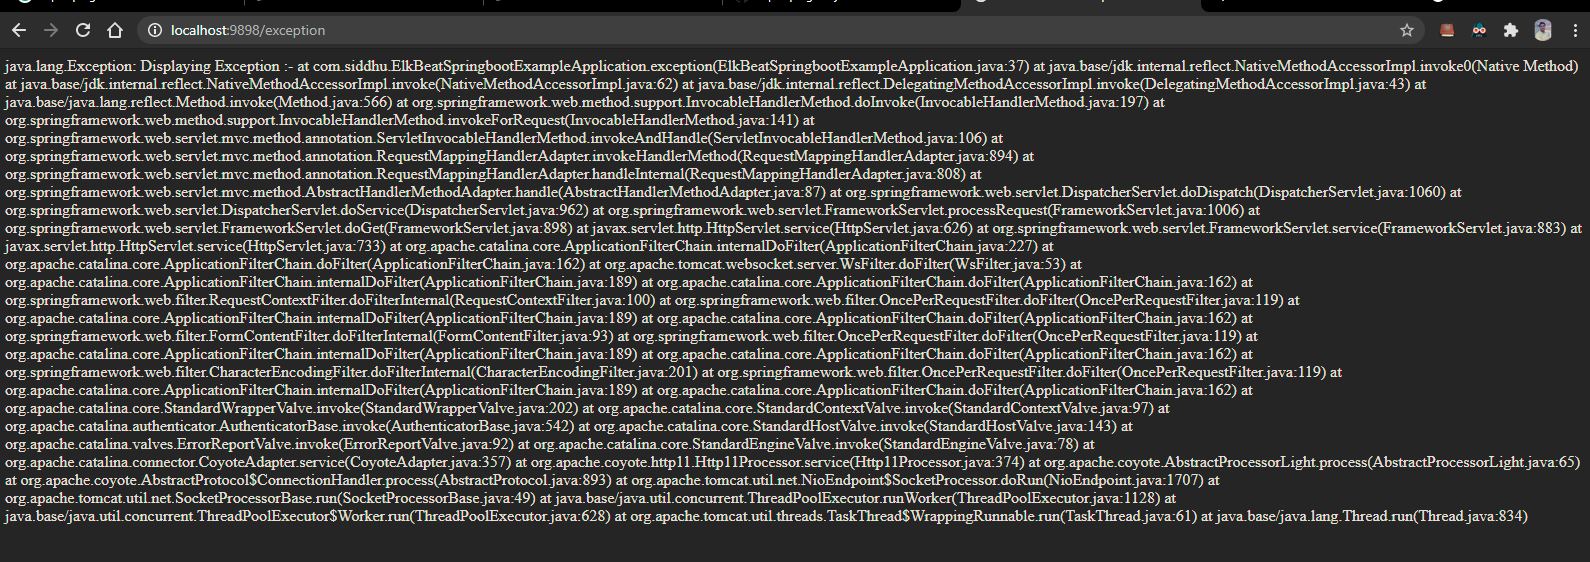

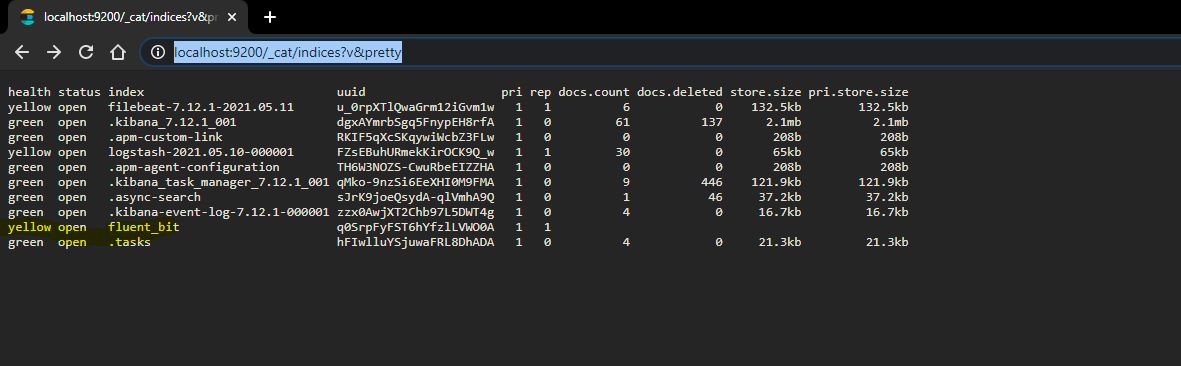
and hit the below url
http://localhost:9200/_cat/indices?v&pretty
Note :- You must have Elastic search Db running in your system
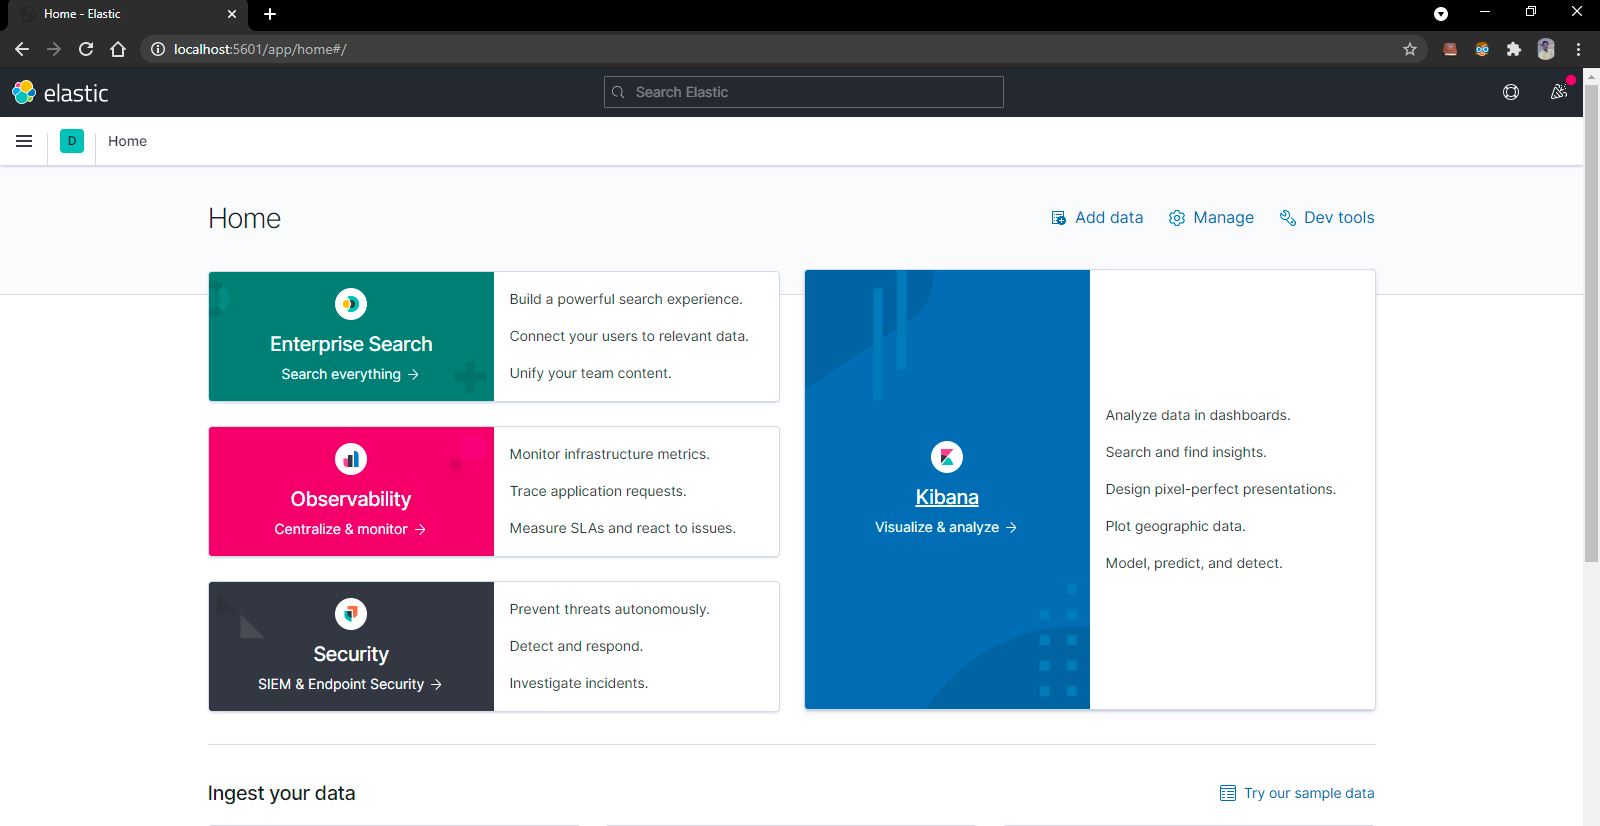
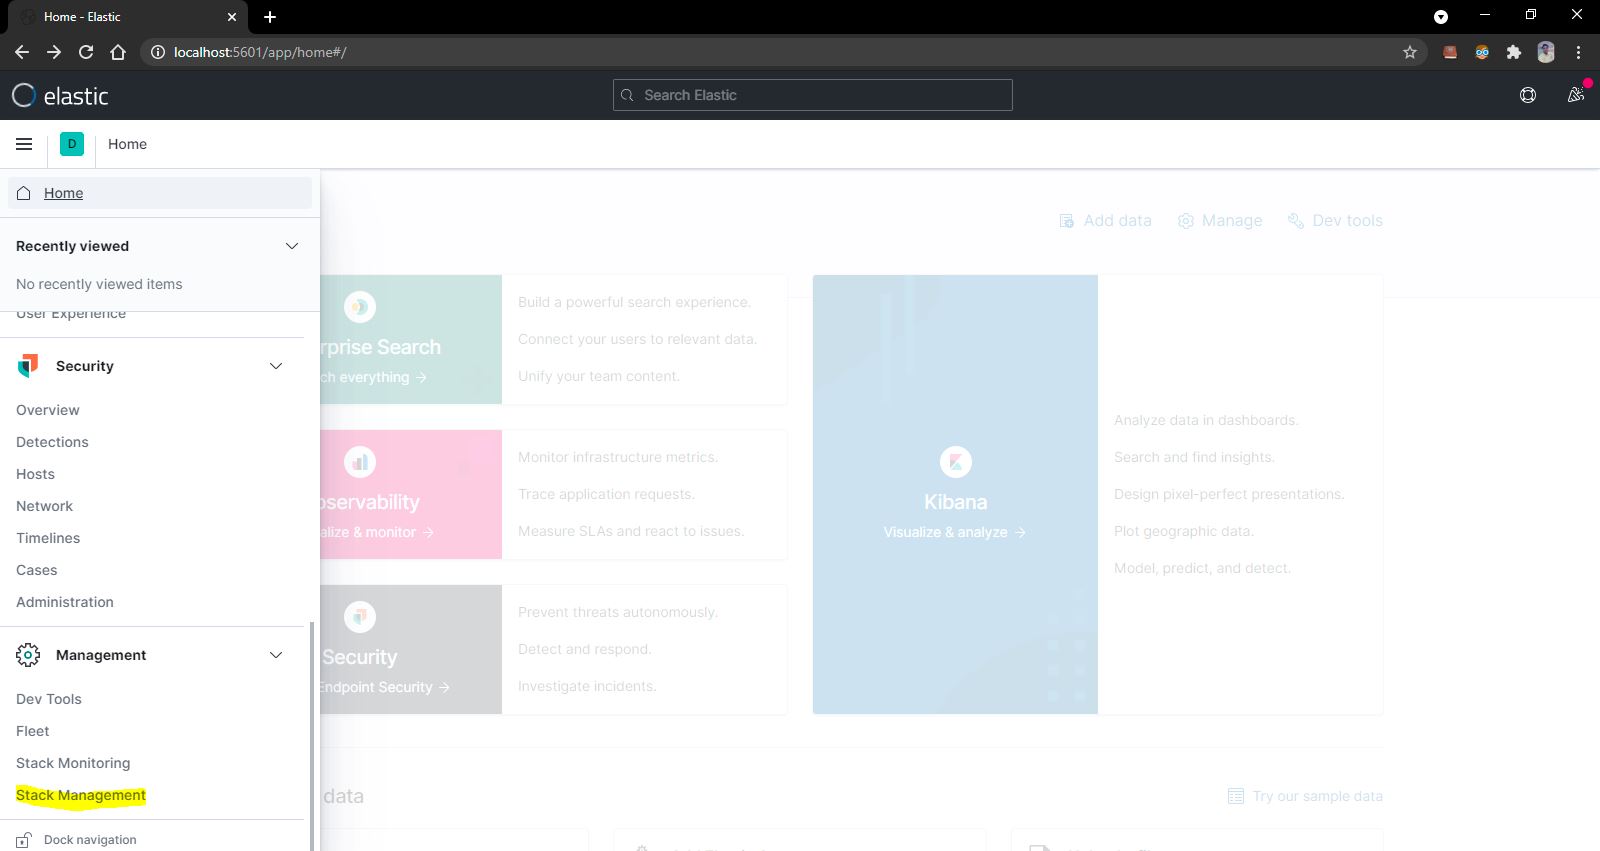
Now go to kibana and start it and open the url and configure this fluent-bit indices.
Before staring Kibana update we need to update kibana.conf file inside folder which will tell kibana where is your elasticserach db.
C:\kibana-7.12.1-windows-x86_64\config
Uncomment this line
The URLs of the Elasticsearch instances to use for all your queries.
elasticsearch.hosts: ["http://localhost:9200"]
C:\kibana-7.12.1-windows-x86_64\bin>kibana


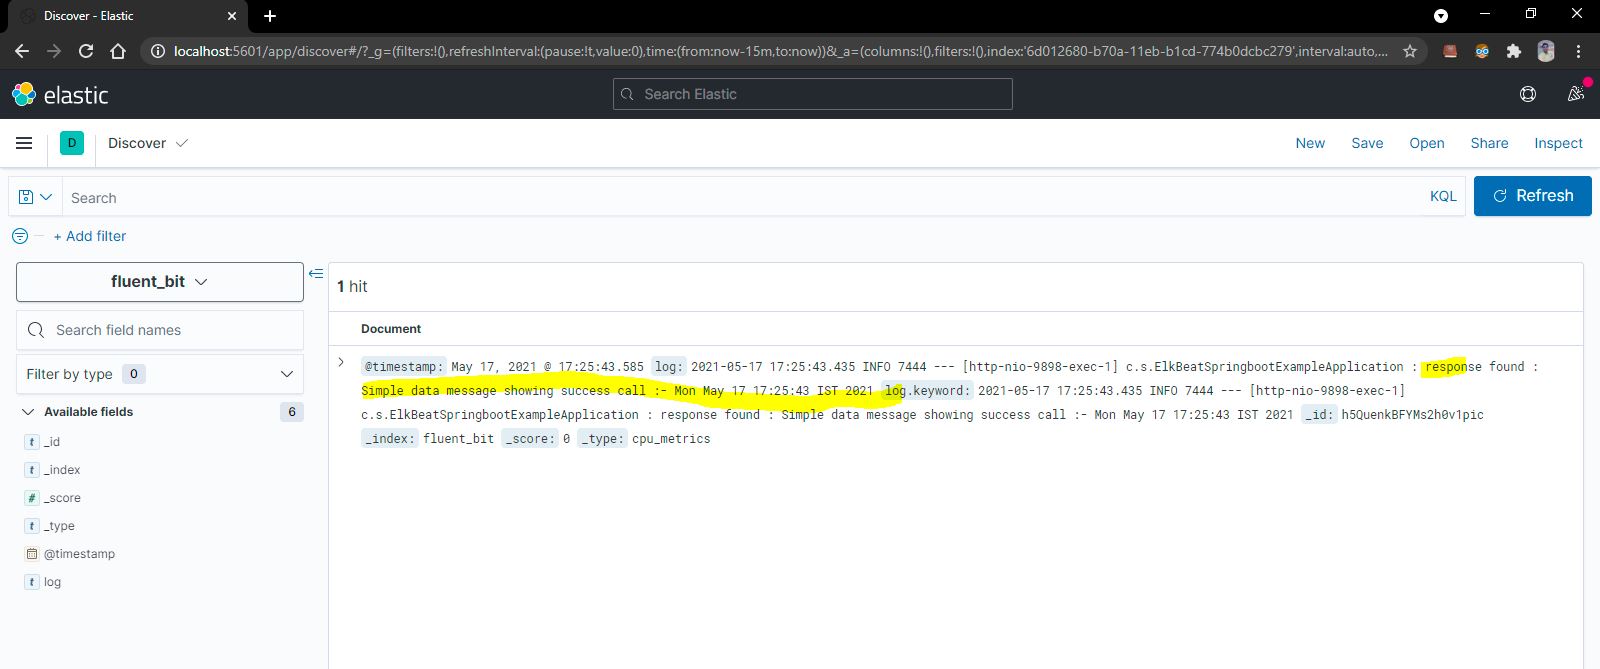
Now create the exception and you will find the data inside Kibana


No comments:
Post a Comment