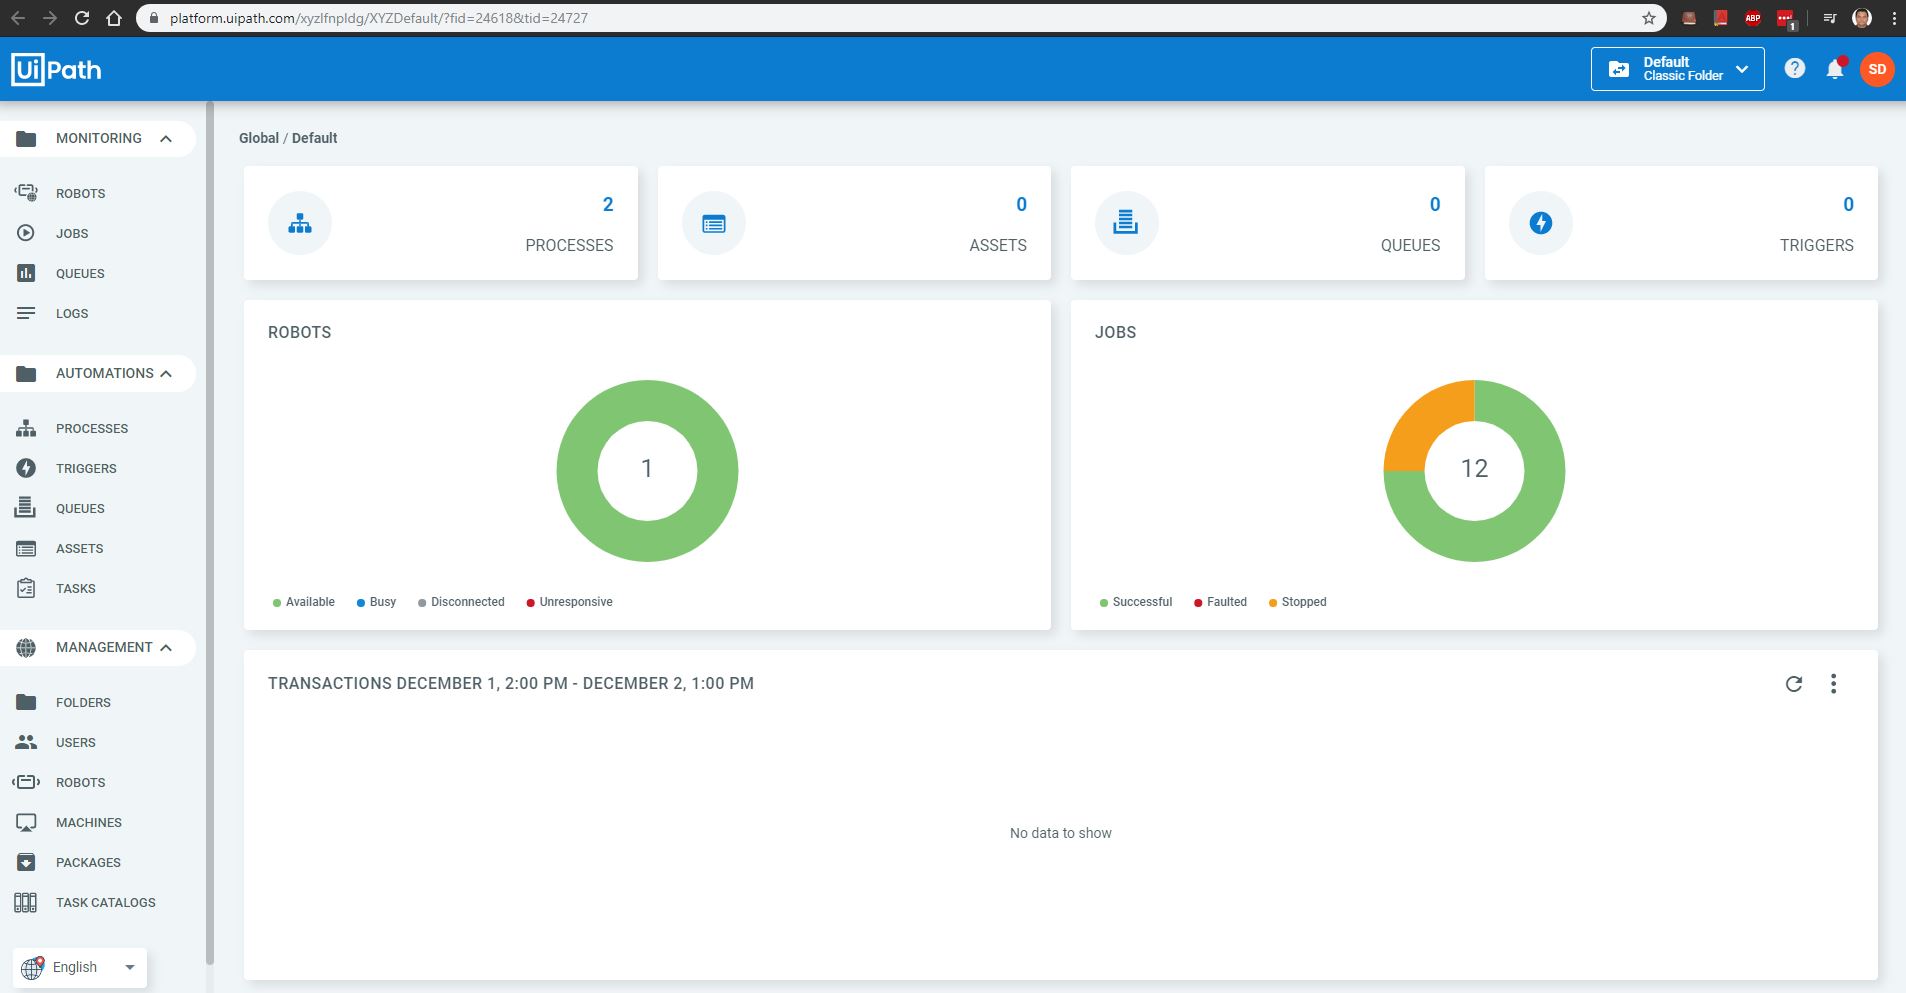
1- Go to https://platform.uipath.com/ and login using credentials you will be able to see the below
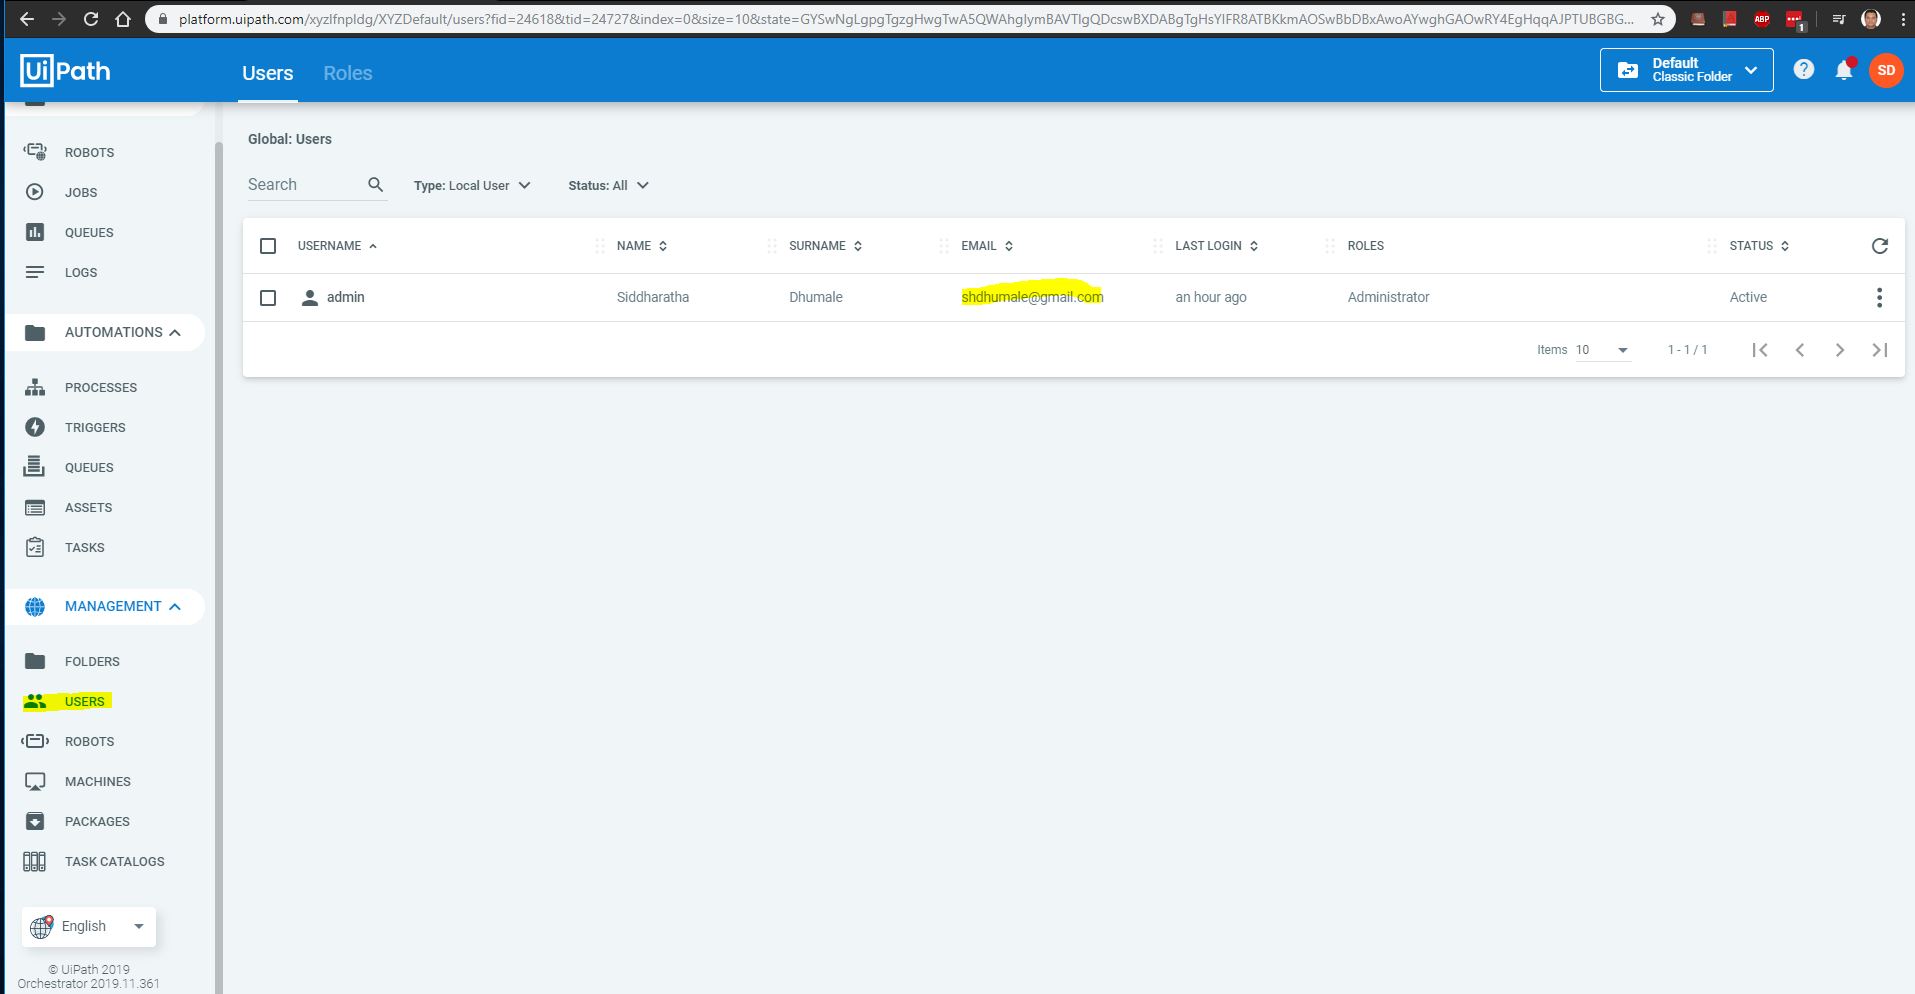
2- Go to management tab and click on the user and check if you are able to see the proper user in the list
3- Now create Robot using following steps
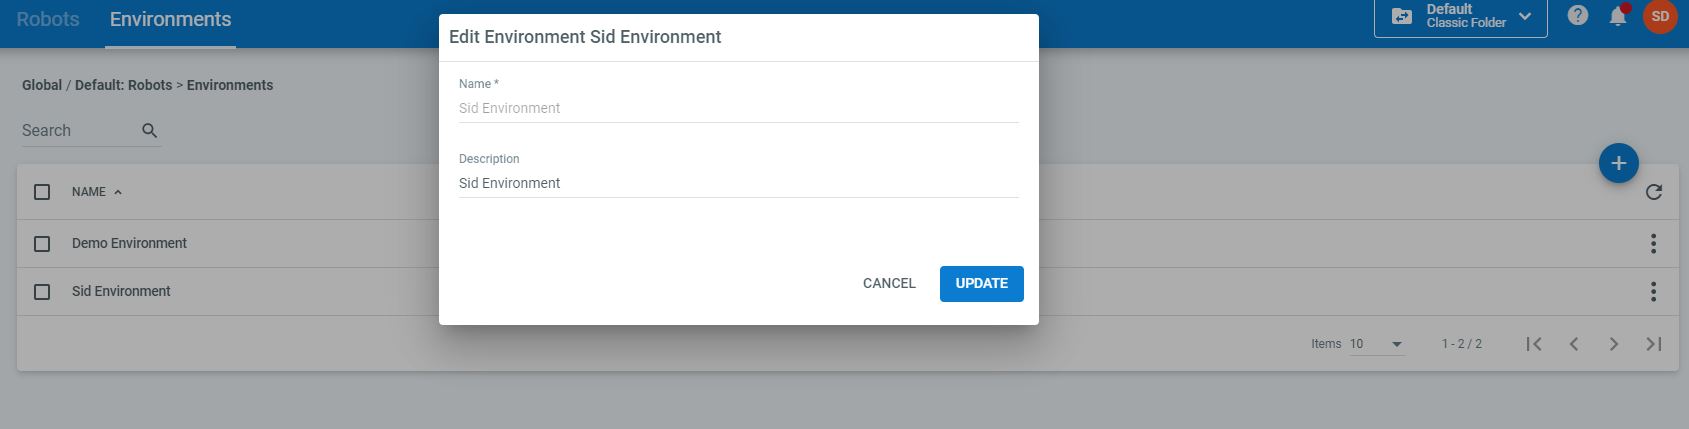
4- Create New Environment show below
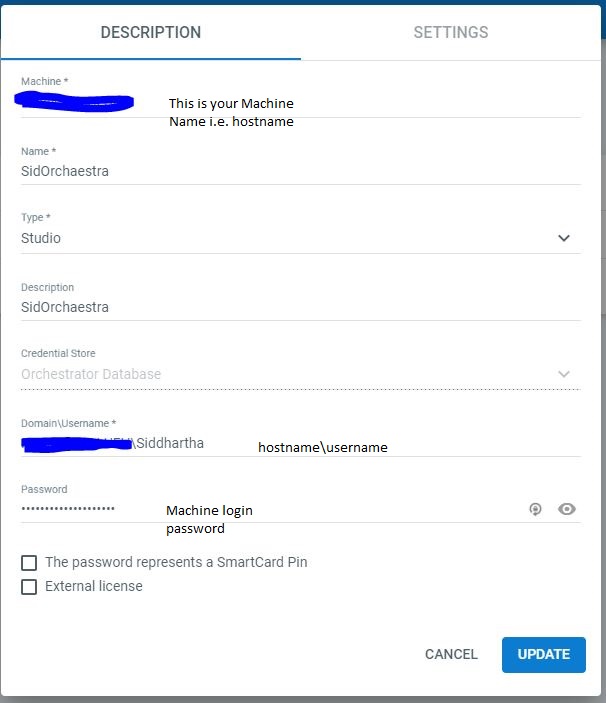
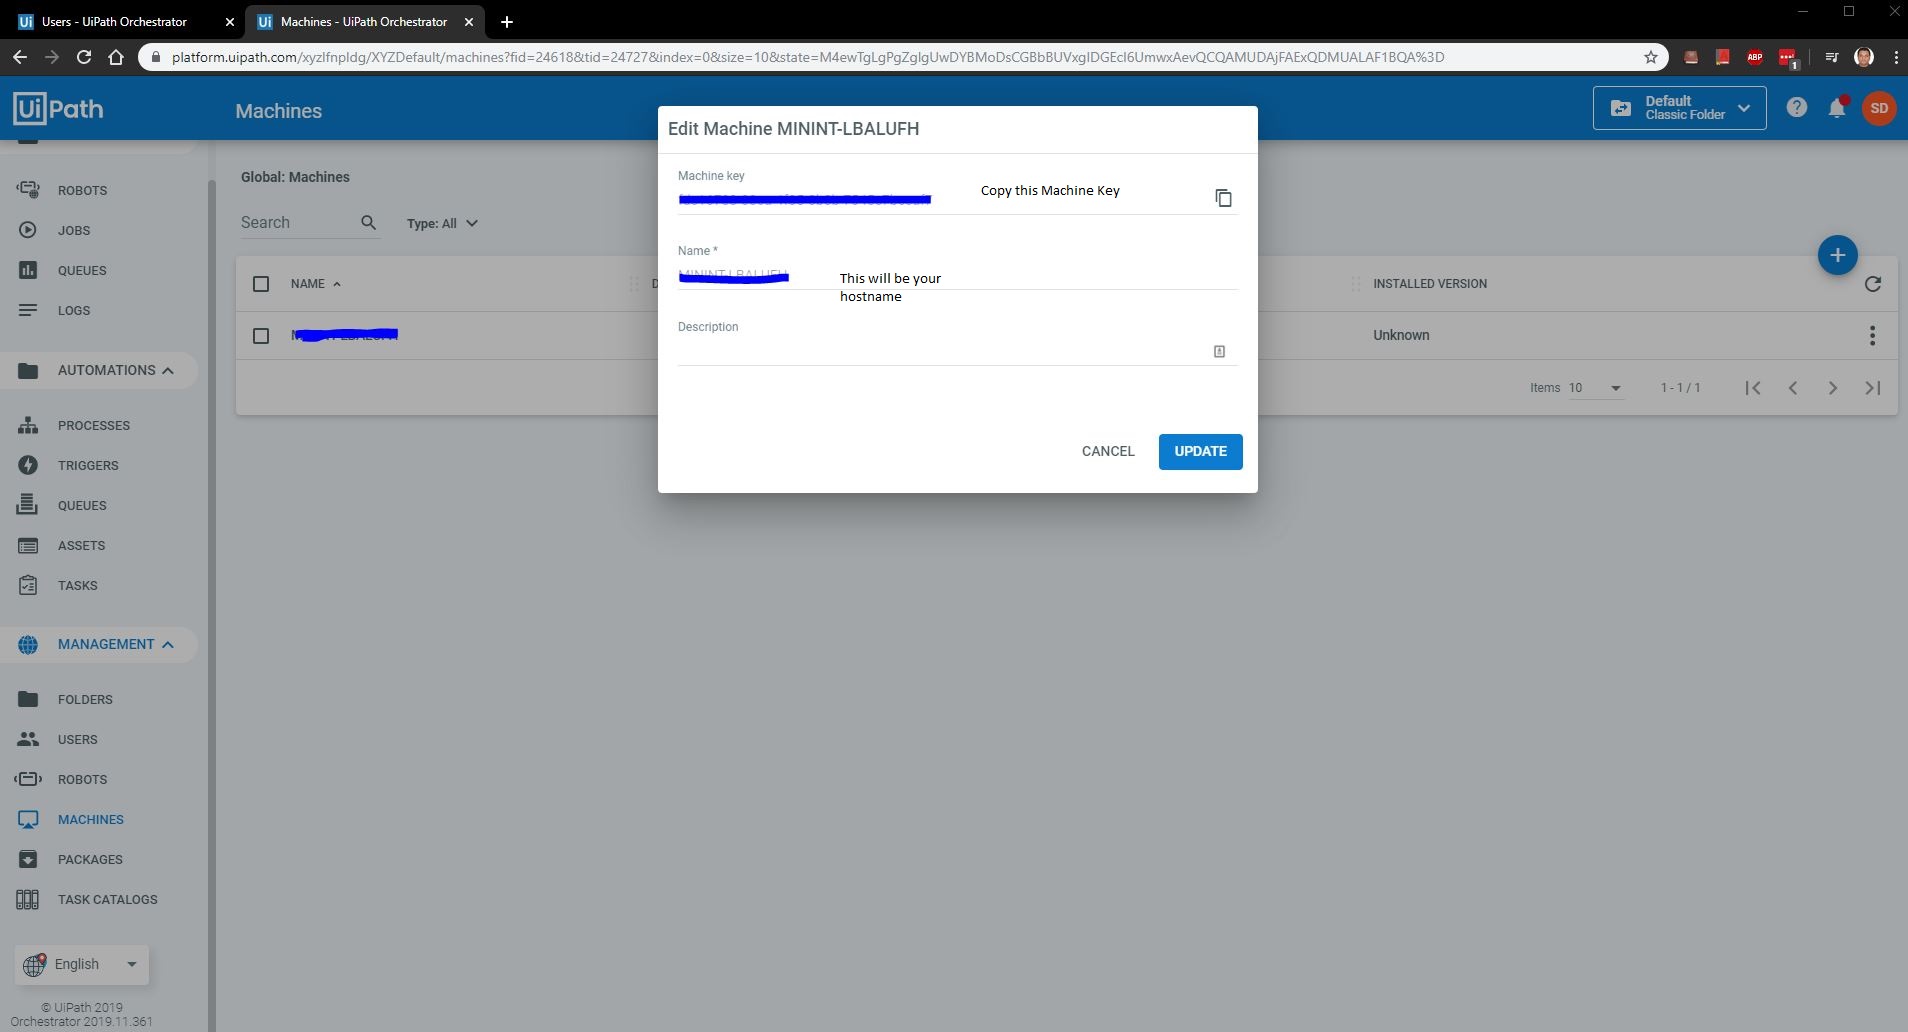
5- Then go for Machines and click on the belwo shown option and check the details and copy the Machine key
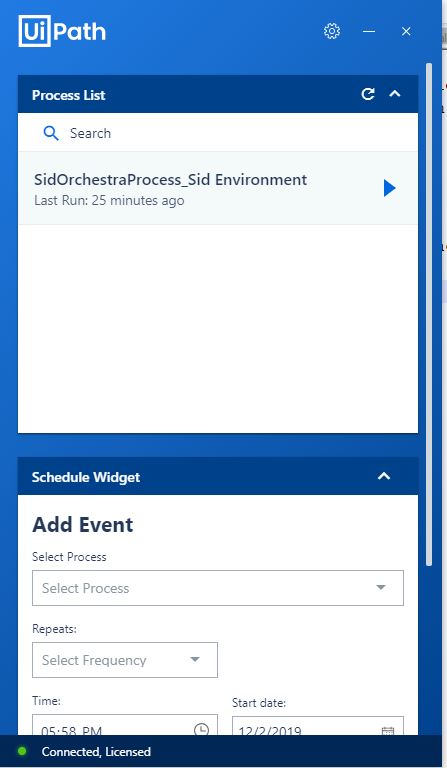
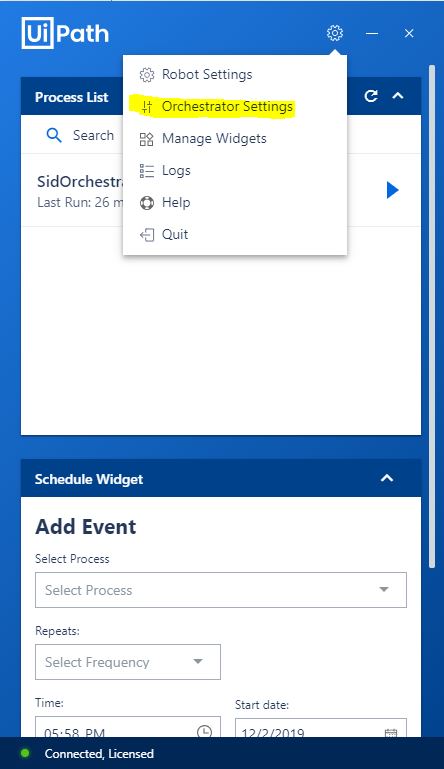
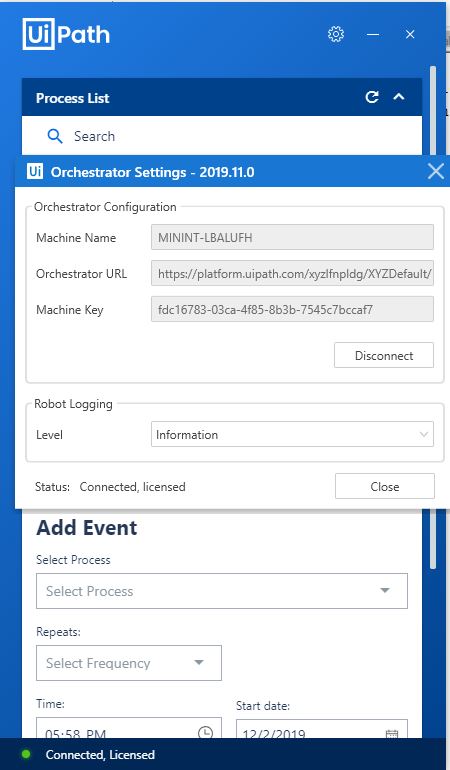
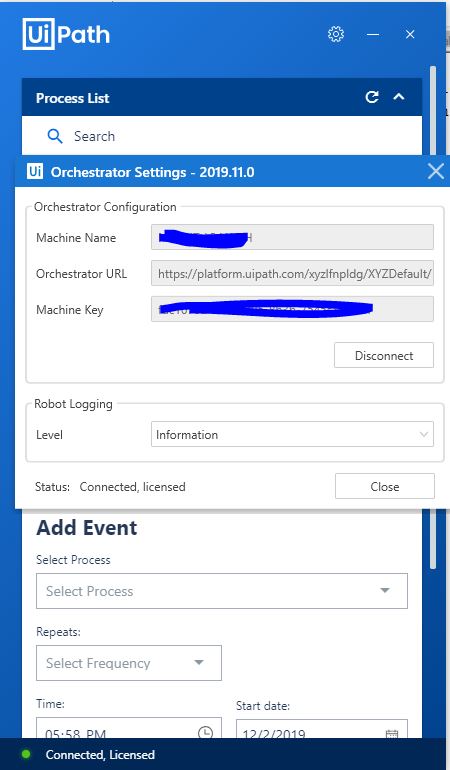
6- Now connect this created machine using UI Path Robot tool and check if you are able to connect the Orchaestra using connect button.
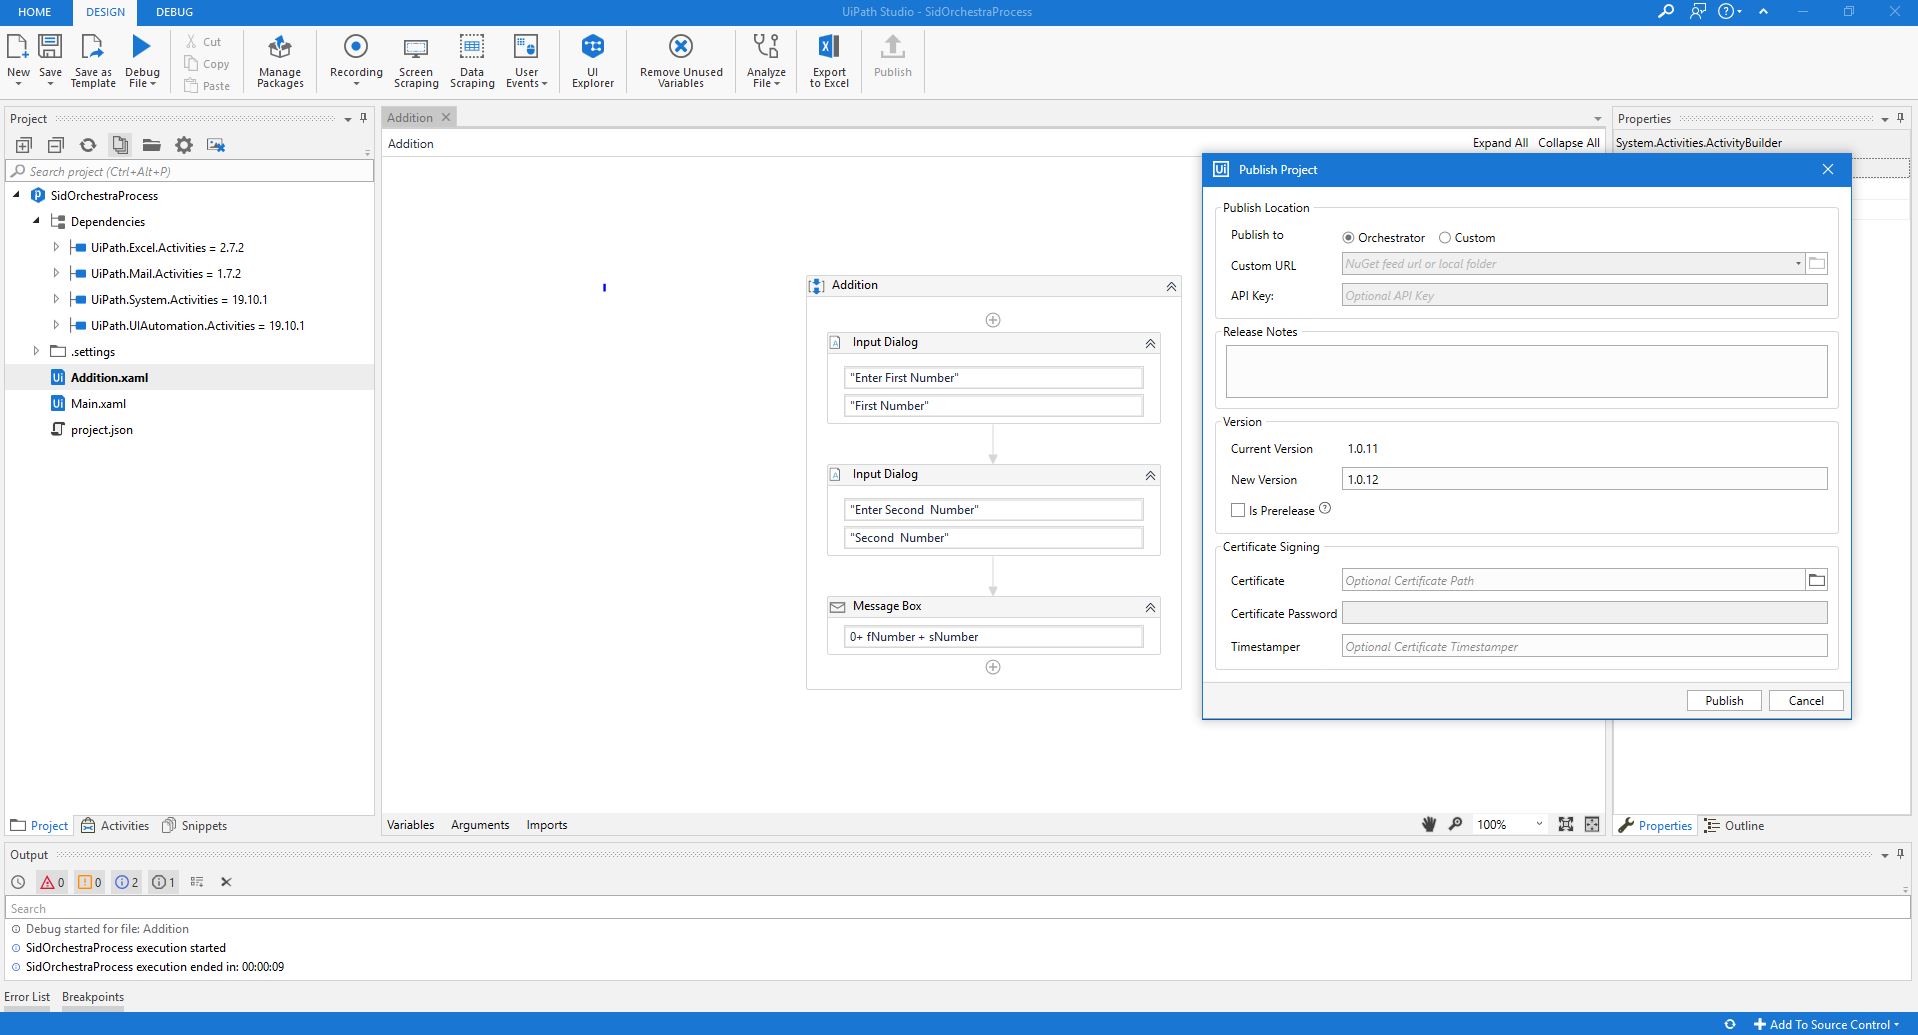
7- Now publish your project to orchaestra using UI PAth Studio and click on publish as show below

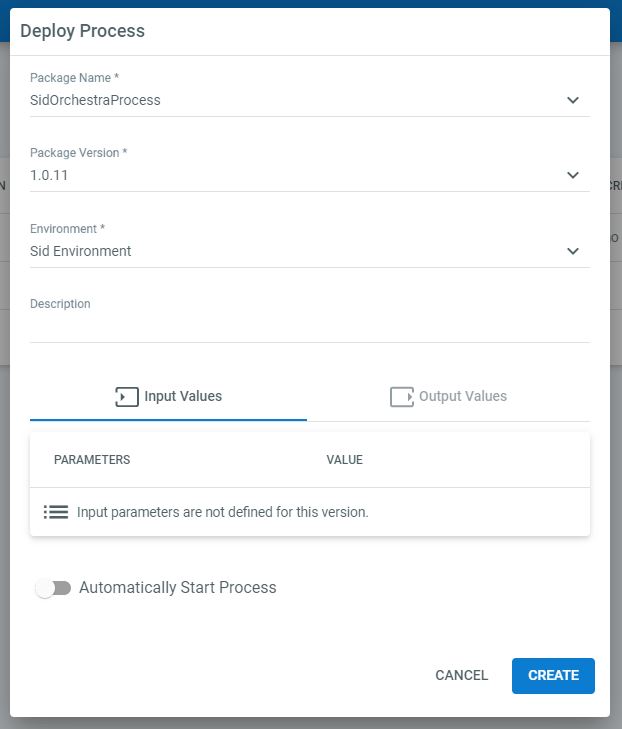
8- Now Create a process
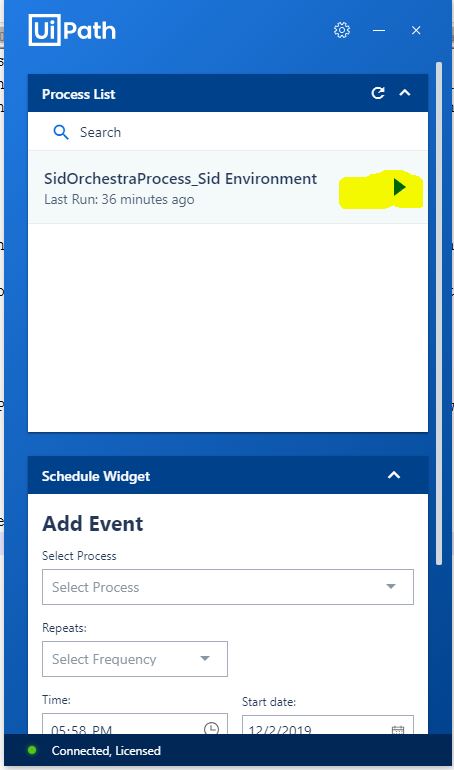
9- Finally run the job from the UI PAth Robot and see it is relected on Jobs screen.
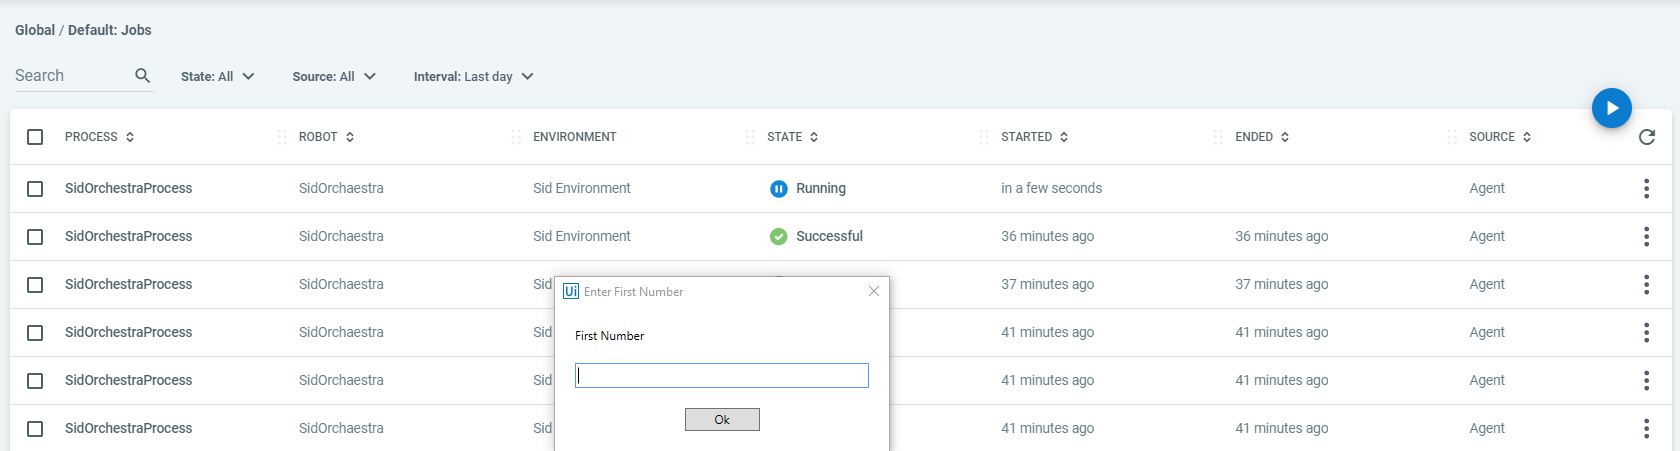
10- After finish it will be declared as Successful.

2- Go to management tab and click on the user and check if you are able to see the proper user in the list
3- Now create Robot using following steps
4- Create New Environment show below
5- Then go for Machines and click on the belwo shown option and check the details and copy the Machine key
6- Now connect this created machine using UI Path Robot tool and check if you are able to connect the Orchaestra using connect button.
7- Now publish your project to orchaestra using UI PAth Studio and click on publish as show below
8- Now Create a process
9- Finally run the job from the UI PAth Robot and see it is relected on Jobs screen.
10- After finish it will be declared as Successful.

No comments:
Post a Comment