Flowise AI is a low-code/no-code platform that utilizes a drag-and-drop interface to allow users to build applications powered by Large Language Models (LLMs). This means:
Low-code/no-code: Requires minimal to no coding knowledge, making it accessible to a wider range of users.
Drag-and-drop: Users can visually build their applications by dragging and dropping pre-built components onto a canvas.
Large Language Models (LLMs): Flowise leverages the power of LLMs, like ChatGPT, to enable functionalities like chatbots, text summarization, and data analysis.
Here’s a breakdown of Flowise AI’s key aspects:
Purpose: Simplifies LLM development, making it accessible to non-programmers.
Functionality: Drag-and-drop interface for building LLM applications.
Applications: Chatbots, Q&A systems, data analysis tools, and more.
Benefits: Democratizes LLM technology, reduces development time, and empowers non-technical users.
Overall, Flowise AI aims to bridge the gap between complex LLM technology and user-friendly application development.
In our last blogitem we had used langchain, Open AI LLM and Astra DB to upload the pdf file and chat with PDF file using Springboot application.
https://siddharathadhumale.blogspot.com/2024/02/rag-using-langchain4j-and-aster-vector.html
Now lets say if same can be done without any code
Yes you heard it right.. here comes no code AI tool Flowise.
Lets start the same
Step 1:- Down load the Apache 2 license source code of Flowise from below git hub
https://github.com/FlowiseAI/Flowise
Flowise has 3 different modules in a single mono repository.
server: Node backend to serve API logics
ui: React frontend
components: Integrations components
There are three ways to run the code
1- Quick Start
1- Install Flowise
npm install -g flowise
2- Start Flowise
3- npx flowise start
Open http://localhost:3000
2- Using Docker
Docker Compose
1- Go to docker folder at the root of the project
2- Copy the .env.example file and paste it as another file named .env
3- docker-compose up -d
4- Open http://localhost:3000
5- You can bring the containers down by docker-compose stop
Docker Image
1- Build the image locally:
docker build –no-cache -t flowise .
2- Run image:
docker run -d –name flowise -p 3000:3000 flowise
3- Stop image:
docker stop flowise
For Developer
1- Install Yarn
npm i -g yarn
Setup
1- Clone the repository
git clone https://github.com/FlowiseAI/Flowise.git
2- Go into repository folder
cd Flowise
3- Install all dependencies of all modules:
yarn install
4- Build all the code:
yarn build
5- Start the app:
yarn start
6- You can now access the app on http://localhost:3000
7- For development build: if you want to run in different port number.
Create .env file and specify the PORT (refer to .env.example) in packages/ui
Create .env file and specify the PORT (refer to .env.example) in packages/server
yarn dev
Once start the server on local you will get this first Flowise screen.
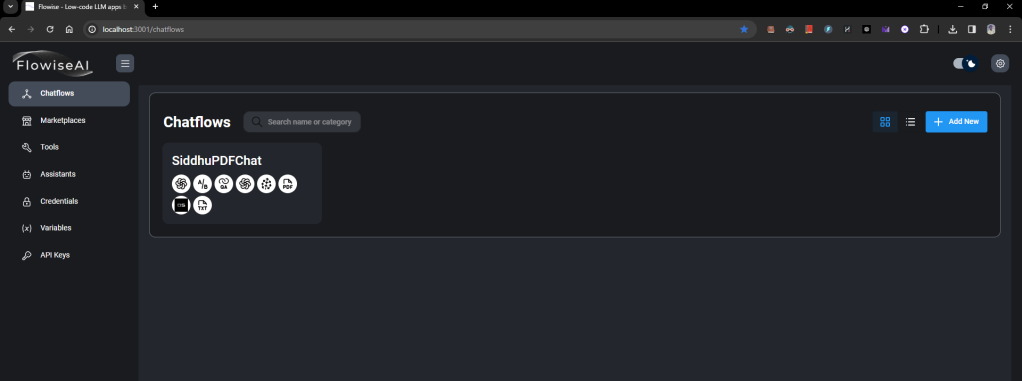
Now lets recreate below scenario with no code plateform
user uplaod the pdf file -> Convert the pdf file to vector and store in Astra DB -> user ask question -> related data will be found from Astra DB -> user question and data from astra DB will be send to Open AI LLM-> Finally we get reply from OpenAI LLM.
For that Flow wise has given ready made flows in market place as shown below

Now lets use conversational retrieval QA chain option

Now save this flow and change the txt component to pdf as shown below.


Also remove Pinecone componet with Astra
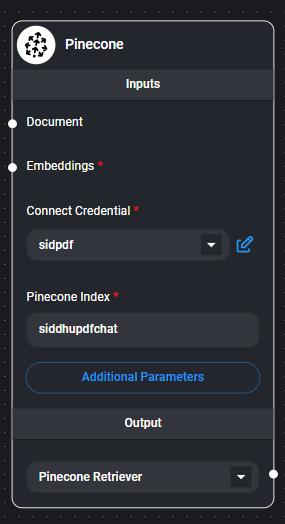

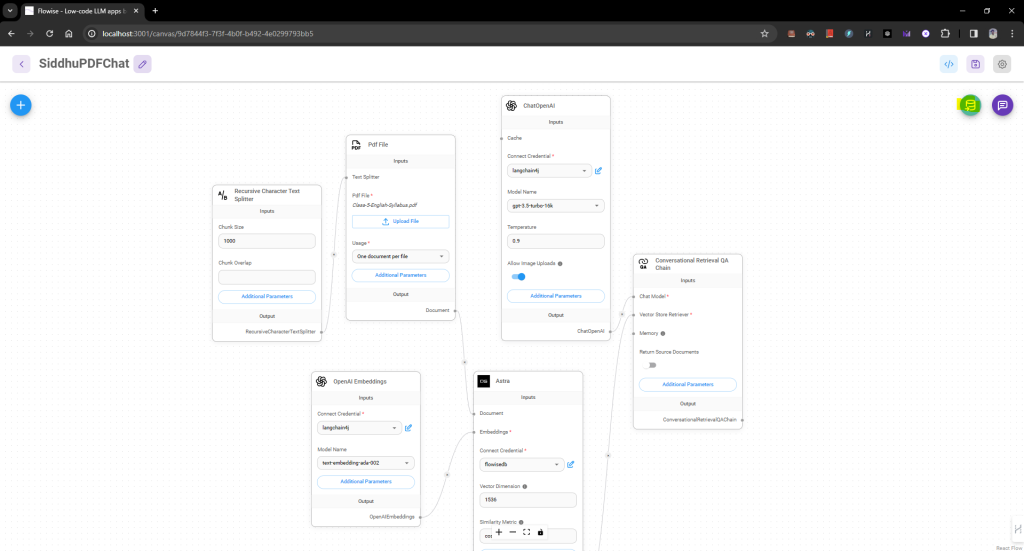
Now your flow will look like this.

Now lets add the required items
1- Open API key at the belwo location
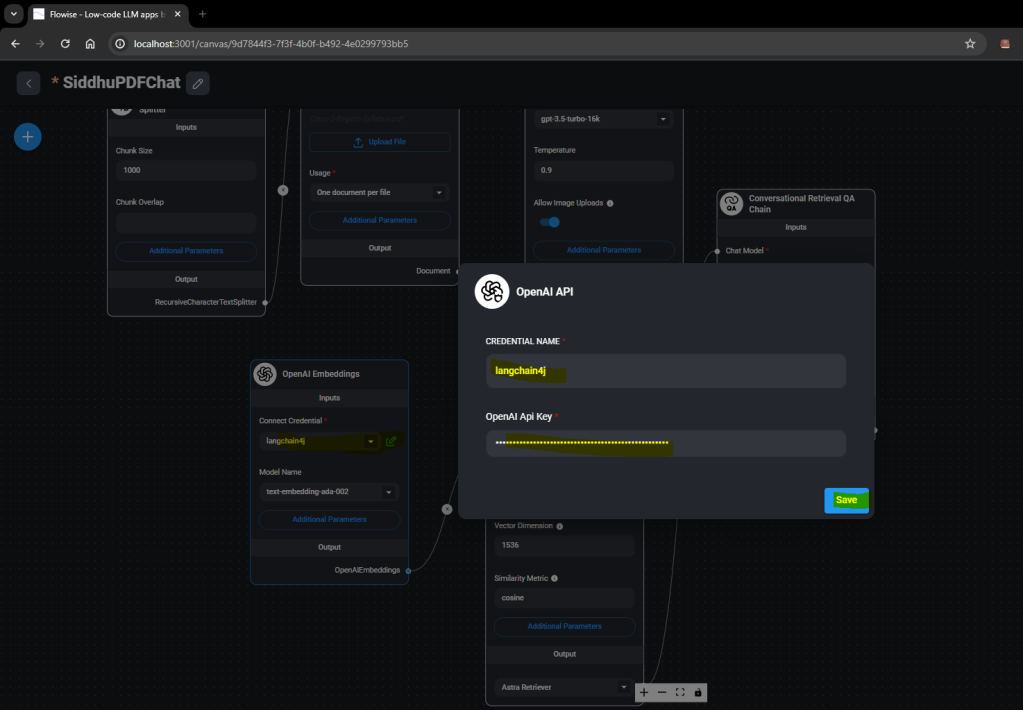

2- Change the Astra component data as shown below
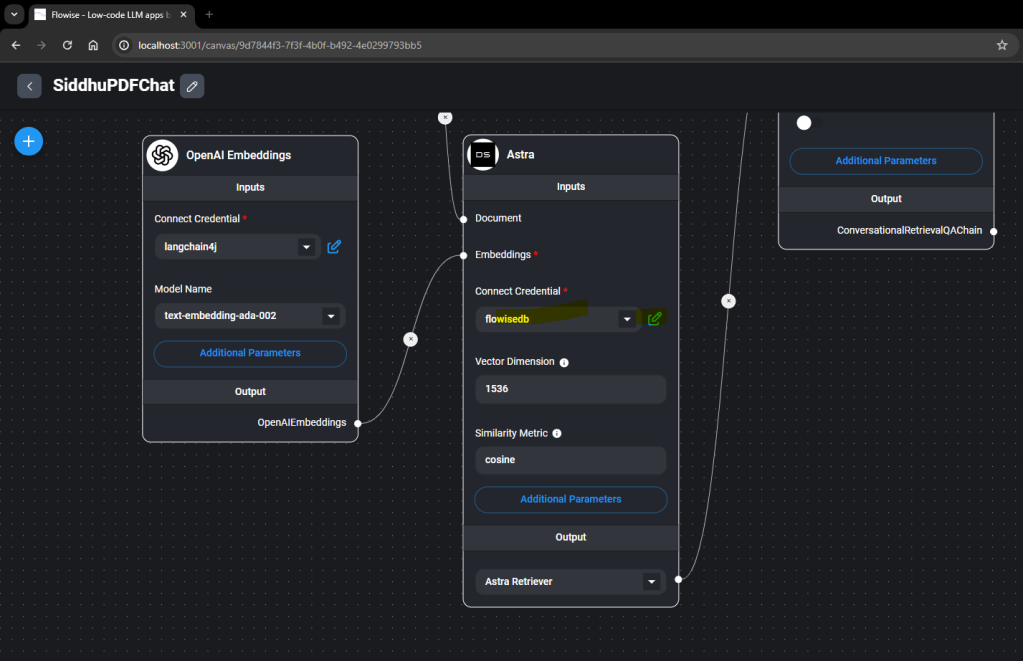
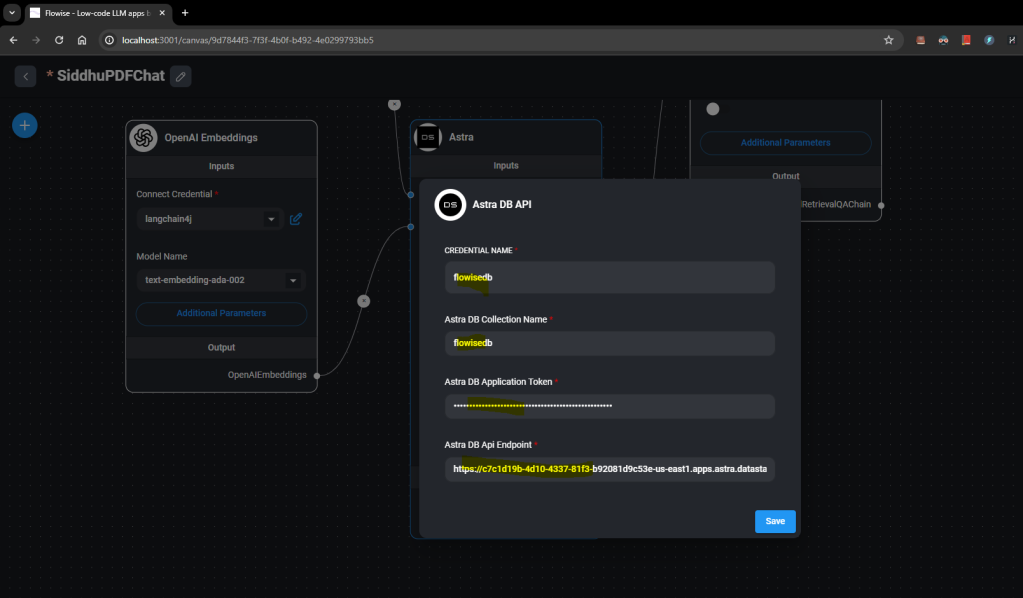
From where we will get Astra configuration data
1- Create a new DB


DB Name:- flowisedb
Name space:- flowise4chat
db id: c7c1d19b-4d10-4337-81f3-b92081d9c53e
Token Details :- AstraCS:DOMS56e95 API end point :- https://***.datastax.com
Now lets save our flow and upload a pdf file

and upload the pdf to Astra by clicking this icon on the screen.
Once the data is uploaded check it is uploaded on the Astra DB

Now lets execute our chat by cliking this icon

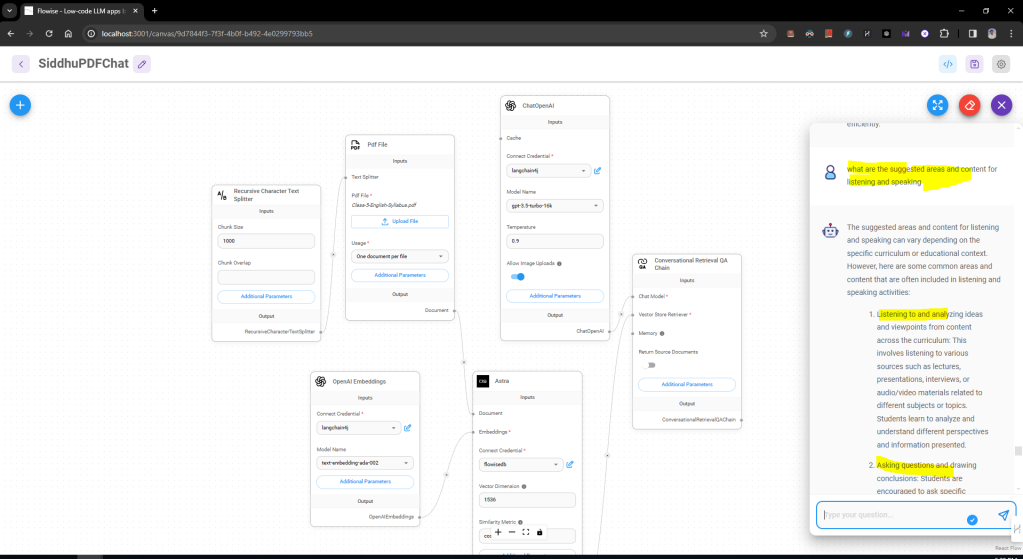
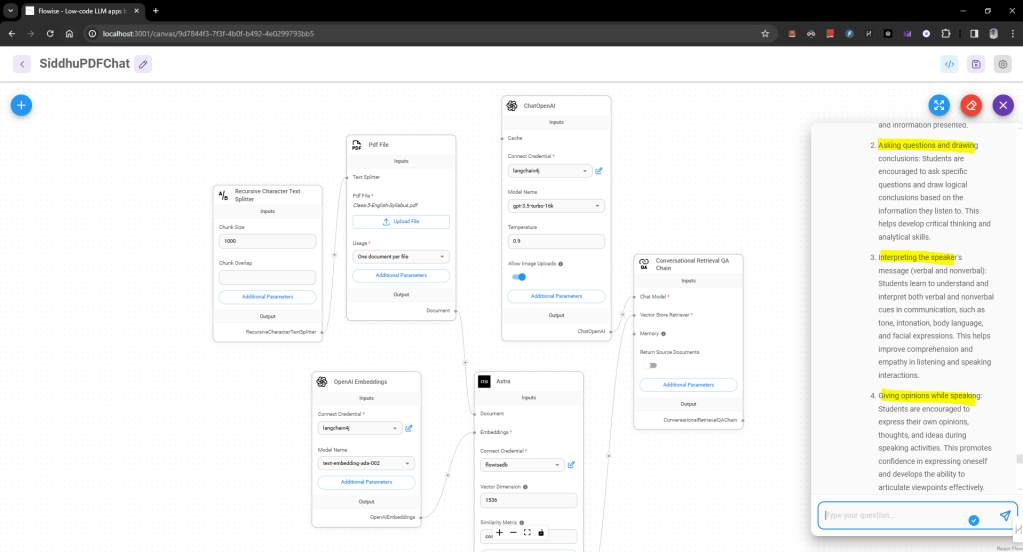


No comments:
Post a Comment