Step 1:- We are using Spring Boot application to exposed Image in the form of Base 64 Byte Array
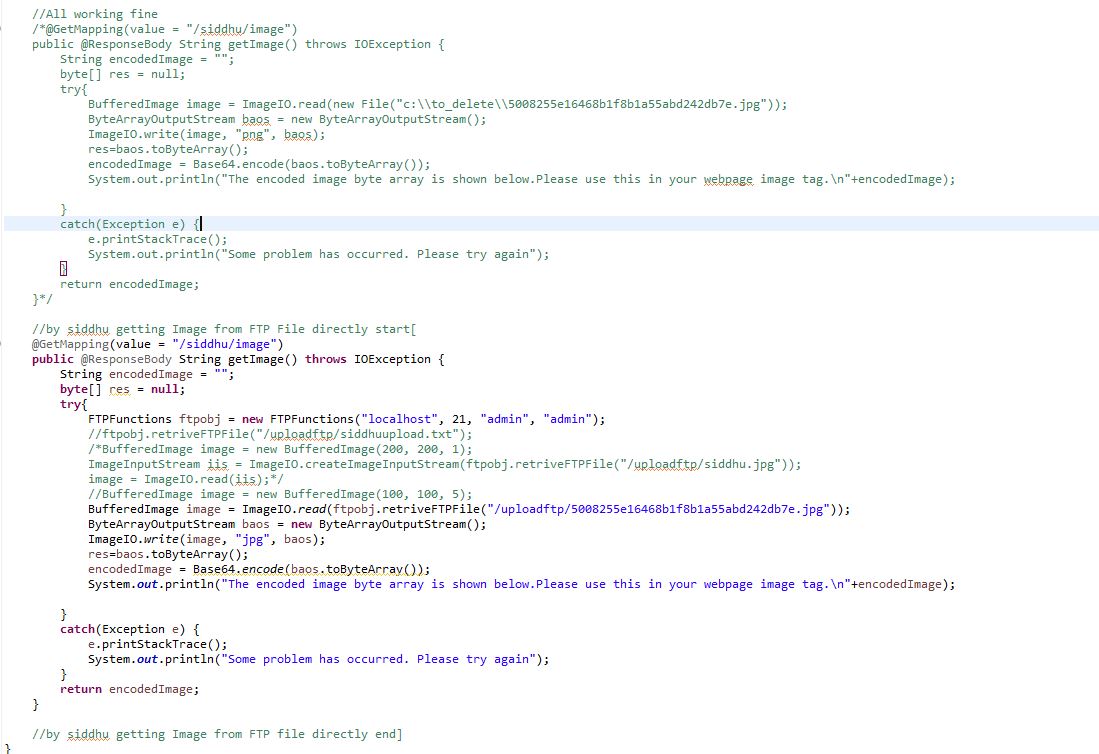
//by siddhu getting Image from FTP File directly start[
@GetMapping(value = "/siddhu/image")
public @ResponseBody String getImage() throws IOException {
String encodedImage = "";
byte[] res = null;
try{
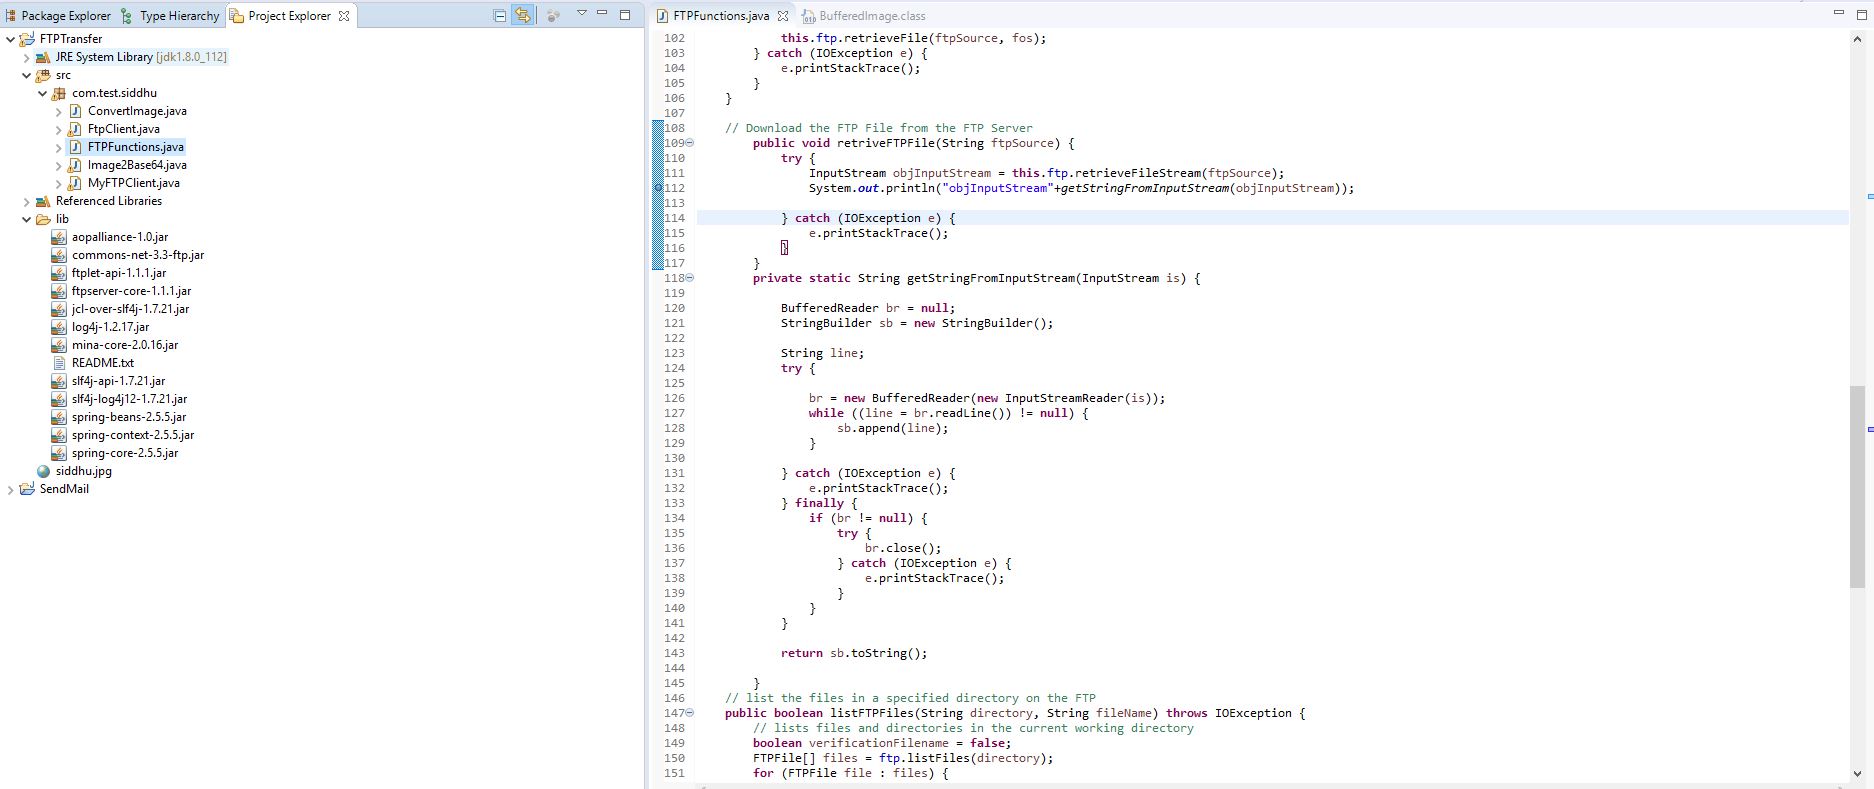
FTPFunctions ftpobj = new FTPFunctions("localhost", 21, "admin", "admin");
//ftpobj.retriveFTPFile("/uploadftp/siddhuupload.txt");
/*BufferedImage image = new BufferedImage(200, 200, 1);
ImageInputStream iis = ImageIO.createImageInputStream(ftpobj.retriveFTPFile("/uploadftp/siddhu.jpg"));
image = ImageIO.read(iis);*/
//BufferedImage image = new BufferedImage(100, 100, 5);
BufferedImage image = ImageIO.read(ftpobj.retriveFTPFile("/uploadftp/5008255e16468b1f8b1a55abd242db7e.jpg"));
ByteArrayOutputStream baos = new ByteArrayOutputStream();
ImageIO.write(image, "jpg", baos);
res=baos.toByteArray();
encodedImage = Base64.encode(baos.toByteArray());
System.out.println("The encoded image byte array is shown below.Please use this in your webpage image tag.\n"+encodedImage);
}
catch(Exception e) {
e.printStackTrace();
System.out.println("Some problem has occurred. Please try again");
}
return encodedImage;
}
//by siddhu getting Image from FTP file directly end]
Step 2:- In AngularJS side we write one service that will call this controller method
auth.service.ts
import { Injectable } from '@angular/core';
import { HttpClient} from '@angular/common/http';
@Injectable({
providedIn: 'root'
})
export class AuthService {
constructor(private myhttpClient : HttpClient) { }
getUserImage() {
return this.myhttpClient.get('http://localhost:8083/siddhu/image',{responseType: 'text'});
}
}
B- At component ts level we write following code
image_base: string;
getUserImage()
{
console.log("reached here");
this.myService.getUserImage().subscribe(
(data: any) => {
//data = JSON.parse(data['_body']);
console.log("data=====================",data);
this.image_base = data;
},
err => console.log(err), // error
() => console.log('getData Complete') // complete
);
}
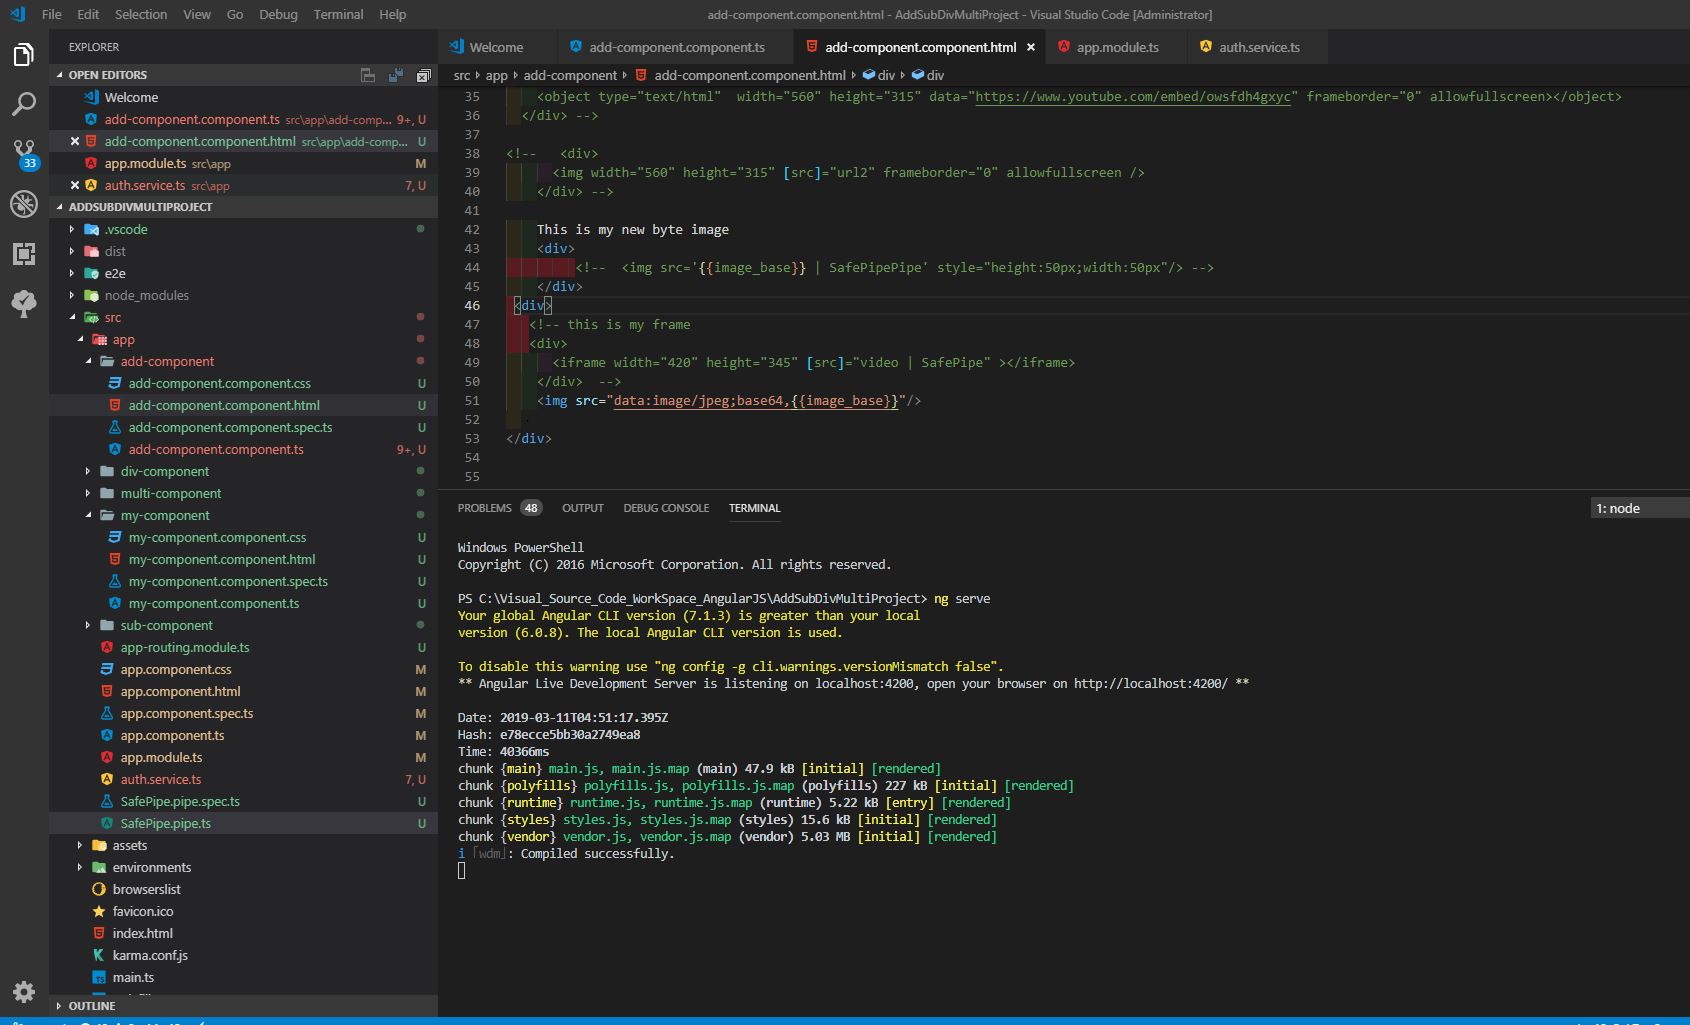
C- In html level write following line
<--div>
<--img src="data:image/jpeg;base64,{{image_base}}"/>
<--/div>
Note:- If you are getting cross-origin error try to open your chrome browser with below
chrome.exe --user-data-dir="C:/Chrome dev session" --disable-web-security
Step 3:- FTP Image expoture code
1- Start FTP Server
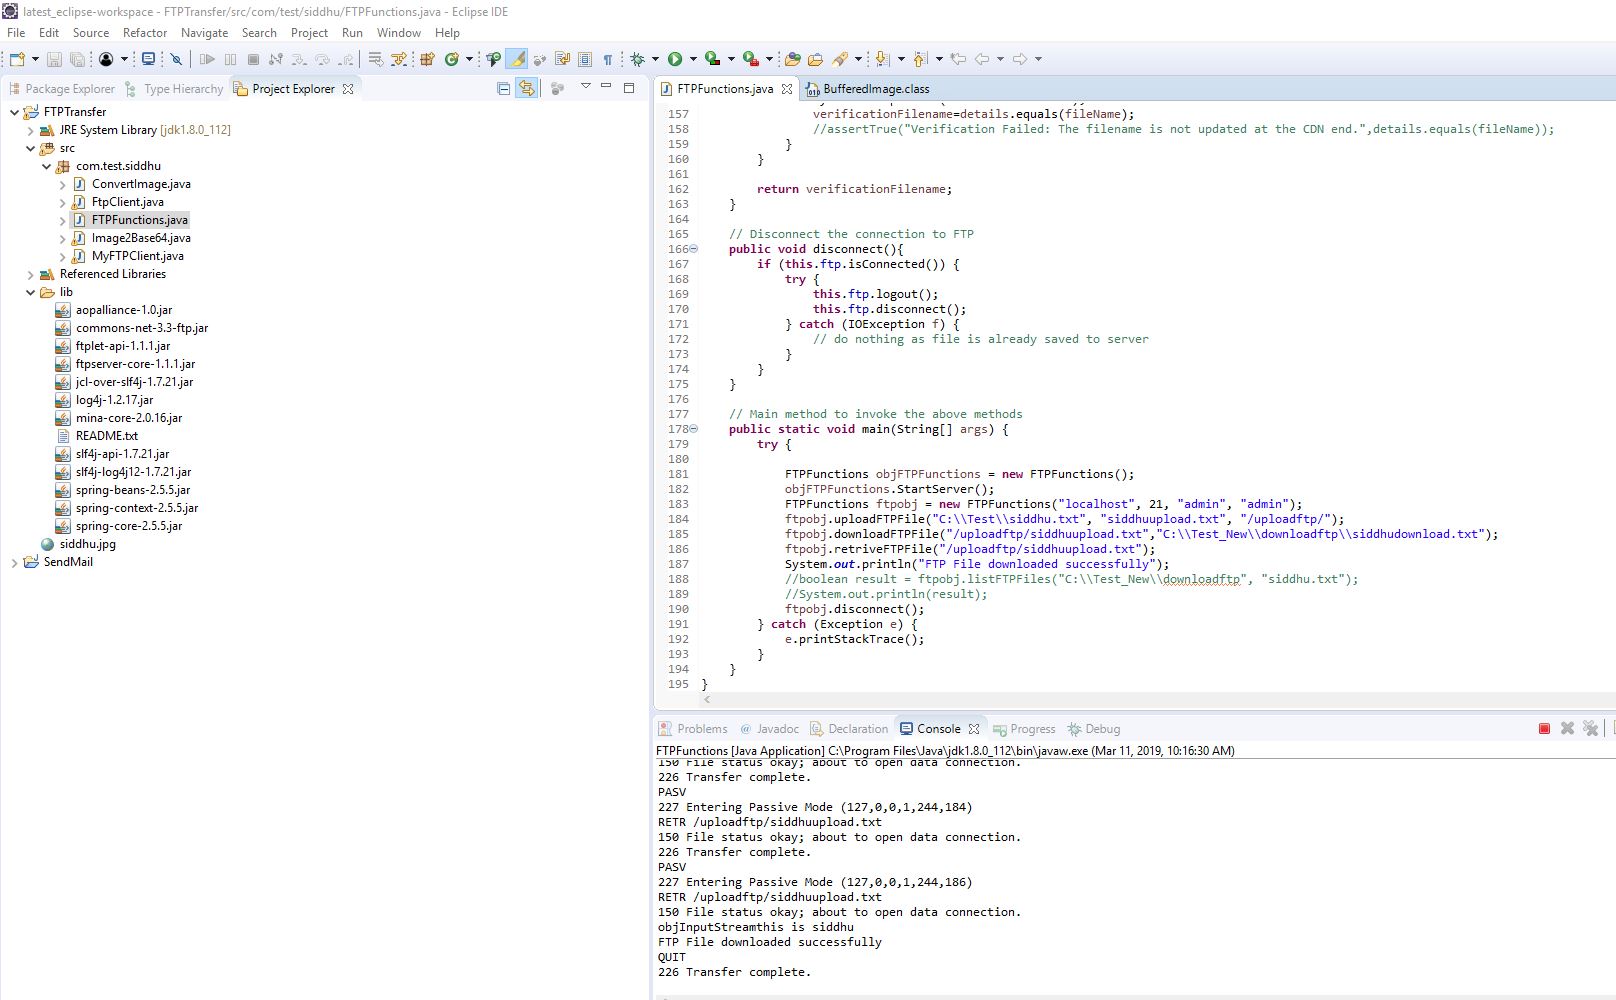
2- Start Spring BOOT Application
3- Start AngularJS6 application
4- Hit the url and you will be able to see belwo screen
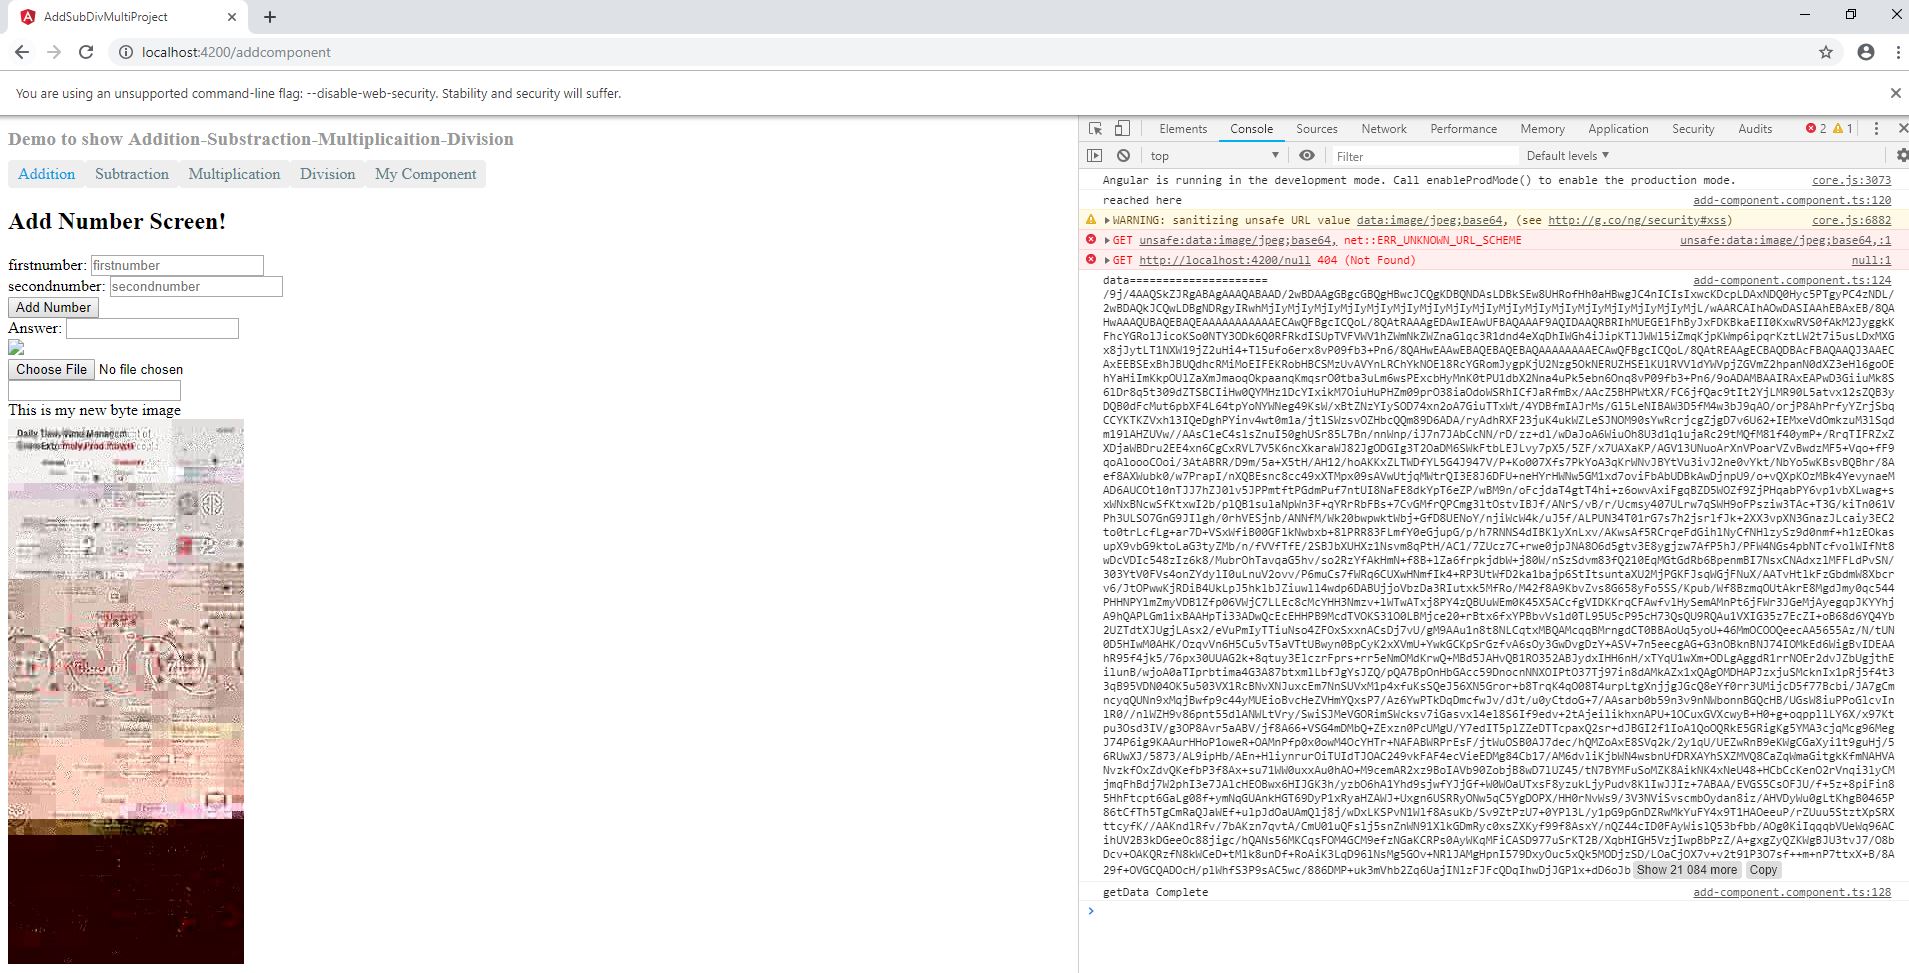

Note:-
- Please refer to below given url to load the file from local server file system
https://shdhumale.wordpress.com/2019/03/08/how-to-display-image-exposed-as-bytearray-in-angularjs6/
- Refer below url for setting ftp on your local machine.
https://shdhumale.wordpress.com/2018/09/14/how-to-use-apache-ftp-server-for-upload-and-download-file/
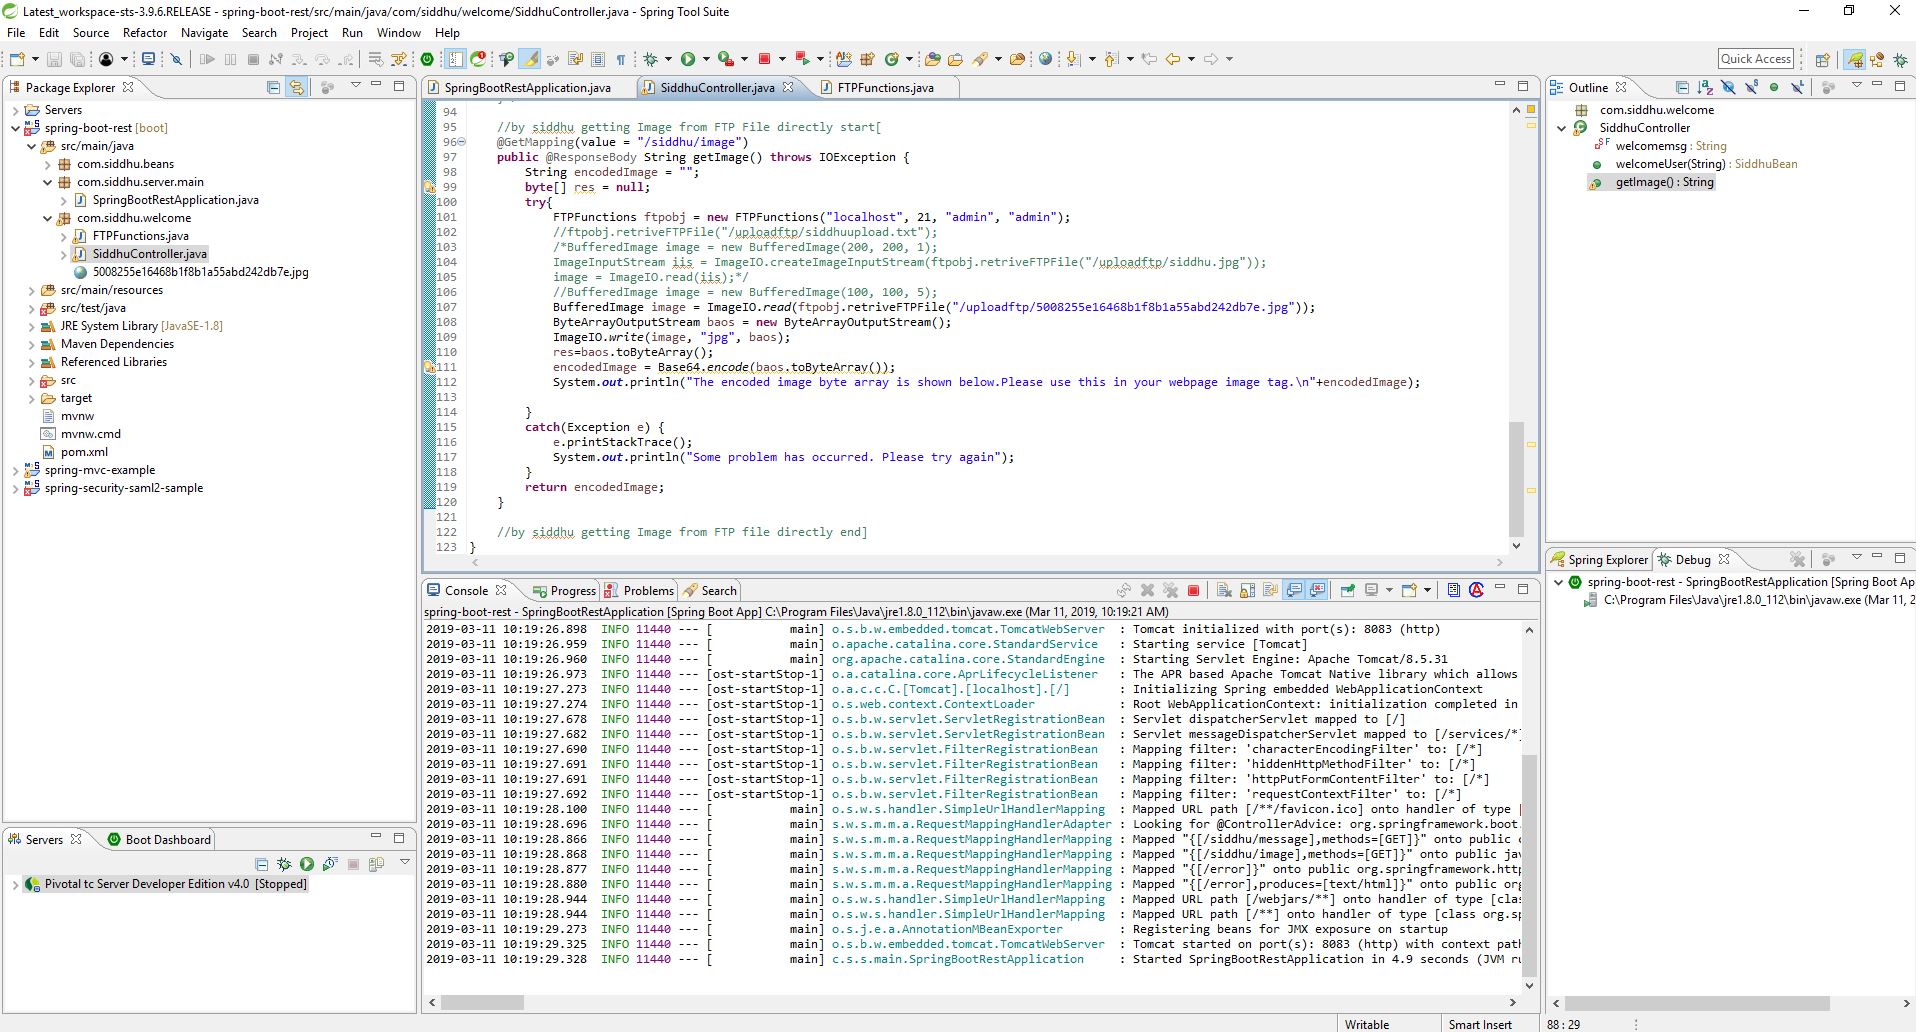
//by siddhu getting Image from FTP File directly start[
@GetMapping(value = "/siddhu/image")
public @ResponseBody String getImage() throws IOException {
String encodedImage = "";
byte[] res = null;
try{
FTPFunctions ftpobj = new FTPFunctions("localhost", 21, "admin", "admin");
//ftpobj.retriveFTPFile("/uploadftp/siddhuupload.txt");
/*BufferedImage image = new BufferedImage(200, 200, 1);
ImageInputStream iis = ImageIO.createImageInputStream(ftpobj.retriveFTPFile("/uploadftp/siddhu.jpg"));
image = ImageIO.read(iis);*/
//BufferedImage image = new BufferedImage(100, 100, 5);
BufferedImage image = ImageIO.read(ftpobj.retriveFTPFile("/uploadftp/5008255e16468b1f8b1a55abd242db7e.jpg"));
ByteArrayOutputStream baos = new ByteArrayOutputStream();
ImageIO.write(image, "jpg", baos);
res=baos.toByteArray();
encodedImage = Base64.encode(baos.toByteArray());
System.out.println("The encoded image byte array is shown below.Please use this in your webpage image tag.\n"+encodedImage);
}
catch(Exception e) {
e.printStackTrace();
System.out.println("Some problem has occurred. Please try again");
}
return encodedImage;
}
//by siddhu getting Image from FTP file directly end]
Step 2:- In AngularJS side we write one service that will call this controller method
auth.service.ts
import { Injectable } from '@angular/core';
import { HttpClient} from '@angular/common/http';
@Injectable({
providedIn: 'root'
})
export class AuthService {
constructor(private myhttpClient : HttpClient) { }
getUserImage() {
return this.myhttpClient.get('http://localhost:8083/siddhu/image',{responseType: 'text'});
}
}
B- At component ts level we write following code
image_base: string;
getUserImage()
{
console.log("reached here");
this.myService.getUserImage().subscribe(
(data: any) => {
//data = JSON.parse(data['_body']);
console.log("data=====================",data);
this.image_base = data;
},
err => console.log(err), // error
() => console.log('getData Complete') // complete
);
}
C- In html level write following line
<--div>
<--img src="data:image/jpeg;base64,{{image_base}}"/>
<--/div>
Note:- If you are getting cross-origin error try to open your chrome browser with below
chrome.exe --user-data-dir="C:/Chrome dev session" --disable-web-security
Step 3:- FTP Image expoture code
1- Start FTP Server
2- Start Spring BOOT Application
3- Start AngularJS6 application
4- Hit the url and you will be able to see belwo screen
Note:-
- Please refer to below given url to load the file from local server file system
https://shdhumale.wordpress.com/2019/03/08/how-to-display-image-exposed-as-bytearray-in-angularjs6/
- Refer below url for setting ftp on your local machine.
https://shdhumale.wordpress.com/2018/09/14/how-to-use-apache-ftp-server-for-upload-and-download-file/

No comments:
Post a Comment