1) Install STS from the below given site. Chose your OS dependend IDE version.
https://spring.io/tools/sts/all
2) Create a simple Maven JAVA project with following details
org.springframework.social
spring-social
1.1.4.RELEASE
3) Modify your pom.xml as given below
xsi:schemaLocation="http://maven.apache.org/POM/4.0.0 http://maven.apache.org/xsd/maven-4.0.0.xsd">
<!--modelVersion>4.0.0<!--/modelVersion>
<!--groupId>org.springframework<!--/groupId>
<!--artifactId>gs-accessing-twitter<!--/artifactId>
<!--version>0.1.0<!--/version>
<!--parent>
<!--groupId>org.springframework.boot<!--/groupId>
<!--artifactId>spring-boot-starter-parent<!--/artifactId>
<!--version>1.4.2.RELEASE<!--/version>
<!--/parent>
<!--dependencies>
<!--dependency>
<!--groupId>org.springframework.boot<!--/groupId>
<!--artifactId>spring-boot-starter-thymeleaf<!--/artifactId>
<!--/dependency>
<!--dependency>
<!--groupId>org.springframework.social<!--/groupId>
<!--artifactId>spring-social-twitter<!--/artifactId>
<!--/dependency>
<!--/dependencies>
<!--properties>
<!--java.version>1.8<!--/java.version>
<!--/properties>
<!--build>
<!--plugins>
<!--plugin>
<!--groupId>org.springframework.boot<!--/groupId>
<!--artifactId>spring-boot-maven-plugin<!--/artifactId>
<!--/plugin>
<!--/plugins>
<!--/build>
<!--/project>
4) Follow the instruction givn in the below site
https://spring.io/guides/gs/accessing-twitter/
Follow step that is provided for Maven build. If yo uare using Gradle follow the same.
5) Register or create your Twitter application as given below
https://spring.io/guides/gs/register-twitter-app/
https://spring.io/guides/gs/register-twitter-app/
from here we will get two things consumer key and consumer secret. This is used to call the twitter API.


6) Make sure your application project folder structure look like the same. You can all download the zip from this site
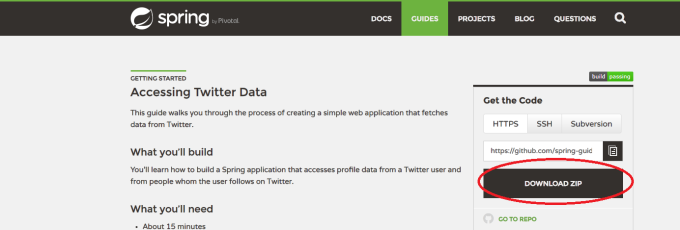
Make sure that you remove {{}} brackets from application.properties as shown in the below fingure

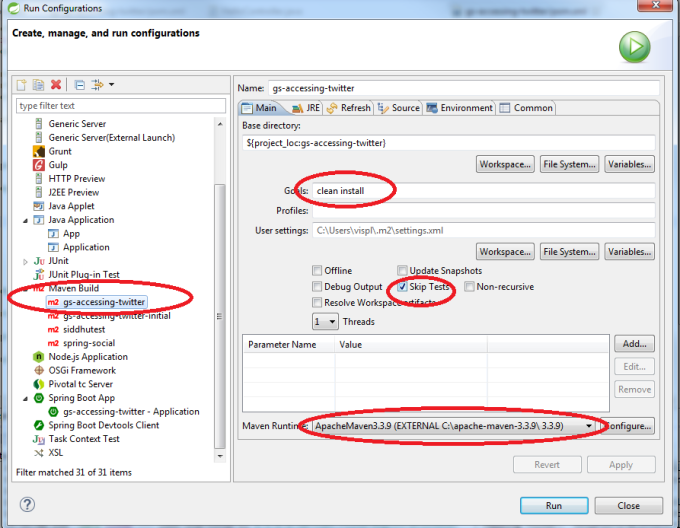
7) Build your Maven project using following configuration
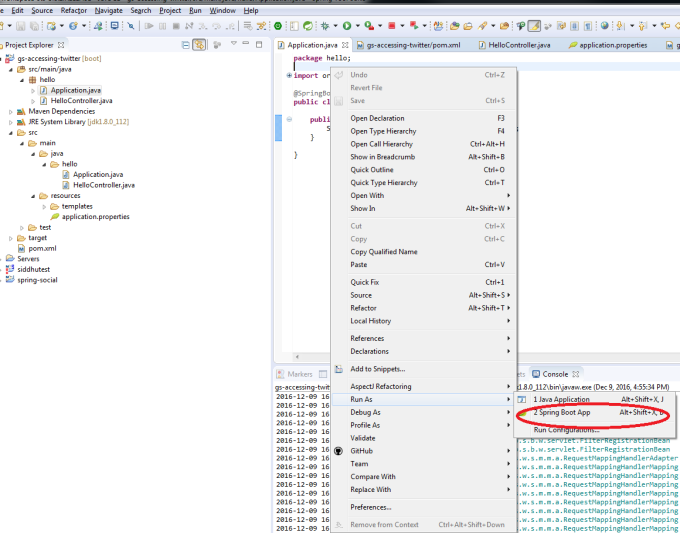
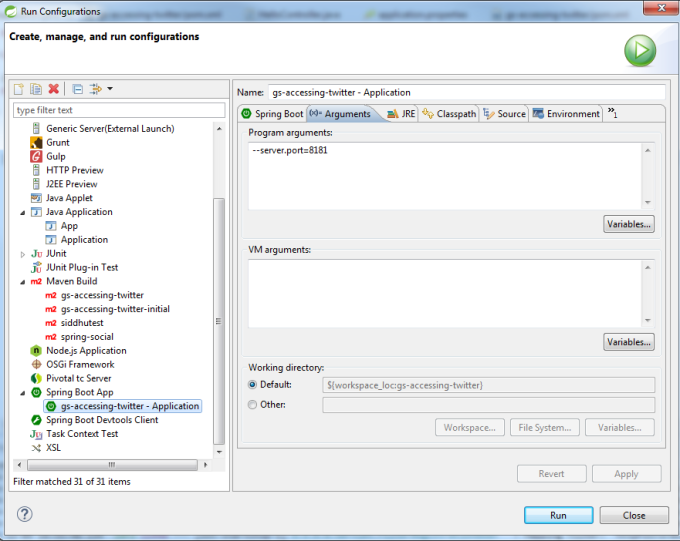
8) Before running the application using Spring boot Run make following changes
9) Once server is started you will be able to see following screen

10) Click on Connect twitter and you will be able to see the below screen
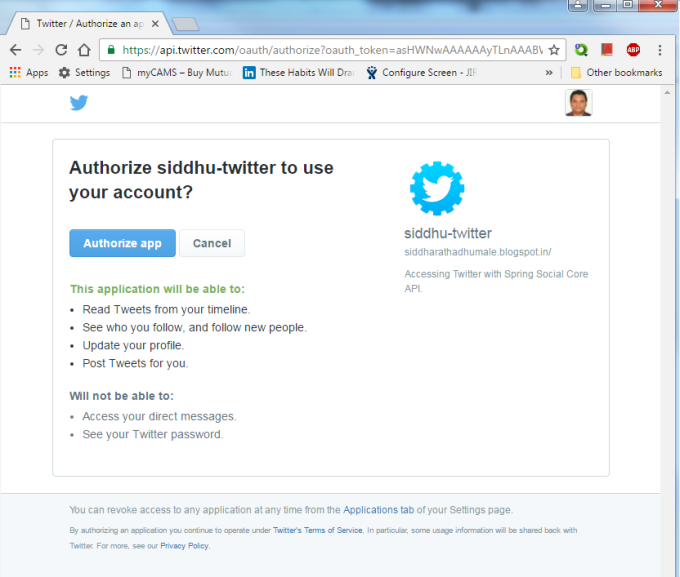
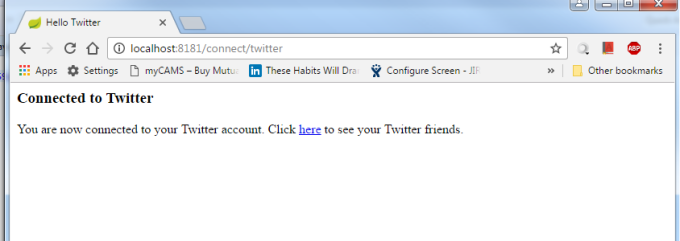
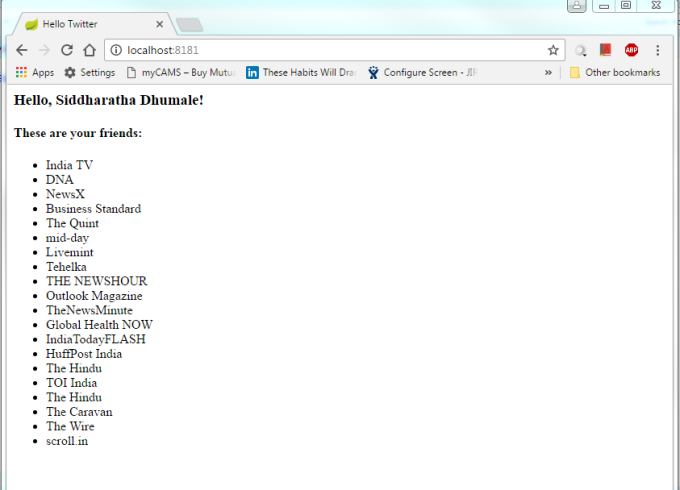
11) Click on Authorise App and then further click on click here url and you will see following below screen
No comments:
Post a Comment