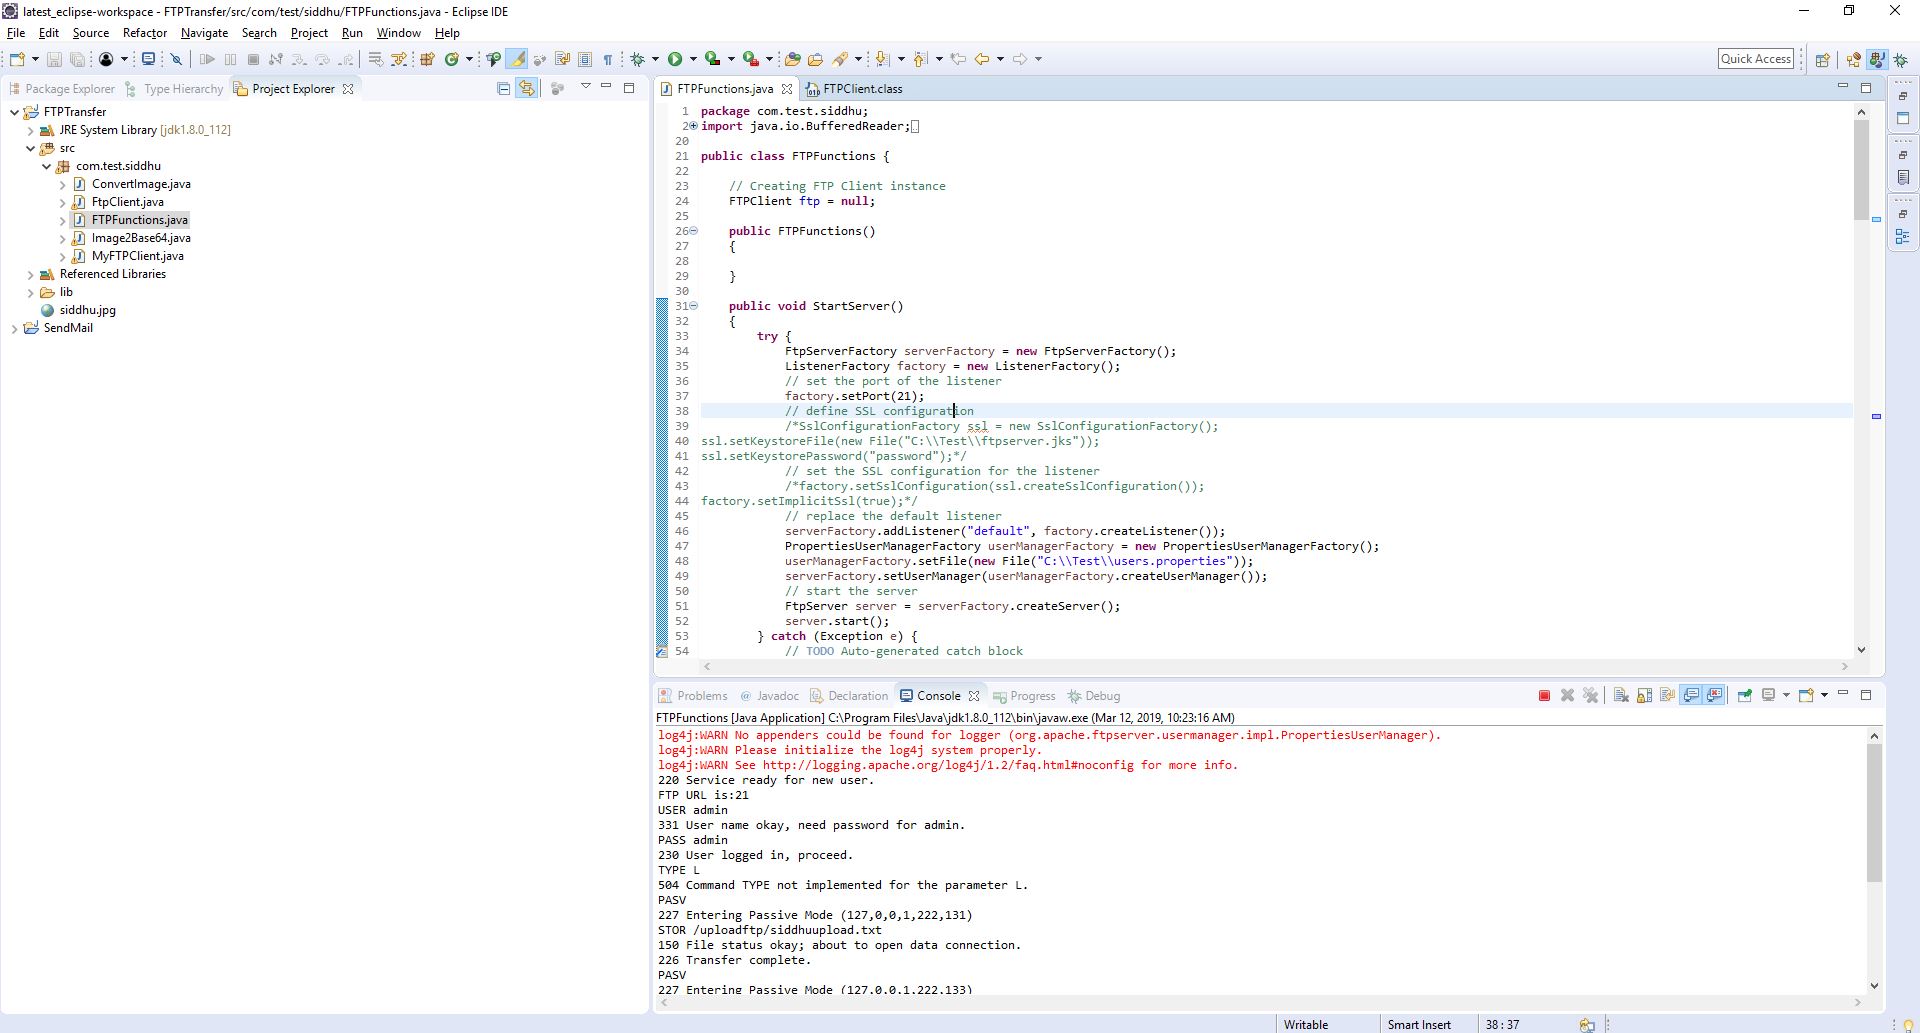
Step 1:- Configuring Local FTP Server.
package com.test.siddhu;
import java.io.BufferedReader;
import java.io.File;
import java.io.FileInputStream;
import java.io.FileOutputStream;
import java.io.IOException;
import java.io.InputStream;
import java.io.InputStreamReader;
import java.io.PrintWriter;
import org.apache.commons.net.PrintCommandListener;
import org.apache.commons.net.ftp.FTP;
import org.apache.commons.net.ftp.FTPClient;
import org.apache.commons.net.ftp.FTPFile;
import org.apache.commons.net.ftp.FTPReply;
import org.apache.ftpserver.FtpServer;
import org.apache.ftpserver.FtpServerFactory;
import org.apache.ftpserver.listener.ListenerFactory;
import org.apache.ftpserver.usermanager.PropertiesUserManagerFactory;
public class FTPFunctions {
// Creating FTP Client instance
FTPClient ftp = null;
public FTPFunctions()
{
}
public void StartServer()
{
try {
FtpServerFactory serverFactory = new FtpServerFactory();
ListenerFactory factory = new ListenerFactory();
factory.setPort(21);
serverFactory.addListener("default", factory.createListener());
PropertiesUserManagerFactory userManagerFactory = new PropertiesUserManagerFactory();
userManagerFactory.setFile(new File("C:\\Test\\users.properties"));
serverFactory.setUserManager(userManagerFactory.createUserManager());
// start the server
FtpServer server = serverFactory.createServer();
server.start();
} catch (Exception e) {
// TODO Auto-generated catch block
System.out.println("Exception occured ———————");
e.printStackTrace();
}
}
// Constructor to connect to the FTP Server
/**
* @param host
* @param port
* @param username
* @param password
* @throws Exception
*/
public FTPFunctions(String host, int port, String username, String password) throws Exception{
ftp = new FTPClient();
ftp.addProtocolCommandListener(new PrintCommandListener(new PrintWriter(System.out)));
int reply;
ftp.connect(host,port);
System.out.println("FTP URL is:"+ftp.getDefaultPort());
reply = ftp.getReplyCode();
if (!FTPReply.isPositiveCompletion(reply)) {
ftp.disconnect();
throw new Exception("Exception in connecting to FTP Server");
}
ftp.login(username, password);
ftp.setFileType(FTP.LOCAL_FILE_TYPE);
ftp.enterLocalPassiveMode();
}
// Main method to invoke the above methods
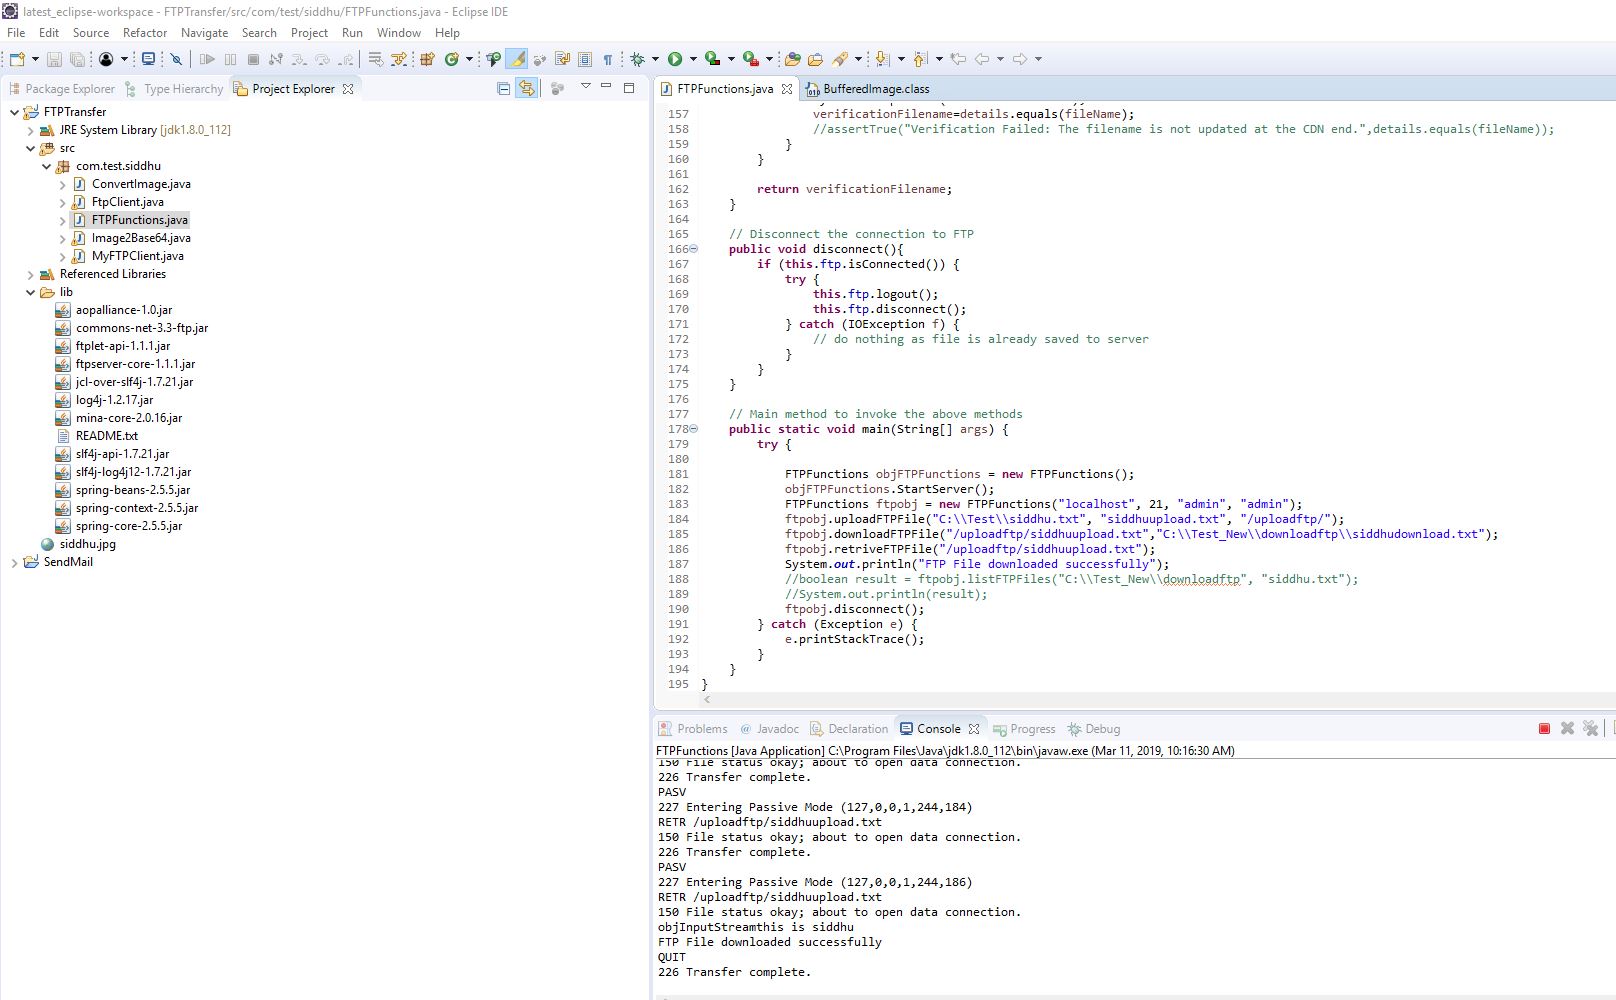
public static void main(String[] args) {
try {
FTPFunctions objFTPFunctions = new FTPFunctions();
objFTPFunctions.StartServer();
ftpobj.disconnect();
} catch (Exception e) {
e.printStackTrace();
}
}
}
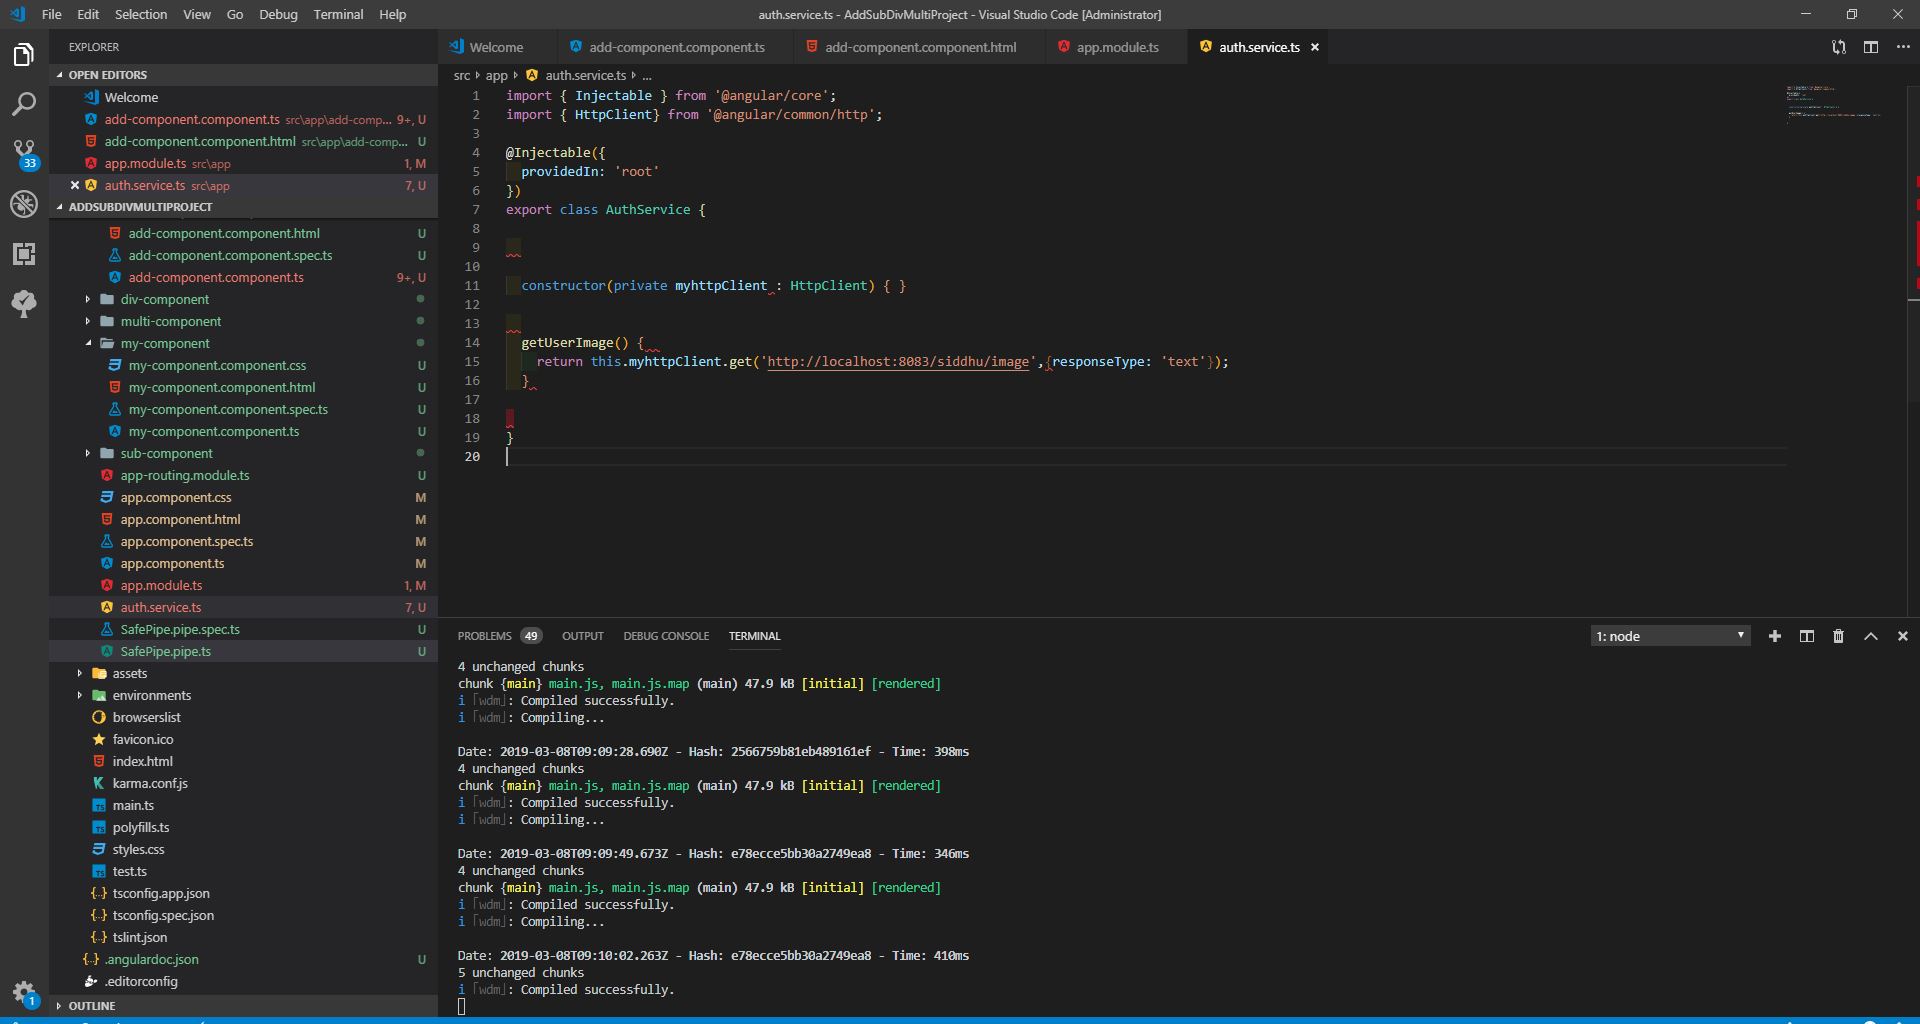
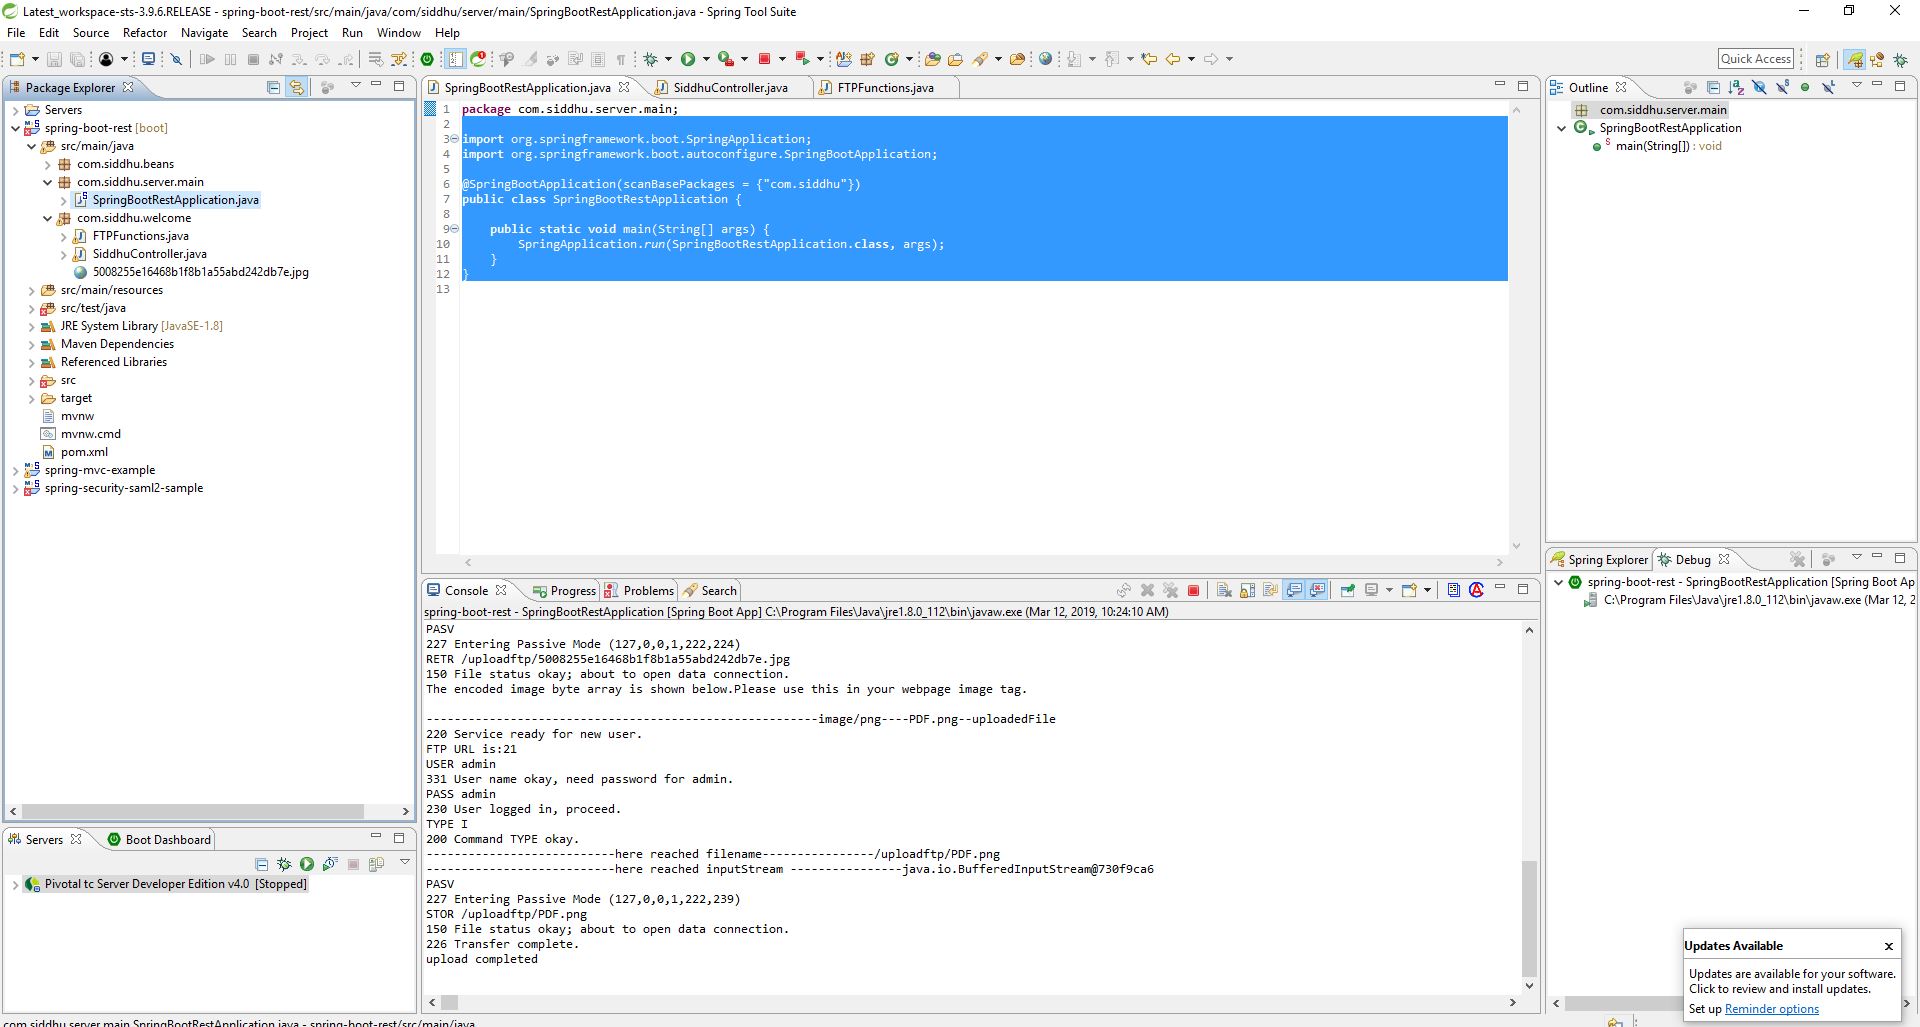
Step 2:- Create a Spring Boot controller for your AngularJS6 Frontend.
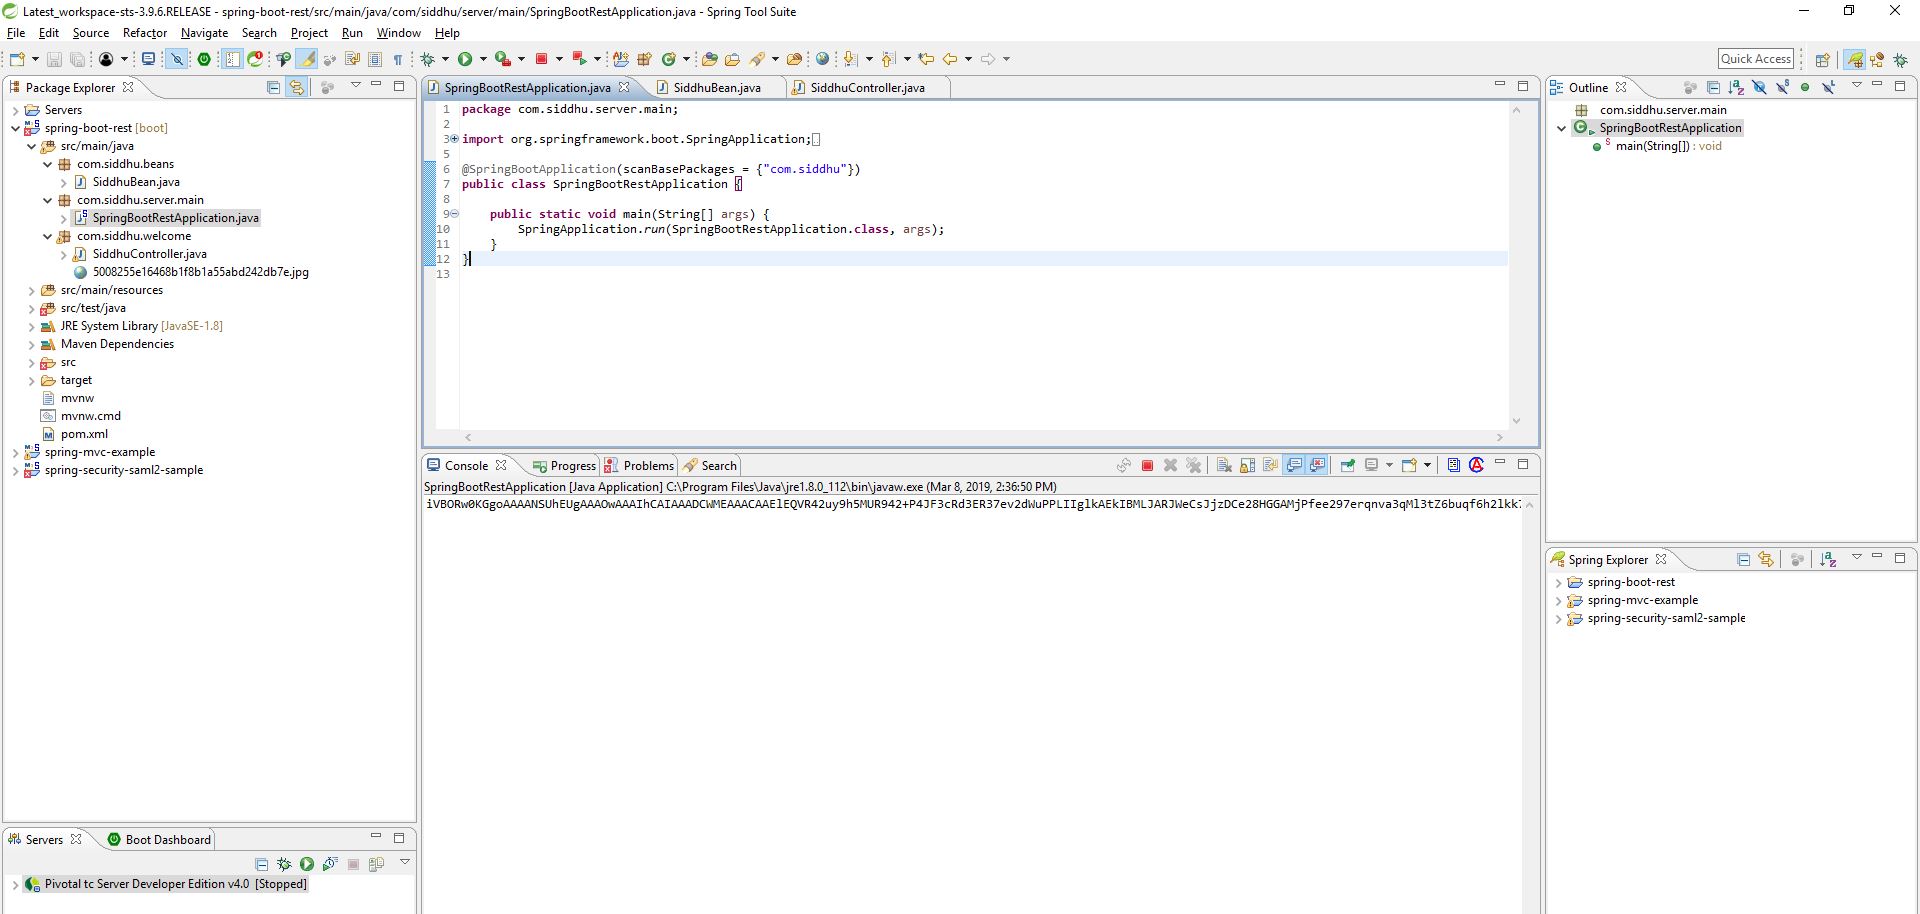
1-SpringBootRestApplication
import org.springframework.boot.SpringApplication;
import org.springframework.boot.autoconfigure.SpringBootApplication;
@SpringBootApplication(scanBasePackages = {"com.siddhu"})
public class SpringBootRestApplication {
public static void main(String[] args) {
SpringApplication.run(SpringBootRestApplication.class, args);
}
}
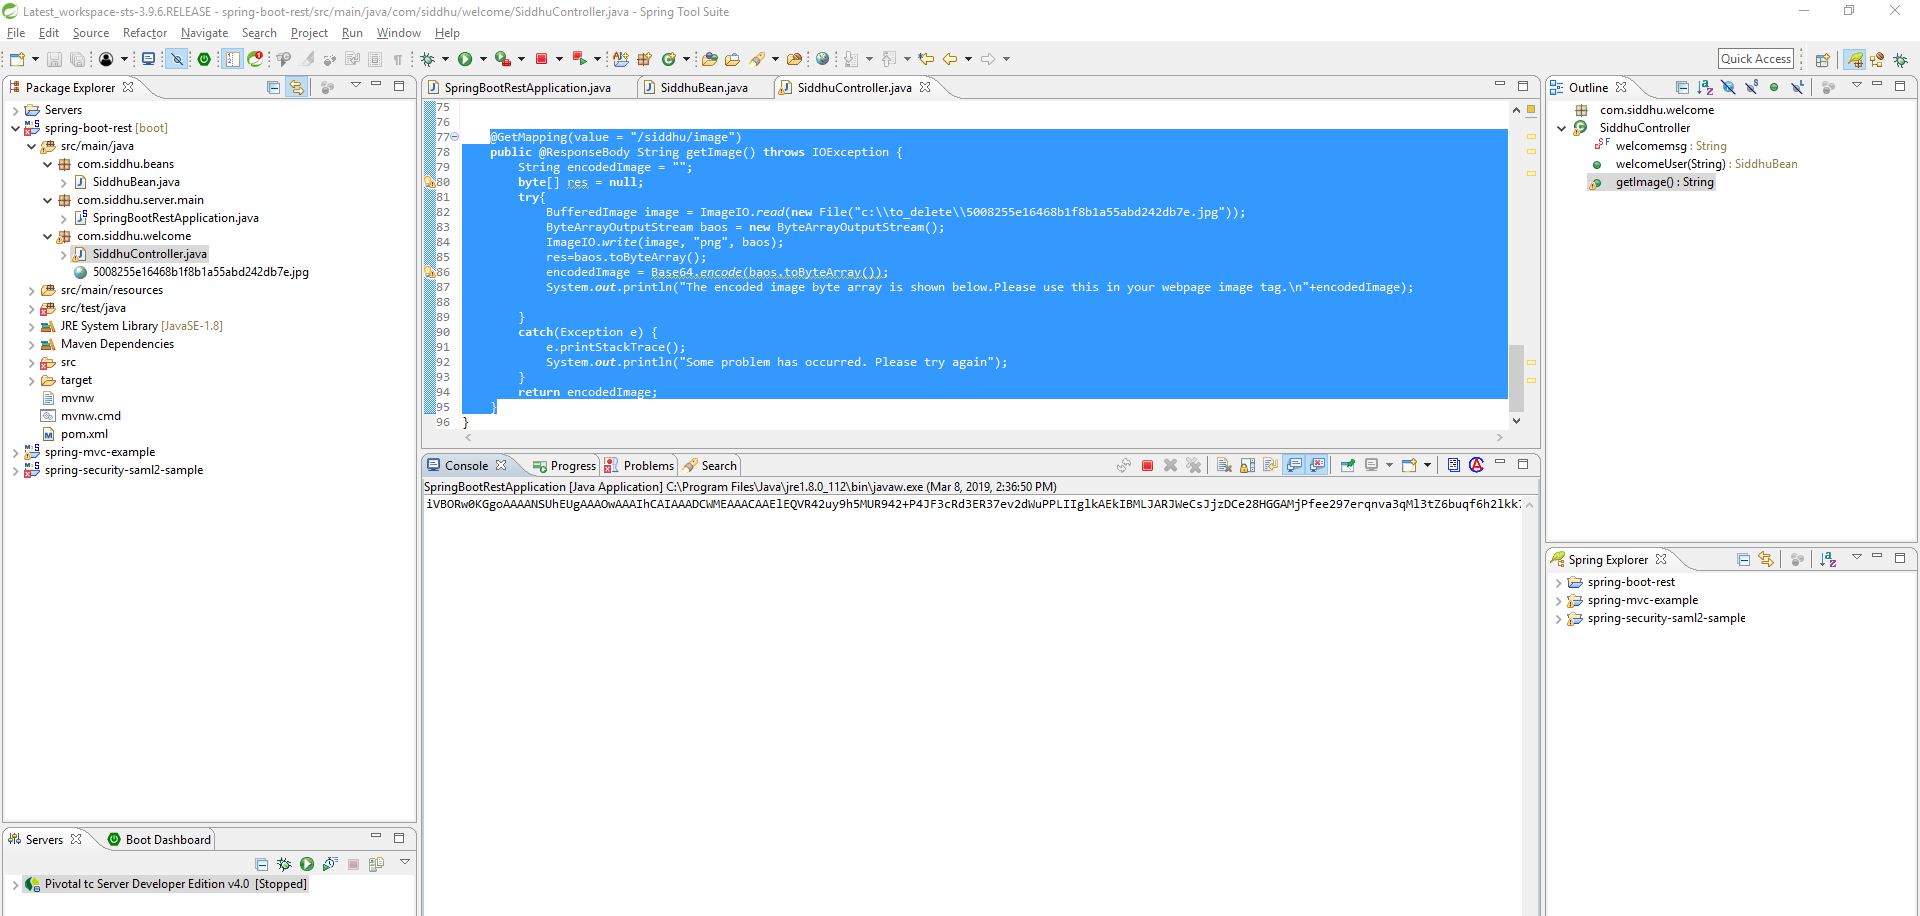
2- SiddhuController
package com.siddhu.welcome;
import java.awt.image.BufferedImage;
import java.io.BufferedInputStream;
import java.io.ByteArrayOutputStream;
import java.io.IOException;
import java.io.InputStream;
import javax.imageio.ImageIO;
import org.springframework.stereotype.Controller;
import org.springframework.web.bind.annotation.GetMapping;
import org.springframework.web.bind.annotation.RequestMapping;
import org.springframework.web.bind.annotation.RequestMethod;
import org.springframework.web.bind.annotation.RequestParam;
import org.springframework.web.bind.annotation.ResponseBody;
import org.springframework.web.multipart.MultipartFile;
import com.siddhu.beans.SiddhuBean;
import com.sun.org.apache.xerces.internal.impl.dv.util.Base64;
@Controller
public class SiddhuController {
private static final String welcomemsg = "This is test message. %s!";
@GetMapping("/siddhu/message")
@ResponseBody
public SiddhuBean welcomeUser(@RequestParam(name="name", required=false, defaultValue="Java Fan") String name) {
return new SiddhuBean(String.format(welcomemsg, name));
}
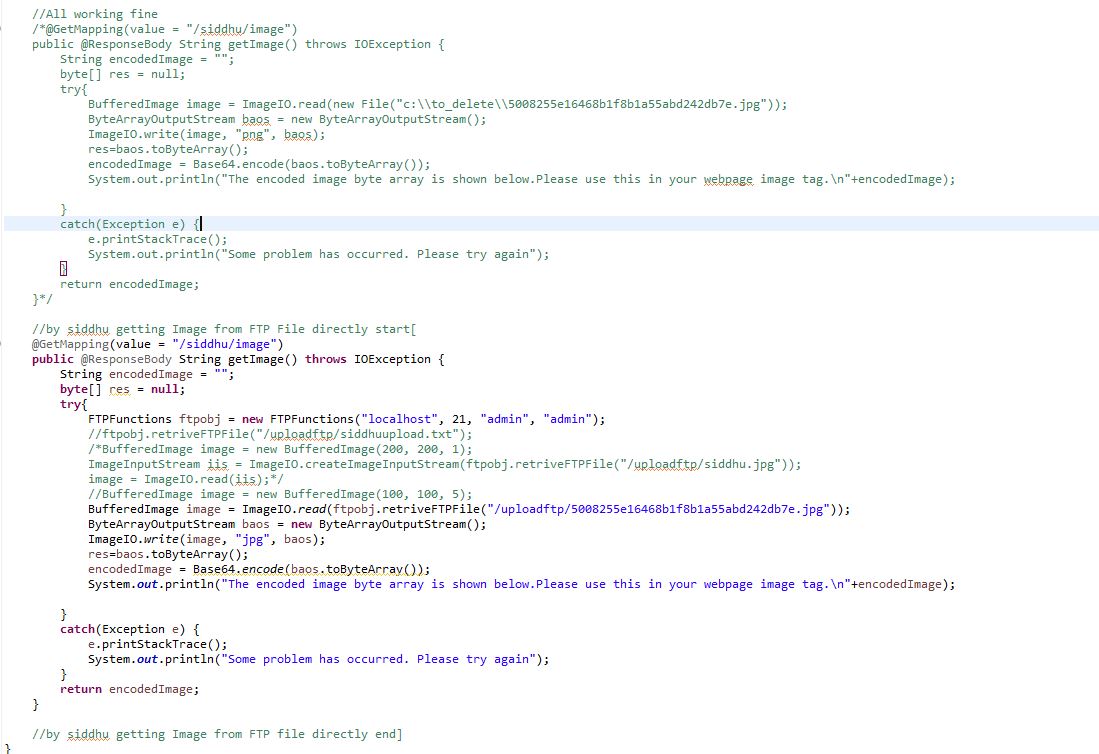
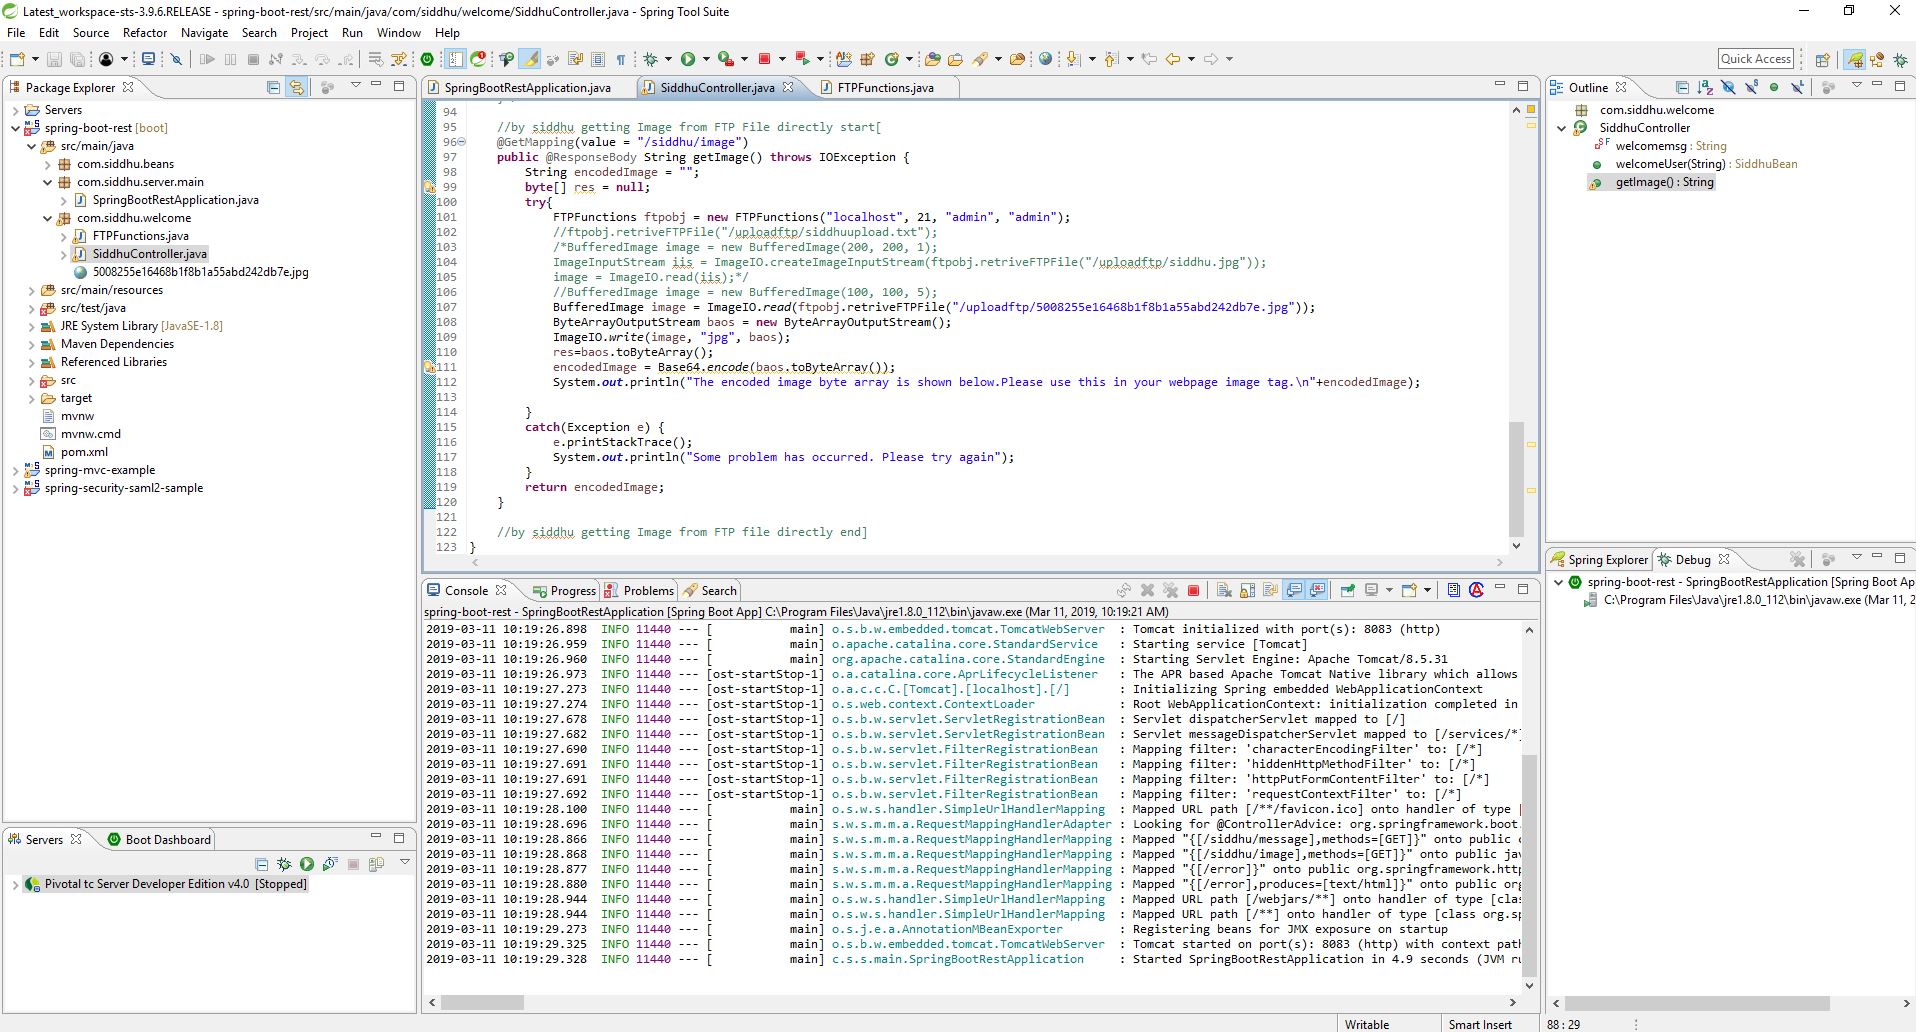
//by siddhu getting Image from FTP File directly start[
@GetMapping(value = "/siddhu/image")
public @ResponseBody String getImage() throws IOException {
String encodedImage = "";
byte[] res = null;
try{
FTPFunctions ftpobj = new FTPFunctions("localhost", 21, "admin", "admin");
//ftpobj.retriveFTPFile("/uploadftp/siddhuupload.txt");
/*BufferedImage image = new BufferedImage(200, 200, 1);
ImageInputStream iis = ImageIO.createImageInputStream(ftpobj.retriveFTPFile("/uploadftp/siddhu.jpg"));
image = ImageIO.read(iis);*/
//BufferedImage image = new BufferedImage(100, 100, 5);
BufferedImage image = ImageIO.read(ftpobj.retriveFTPFile("/uploadftp/5008255e16468b1f8b1a55abd242db7e.jpg"));
ByteArrayOutputStream baos = new ByteArrayOutputStream();
ImageIO.write(image, "jpg", baos);
res=baos.toByteArray();
encodedImage = Base64.encode(baos.toByteArray());
System.out.println("The encoded image byte array is shown below.Please use this in your webpage image tag.\n"+encodedImage);
}
catch(Exception e) {
e.printStackTrace();
System.out.println("Some problem has occurred. Please try again");
}
return encodedImage;
}
//by siddhu getting Image from FTP file directly end]
//by siddhu uploading image start[
@RequestMapping(value = "/siddhu/upload", method = RequestMethod.POST)
public @ResponseBody void uploadImage(@RequestParam("uploadedFile") MultipartFile uploadedFileRef, @RequestParam("fileName") String fileName) throws IOException {
try{
System.out.println("--------------------------------------------------------"+uploadedFileRef.getContentType()+"----"+uploadedFileRef.getOriginalFilename()+"--"+uploadedFileRef.getName());
InputStream inputStream = new BufferedInputStream(uploadedFileRef.getInputStream());
FTPFunctions ftpobj = new FTPFunctions("localhost", 21, "admin", "admin");
ftpobj.uploadMultipleFTPFile(inputStream, fileName, "/uploadftp/");
}
catch(Exception e) {
e.printStackTrace();
System.out.println("Some problem has occurred. Please try again");
}
//return encodedImage;
}
//by siddhu uploadoing image end]
}
3 - FTPFunctions
package com.siddhu.welcome;
import java.io.BufferedReader;
import java.io.File;
import java.io.FileInputStream;
import java.io.FileOutputStream;
import java.io.IOException;
import java.io.InputStream;
import java.io.InputStreamReader;
import java.io.PrintWriter;
import javax.imageio.ImageIO;
import javax.imageio.stream.ImageInputStream;
import org.apache.commons.net.PrintCommandListener;
import org.apache.commons.net.ftp.FTP;
import org.apache.commons.net.ftp.FTPClient;
import org.apache.commons.net.ftp.FTPFile;
import org.apache.commons.net.ftp.FTPReply;
import org.apache.ftpserver.FtpServer;
import org.apache.ftpserver.FtpServerFactory;
import org.apache.ftpserver.listener.ListenerFactory;
import org.apache.ftpserver.usermanager.PropertiesUserManagerFactory;
public class FTPFunctions {
// Creating FTP Client instance
public FTPClient ftp = null;
public InputStream objInputStream = null;
public ImageInputStream iis = null;
public FTPFunctions()
{
}
public void StartServer()
{
try {
FtpServerFactory serverFactory = new FtpServerFactory();
ListenerFactory factory = new ListenerFactory();
// set the port of the listener
factory.setPort(21);
// define SSL configuration
/*SslConfigurationFactory ssl = new SslConfigurationFactory();
ssl.setKeystoreFile(new File("C:\\Test\\ftpserver.jks"));
ssl.setKeystorePassword("password");*/
// set the SSL configuration for the listener
/*factory.setSslConfiguration(ssl.createSslConfiguration());
factory.setImplicitSsl(true);*/
// replace the default listener
serverFactory.addListener("default", factory.createListener());
PropertiesUserManagerFactory userManagerFactory = new PropertiesUserManagerFactory();
userManagerFactory.setFile(new File("C:\\Test\\users.properties"));
serverFactory.setUserManager(userManagerFactory.createUserManager());
// start the server
FtpServer server = serverFactory.createServer();
server.start();
} catch (Exception e) {
// TODO Auto-generated catch block
System.out.println("Exception occured ???????");
e.printStackTrace();
}
}
// Constructor to connect to the FTP Server
/**
* @param host
* @param port
* @param username
* @param password
* @throws Exception
*/
public FTPFunctions(String host, int port, String username, String password) throws Exception{
ftp = new FTPClient();
ftp.addProtocolCommandListener(new PrintCommandListener(new PrintWriter(System.out)));
int reply;
ftp.connect(host,port);
System.out.println("FTP URL is:"+ftp.getDefaultPort());
reply = ftp.getReplyCode();
if (!FTPReply.isPositiveCompletion(reply)) {
ftp.disconnect();
throw new Exception("Exception in connecting to FTP Server");
}
ftp.login(username, password);
//ftp.setFileType(FTP.LOCAL_FILE_TYPE);
//by siddhu to show image properly on the screen and also to upload image properly in FTP else image will be corrupt.
ftp.setFileType(FTP.BINARY_FILE_TYPE);
ftp.enterLocalPassiveMode();
}
// Method to upload the File on the FTP Server
public void uploadFTPFile(String localFileFullName, String fileName, String uploadDir)
throws Exception
{
try {
InputStream input = new FileInputStream(new File(localFileFullName));
this.ftp.storeFile(uploadDir + fileName, input);
}
catch(Exception e){
}
}
// Download the FTP File from the FTP Server
public void downloadFTPFile(String ftpSource, String destination) {
try (FileOutputStream fos = new FileOutputStream(destination)) {
this.ftp.retrieveFile(ftpSource, fos);
} catch (IOException e) {
e.printStackTrace();
}
}
// by siddhu Download the FTP File from the FTP Server start [
//public ImageInputStream retriveFTPFile(String ftpSource) {
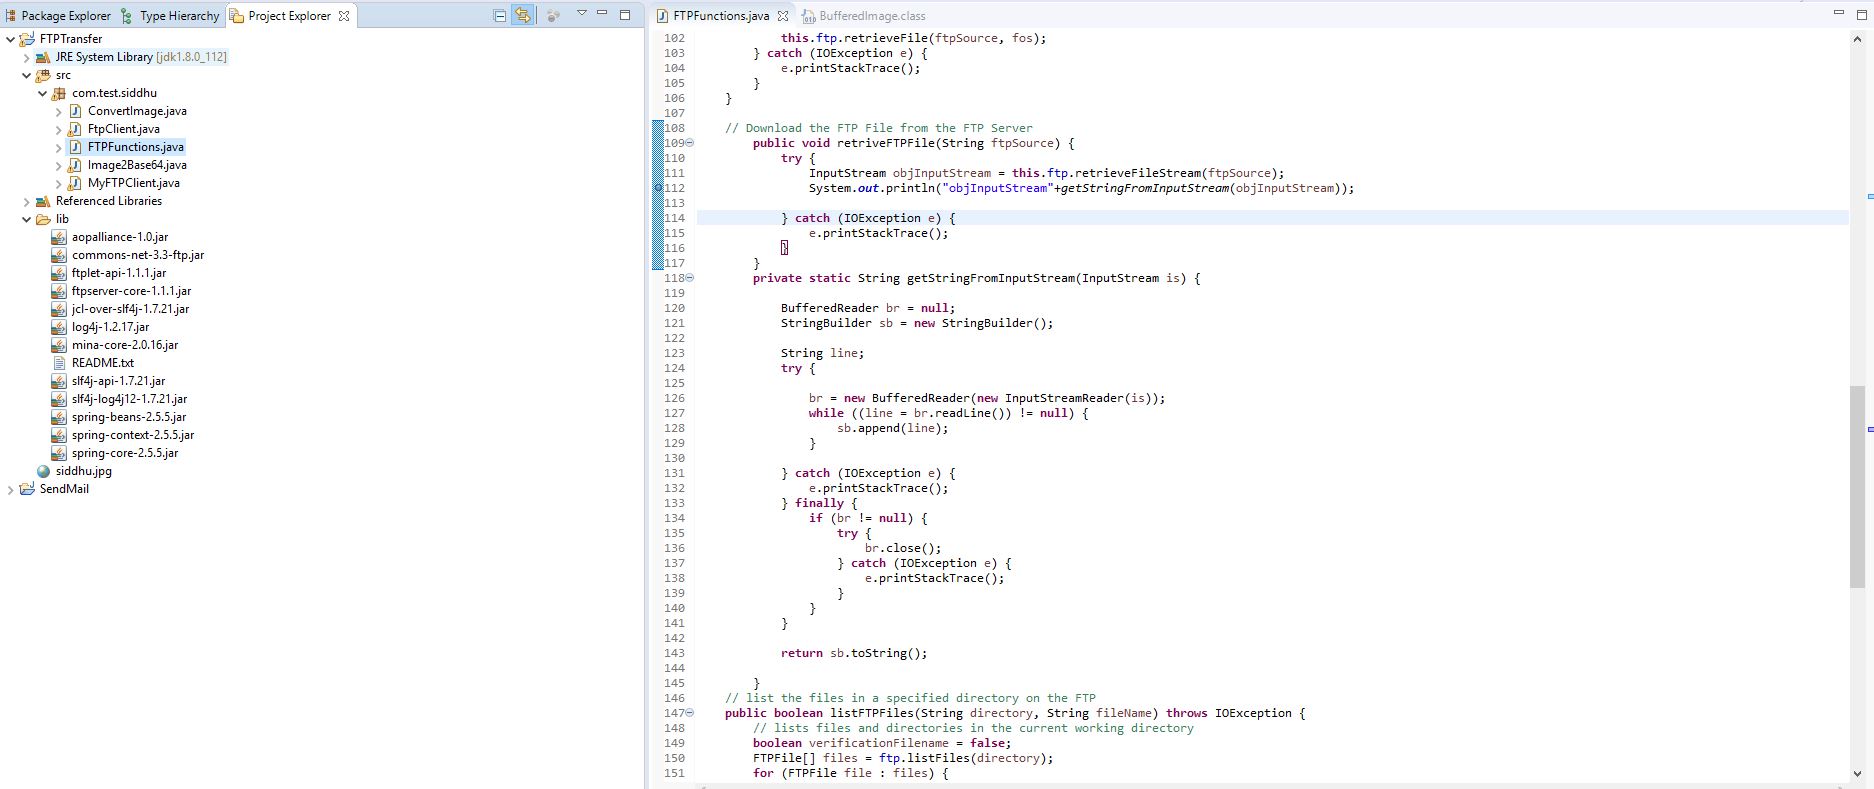
public InputStream retriveFTPFile(String ftpSource) {
try {
objInputStream = this.ftp.retrieveFileStream(ftpSource);
} catch (IOException e) {
e.printStackTrace();
}
//System.out.println("objInputStream--------------------->"+objInputStream);
return objInputStream;
//return iis;
}
// by siddhu Download the FTP File from the FTP Server end ]
//by siddhu to upload multipart start[
public void uploadMultipleFTPFile(InputStream inputStream, String fileName, String uploadDir)
throws Exception
{
try {
System.out.println("---------------------------here reached filename----------------"+uploadDir + fileName);
System.out.println("---------------------------here reached inputStream ----------------"+inputStream );
this.ftp.storeFile(uploadDir + fileName, inputStream);
System.out.println("upload completed");
}
catch(Exception e){
}
}
//by siddhu to upload multipart end]
private static String getStringFromInputStream(InputStream is) {
BufferedReader br = null;
StringBuilder sb = new StringBuilder();
String line;
try {
br = new BufferedReader(new InputStreamReader(is));
while ((line = br.readLine()) != null) {
sb.append(line);
}
} catch (IOException e) {
e.printStackTrace();
} finally {
if (br != null) {
try {
br.close();
} catch (IOException e) {
e.printStackTrace();
}
}
}
return sb.toString();
}
// list the files in a specified directory on the FTP
public boolean listFTPFiles(String directory, String fileName) throws IOException {
// lists files and directories in the current working directory
boolean verificationFilename = false;
FTPFile[] files = ftp.listFiles(directory);
for (FTPFile file : files) {
String details = file.getName();
System.out.println(details);
if(details.equals(fileName))
{
System.out.println("Correct Filename");
verificationFilename=details.equals(fileName);
//assertTrue("Verification Failed: The filename is not updated at the CDN end.",details.equals(fileName));
}
}
return verificationFilename;
}
// Disconnect the connection to FTP
public void disconnect(){
if (this.ftp.isConnected()) {
try {
this.ftp.logout();
this.ftp.disconnect();
} catch (IOException f) {
// do nothing as file is already saved to server
}
}
}
}
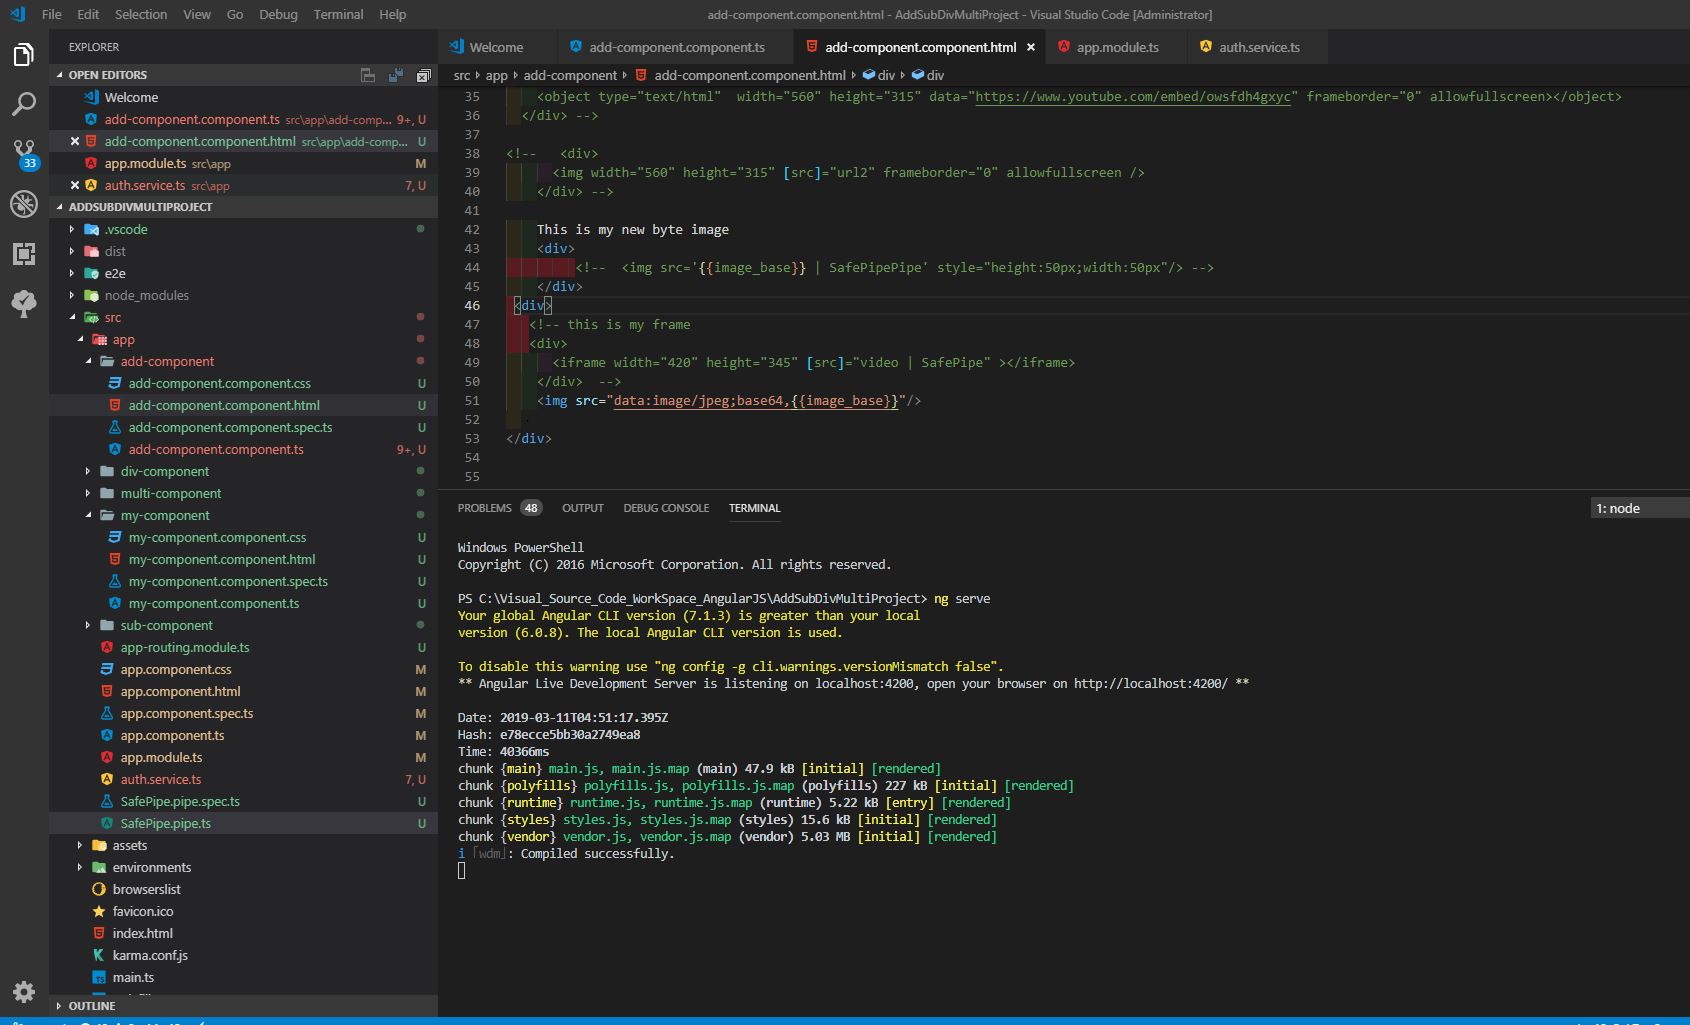
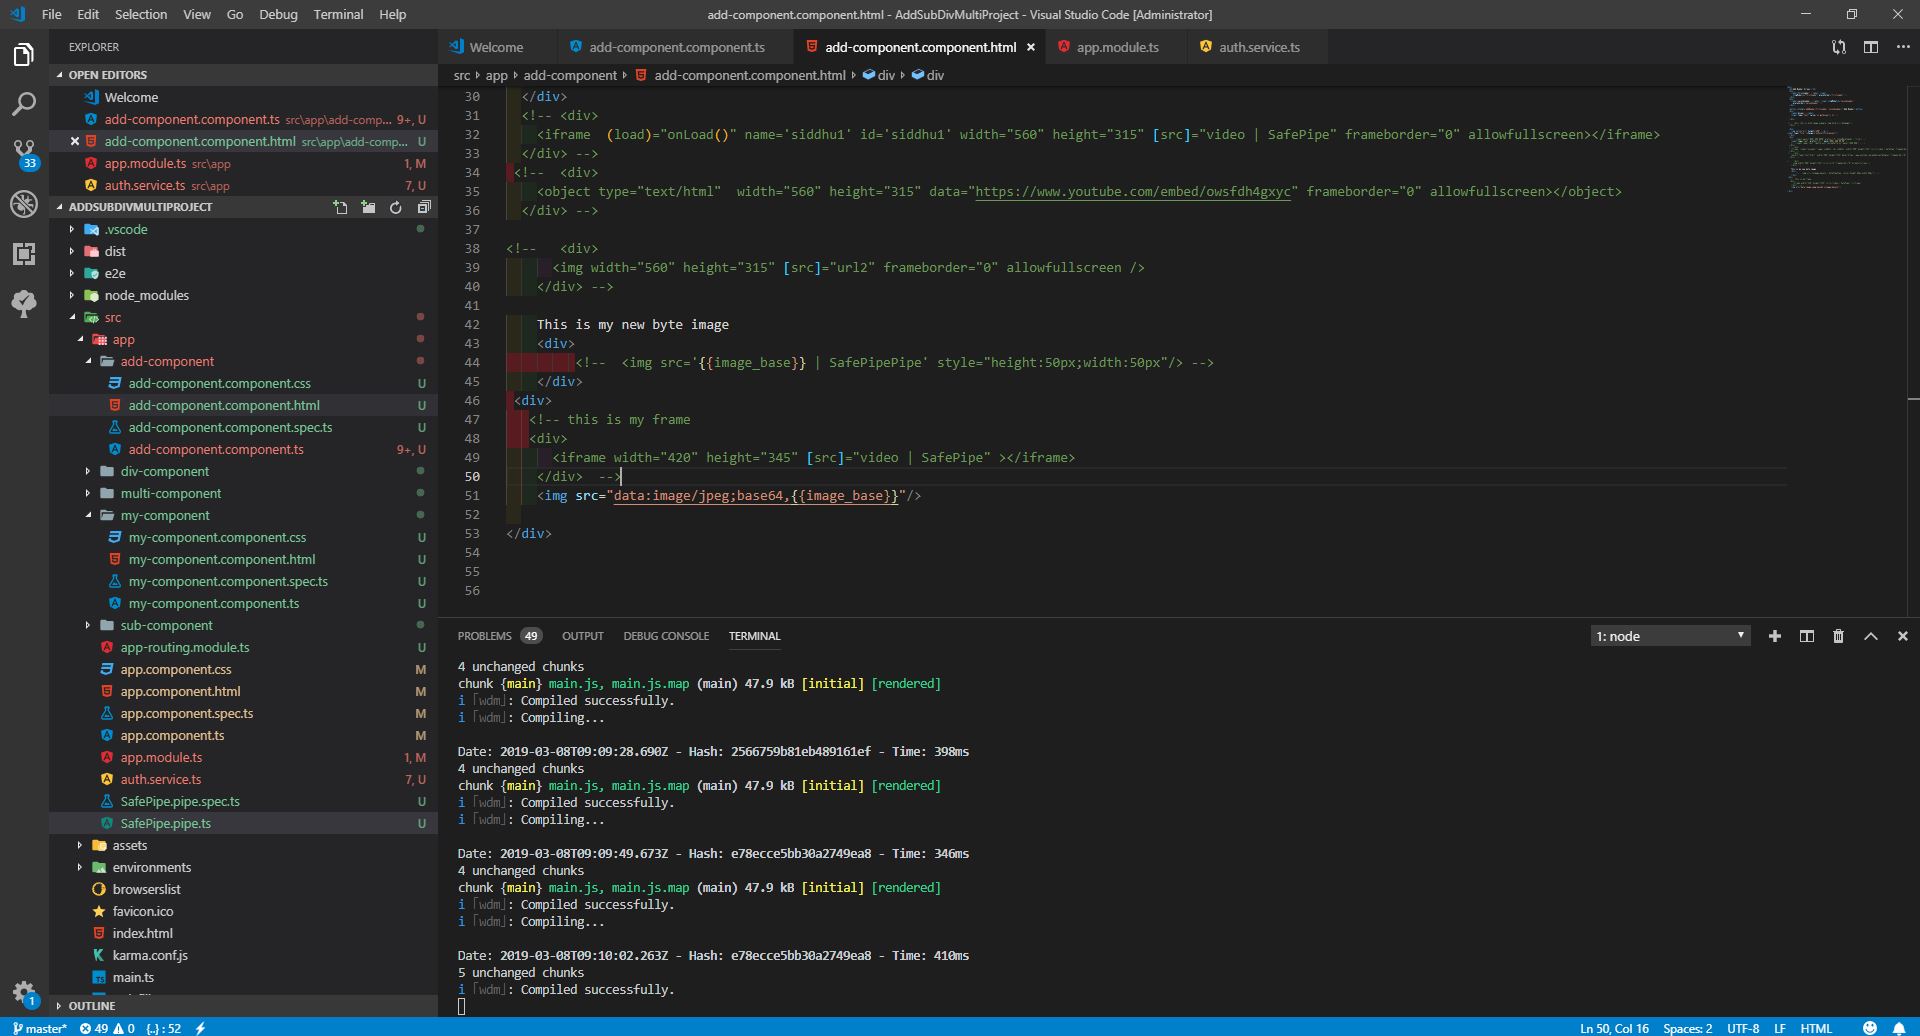
Step 3:- Create angularjs 6 application and use following code
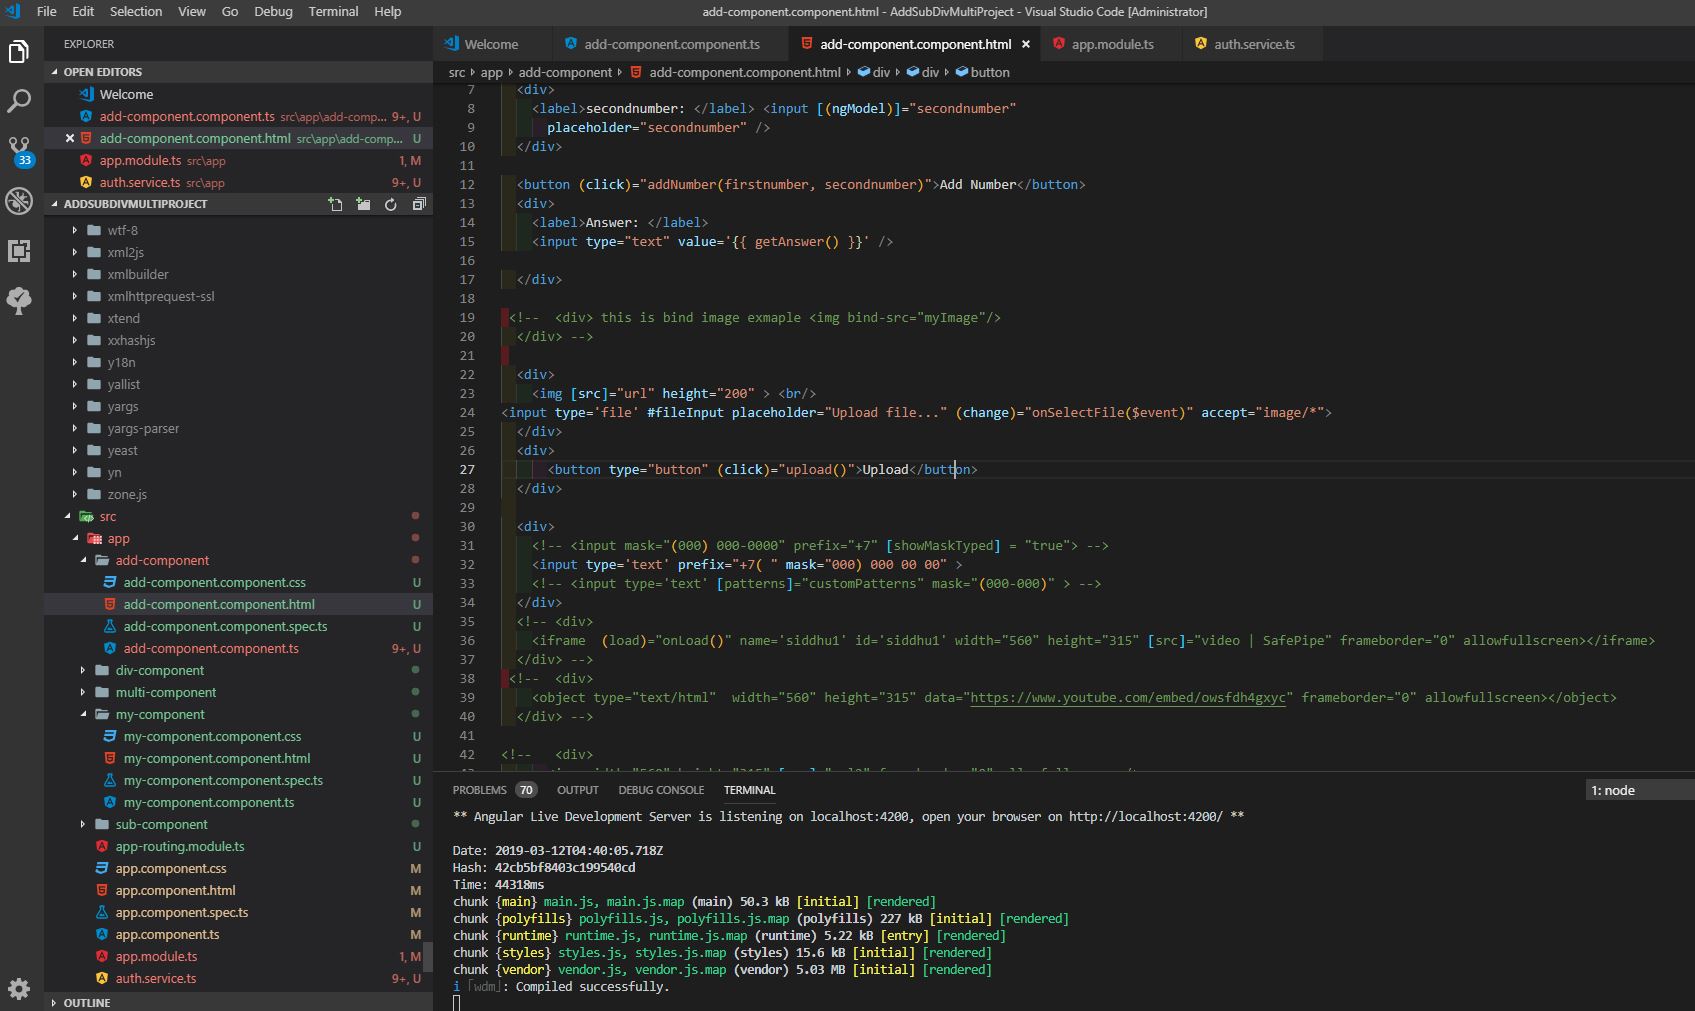
1- add-component.component.html
<--div>
<--img [src]="url" height="200" > <--br/>
<--input type='file' #fileInput placeholder="Upload file..." (change)="onSelectFile($event)" accept="image/*">
<--/div>
<--div>
<--button type="button" (click)="upload()">Upload<--/button>
<--/div>
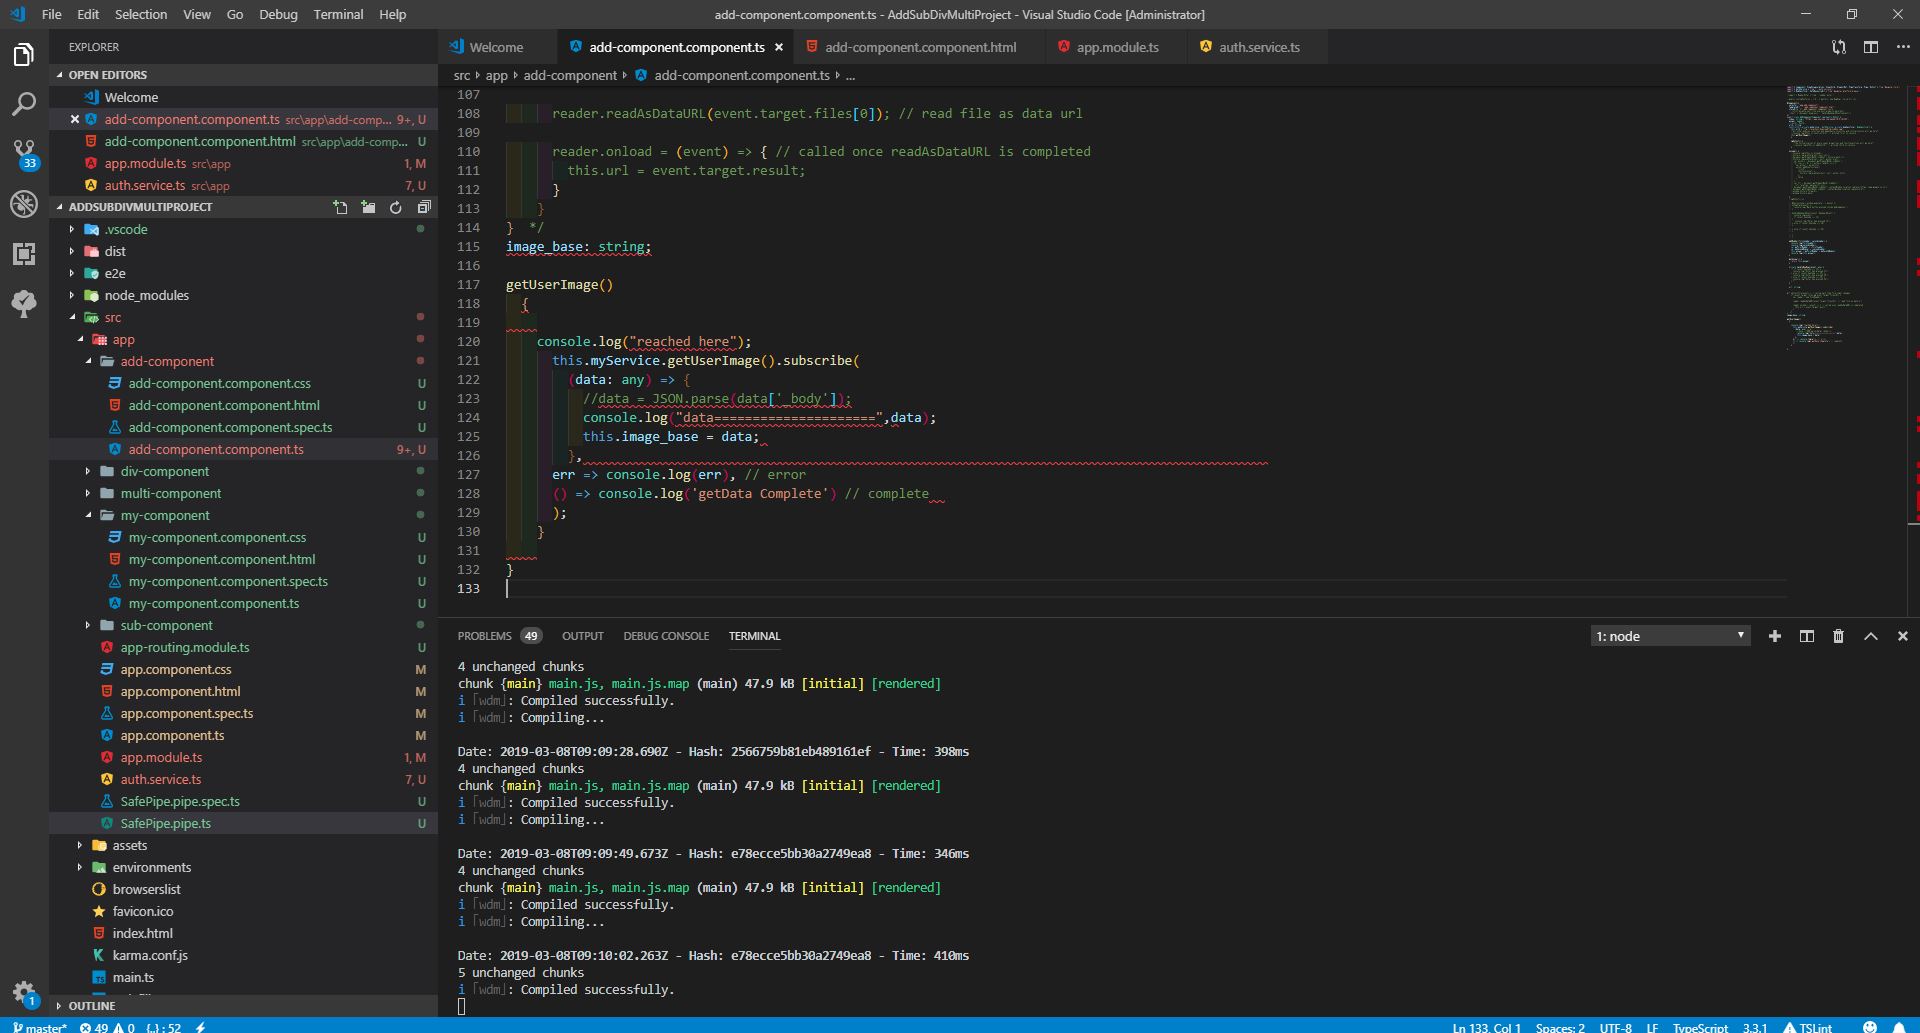
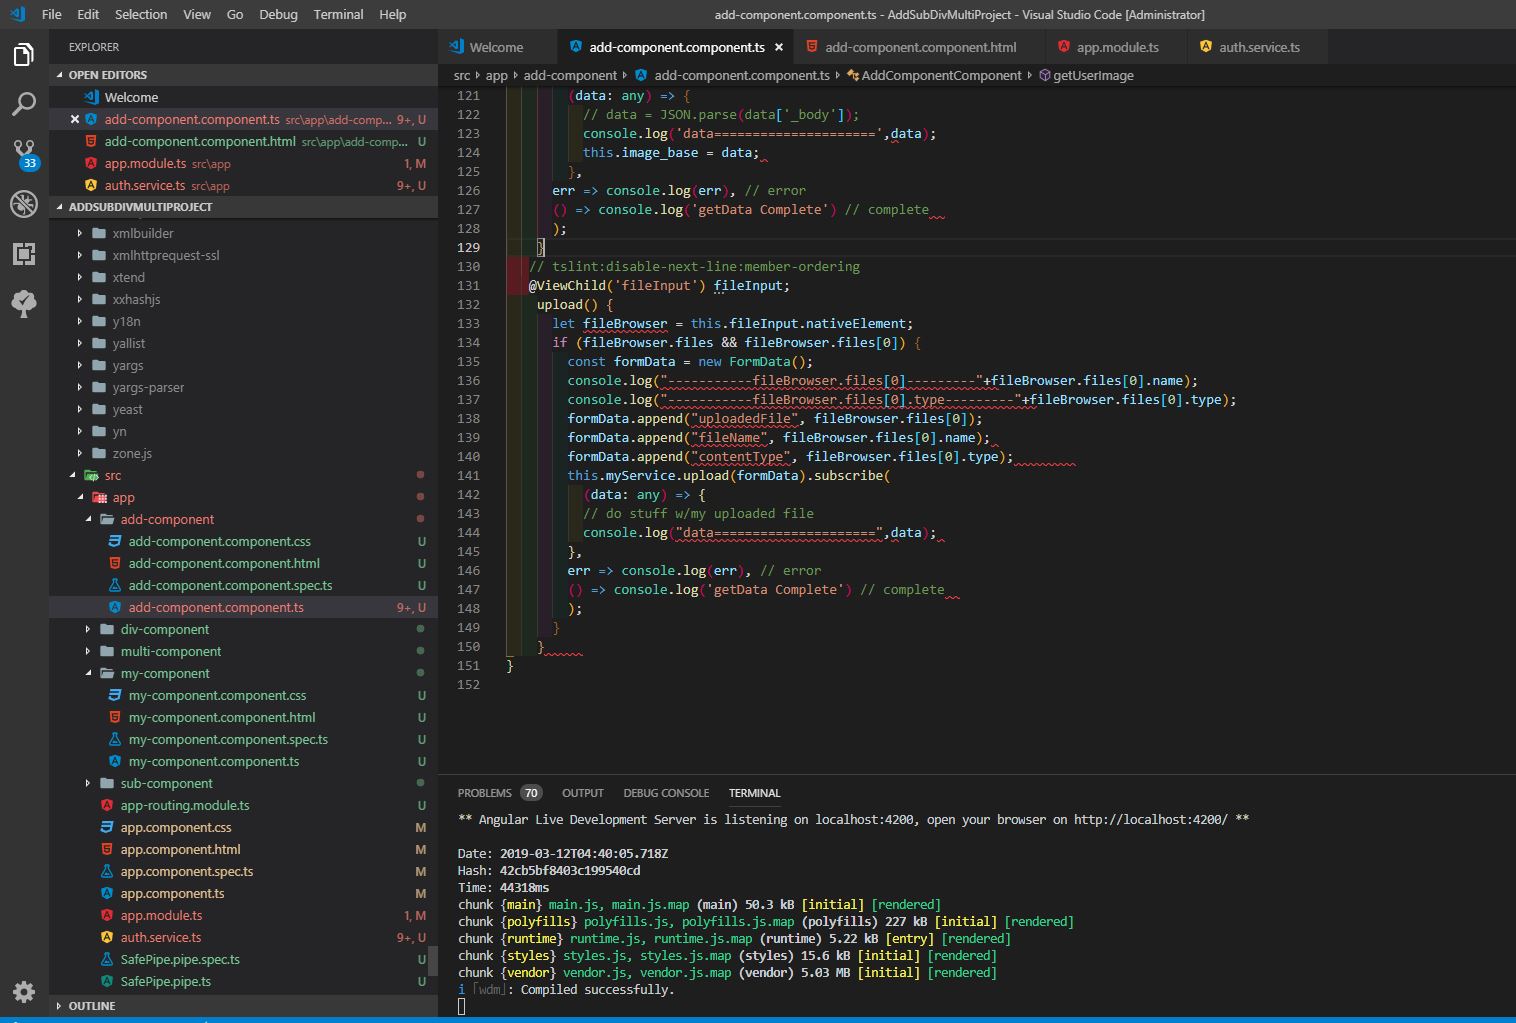
2- add-component.component.ts
getUserImage()
{
console.log("reached here");
this.myService.getUserImage().subscribe(
(data: any) => {
// data = JSON.parse(data['_body']);
console.log('data=====================',data);
this.image_base = data;
},
err => console.log(err), // error
() => console.log('getData Complete') // complete
);
}
// tslint:disable-next-line:member-ordering
@ViewChild('fileInput') fileInput;
upload() {
let fileBrowser = this.fileInput.nativeElement;
if (fileBrowser.files && fileBrowser.files[0]) {
const formData = new FormData();
console.log("-----------fileBrowser.files[0]---------"+fileBrowser.files[0].name);
console.log("-----------fileBrowser.files[0].type---------"+fileBrowser.files[0].type);
formData.append("uploadedFile", fileBrowser.files[0]);
formData.append("fileName", fileBrowser.files[0].name);
formData.append("contentType", fileBrowser.files[0].type);
this.myService.upload(formData).subscribe(
(data: any) => {
// do stuff w/my uploaded file
console.log("data=====================",data);
},
err => console.log(err), // error
() => console.log('getData Complete') // complete
);
}
}
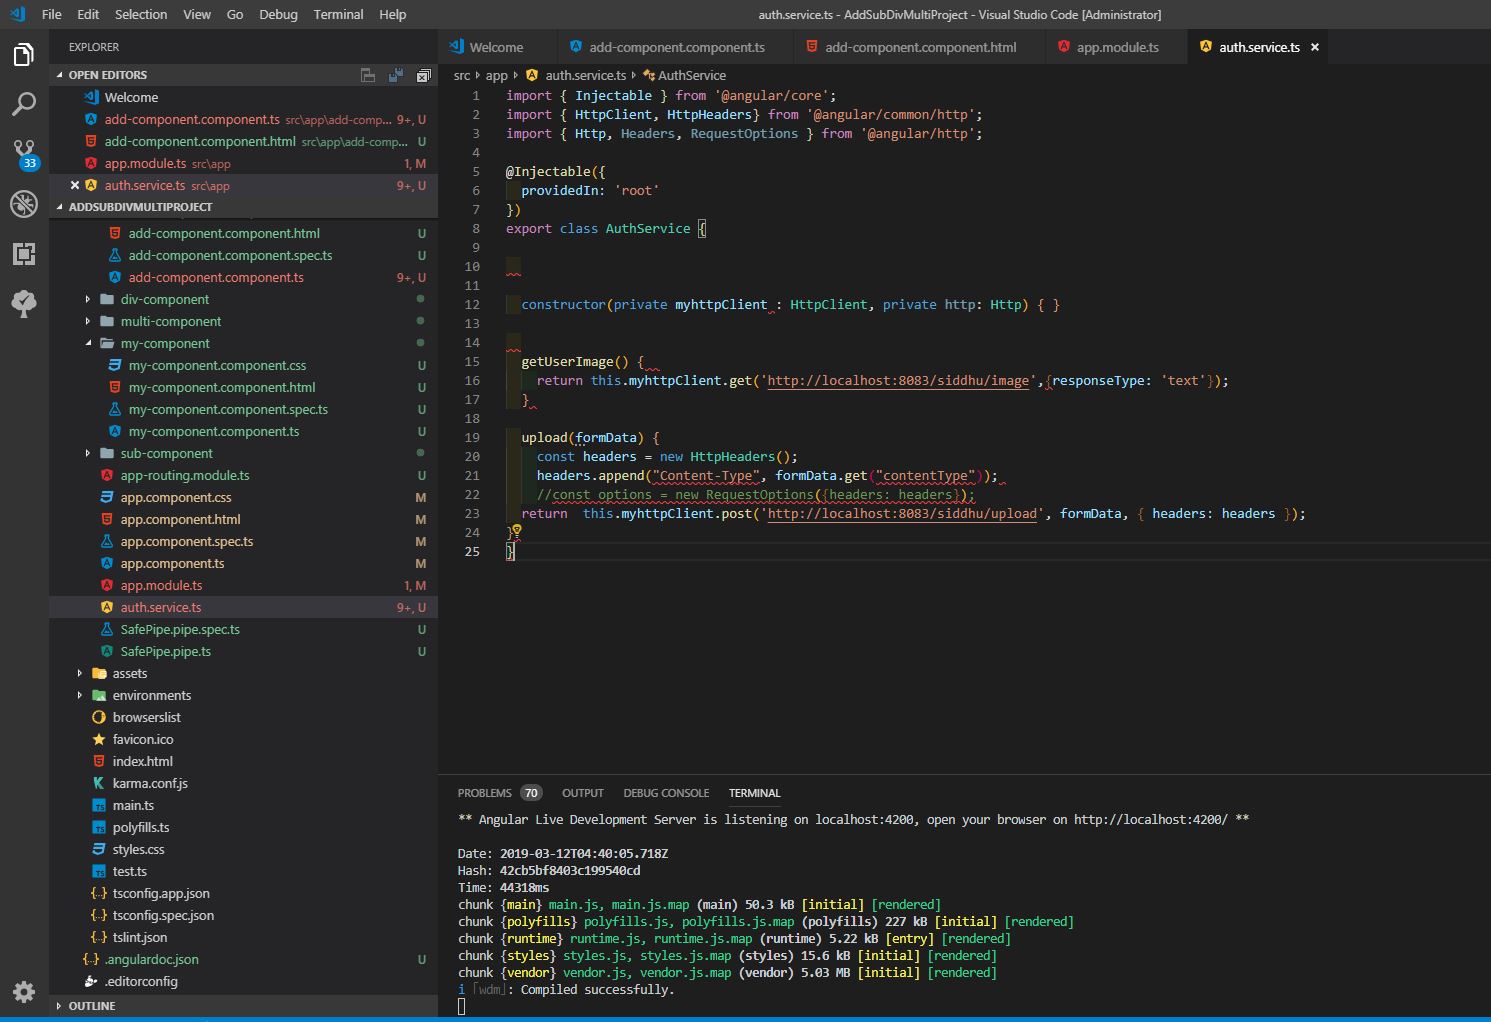
3- auth.service.ts
upload(formData) {
const headers = new HttpHeaders();
headers.append("Content-Type", formData.get("contentType"));
//const options = new RequestOptions({headers: headers});
return this.myhttpClient.post('http://localhost:8083/siddhu/upload', formData, { headers: headers });
}
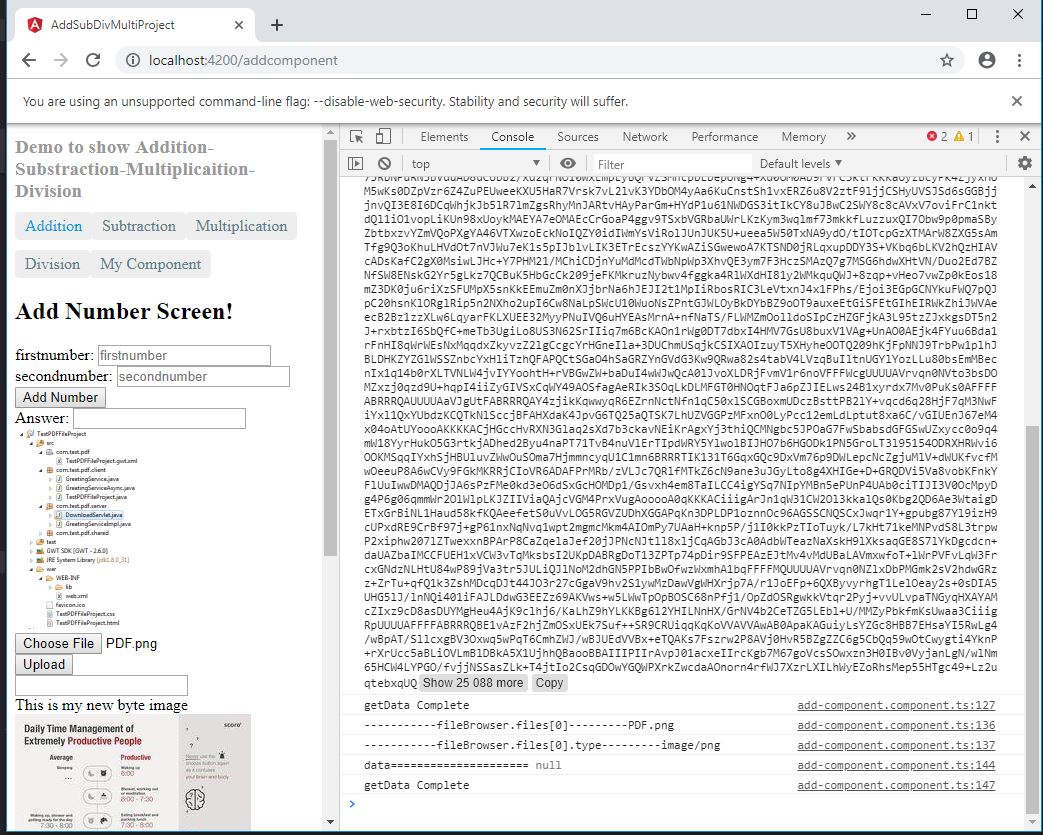
Step 1:- Start FTP Server
Step 2:- Start Spring Controller
Step 3:- Start AngualarJS
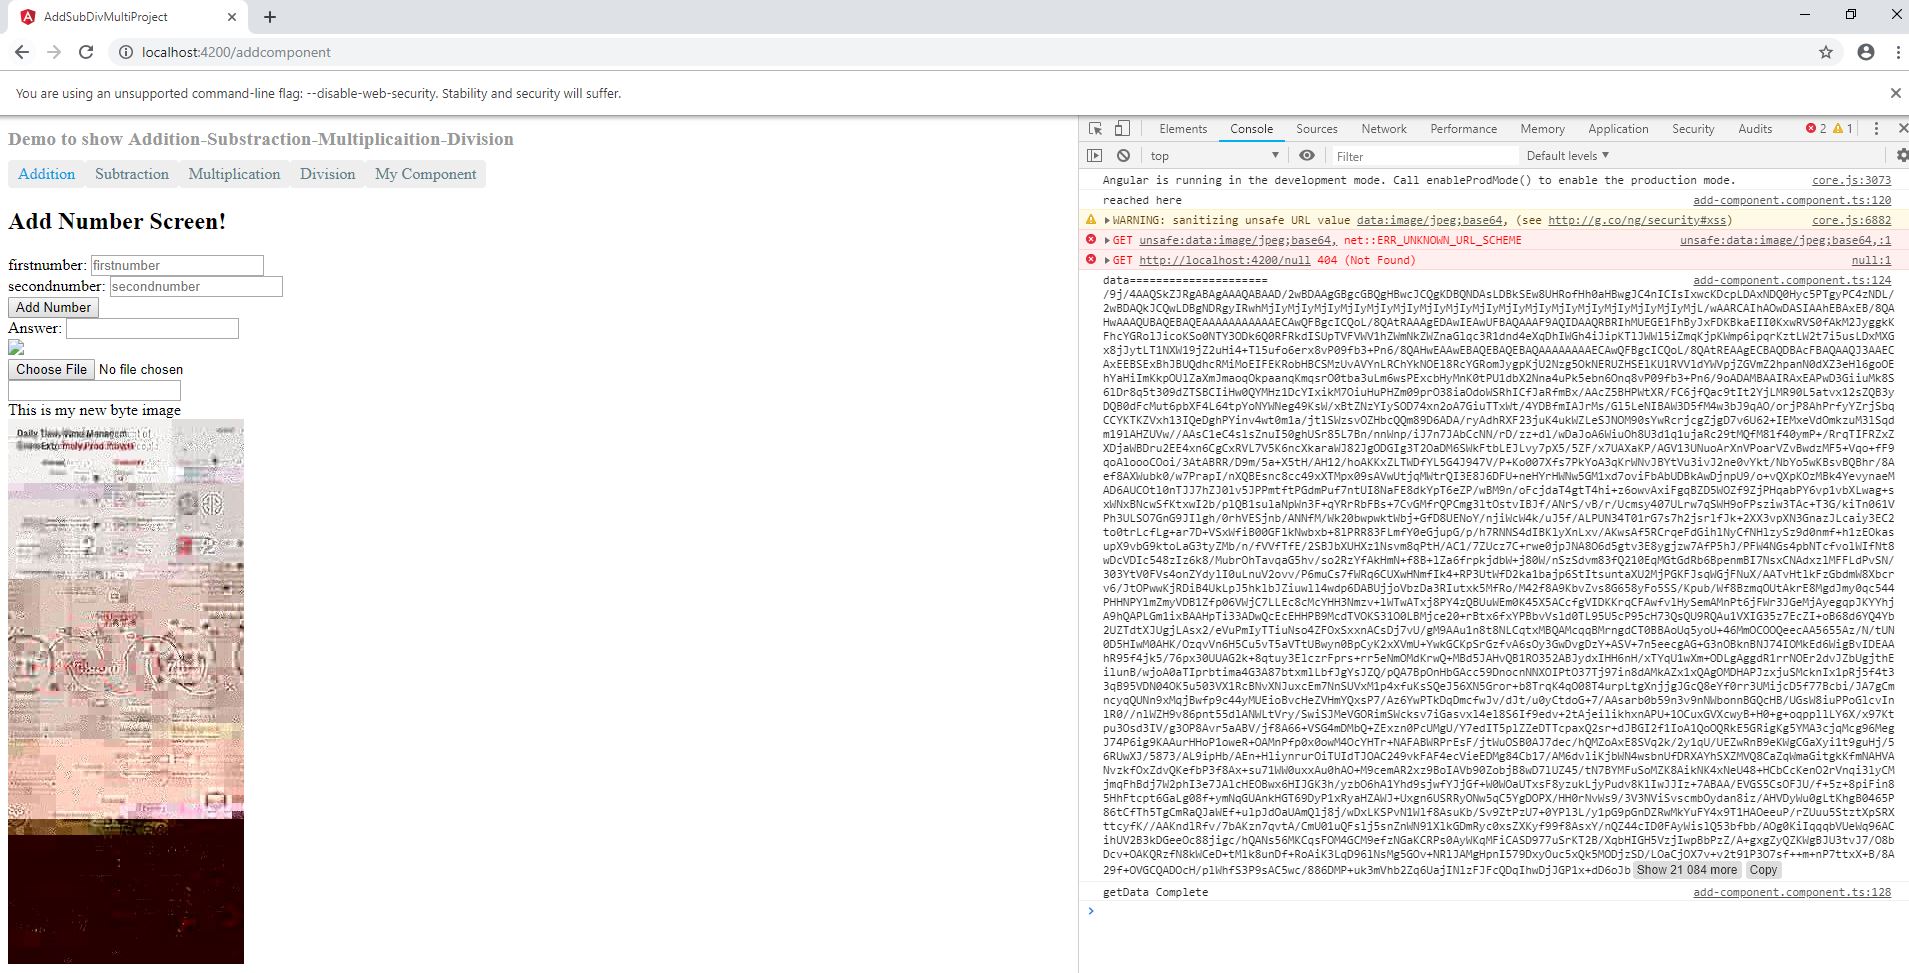
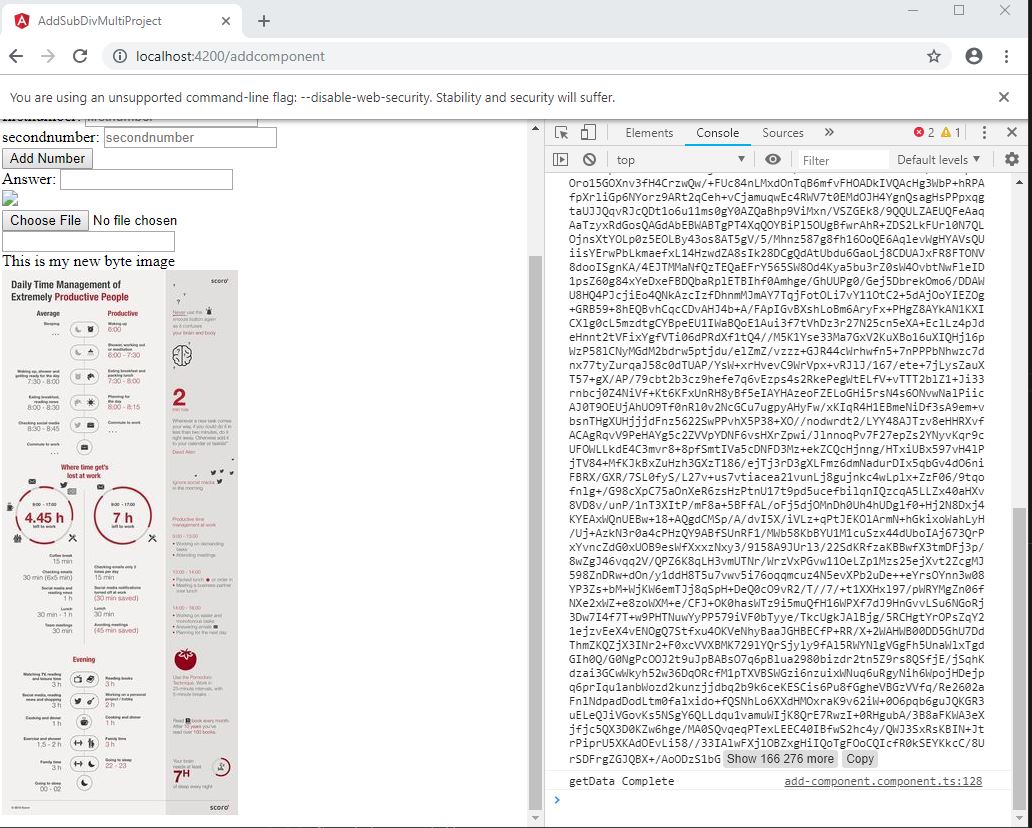
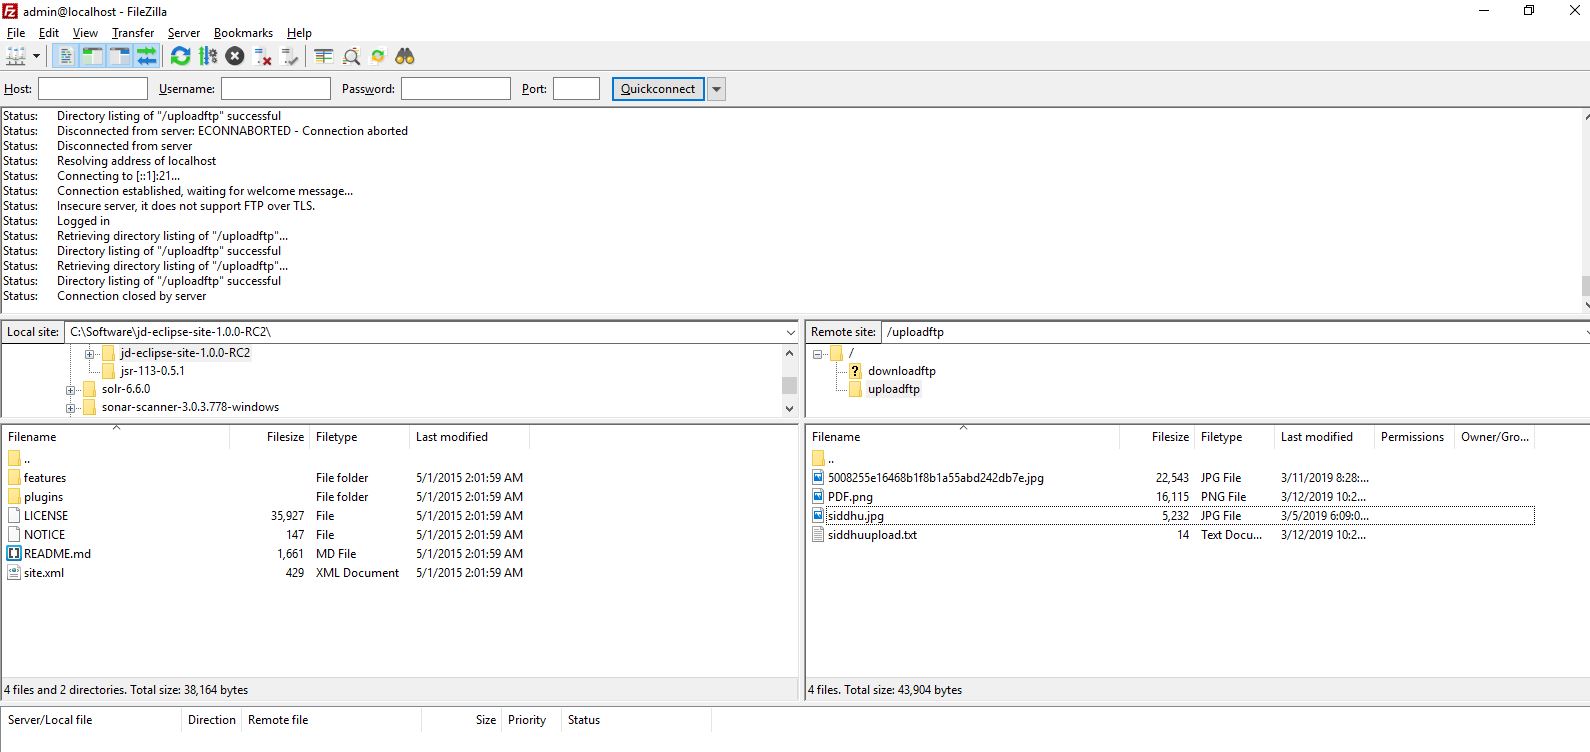
Check if image is loaded properly on the FTP.
package com.test.siddhu;
import java.io.BufferedReader;
import java.io.File;
import java.io.FileInputStream;
import java.io.FileOutputStream;
import java.io.IOException;
import java.io.InputStream;
import java.io.InputStreamReader;
import java.io.PrintWriter;
import org.apache.commons.net.PrintCommandListener;
import org.apache.commons.net.ftp.FTP;
import org.apache.commons.net.ftp.FTPClient;
import org.apache.commons.net.ftp.FTPFile;
import org.apache.commons.net.ftp.FTPReply;
import org.apache.ftpserver.FtpServer;
import org.apache.ftpserver.FtpServerFactory;
import org.apache.ftpserver.listener.ListenerFactory;
import org.apache.ftpserver.usermanager.PropertiesUserManagerFactory;
public class FTPFunctions {
// Creating FTP Client instance
FTPClient ftp = null;
public FTPFunctions()
{
}
public void StartServer()
{
try {
FtpServerFactory serverFactory = new FtpServerFactory();
ListenerFactory factory = new ListenerFactory();
factory.setPort(21);
serverFactory.addListener("default", factory.createListener());
PropertiesUserManagerFactory userManagerFactory = new PropertiesUserManagerFactory();
userManagerFactory.setFile(new File("C:\\Test\\users.properties"));
serverFactory.setUserManager(userManagerFactory.createUserManager());
// start the server
FtpServer server = serverFactory.createServer();
server.start();
} catch (Exception e) {
// TODO Auto-generated catch block
System.out.println("Exception occured ———————");
e.printStackTrace();
}
}
// Constructor to connect to the FTP Server
/**
* @param host
* @param port
* @param username
* @param password
* @throws Exception
*/
public FTPFunctions(String host, int port, String username, String password) throws Exception{
ftp = new FTPClient();
ftp.addProtocolCommandListener(new PrintCommandListener(new PrintWriter(System.out)));
int reply;
ftp.connect(host,port);
System.out.println("FTP URL is:"+ftp.getDefaultPort());
reply = ftp.getReplyCode();
if (!FTPReply.isPositiveCompletion(reply)) {
ftp.disconnect();
throw new Exception("Exception in connecting to FTP Server");
}
ftp.login(username, password);
ftp.setFileType(FTP.LOCAL_FILE_TYPE);
ftp.enterLocalPassiveMode();
}
// Main method to invoke the above methods
public static void main(String[] args) {
try {
FTPFunctions objFTPFunctions = new FTPFunctions();
objFTPFunctions.StartServer();
ftpobj.disconnect();
} catch (Exception e) {
e.printStackTrace();
}
}
}
Step 2:- Create a Spring Boot controller for your AngularJS6 Frontend.
1-SpringBootRestApplication
import org.springframework.boot.SpringApplication;
import org.springframework.boot.autoconfigure.SpringBootApplication;
@SpringBootApplication(scanBasePackages = {"com.siddhu"})
public class SpringBootRestApplication {
public static void main(String[] args) {
SpringApplication.run(SpringBootRestApplication.class, args);
}
}
2- SiddhuController
package com.siddhu.welcome;
import java.awt.image.BufferedImage;
import java.io.BufferedInputStream;
import java.io.ByteArrayOutputStream;
import java.io.IOException;
import java.io.InputStream;
import javax.imageio.ImageIO;
import org.springframework.stereotype.Controller;
import org.springframework.web.bind.annotation.GetMapping;
import org.springframework.web.bind.annotation.RequestMapping;
import org.springframework.web.bind.annotation.RequestMethod;
import org.springframework.web.bind.annotation.RequestParam;
import org.springframework.web.bind.annotation.ResponseBody;
import org.springframework.web.multipart.MultipartFile;
import com.siddhu.beans.SiddhuBean;
import com.sun.org.apache.xerces.internal.impl.dv.util.Base64;
@Controller
public class SiddhuController {
private static final String welcomemsg = "This is test message. %s!";
@GetMapping("/siddhu/message")
@ResponseBody
public SiddhuBean welcomeUser(@RequestParam(name="name", required=false, defaultValue="Java Fan") String name) {
return new SiddhuBean(String.format(welcomemsg, name));
}
//by siddhu getting Image from FTP File directly start[
@GetMapping(value = "/siddhu/image")
public @ResponseBody String getImage() throws IOException {
String encodedImage = "";
byte[] res = null;
try{
FTPFunctions ftpobj = new FTPFunctions("localhost", 21, "admin", "admin");
//ftpobj.retriveFTPFile("/uploadftp/siddhuupload.txt");
/*BufferedImage image = new BufferedImage(200, 200, 1);
ImageInputStream iis = ImageIO.createImageInputStream(ftpobj.retriveFTPFile("/uploadftp/siddhu.jpg"));
image = ImageIO.read(iis);*/
//BufferedImage image = new BufferedImage(100, 100, 5);
BufferedImage image = ImageIO.read(ftpobj.retriveFTPFile("/uploadftp/5008255e16468b1f8b1a55abd242db7e.jpg"));
ByteArrayOutputStream baos = new ByteArrayOutputStream();
ImageIO.write(image, "jpg", baos);
res=baos.toByteArray();
encodedImage = Base64.encode(baos.toByteArray());
System.out.println("The encoded image byte array is shown below.Please use this in your webpage image tag.\n"+encodedImage);
}
catch(Exception e) {
e.printStackTrace();
System.out.println("Some problem has occurred. Please try again");
}
return encodedImage;
}
//by siddhu getting Image from FTP file directly end]
//by siddhu uploading image start[
@RequestMapping(value = "/siddhu/upload", method = RequestMethod.POST)
public @ResponseBody void uploadImage(@RequestParam("uploadedFile") MultipartFile uploadedFileRef, @RequestParam("fileName") String fileName) throws IOException {
try{
System.out.println("--------------------------------------------------------"+uploadedFileRef.getContentType()+"----"+uploadedFileRef.getOriginalFilename()+"--"+uploadedFileRef.getName());
InputStream inputStream = new BufferedInputStream(uploadedFileRef.getInputStream());
FTPFunctions ftpobj = new FTPFunctions("localhost", 21, "admin", "admin");
ftpobj.uploadMultipleFTPFile(inputStream, fileName, "/uploadftp/");
}
catch(Exception e) {
e.printStackTrace();
System.out.println("Some problem has occurred. Please try again");
}
//return encodedImage;
}
//by siddhu uploadoing image end]
}
3 - FTPFunctions
package com.siddhu.welcome;
import java.io.BufferedReader;
import java.io.File;
import java.io.FileInputStream;
import java.io.FileOutputStream;
import java.io.IOException;
import java.io.InputStream;
import java.io.InputStreamReader;
import java.io.PrintWriter;
import javax.imageio.ImageIO;
import javax.imageio.stream.ImageInputStream;
import org.apache.commons.net.PrintCommandListener;
import org.apache.commons.net.ftp.FTP;
import org.apache.commons.net.ftp.FTPClient;
import org.apache.commons.net.ftp.FTPFile;
import org.apache.commons.net.ftp.FTPReply;
import org.apache.ftpserver.FtpServer;
import org.apache.ftpserver.FtpServerFactory;
import org.apache.ftpserver.listener.ListenerFactory;
import org.apache.ftpserver.usermanager.PropertiesUserManagerFactory;
public class FTPFunctions {
// Creating FTP Client instance
public FTPClient ftp = null;
public InputStream objInputStream = null;
public ImageInputStream iis = null;
public FTPFunctions()
{
}
public void StartServer()
{
try {
FtpServerFactory serverFactory = new FtpServerFactory();
ListenerFactory factory = new ListenerFactory();
// set the port of the listener
factory.setPort(21);
// define SSL configuration
/*SslConfigurationFactory ssl = new SslConfigurationFactory();
ssl.setKeystoreFile(new File("C:\\Test\\ftpserver.jks"));
ssl.setKeystorePassword("password");*/
// set the SSL configuration for the listener
/*factory.setSslConfiguration(ssl.createSslConfiguration());
factory.setImplicitSsl(true);*/
// replace the default listener
serverFactory.addListener("default", factory.createListener());
PropertiesUserManagerFactory userManagerFactory = new PropertiesUserManagerFactory();
userManagerFactory.setFile(new File("C:\\Test\\users.properties"));
serverFactory.setUserManager(userManagerFactory.createUserManager());
// start the server
FtpServer server = serverFactory.createServer();
server.start();
} catch (Exception e) {
// TODO Auto-generated catch block
System.out.println("Exception occured ???????");
e.printStackTrace();
}
}
// Constructor to connect to the FTP Server
/**
* @param host
* @param port
* @param username
* @param password
* @throws Exception
*/
public FTPFunctions(String host, int port, String username, String password) throws Exception{
ftp = new FTPClient();
ftp.addProtocolCommandListener(new PrintCommandListener(new PrintWriter(System.out)));
int reply;
ftp.connect(host,port);
System.out.println("FTP URL is:"+ftp.getDefaultPort());
reply = ftp.getReplyCode();
if (!FTPReply.isPositiveCompletion(reply)) {
ftp.disconnect();
throw new Exception("Exception in connecting to FTP Server");
}
ftp.login(username, password);
//ftp.setFileType(FTP.LOCAL_FILE_TYPE);
//by siddhu to show image properly on the screen and also to upload image properly in FTP else image will be corrupt.
ftp.setFileType(FTP.BINARY_FILE_TYPE);
ftp.enterLocalPassiveMode();
}
// Method to upload the File on the FTP Server
public void uploadFTPFile(String localFileFullName, String fileName, String uploadDir)
throws Exception
{
try {
InputStream input = new FileInputStream(new File(localFileFullName));
this.ftp.storeFile(uploadDir + fileName, input);
}
catch(Exception e){
}
}
// Download the FTP File from the FTP Server
public void downloadFTPFile(String ftpSource, String destination) {
try (FileOutputStream fos = new FileOutputStream(destination)) {
this.ftp.retrieveFile(ftpSource, fos);
} catch (IOException e) {
e.printStackTrace();
}
}
// by siddhu Download the FTP File from the FTP Server start [
//public ImageInputStream retriveFTPFile(String ftpSource) {
public InputStream retriveFTPFile(String ftpSource) {
try {
objInputStream = this.ftp.retrieveFileStream(ftpSource);
} catch (IOException e) {
e.printStackTrace();
}
//System.out.println("objInputStream--------------------->"+objInputStream);
return objInputStream;
//return iis;
}
// by siddhu Download the FTP File from the FTP Server end ]
//by siddhu to upload multipart start[
public void uploadMultipleFTPFile(InputStream inputStream, String fileName, String uploadDir)
throws Exception
{
try {
System.out.println("---------------------------here reached filename----------------"+uploadDir + fileName);
System.out.println("---------------------------here reached inputStream ----------------"+inputStream );
this.ftp.storeFile(uploadDir + fileName, inputStream);
System.out.println("upload completed");
}
catch(Exception e){
}
}
//by siddhu to upload multipart end]
private static String getStringFromInputStream(InputStream is) {
BufferedReader br = null;
StringBuilder sb = new StringBuilder();
String line;
try {
br = new BufferedReader(new InputStreamReader(is));
while ((line = br.readLine()) != null) {
sb.append(line);
}
} catch (IOException e) {
e.printStackTrace();
} finally {
if (br != null) {
try {
br.close();
} catch (IOException e) {
e.printStackTrace();
}
}
}
return sb.toString();
}
// list the files in a specified directory on the FTP
public boolean listFTPFiles(String directory, String fileName) throws IOException {
// lists files and directories in the current working directory
boolean verificationFilename = false;
FTPFile[] files = ftp.listFiles(directory);
for (FTPFile file : files) {
String details = file.getName();
System.out.println(details);
if(details.equals(fileName))
{
System.out.println("Correct Filename");
verificationFilename=details.equals(fileName);
//assertTrue("Verification Failed: The filename is not updated at the CDN end.",details.equals(fileName));
}
}
return verificationFilename;
}
// Disconnect the connection to FTP
public void disconnect(){
if (this.ftp.isConnected()) {
try {
this.ftp.logout();
this.ftp.disconnect();
} catch (IOException f) {
// do nothing as file is already saved to server
}
}
}
}
Step 3:- Create angularjs 6 application and use following code
1- add-component.component.html
<--div>
<--img [src]="url" height="200" > <--br/>
<--input type='file' #fileInput placeholder="Upload file..." (change)="onSelectFile($event)" accept="image/*">
<--/div>
<--div>
<--button type="button" (click)="upload()">Upload<--/button>
<--/div>
2- add-component.component.ts
getUserImage()
{
console.log("reached here");
this.myService.getUserImage().subscribe(
(data: any) => {
// data = JSON.parse(data['_body']);
console.log('data=====================',data);
this.image_base = data;
},
err => console.log(err), // error
() => console.log('getData Complete') // complete
);
}
// tslint:disable-next-line:member-ordering
@ViewChild('fileInput') fileInput;
upload() {
let fileBrowser = this.fileInput.nativeElement;
if (fileBrowser.files && fileBrowser.files[0]) {
const formData = new FormData();
console.log("-----------fileBrowser.files[0]---------"+fileBrowser.files[0].name);
console.log("-----------fileBrowser.files[0].type---------"+fileBrowser.files[0].type);
formData.append("uploadedFile", fileBrowser.files[0]);
formData.append("fileName", fileBrowser.files[0].name);
formData.append("contentType", fileBrowser.files[0].type);
this.myService.upload(formData).subscribe(
(data: any) => {
// do stuff w/my uploaded file
console.log("data=====================",data);
},
err => console.log(err), // error
() => console.log('getData Complete') // complete
);
}
}
3- auth.service.ts
upload(formData) {
const headers = new HttpHeaders();
headers.append("Content-Type", formData.get("contentType"));
//const options = new RequestOptions({headers: headers});
return this.myhttpClient.post('http://localhost:8083/siddhu/upload', formData, { headers: headers });
}
Step 1:- Start FTP Server
Step 2:- Start Spring Controller
Step 3:- Start AngualarJS
Check if image is loaded properly on the FTP.