Thursday, March 08, 2018

Microservice Concept

Idea originated from SOA(Serve Oriented Architecture). What it suggest is to decompose/divide your application into small part and create a separate service for each part.


As a separation development/test/maintainability will be easy.


Any language will be taken into consideration while creting service. Basic concept that need to be keep in mind while creating microservice is it has to be loosely coupled with protocol i.e. https etc and it must be fine-grained (i.e. Service granularity principle). Service granularity principle specify the SCOPE OF BUSINESS AND TECHNICAL granularity. i.e. how much business and technical intake and output will be done by one service. Four parameter that take part while thiking of Service Granularity are


(1) Business function:- How much business is exposed bu the W/S. If needed we can add login to exposed more than one function.
(2) Performance:- Service need to be made in such a fashion that number of request should be less.
(3) Message Size:- As a W/S what the data size that is going to send in and out per call.
(4) Quality-of-service :- Each service should perform a single system-level transection and should keep the data integrity.

Thursday, February 08, 2018

Analysing the code using SonarQube Scanner

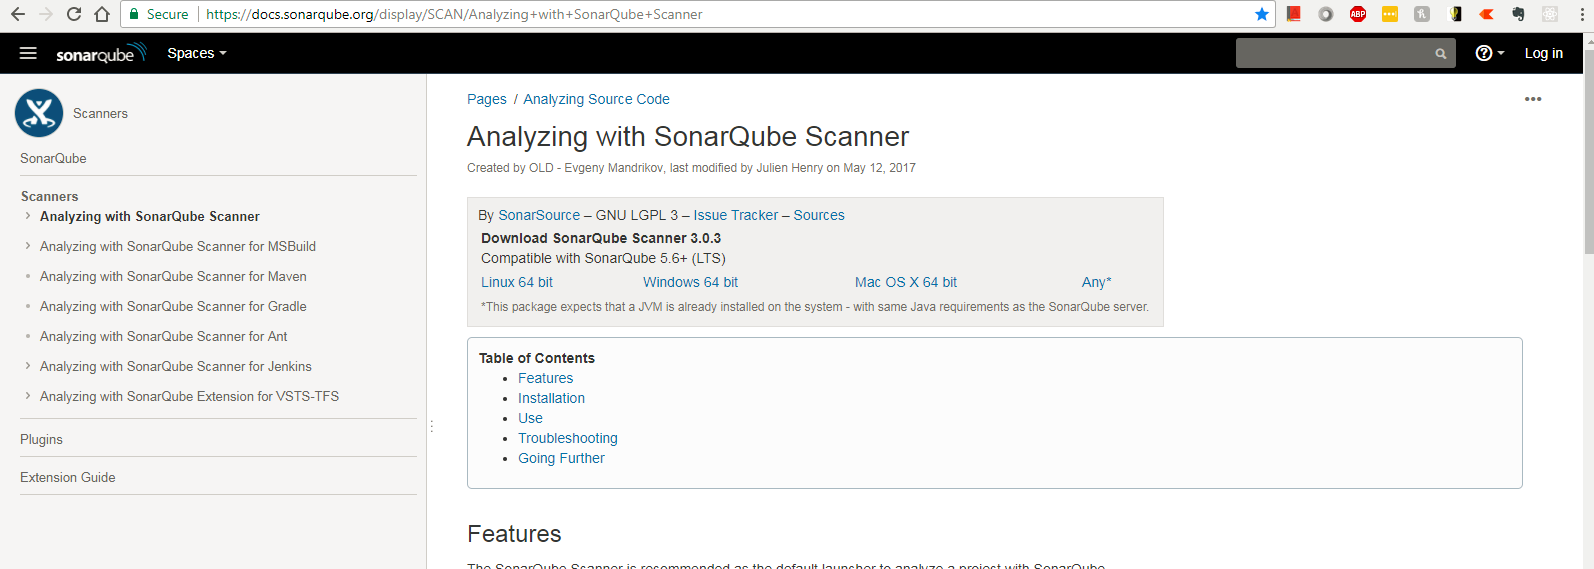
Step 1:- Download the O/S Specific version from below site
https://docs.sonarqube.org/display/SCAN/Analyzing+with+SonarQube+Scanner
Iamge1
Step:-2 Modify sonar-scanner.properties for configuring new project
C:\sonar-scanner-3.0.3.778-windows\conf\sonar-scanner.properties
#Configure here general information about the environment, such as SonarQube DB details for example
#No information about specific project should appear here
#----- Default SonarQube server
sonar.host.url=http://localhost:9000
#----- Default source code encoding
#sonar.sourceEncoding=UTF-8
sonar.projectName=TestSiddhuGWT
sonar.projectVersion=1.0
sonar.sources=C:/GWT-Workspace/rest-api-sample
sonar.projectKey=TestSiddhuGWT
Step 3:- Execute the scanner with below given command in another cmd prompt
C:\sonar-scanner-3.0.3.778-windows\bin>sonar-scanner.bat
Iamge2
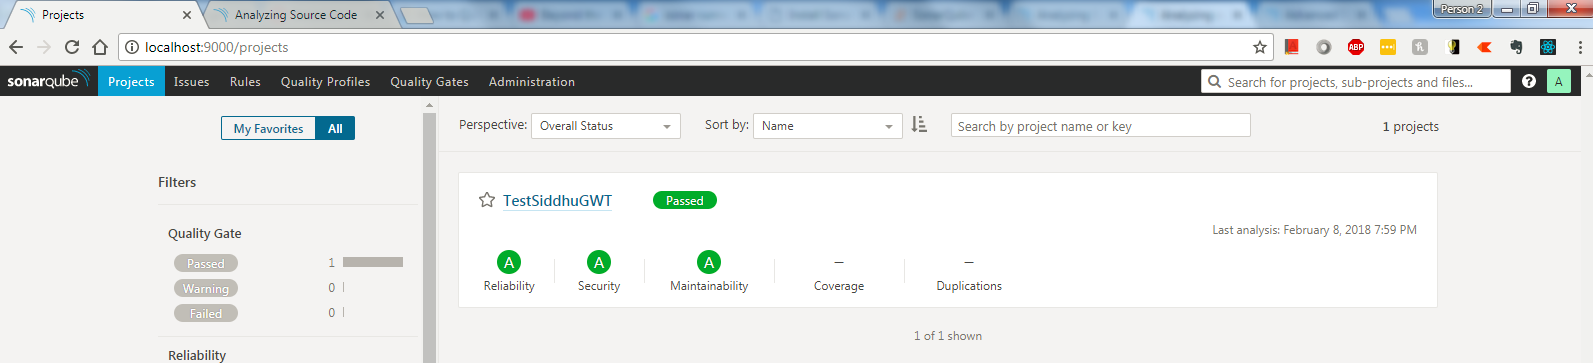
And see the resultant information on the screen
Iamge3

Soap Call Using ReactJS


First the user click on button having register onClick method onClick={this.callWebservice}

Once user click on the button we make a simple Ajax SOAP call using xmlHttpRequest and onsucess we dispaly the data on pop up window.


Addition of Two value using ReactJS

First the user enter the value in the number1 and number2 are the textfield and we had written onChange event on this text field
onChange={(event)=>this.setState({number1:event.target.value})}
onChange={(event)=>this.setState({number2:event.target.value})}
Second the user click on the button and code onClick={this.doAction} is executed.
doAction()
{
this.setState({result : parseInt(this.state.number1) + parseInt(this.state.number2) });
}
Note: Before using any variable we have to declare it inside constructor. We also need to register the action method using this object


Tuesday, January 16, 2018

Installation of ReactJS and Best IDE to use

ReactJS is Facebook generated language with a view to use DOM object of JAVA script for fast operation. IT deals more with Look and Feel i.e. VIEW aspect of the project. It has following advantages:-
– Component base development.
– Support Javascript DOM object and hence speedy in render on screen.
– Support both client and server side (with NodeJS) integration

— Installation
Make sure you have both the given below software installed at your machine
node.js and npm.js. We are using following version of node.js:- v6.9.4 and npm -v:-3.10.10
1- Create a folder C:\ReactWorkSpace>
2- Execute this command
C:\ReactWorkSpace>npm install -g create-react-app
3- Create an app
C:\ReactWorkSpace>create-react-app siddhureactapp
Creating a new React app in C:\ReactWorkSpace\siddhureactapp.
Installing packages. This might take a couple of minutes.
Installing react, react-dom, and react-scripts…
4- cd siddhureactapp
npm install
5- Final start the npm using below command
npm start


Best IDE to use for React.
I personally prefer two IDE
1- Sublime text 3
2- Bracket
Note :- Please install follwing plugin in Sublime text 3 before using for React.
Preference –> Package control –>


Other option can be exposed from
https://packagecontrol.io/

Wednesday, August 16, 2017

SonarQube for code review

Sonar Qube is code review tool available in market for different language like java,javascript, C#, C, Cobol.
SonarQube is capable enough to show the health of an application and also highlight issues and risk introduced into the project due to new code/existing code merge.. With help of Sonar Qube we can improve code quality systematically.
To use SonarQube we need to follow below given steps. This include setup of SonarQube Server on local Machine along with Eclipse plugin to analysis the code.

Step 1:- How to do setup of SonarQube Server on Localhost.
Please refer to https://www.sonarqube.org/#_ and click on Dowload icon and select the latest version of SonarQube. While writing this blog we had 6.5 version as the laterst one. Extract the sonarqube-6.5.zip and move to the bin folder C:\sonarqube-6.5\sonarqube-6.5\bin.
Here we will find many subfolder that contains *.sh and *.bat file to start server in different O/S. As we are using windows-x86-64 move inside C:\sonarqube-6.5\sonarqube-6.5\bin\windows-x86-64 and execute following command.
C:\sonarqube-6.5\sonarqube-6.5\bin\windows-x86-64>StartSonar.bat
.......
jvm 1 | 2017.08.16 13:42:58 INFO app[][o.s.a.SchedulerImpl] SonarQube is up
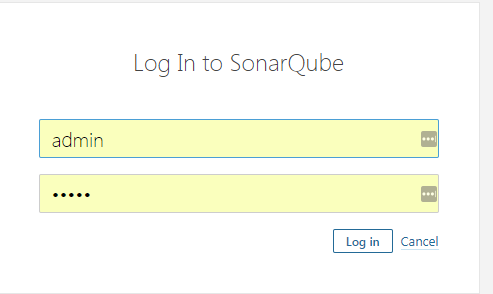
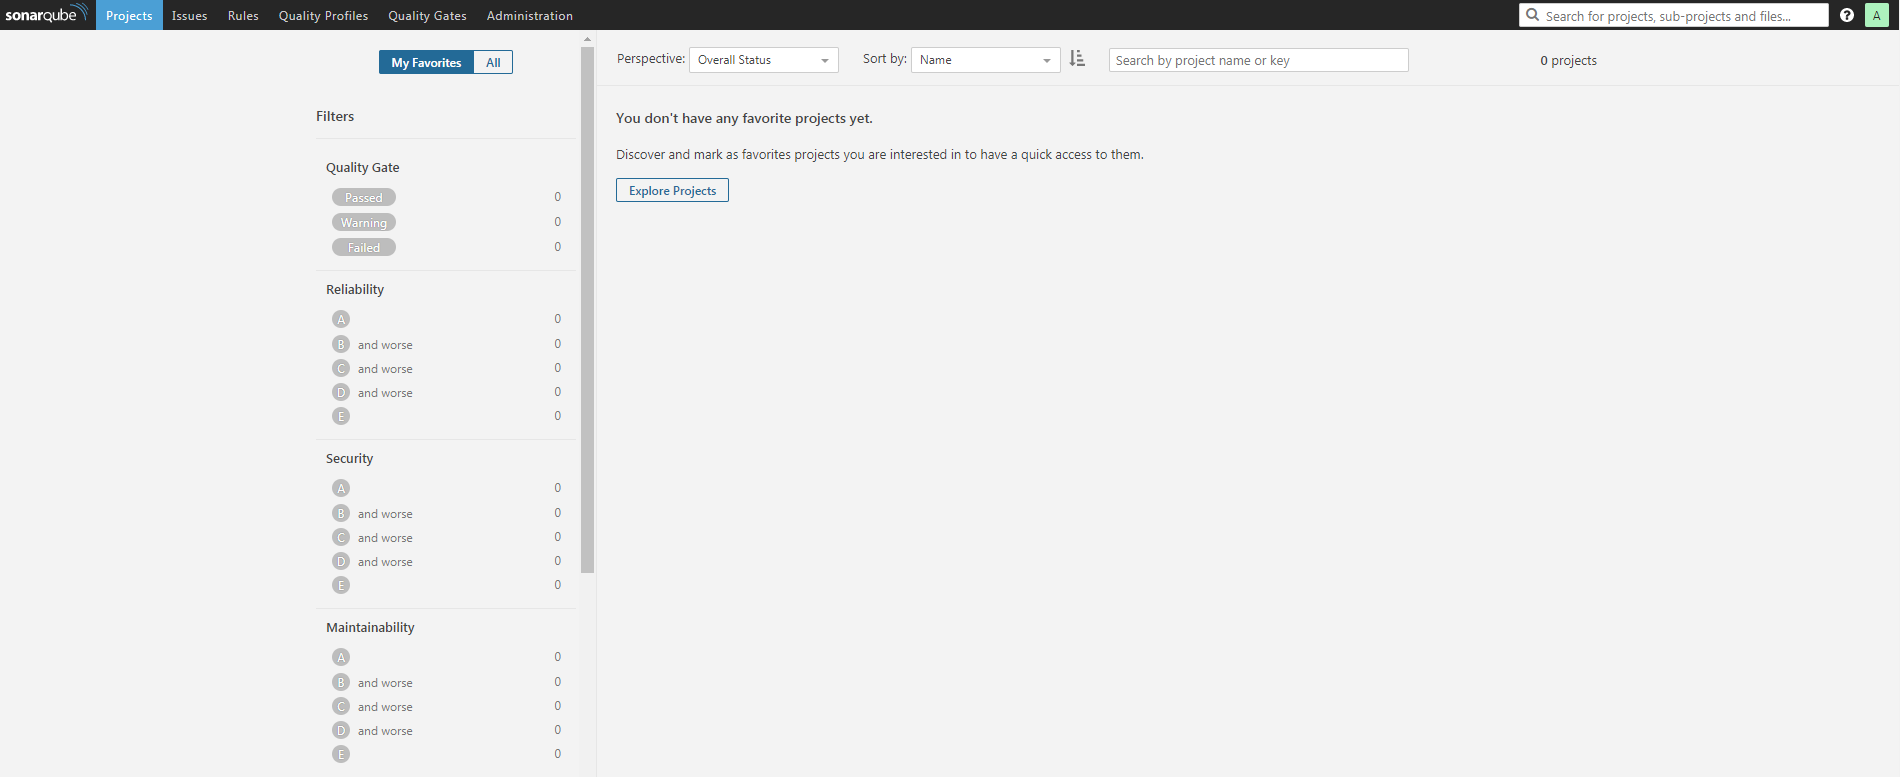
Above line indicate that our server is started on local host @ port 9000. Cross verify https://localhost:9000 and u will be able to see this screen. Click on Login and use default userid and passwrod admin/admin to get logged into the SonarQube server.

Image1Image2
Step 2:- Performing Code Analysing using Eclipse Plug in for SonarLite
As a java developer we generally prefer Eclipse IDE. Eclipse come with many plugin for development one of them is sonar Qube. We can install this plugin from below given loacation
https://marketplace.eclipse.org/content/sonarlint
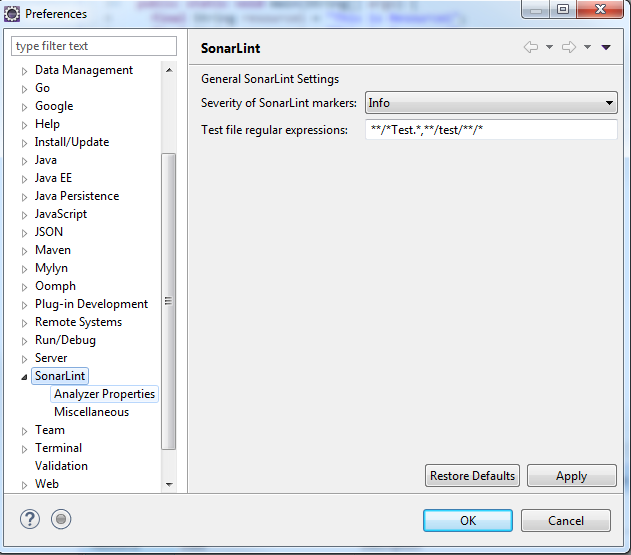
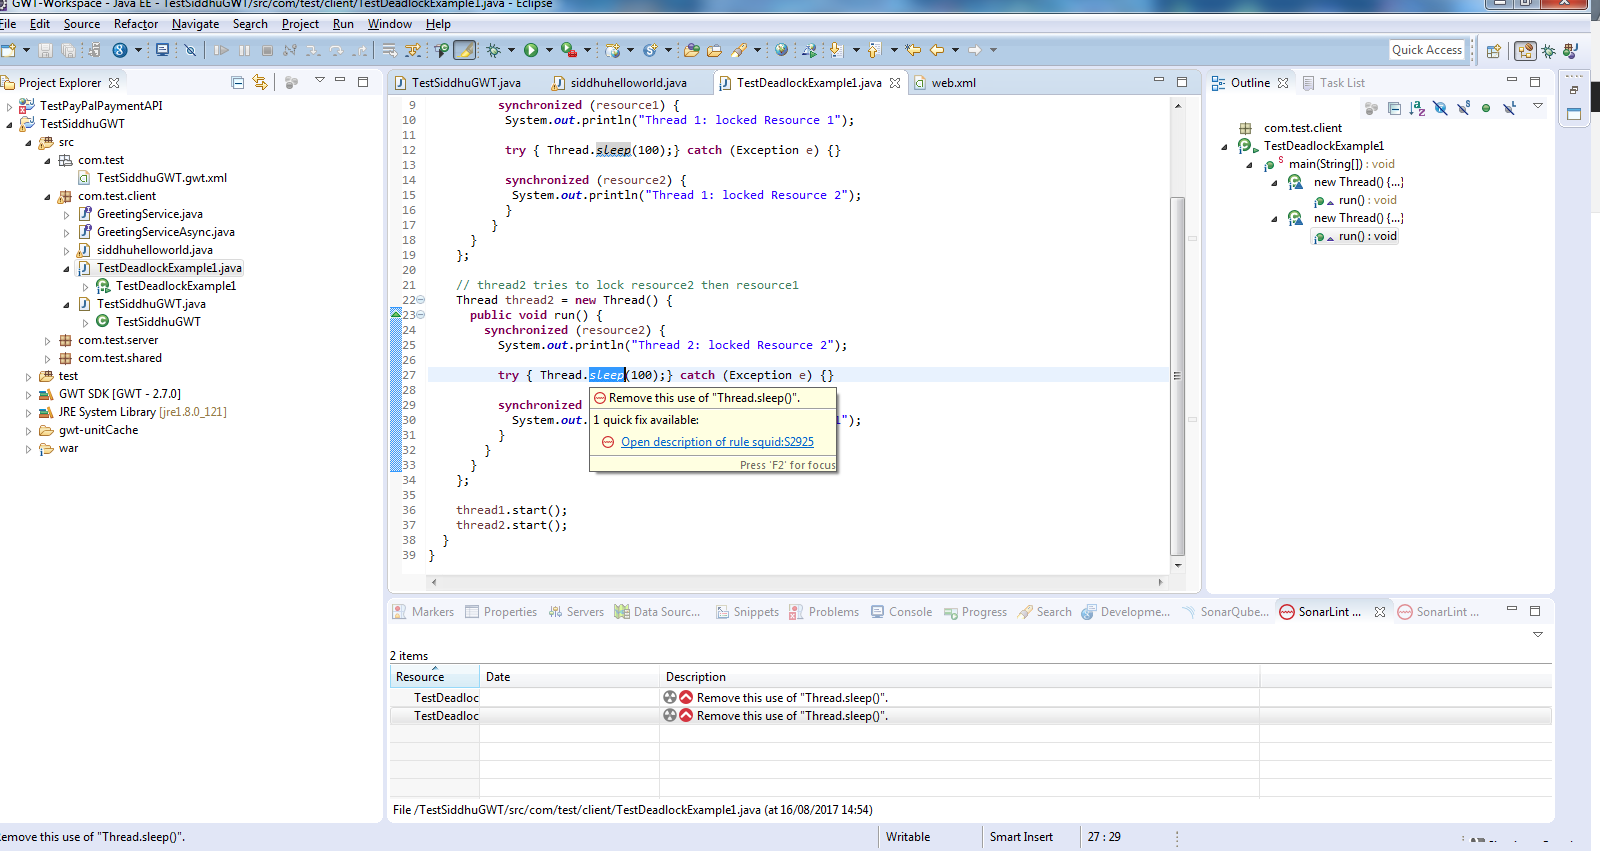
Once the plugin is installed in the Eclipse restart it and reconfirm successful installtion by checking availability of option Window-->preference->SolarLit
Image3
Step 3:- configure the Sonar server in eclipse
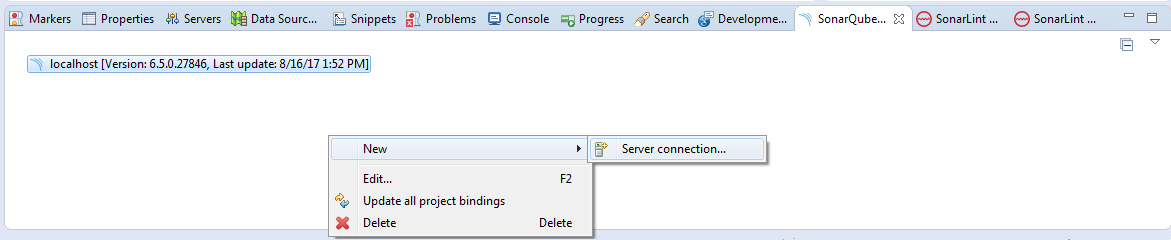
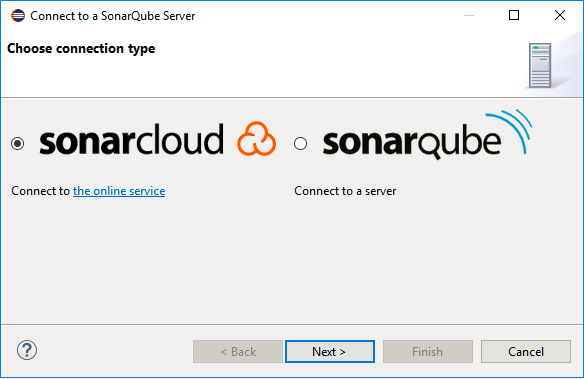
Lets now configure our Local host server inside Eclipse SolanLite Plugin. To do this Create a new SolarQube server using eclipse "File -> New -> Other... -> SonarLint -> New Server".
Here we had two option
1- Cloude
2- using Local host
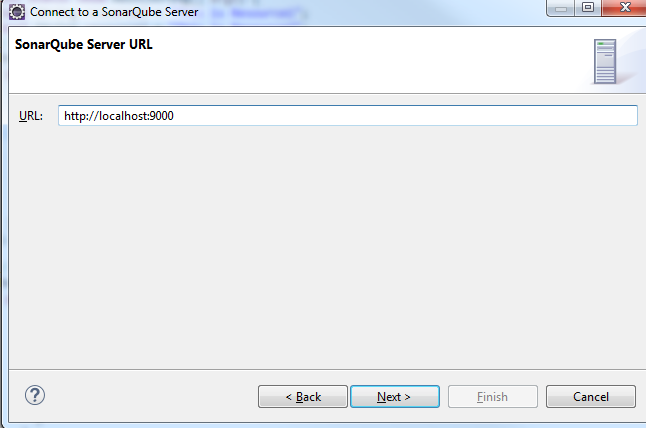
Chose option 2 and follow below steps

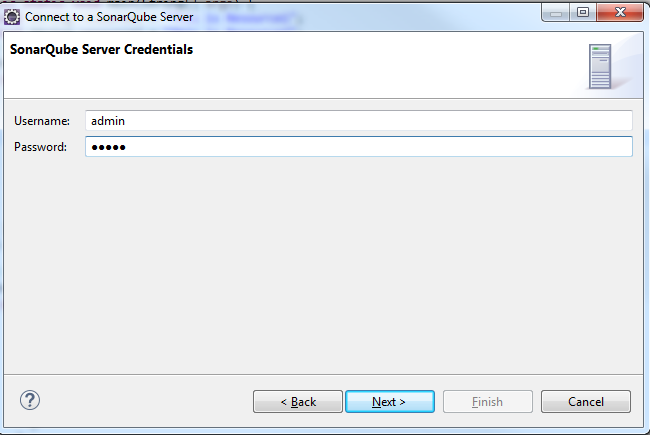
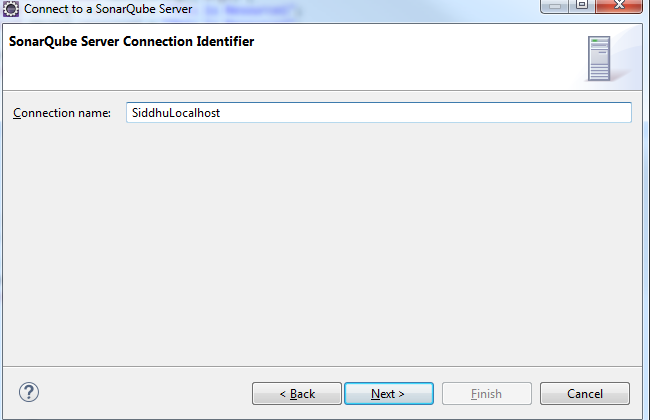
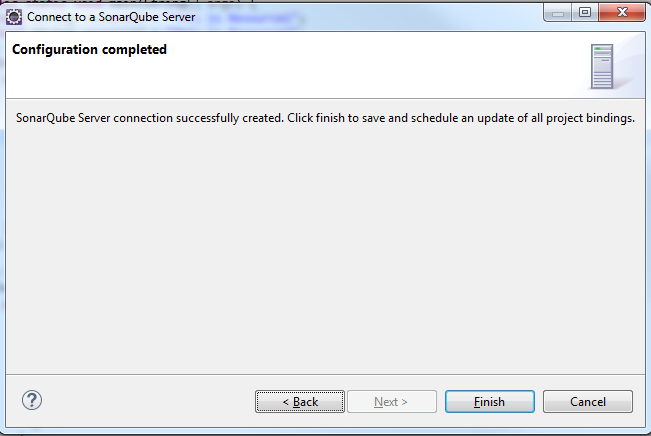
Image5Image4Image6
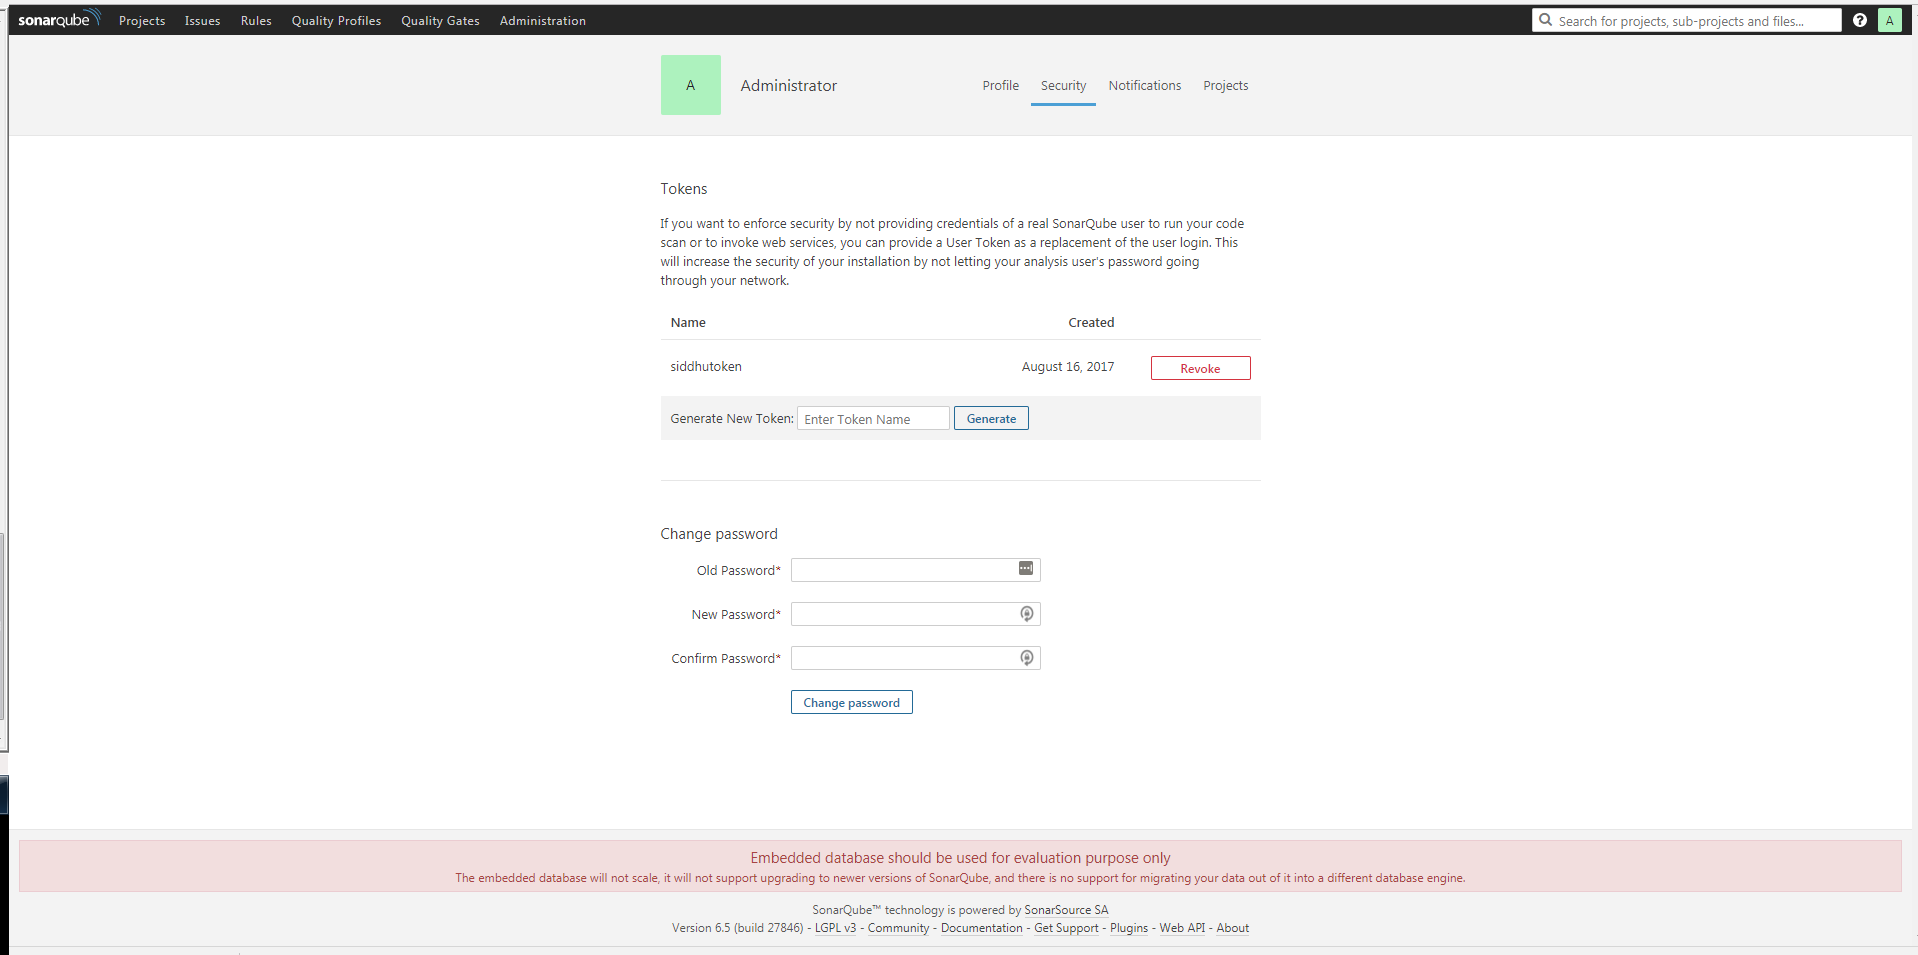
It will ask you for Token or User+password. If we chose to use Token by generating token from follwing below screen of our localhost SonarQube server.
Image7
Or we can directly use userid and password admin/admin to configure Localhost SonarQube server.

Image8Image9Image10

In this approach we need to create a project first in the sonarqube and then need to run the maven project command and finally we will get the name here that is needed for binding with the sonar qube.

refer to the 

3-Third option is to use the mvn command on prompt to reflect the report on the localhost SonarQube Server browser of below site

https://shdhumale.wordpress.com/2019/06/18/different-way-to-analysis-project-using-sonarqube/

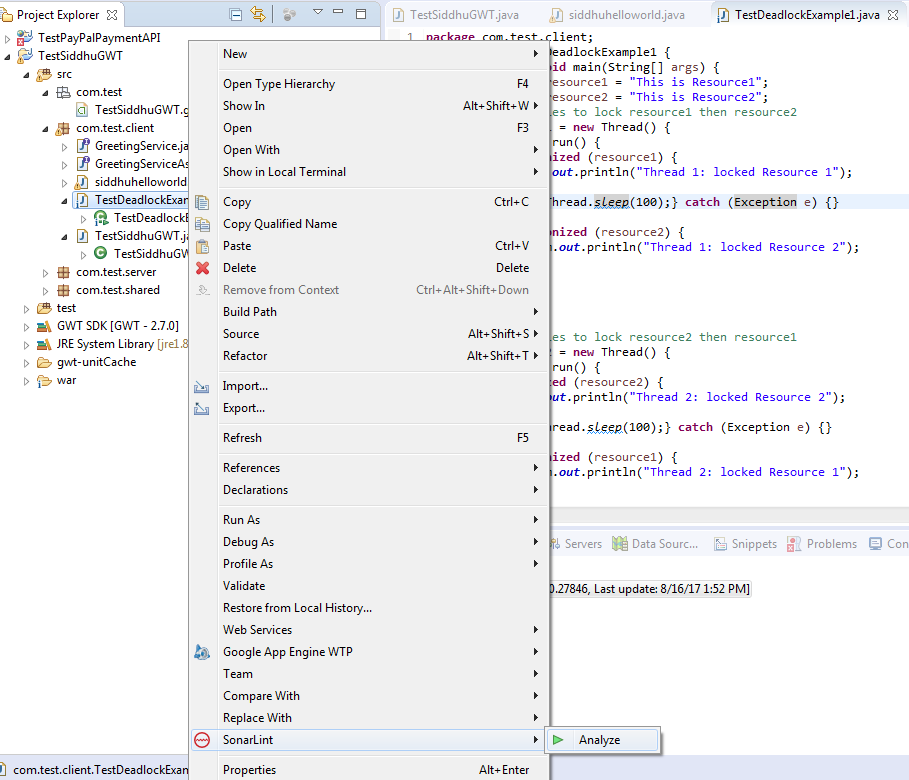
Step 4:- Run the sonar Plugin and modify the code.

Now we are ready to run the sonarQube code analyser on our code. Right click on the java file and find/modify the leak code .
Image11Image12

Monday, August 14, 2017

Apache Solr

Apache Solr is server provided by Apache Community for having better and quick serach of document at the server side.Solr enables you to easily create search engines which searches websites, databases and files.
To understand the concept of Apache Solr lets try to install it.
Step 1:- Download Solr server from below given location
http://lucene.apache.org/solr/mirrors-solr-latest-redir.html
Step 2:- Extract the solr-6.6.0.zip file
Step 3:- Start the server using following command i.e. here we are keeping our project name as siddhuapachesolrproject
C:\solr-6.6.0\solr-6.6.0\bin\solr -e siddhuapachesolrproject
Step 4:- Now lets try to see how our Newly created Apache Solr server helps us in searing the documents. For this lets try to index one the file on the server.
If we see the C:\solr-6.6.0\solr-6.6.0\example\exampledocs folder we will find there are many *.xml, *.pdf, *.cvs files are kept for testing and demo purpose. We will index one of the *.xml into our Apache solr server.
This can be done using post.jar which is provided by Apache Solr server inside exampledocs folder. Execute following command
C:\solr-6.6.0\solr-6.6.0\example\exampledocs>java -Dc=techproducts -jar post.jar sd500.xml
Now we can confirm if our server is able to find this file using following command
http://localhost:8983/solr/siddhuapachesolrproject/select?q=sd500&wt=json

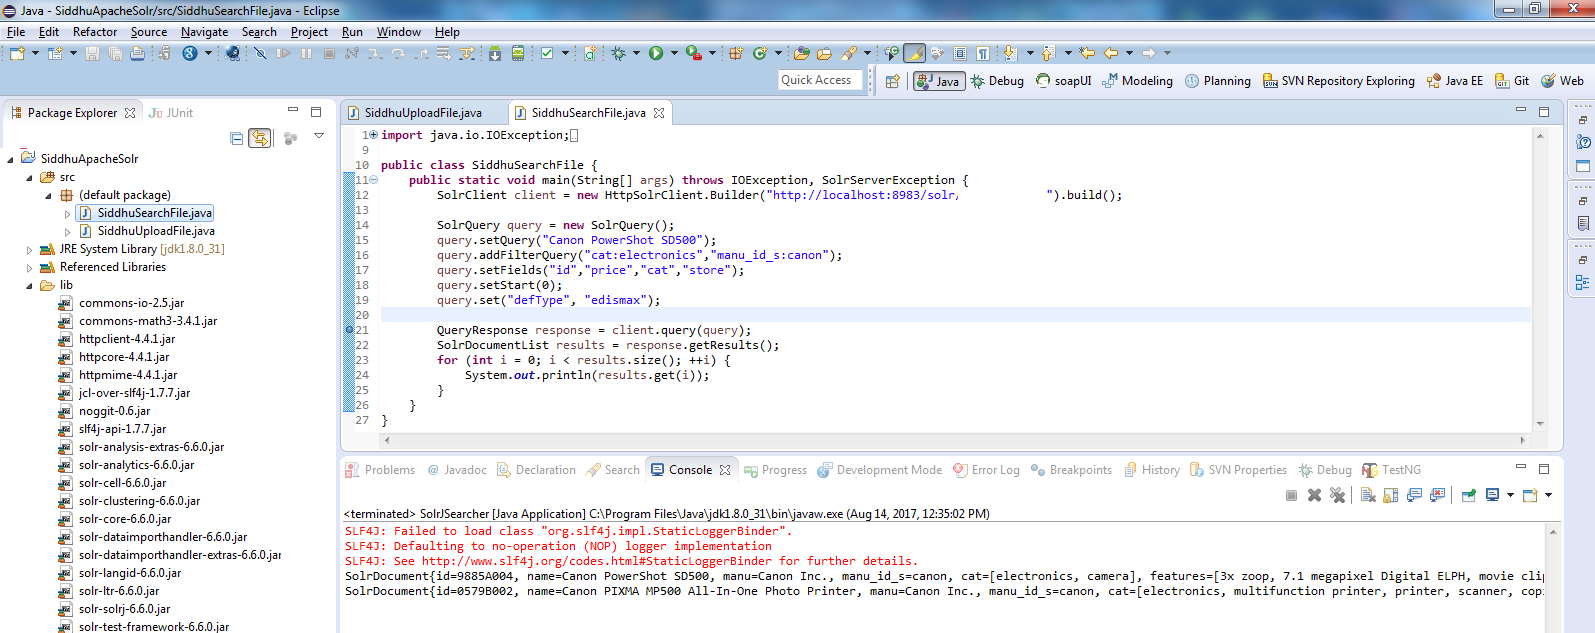
Now lets try to use java code to perform indexing and finding the text from the Apache Solr
Use following java code to upload or indexing the file on Apache Solr
import org.apache.solr.client.solrj.SolrClient;
import org.apache.solr.client.solrj.SolrServerException;
import org.apache.solr.client.solrj.impl.HttpSolrClient;
import org.apache.solr.common.SolrInputDocument;
import java.io.IOException;
public class SiddhuUploadFile {
public static void main(String[] args) throws IOException, SolrServerException {
SolrClient client = new HttpSolrClient.Builder("http://localhost:8983/solr/siddhuapachesolrproject").build();
for(int i=0;i<1000 i="" span="">
SolrInputDocument doc = new SolrInputDocument();
doc.addField("cat", "book");
doc.addField("id", "book-" + i);
doc.addField("name", "The Legend of the Hobbit part " + i);
client.add(doc);
if(i%100==0) client.commit(); // periodically flush
}
client.commit();
}
}

And use below code to find the perticular file from Apache Solr
import java.io.IOException;
import org.apache.solr.client.solrj.SolrClient;
import org.apache.solr.client.solrj.SolrQuery;
import org.apache.solr.client.solrj.SolrServerException;
import org.apache.solr.client.solrj.impl.HttpSolrClient;
import org.apache.solr.client.solrj.response.QueryResponse;
import org.apache.solr.common.SolrDocumentList;
public class SiddhuSearchFile {
public static void main(String[] args) throws IOException, SolrServerException {
SolrClient client = new HttpSolrClient.Builder("http://localhost:8983/solr/techproducts").build();
SolrQuery query = new SolrQuery();
query.setQuery("Canon PowerShot SD500");
query.addFilterQuery("cat:electronics","manu_id_s:canon");
query.setFields("id","price","cat","store");
query.setStart(0);
query.set("defType", "edismax");
QueryResponse response = client.query(query);
SolrDocumentList results = response.getResults();
for (int i = 0; i < results.size(); ++i) {
System.out.println(results.get(i));
}
}
}

Project

You can find all the required jar  inside solr-6.6.0.zip folder which we had downloaded to setup the server.
C:\solr-6.6.0\solr-6.6.0\dist\solrj-lib
Note:- To Shutdown the server use following command
bin/solr stop
- You can learn different Query Syntex of Lucene for finding and searching the file on Apache Solr server.